
Home>Home & Furniture>Garage & Basement>DIY Garage Ceiling Ideas
Garage & Basement
DIY Garage Ceiling Ideas
Published: September 26, 2024
Discover creative and practical DIY garage ceiling ideas to transform your space. From storage solutions to aesthetic upgrades, elevate your garage with these expert tips.
(Many of the links in this article redirect to a specific reviewed product. Your purchase of these products through affiliate links helps to generate commission for Twigandthistle.com, at no extra cost. Learn more)
Sprucing up your garage ceiling can transform the entire space. Whether you use it for parking, storage, or as a workshop, a well-designed ceiling adds functionality and style. Simple DIY projects can make huge differences without breaking the bank. Think about adding some insulation, creative lighting, or even some storage solutions. Each project can be tackled on a weekend, making them perfect for anyone looking to improve their home. Dive into the world of DIY garage ceilings and see how a little effort can turn a drab space into something truly special.
Preparation Steps
Clear the Area: Remove all items from the garage. This prevents accidents and gives you space to work.
Inspect the Ceiling: Check for any damage or leaks. Fix these issues before starting your project.
Gather Materials: Collect all necessary tools and materials. Common items include a ladder, drill, screws, drywall, insulation, and safety gear.
Wear Safety Gear: Use safety goggles, gloves, and a dust mask. This protects you from debris and dust.
Set Up a Workspace: Create a designated area for your tools and materials. Keep everything organized and within reach.
Measure and Mark: Measure the ceiling dimensions. Mark where you will install any fixtures or panels.
Turn Off Power: If working near electrical wires, turn off the power. This prevents electrical shocks.
Ventilation: Ensure proper ventilation. Open windows or use fans to keep the area well-ventilated.
Check for Permits: Some projects may require permits. Check local regulations to ensure compliance.
Plan for Assistance: Some tasks may need an extra pair of hands. Arrange for help if necessary.
Gather Your Materials and Tools
Plywood Sheets: These are large, flat boards used to cover the ceiling. They provide a smooth, sturdy surface.
Drywall Panels: These are used to create a finished look. They are easy to paint and can be cut to fit any space.
Insulation: Helps keep the garage warm in winter and cool in summer. It also reduces noise.
Ceiling Tiles: Decorative tiles that can be installed to add style. They come in various designs and materials.
Furring Strips: Thin strips of wood used to create a framework for attaching other materials. They help level the ceiling.
Screws and Nails: Essential for securing materials to the ceiling. Make sure to get the right size for your project.
Measuring Tape: Used to measure dimensions accurately. Ensures everything fits perfectly.
Utility Knife: Handy for cutting drywall and insulation. Make sure it’s sharp for clean cuts.
Power Drill: Necessary for drilling holes and driving screws. Speeds up the installation process.
Ladder: Allows you to reach the ceiling safely. Make sure it’s sturdy and tall enough.
Safety Goggles: Protects your eyes from dust and debris. Always wear them when cutting or drilling.
Dust Mask: Keeps you from inhaling harmful particles. Essential when working with insulation or drywall.
Chalk Line: Helps mark straight lines on the ceiling. Useful for aligning materials.
Stud Finder: Locates the wooden beams behind the ceiling. Ensures you attach materials securely.
Paint and Brushes: Used to finish the ceiling. Choose a color that matches your garage.
Caulk and Caulking Gun: Seals gaps and cracks. Keeps the ceiling looking neat and prevents drafts.
Light Fixtures: Brightens up the garage. Choose fixtures that provide enough light for your needs.
Wire Cutters: Needed if you’re installing new light fixtures. Helps cut and strip wires safely.
Extension Cord: Provides power to your tools. Make sure it’s long enough to reach all areas of the garage.
Drop Cloths: Protects the floor from paint and debris. Keeps your workspace clean.
These materials and tools will help you transform your garage ceiling into a functional and attractive space.
Required Skills and Time Commitment
Skill Level: Intermediate
Time Required: 1-2 days
Key Points:
- Preparation: 2-3 hours for gathering materials and tools.
- Installation: 8-12 hours for installing ceiling panels or drywall.
- Finishing Touches: 2-4 hours for painting or adding insulation.
Important Keywords:
- Intermediate
- 1-2 days
- Preparation
- Installation
- Finishing Touches
Detailed Step-by-Step Guide
Measure the Ceiling:
- Use a tape measure to find the length and width of the garage ceiling.
- Write down these measurements.
Choose Materials:
- Decide between drywall, plywood, or ceiling tiles.
- Purchase enough material to cover the entire ceiling.
Gather Tools:
- Collect a ladder, drill, screws, saw, and a stud finder.
- Have safety gear like gloves and goggles ready.
Locate Ceiling Joists:
- Use a stud finder to find the joists in the ceiling.
- Mark their locations with a pencil.
Cut Materials to Size:
- Measure and cut the drywall, plywood, or tiles to fit the ceiling.
- Ensure pieces are slightly smaller than the ceiling dimensions for easy fitting.
Install Support Beams (if needed):
- Attach 2x4 beams perpendicular to the joists for extra support.
- Secure beams with screws and a drill.
Attach the Ceiling Material:
- Lift the first piece of material to the ceiling.
- Screw it into the joists or support beams.
- Repeat until the entire ceiling is covered.
Seal Joints and Edges:
- Use joint compound to fill gaps between pieces.
- Smooth the compound with a putty knife.
Sand and Paint (optional):
- Once the compound dries, sand it smooth.
- Paint the ceiling if desired for a finished look.
Clean Up:
- Remove any debris and tools.
- Dispose of waste materials properly.
Helpful Tips and Tricks
Plan your layout before starting. Measure the space to ensure you buy the right amount of materials. Use lightweight materials like PVC panels or foam tiles for easy installation. Install insulation if your garage gets too hot or cold. It helps regulate temperature and saves energy. Paint the ceiling a light color to make the space feel larger and brighter. Use a stud finder to locate ceiling joists for secure mounting. Pre-drill holes to prevent wood from splitting when attaching panels or boards.
Common mistakes to avoid: Skipping the insulation step can lead to uncomfortable temperatures. Not measuring correctly can result in wasted materials or gaps. Using heavy materials can make installation difficult and unsafe. Forgetting to check for electrical wiring can cause hazards.
Alternatives: Instead of drywall, consider plywood for a rustic look. Metal panels offer a modern, industrial feel. Acoustic tiles can reduce noise if you use the garage as a workshop. Fabric panels can add a unique texture and are easy to change out.
Estimating Your Costs
Drywall Ceiling:
- Drywall Sheets: $10 each (need about 10 sheets for a standard garage) = $100
- Drywall Screws: $5 per box
- Joint Compound: $10
- Drywall Tape: $5
- Sandpaper: $5
- Paint: $20
- Tools:
- Drywall Lift Rental: $40 per day
- Drywall Knife: $10
- Sanding Block: $5
Total: Around $200-$250
Plywood Ceiling:
- Plywood Sheets: $20 each (need about 10 sheets) = $200
- Wood Screws: $10 per box
- Paint or Stain: $20
Total: Around $230
PVC Ceiling Panels:
- PVC Panels: $25 each (need about 10 panels) = $250
- PVC Adhesive: $10
- Trim: $20
Total: Around $280
Budget-Friendly Alternatives:
- Fabric Ceiling:
- Fabric Sheets: $5 each (need about 10 sheets) = $50
- Staple Gun: $10
- Staples: $5
Total: Around $65
- Insulation Panels:
- Foam Insulation Panels: $15 each (need about 10 panels) = $150
- Adhesive: $10
Total: Around $160
Creative Variations and Customizations
Plywood Panels: Use painted plywood for a clean, modern look. Choose bright colors like white or light blue to make the space feel larger.
Metal Tiles: Install tin ceiling tiles for a vintage, industrial vibe. These can be painted in various colors or left in their natural metallic finish.
Wood Planks: Create a rustic feel with reclaimed wood planks. Stain them in different shades for a unique, textured appearance.
PVC Panels: Opt for PVC ceiling panels for a low-maintenance, moisture-resistant option. These come in various patterns and colors, making customization easy.
Drywall: For a smooth, traditional look, use drywall. Paint it any color to match your garage's theme. Add crown molding for an elegant touch.
Fabric Panels: Stretch fabric panels across the ceiling for a soft, acoustic-friendly option. Choose patterns or solid colors that complement your garage decor.
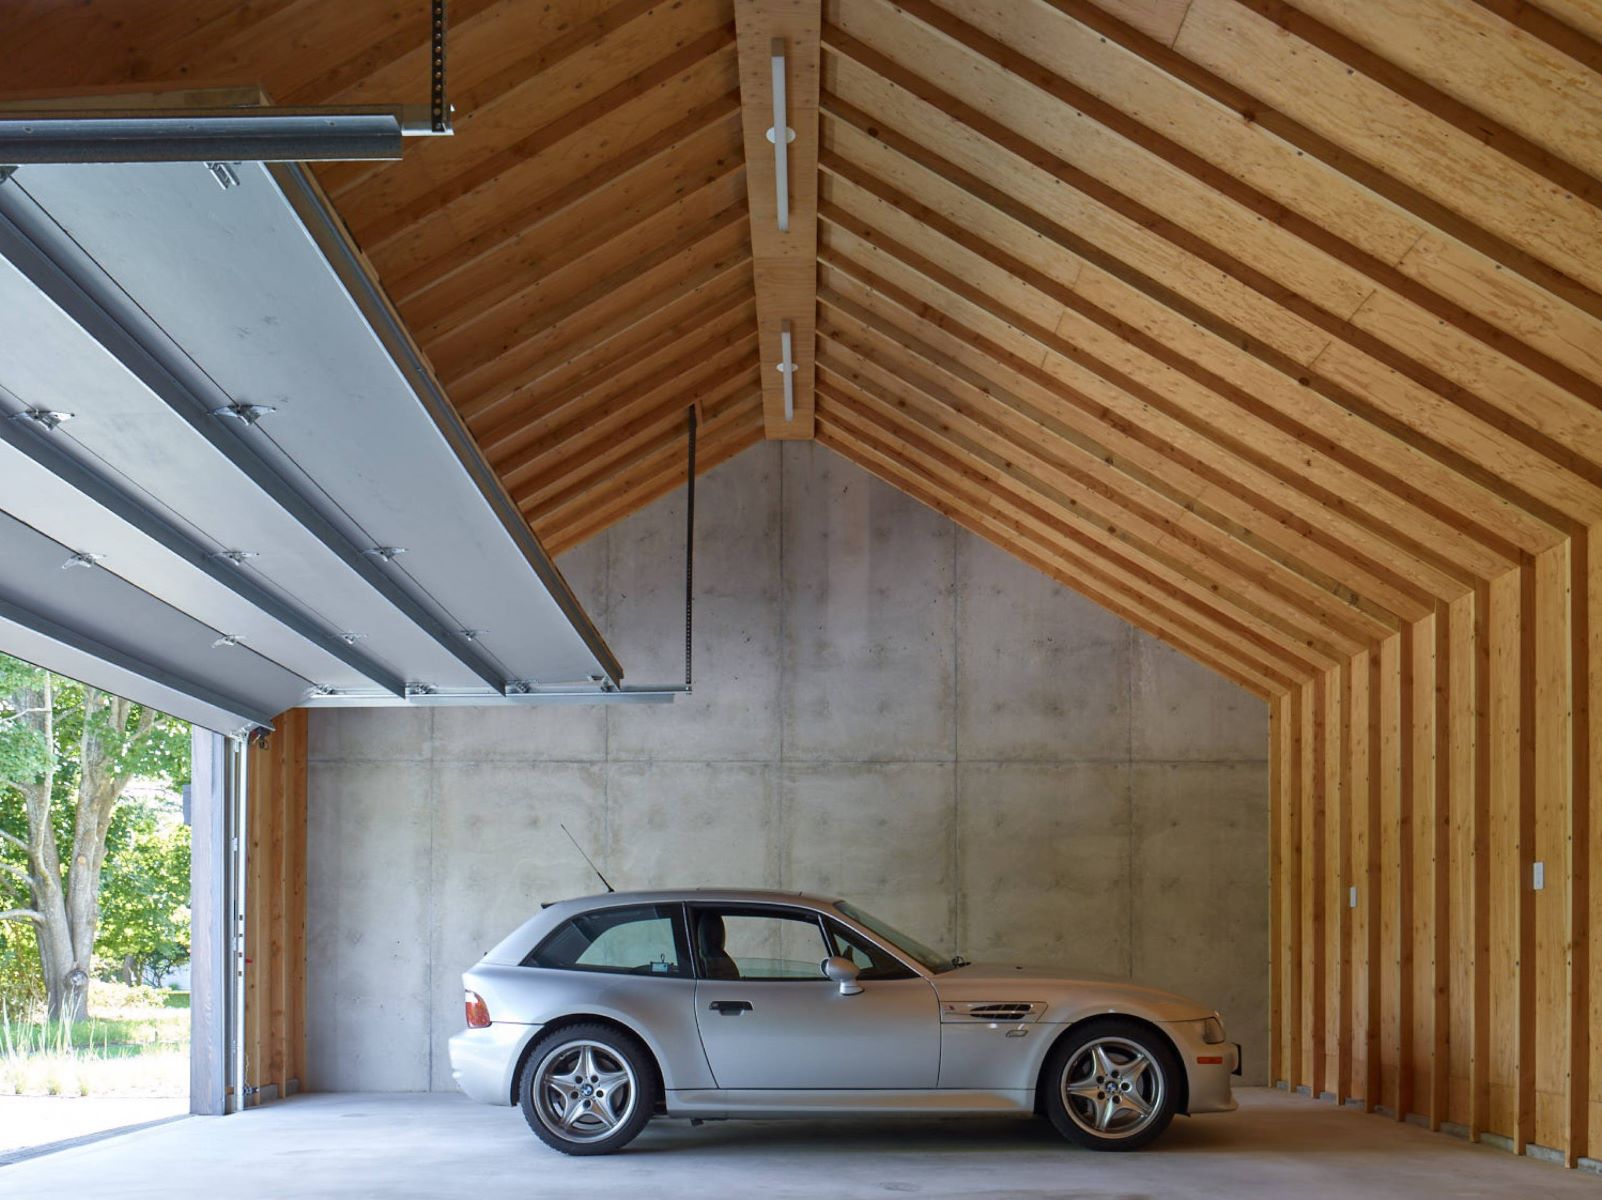
Exposed Beams: Leave wooden beams exposed for a rustic, open feel. Paint or stain them to match your garage's style.
Pegboard Ceiling: Install pegboard panels for a functional ceiling that doubles as storage. Paint them to match your garage's color scheme.
Drop Ceiling: Use a drop ceiling with interchangeable tiles. Choose from a variety of materials like acoustic tiles, metal grids, or decorative panels.
LED Lighting: Integrate LED strip lights into any ceiling design for a modern, well-lit space. Choose color-changing options for added flair.
Eco-Friendly Tips
Reclaimed Wood: Use old barn wood or pallets. Sand and stain them for a rustic look.
Recycled Metal Panels: Find old corrugated metal sheets. Clean and paint them for a modern, industrial vibe.
Bamboo: Bamboo grows quickly, making it a sustainable choice. Use bamboo panels for a natural, eco-friendly ceiling.
Cork Tiles: Cork is renewable and provides good insulation. Install cork tiles for a warm, textured ceiling.
Recycled Insulation: Use insulation made from recycled materials like denim or cellulose. It helps with temperature control and soundproofing.
Salvaged Beams: Old beams from demolished buildings can add character. Clean and treat them before installation.
Natural Paints: Choose paints with low VOCs (volatile organic compounds). They are better for the environment and your health.
LED Lighting: Install energy-efficient LED lights. They use less power and last longer than traditional bulbs.
Recycled Drywall: Some companies offer drywall made from recycled materials. It’s a greener option for your ceiling.
Upcycled Fabric Panels: Use old fabric to create acoustic panels. Stretch the fabric over wooden frames for a unique look.
Your Garage Ceiling Awaits
Choosing the right garage ceiling idea can transform your space. Whether you go for drywall, plywood, or metal tiles, each option has its perks. Drywall offers a clean look, plywood is budget-friendly, and metal tiles add a unique touch. Don't forget about insulation and lighting—they're key to making your garage more functional. Insulation keeps the temperature stable, while good lighting makes the space usable for various projects.
Remember, a well-done ceiling can boost your home's value and make your garage a more enjoyable place. So, grab your tools, pick your materials, and get started. Your dream garage ceiling is just a weekend project away. Happy DIY-ing!
What materials work best for a garage ceiling?
Plywood, drywall, and metal panels are popular choices. Plywood is sturdy, drywall is cost-effective, and metal panels are durable and modern-looking.
How do I insulate my garage ceiling?
Use fiberglass batts or foam board insulation. Install them between the ceiling joists, then cover with drywall or plywood for a finished look.
Can I install a ceiling fan in my garage?
Absolutely! A ceiling fan helps with ventilation and keeps the space cooler. Just ensure you have proper wiring and mounting.
What lighting options are best for a garage ceiling?
LED lights are energy-efficient and bright. Fluorescent lights are also a good option. Both can be easily mounted on the ceiling.
How do I deal with moisture issues in my garage ceiling?
Use moisture-resistant drywall or green board. Ensure proper ventilation and consider a dehumidifier to keep moisture levels down.
Can I add storage to my garage ceiling?
Yes, install overhead storage racks or shelves. These are great for storing items you don't use often, freeing up floor space.
How do I paint my garage ceiling?
Clean the surface, apply a primer, then use a high-quality paint. For a garage, consider using a semi-gloss or satin finish for easy cleaning.