
Home>Home & Furniture>Garage & Basement>DIY Budget-Friendly Garage Wall Ideas
Garage & Basement
DIY Budget-Friendly Garage Wall Ideas
Published: September 28, 2024
Discover creative and budget-friendly DIY garage wall ideas to transform your space. Maximize storage, organization, and style without breaking the bank!
(Many of the links in this article redirect to a specific reviewed product. Your purchase of these products through affiliate links helps to generate commission for Twigandthistle.com, at no extra cost. Learn more)
Transforming your garage walls on a tight budget can be easier than you think. Whether you need more storage, want to make the space look better, or both, there are plenty of DIY projects to tackle. You don't need to be an expert to get started. Some basic tools, a bit of creativity, and a few materials can go a long way. From adding shelves to painting murals, small changes can make a big difference. Ready to get those garage walls looking great without spending a fortune? Let's dive into some budget-friendly ideas.
Getting Ready for Your Project
Plan Your Design: Sketch out your ideas. Decide where tools, shelves, and other items will go. Measure the walls to know how much material you need.
Gather Materials: Collect all necessary supplies like plywood, paint, hooks, and screws. Check if you have the right tools, such as a drill, hammer, and measuring tape.
Clear the Workspace: Remove everything from the garage walls. This makes it easier to work and prevents accidents.
Safety Gear: Wear gloves, safety goggles, and a dust mask. These protect you from splinters, dust, and other hazards.
Inspect Walls: Look for any damage like cracks or mold. Fix these issues before starting your project.
Mark Studs: Use a stud finder to locate wall studs. Mark them with a pencil. This helps when you need to hang heavy items.
Prep Materials: Cut plywood or other materials to the right size. Sand rough edges to avoid splinters.
Ventilation: Ensure good airflow. Open windows or use fans. This is especially important if you’re painting or using strong adhesives.
Lighting: Set up adequate lighting. Good visibility helps you work more accurately and safely.
Organize Tools: Keep tools within reach but out of the way. Use a tool belt or a small table to hold them.
Test Fit: Before permanently attaching anything, do a test fit. This ensures everything lines up correctly.
Clean Up: Keep your workspace tidy. Dispose of waste materials properly. This reduces the risk of accidents and makes the project more enjoyable.
Gather Your Materials and Tools
Plywood Sheets: Affordable and versatile, plywood sheets can cover large wall areas. They are easy to paint or stain.
Pegboards: Great for organizing tools and supplies. Pegboards can be cut to fit any wall space and provide easy access to frequently used items.
Screws and Nails: Essential for securing plywood and pegboards to the wall. Choose the right length and type based on wall material.
Stud Finder: Helps locate wall studs to ensure secure attachment of heavy items like shelves or cabinets.
Measuring Tape: Accurate measurements are crucial for cutting materials to the correct size and ensuring everything fits properly.
Level: Ensures that shelves, pegboards, and other installations are straight and even.
Circular Saw or Jigsaw: Used for cutting plywood sheets and pegboards to the desired size.
Drill and Drill Bits: Necessary for making holes in walls and materials for screws and other fasteners.
Paint and Brushes/Rollers: Personalize your garage walls with a fresh coat of paint. Brushes and rollers help apply paint evenly.
Sandpaper: Smooths rough edges on plywood and other materials before painting or staining.
Safety Gear: Includes gloves, safety glasses, and a dust mask to protect yourself while cutting, drilling, and painting.
Shelving Brackets: Supports for shelves that will hold tools, boxes, and other items. Choose brackets that can handle the weight of what you plan to store.
Hooks and Hangers: Useful for hanging bikes, ladders, and other large items on the wall to save floor space.
Caulk and Caulk Gun: Fills gaps and seals edges to give a finished look and prevent pests from entering.
Utility Knife: Handy for trimming materials and opening packages.
Pencil and Notepad: For marking measurements and jotting down notes or plans.
Required Skills and Time Commitment
Skill Level: Intermediate
Time Required: 1-2 days
Steps:
- Planning and Measuring: 1-2 hours
- Gathering Materials: 2-3 hours
- Installing Pegboards or Shelving: 3-4 hours
- Painting or Adding Wall Panels: 4-5 hours
- Organizing Tools and Supplies: 2-3 hours
Follow These Steps
Clean the Walls
- Remove any dirt, dust, or cobwebs.
- Use a damp cloth or sponge with mild soap.
Patch Holes and Cracks
- Fill holes with spackle or putty.
- Smooth out with a putty knife.
- Let it dry, then sand until smooth.
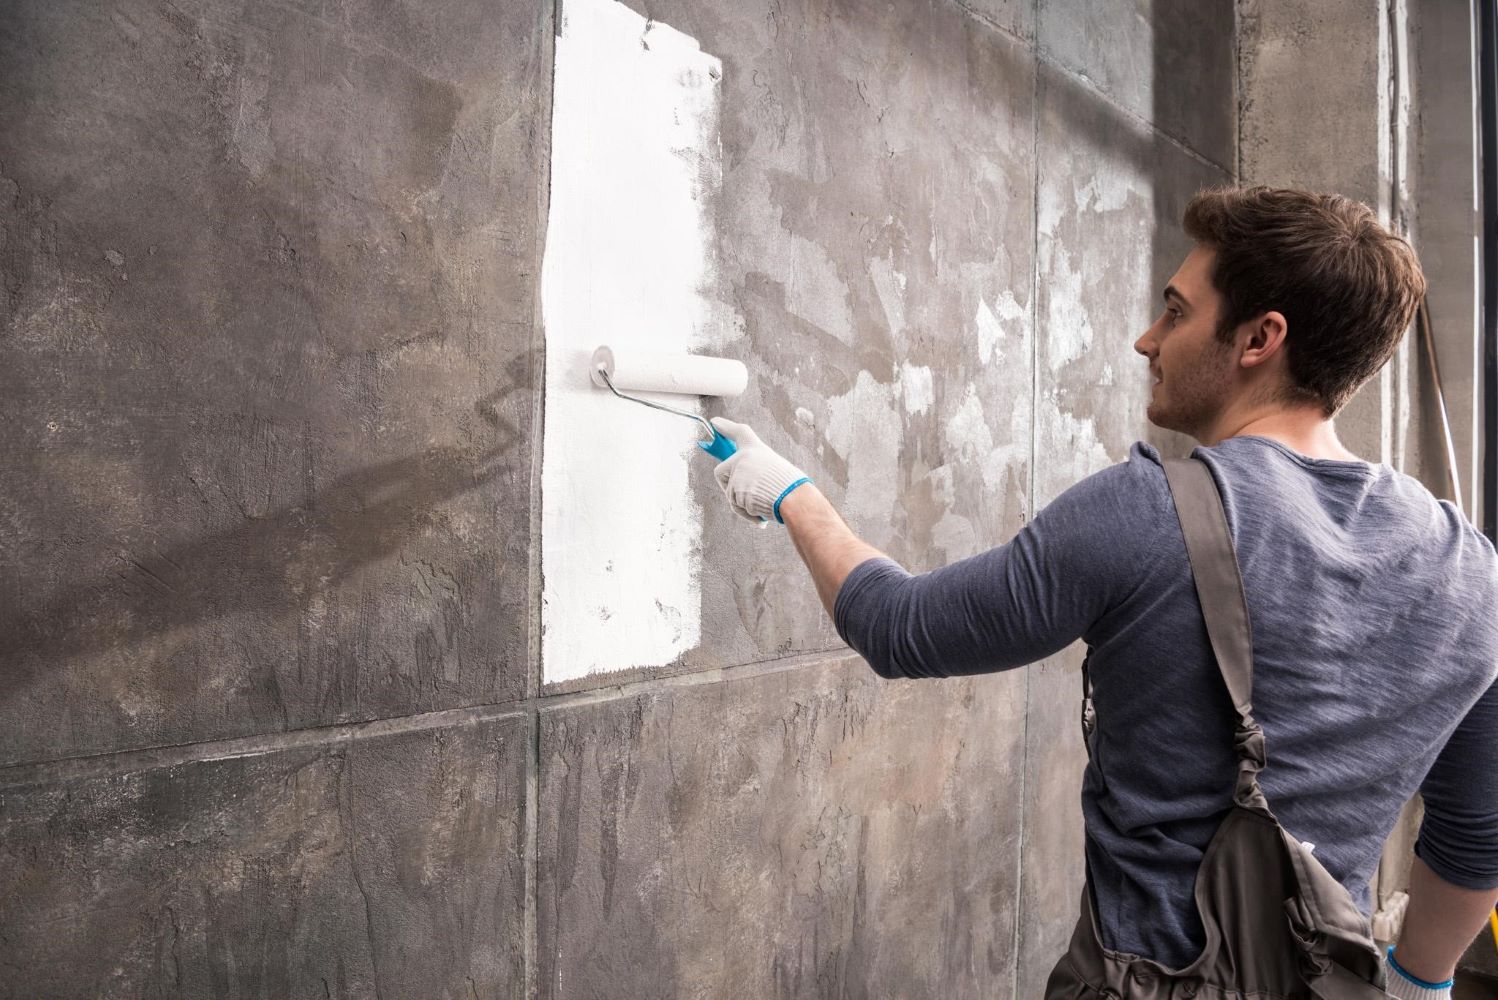
Paint the Walls
- Choose a durable, easy-to-clean paint.
- Apply primer if needed.
- Use rollers for large areas, brushes for edges.
Install Pegboards
- Measure and mark where you want the pegboard.
- Attach furring strips to the wall for support.
- Screw the pegboard into the strips.
Add Shelving
- Measure and mark where shelves will go.
- Use brackets for support.
- Secure shelves to brackets with screws.
Hang Hooks and Racks
- Decide where you need hooks for tools or bikes.
- Drill holes and insert wall anchors.
- Screw hooks or racks into anchors.
Create a Workbench Area
- Find a sturdy table or build one from wood.
- Position it against a wall.
- Add a pegboard above for tools.
Use Magnetic Strips
- Attach magnetic strips to the wall.
- Use them to hold metal tools.
Label Everything
- Use labels to mark where tools and items go.
- Helps keep everything organized.
Add Lighting
- Install bright LED lights.
- Ensure work areas are well-lit.
Install Insulation Panels
- Measure wall sections.
- Cut insulation panels to fit.
- Attach panels using adhesive or screws.
Use Recycled Materials
- Repurpose old cabinets or shelves.
- Paint or refinish for a fresh look.
Create a Charging Station
- Mount a power strip on the wall.
- Use small shelves or baskets for devices.
Add a Whiteboard or Chalkboard
- Attach to the wall for notes and reminders.
- Use for project planning or lists.
Hang a Folding Table
- Attach a folding table to the wall.
- Use hinges and a latch for easy storage.
Helpful Tips and Tricks
Use Pegboards: Pegboards are cheap and versatile. Hang tools, baskets, and shelves on them.
Paint or Stain Plywood: Plywood is affordable and easy to work with. Paint or stain it for a polished look.
Install Shelving: Use simple brackets and boards to create shelves. Store items off the floor to maximize space.
Magnetic Strips: Attach magnetic strips to the wall for holding metal tools. Keeps them visible and easy to grab.
Repurpose Old Cabinets: Use old kitchen cabinets for garage storage. Paint them to match your garage decor.
Common Mistakes to Avoid:
- Skipping Wall Prep: Always clean and prep walls before painting or installing anything.
- Overloading Shelves: Don't overload shelves; check weight limits to avoid accidents.
- Ignoring Studs: Secure heavy items to wall studs, not just drywall, for safety.
Material Alternatives:
- Instead of Pegboards: Use slat walls for a more durable option.
- Instead of Plywood: Use MDF (medium-density fiberboard) for a smoother finish.
- Instead of Magnetic Strips: Use tool racks or hooks for non-metal tools.
Estimating Your Costs
Plywood Sheets: $15-$25 each. You might need 4-6 sheets, totaling $60-$150.
Paint: $20-$30 per gallon. One gallon should cover about 350 square feet. Budget for one to two gallons, costing $20-$60.
Pegboard: $15-$25 per sheet. Two sheets should suffice, costing $30-$50.
Hooks and Pegs: $10-$20 for a set. One set should be enough.
Shelving Brackets: $5-$10 each. Four brackets will cost $20-$40.
Wood for Shelves: $10-$20 per board. Two boards will cost $20-$40.
Screws and Nails: $5-$10 for a mixed pack.
Basic Tools: If you don't have them, a drill ($30-$50), hammer ($10-$20), and paintbrushes ($5-$10) will be needed.
Total Cost: $180-$430.
Budget-Friendly Alternatives:
- Use reclaimed wood for shelves, which can be free or very cheap.
- Check local classifieds for free or discounted paint.
- Use old hooks and pegs from other projects.
- Borrow tools from friends or neighbors to save on costs.
Personalize Your Garage Wall
Pegboards: Use metal instead of wood for a more industrial look. Paint them bright colors like red or blue to make tools stand out.
Slatwalls: Opt for PVC slats instead of traditional wood. Choose neutral colors like gray or white for a sleek, modern feel.
Shelving: Use reclaimed wood for a rustic touch. Paint shelves in bold colors like yellow or green to add personality.
Magnetic Strips: Install stainless steel strips for a polished look. Use black or silver magnets to keep it classy.
Tool Racks: Create racks from copper pipes for a unique, vintage vibe. Paint them matte black for a modern twist.
Storage Bins: Use clear plastic bins to easily see contents. Label them with color-coded stickers for better organization.
Hooks: Install heavy-duty metal hooks for durability. Paint them in bright colors to make finding items easier.
Corkboards: Use colored cork for a fun, vibrant look. Frame them with painted wood to match your garage theme.
Wall Panels: Opt for corrugated metal panels for an industrial feel. Paint them white or gray to keep the space bright.
Bike Racks: Use wooden pallets for a rustic, eco-friendly option. Paint them in earth tones like brown or green.
Eco-Friendly Suggestions
Reclaimed Wood: Use old pallets or barn wood for a rustic look. Sand and stain them for a polished finish.
Cork Boards: Recycled cork boards are great for pinning tools or notes. They’re easy to install and eco-friendly.
Pegboards: Made from recycled materials, pegboards help organize tools efficiently. Paint them with low-VOC paint for a custom look.
Recycled Metal Sheets: Old metal sheets can be repurposed as wall panels. They add an industrial vibe and are durable.
Insulation Panels: Use recycled insulation panels to improve energy efficiency. They keep the garage warmer in winter and cooler in summer.
Salvaged Cabinets: Install old kitchen cabinets for storage. Paint them with eco-friendly paint to match your garage theme.
Fabric Wall Coverings: Use leftover fabric to create wall hangings or panels. They add color and texture while reusing materials.
Recycled Plastic Panels: These panels are durable and easy to clean. They’re perfect for a garage setting and reduce plastic waste.
Natural Stone Veneer: Use leftover stone from other projects. It adds a natural, rugged look to your garage walls.
Reclaimed Brick: Old bricks can be used to create a feature wall. They’re sturdy and add character to the space.
Your Garage, Your Canvas
Transforming your garage walls doesn't require a fortune. With some creativity and elbow grease, you can make a space that's both functional and stylish. Pegboards offer versatile storage, while floating shelves keep things organized. Paint can brighten up the area, and wall hooks provide easy access to tools. Magnetic strips are perfect for metal items, and repurposed materials add a unique touch. Wall-mounted cabinets hide clutter, and slat walls offer endless customization. DIY art or murals can give the space personality. Remember, the goal is to create a garage that works for you. So, grab those tools and start transforming your space today. Your garage is more than just a place for your car; it's a blank canvas waiting for your personal touch.
How can I organize my garage without spending a lot?
Use pegboards for tools, shelves for boxes, and hooks for bikes. Repurpose old furniture for storage.
What materials are best for DIY garage walls?
Plywood, pegboards, and slat walls are affordable and easy to install. They’re great for hanging tools and shelves.
How do I install a pegboard?
Measure your wall, cut the pegboard to size, and screw it into the wall studs. Add hooks and baskets for storage.
Can I paint my garage walls myself?
Absolutely! Clean the walls, patch any holes, and use a good primer. Then, apply a couple of coats of paint.
What’s a cheap way to add insulation to my garage walls?
Use foam board insulation. Cut it to fit between the studs and secure it with adhesive or nails.
How do I make my garage look nicer on a budget?
Paint the walls, add some decorative hooks, and use matching bins for storage. A clean, organized space looks great!
Are there any safety tips for DIY garage projects?
Always wear protective gear like gloves and goggles. Make sure to use the right tools and follow instructions carefully.