
Home>Home & Furniture>Doors & Windows>How to Repair Garage Door
Doors & Windows
How to Repair Garage Door
Published: September 19, 2024
Learn how to repair your garage door with our step-by-step guide. From diagnosing issues to fixing common problems, ensure your garage door operates smoothly and safely.
(Many of the links in this article redirect to a specific reviewed product. Your purchase of these products through affiliate links helps to generate commission for Twigandthistle.com, at no extra cost. Learn more)
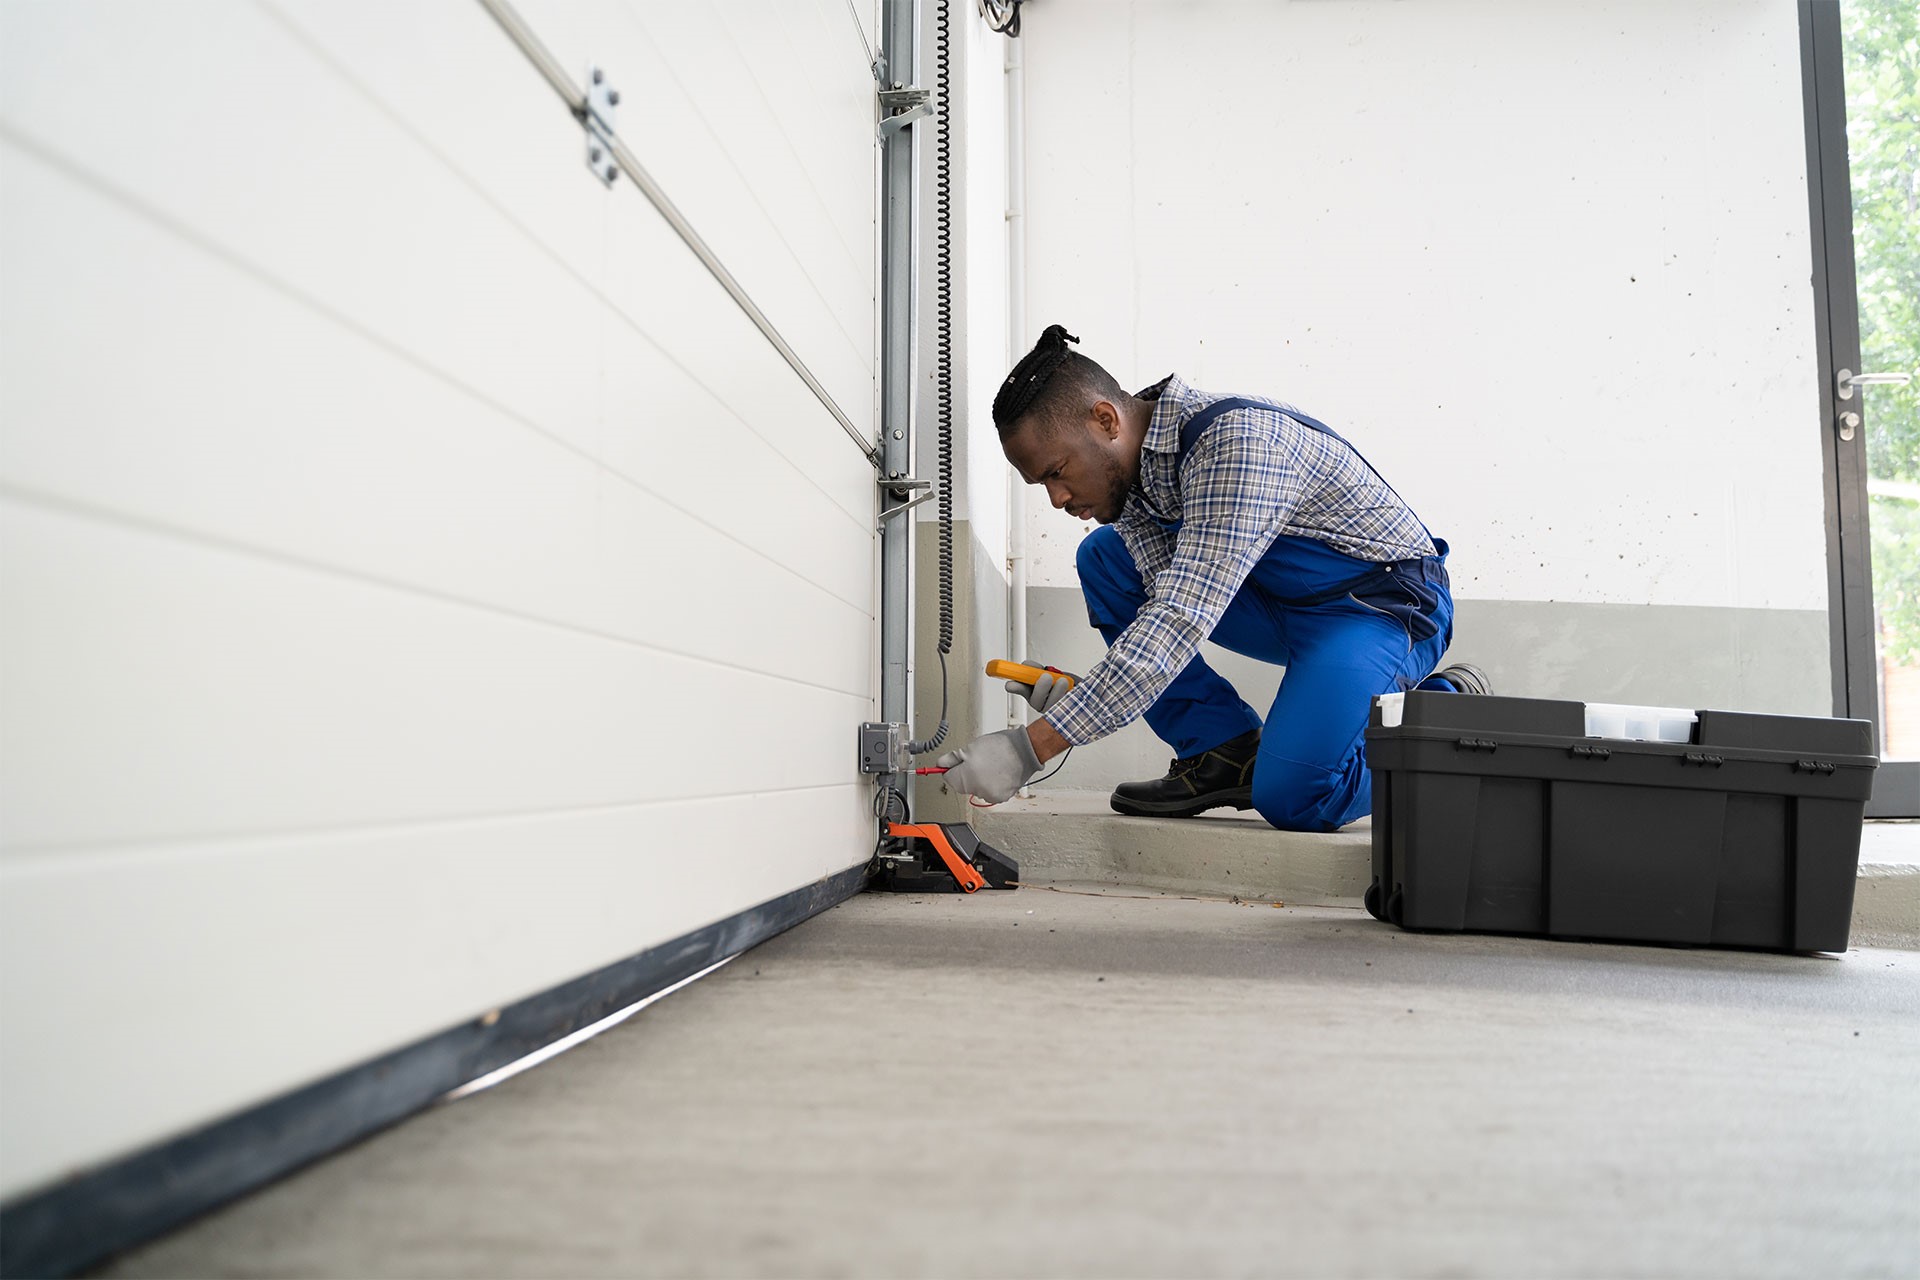
Sometimes, garage doors act up, refusing to open or close properly. Before calling a professional, consider fixing it yourself. You just need some basic tools and a bit of patience. This guide will walk you through common issues, from misaligned tracks to broken springs. Doing these repairs on your own can save money and give you a sense of accomplishment. Plus, understanding how your garage door works can help you maintain it better in the future. Ready to get your hands dirty? Let’s jump in and tackle those garage door problems!
Getting Ready for the Job
Gather Tools: Collect a wrench set, screwdriver, pliers, hammer, and a level. Having everything ready saves time.
Read the Manual: Check the garage door manual for specific instructions. Each door might have unique parts or steps.
Inspect the Door: Look for any obvious damage or wear. Check the springs, cables, rollers, and tracks.
Clear the Area: Remove any obstacles around the garage door. Ensure you have enough space to work safely.
Disconnect Power: Unplug the garage door opener to prevent accidental activation while working.
Wear Safety Gear: Put on safety glasses and gloves to protect your eyes and hands from debris or sharp edges.
Secure the Door: Use clamps or locking pliers to hold the door in place. This prevents it from moving unexpectedly.
Lubricate Moving Parts: Apply a garage door lubricant to the springs, rollers, and tracks. This helps the door move smoothly.
Check Balance: Disconnect the opener and manually lift the door halfway. If it stays in place, the balance is good. If not, you may need to adjust the springs.
Test the Door: After repairs, reconnect the power and test the door. Make sure it opens and closes smoothly without any unusual noises.
What You Need: Materials and Tools
- Screwdriver Set: Different sizes and types for removing or tightening screws.
- Wrench Set: Essential for loosening or tightening nuts and bolts.
- Pliers: Useful for gripping, bending, and cutting wires.
- Hammer: Needed for tapping parts into place or removing nails.
- Level: Ensures the door is properly aligned.
- Tape Measure: Measures distances accurately.
- Ladder: Reaches high areas safely.
- Replacement Parts: Springs, cables, rollers, or hinges that may need replacing.
- Lubricant: Reduces friction on moving parts.
- Safety Glasses: Protects eyes from debris.
- Gloves: Protects hands from sharp edges and dirt.
- Drill: Makes holes or drives screws quickly.
- Socket Set: Tightens or loosens bolts and nuts.
- Clamps: Holds parts in place while working.
- Garage Door Opener Manual: Provides specific instructions for your model.
Skill Level and Time Commitment
Skill Level: Intermediate
Time Required: 2-4 hours
- Gather Tools: 15 minutes
- Inspect Door: 30 minutes
- Tighten Hardware: 20 minutes
- Lubricate Moving Parts: 15 minutes
- Check Balance: 20 minutes
- Replace Weatherstripping: 30 minutes
- Test Safety Features: 30 minutes
- Final Adjustments: 20 minutes
Follow These Steps
Gather Tools and Materials
- Screwdriver
- Wrench set
- Pliers
- Replacement parts (springs, cables, rollers)
- Lubricant
Disconnect Power
- Unplug the garage door opener.
- Ensure no power runs to the door.
Inspect the Door
- Check for visible damage.
- Look at springs, cables, rollers, and tracks.
Tighten Loose Hardware
- Use a wrench to tighten bolts and screws.
- Focus on brackets and hinges.
Replace Damaged Parts
- Springs: Use pliers to remove old springs. Install new ones carefully.
- Cables: Detach old cables. Attach new cables to the bottom bracket and drum.
- Rollers: Remove old rollers by unbolting the brackets. Slide new rollers into place.
Lubricate Moving Parts
- Apply lubricant to springs, rollers, and tracks.
- Avoid over-lubricating.
Adjust the Tracks
- Use a level to ensure tracks are straight.
- Loosen screws holding the tracks. Adjust them until they are even.
Test the Door
- Reconnect the power.
- Open and close the door to check for smooth operation.
Make Final Adjustments
- Fine-tune any parts if needed.
- Ensure the door operates quietly and smoothly.
Handy Tips and Tricks
Lubricate moving parts like hinges, rollers, and tracks with a silicone-based spray. This reduces friction and noise.
Check the balance by disconnecting the opener and manually lifting the door halfway. If it stays put, the balance is good. If it falls, adjust the tension.
Inspect the tracks for debris or dents. Clean them with a damp cloth and use a rubber mallet to straighten any bends.
Tighten loose bolts and screws on brackets and hinges. This prevents wobbling and potential damage.
Replace worn-out weatherstripping at the bottom of the door to keep out drafts and pests.
Test the auto-reverse feature by placing an object under the door. If it doesn't reverse, adjust the opener's settings.
Common mistakes to avoid:
Over-tightening bolts can strip threads or damage parts. Tighten just enough to secure.
Ignoring small issues like squeaks or slow movement can lead to bigger problems. Address them early.
Using the wrong lubricant, like WD-40, can attract dirt. Stick to silicone-based sprays.
Alternatives for materials or methods:
Instead of silicone spray, use white lithium grease for metal parts.
For minor dents in metal doors, use a plunger to pop them out.
If the door is wooden, use wood filler for cracks or holes, then sand and paint.
Consider installing a smart garage door opener for added security and convenience.
Estimating the Cost
Materials:
- Garage door springs: $30-$100
- Cables: $10-$20
- Rollers: $10-$15 (for a pack of 10)
- Hinges: $5-$10 each
- Lubricant: $5-$10
- Weatherstripping: $10-$20
Tools:
- Wrench set: $15-$30
- Screwdriver set: $10-$20
- Pliers: $10-$15
- Clamps: $10-$20
- Safety glasses: $5-$10
- Gloves: $5-$10
Total Cost: $125-$290
Budget-Friendly Alternatives:
- Used or refurbished parts: Check local hardware stores or online marketplaces.
- Borrow tools: Ask friends or neighbors.
- DIY lubricant: Use household items like cooking oil or WD-40.
- Weatherstripping: Use old rubber or foam pieces.
Different Approaches and Customizations
Alternative Materials: Instead of using standard metal parts, consider reinforced plastic or composite materials for lighter weight and rust resistance. For the door itself, wood can add a classic look, while fiberglass offers durability and insulation.
Colors: Paint the garage door in a bold color like red or blue to make it stand out. For a more subtle look, use neutral tones like gray or beige. Adding a two-tone design can also create visual interest.
Styles: Replace the standard panels with carriage-style doors for a vintage feel. Modernize the look with sleek, horizontal panels. Adding windows can bring in natural light and enhance the door's appearance.
Handles and Hardware: Swap out basic handles for decorative ones made of brass or iron. Choose hinges and brackets that match the overall style, whether rustic or contemporary.
Insulation: Upgrade to insulated panels to improve energy efficiency. This can help keep the garage warmer in winter and cooler in summer.
Smart Technology: Install a smart garage door opener that can be controlled via a smartphone app. This adds convenience and security.
Weather Stripping: Use high-quality weather stripping to seal gaps and prevent drafts. This can also help keep out pests and debris.
Lighting: Add LED lights around the door frame for better visibility at night. Motion-sensor lights can enhance security.
Decorative Elements: Attach decorative trim or molding to give the door a custom look. Stenciling or decals can add unique patterns or designs.
Safety Features: Upgrade to safety sensors that stop the door if something is in its path. This is especially important for homes with children or pets.
Eco-Friendly Tips
Reusing old materials can save money and reduce waste. For instance, if the garage door springs need replacing, consider using springs from another old door. Recycling metal parts like hinges or brackets is another eco-friendly option. If the door panels are damaged, try repairing them with reclaimed wood instead of buying new ones. Eco-friendly lubricants made from natural oils can be used to keep the door running smoothly. When painting or sealing, choose low-VOC (volatile organic compounds) paints and sealants to reduce harmful emissions. Finally, ensure any old parts removed are properly recycled to minimize landfill waste.
Fix It Yourself and Save
Repairing a garage door yourself can save money and give a sense of accomplishment. By following these steps, you can tackle common issues like broken springs, misaligned tracks, and faulty openers. Always remember safety first; disconnect the power and use the right tools. If something seems too complex, don't hesitate to call a professional. With a bit of patience and effort, your garage door will be back in working order. So, grab your tools, follow the guide, and get that garage door working like new. Happy fixing!
How do I know if my garage door spring is broken?
If your garage door won't open or closes too quickly, the spring might be broken. You might also hear a loud bang when it breaks.
Can I fix a garage door spring myself?
It's risky to fix a garage door spring yourself because of the high tension. Better to call a professional to avoid injury.
Why is my garage door making a loud noise?
Loud noises can come from loose hardware, worn rollers, or lack of lubrication. Tighten bolts, replace rollers, and lubricate moving parts.
What should I do if my garage door is off track?
First, stop using the door to avoid further damage. Then, check for obstructions and gently guide the rollers back onto the track. If that doesn't work, call a pro.
How often should I maintain my garage door?
Regular maintenance every six months helps keep your garage door in good shape. Check for wear and tear, lubricate parts, and tighten loose bolts.
Why won't my garage door remote work?
If the remote isn't working, check the batteries first. If that doesn't help, reprogram the remote or check for signal interference.
What can I do if my garage door opens by itself?
This could be due to a neighbor's remote interfering with yours. Change the code on your remote and opener to fix this.