
Home>Home & Furniture>Doors & Windows>How to Install an Egress Window
Doors & Windows
How to Install an Egress Window
Published: August 13, 2024
Learn how to install an egress window with our step-by-step guide. Ensure safety, compliance, and natural light in your basement with expert tips and tools.
(Many of the links in this article redirect to a specific reviewed product. Your purchase of these products through affiliate links helps to generate commission for Twigandthistle.com, at no extra cost. Learn more)
Installing an egress window can be a rewarding DIY project. Not only does it provide an emergency exit, but it also brings natural light into a basement, making the space more inviting. While this might seem like a big task, breaking it down into manageable steps makes it achievable. With the right tools, materials, and a bit of patience, you can add both safety and value to your home. This guide will walk you through the basics of installing an egress window, helping you understand each stage of the process from planning to completion. Ready to get started? Let's go!
Getting Ready for the Project
Check Local Building Codes: Ensure you understand the regulations for egress windows in your area. This might include size requirements and placement.
Gather Necessary Permits: Obtain any required permits before starting the project. Skipping this step can lead to fines or having to redo the work.
Choose the Right Window: Select an egress window that meets safety standards and fits the style of your home.
Inspect the Foundation: Examine the area where you plan to install the window. Look for any cracks or structural issues that need fixing.
Measure and Mark: Measure the window dimensions and mark the area on the wall where the window will go. Double-check measurements to avoid mistakes.
Prepare Tools and Materials: Gather all necessary tools like a saw, drill, level, and safety gear. Have materials like the window, frame, and sealant ready.
Set Up a Safe Workspace: Clear the area of any obstacles. Lay down tarps to catch debris and ensure good lighting.
Wear Safety Gear: Use safety goggles, gloves, and a dust mask to protect yourself from debris and dust.
Plan for Debris Removal: Have a plan for disposing of the debris from cutting into the wall. A wheelbarrow or heavy-duty trash bags can be useful.
Check for Utilities: Before cutting, ensure there are no electrical wires, plumbing, or gas lines in the wall. Use a stud finder with a utility detector.
Notify Neighbors: Inform neighbors about the project, especially if it will be noisy or create dust.
Weather Considerations: Plan the installation for a day with good weather to avoid complications from rain or extreme temperatures.
What You Need: Materials and Tools
Egress Window Kit: Includes the window, frame, and well. Essential for proper fit and safety.
Shovel: Used for digging the hole where the window well will sit.
Concrete Saw: Cuts through the foundation wall to create the window opening.
Tape Measure: Measures dimensions accurately to ensure the window fits perfectly.
Level: Ensures the window and well are installed straight and even.
Hammer Drill: Drills holes into the foundation for anchors and screws.
Masonry Bit: Works with the hammer drill to penetrate concrete or brick.
Reciprocating Saw: Cuts through wood framing and other materials.
Caulk Gun: Applies sealant around the window to prevent leaks.
Silicone Caulk: Seals gaps around the window to keep water out.
Gravel: Provides drainage at the bottom of the window well.
Pressure-Treated Lumber: Used for framing around the window opening.
Nails and Screws: Fasten the window frame and other components securely.
Safety Gear: Includes gloves, safety glasses, and a dust mask for protection.
Utility Knife: Cuts through various materials like insulation or plastic.
Pry Bar: Helps remove old materials and adjust the new window into place.
Wheelbarrow: Transports dirt and gravel easily.
Plastic Sheeting: Protects the work area from debris and dust.
Required Skills and Time Commitment
Skill Level: Advanced
Time Required: 2-3 days
Key Steps:
- Planning and Permits: 4-6 hours
- Excavation: 6-8 hours
- Cutting the Wall: 4-6 hours
- Installing the Window: 3-5 hours
- Backfilling and Finishing: 4-6 hours
Detailed Steps to Follow
Check Local Codes: Ensure you understand local building codes for egress windows.
Choose Location: Pick a spot where the window will fit and provide an escape route.
Gather Tools and Materials:
- Egress window kit
- Measuring tape
- Level
- Saw
- Hammer
- Nails
- Shovel
- Concrete saw (if cutting through concrete)
- Safety gear (gloves, goggles)
Measure and Mark: Measure the window dimensions. Mark the area on the wall where the window will go.
Cut the Opening:
- Wooden Wall: Use a saw to cut the marked area.
- Concrete Wall: Use a concrete saw to cut through the wall.
Frame the Opening:
- Install a header above the opening for support.
- Use pressure-treated wood to frame the sides and bottom.
Install the Window:
- Place the window into the framed opening.
- Ensure it is level and plumb.
- Secure the window with nails or screws.
Seal the Window: Apply caulk around the edges to prevent water leaks.
Excavate for Window Well:
- Dig a hole outside the window large enough for the window well.
- Ensure the bottom of the hole slopes away from the house for drainage.
Install Window Well:
- Place the window well against the house.
- Secure it with bolts or anchors.
- Fill the bottom with gravel for drainage.
Backfill Around Window Well: Fill the area around the window well with soil, packing it down to prevent shifting.
Install Ladder or Steps: If required by code, install a ladder or steps inside the window well for easy escape.
Test the Window: Open and close the window to ensure it functions properly.
Helpful Tips and Tricks
Measure twice, cut once. Double-check measurements before cutting any materials. This saves time and prevents mistakes.
Use a reciprocating saw for cutting through concrete or brick. It’s faster and easier than using a hammer and chisel.
Install a window well if the window is below ground level. This prevents water from seeping in and provides an escape route.
Seal the edges with waterproof caulk. This keeps moisture out and ensures a tight fit.
Use pressure-treated wood for framing. It resists rot and lasts longer.
Check local building codes. Some areas have specific requirements for egress windows.
Rent a concrete saw if cutting through a foundation. It’s more efficient and safer than using a regular saw.
Install a drain at the bottom of the window well. This prevents water buildup and potential flooding.
Use shims to level the window. This ensures it opens and closes smoothly.
Apply insulation around the window frame. This improves energy efficiency and reduces drafts.
Common mistakes to avoid:
Skipping permits. Always get the necessary permits before starting. This avoids fines and ensures the work meets safety standards.
Ignoring drainage. Not installing proper drainage can lead to water damage.
Incorrect measurements. Misjudging dimensions can result in a poor fit or structural issues.
Using untreated wood. Regular wood can rot over time, compromising the window’s integrity.
Alternatives for materials or methods:
Concrete blocks instead of poured concrete for the window well. They’re easier to handle and install.
Vinyl windows instead of wood. They’re low-maintenance and more durable.
Gravel instead of a pre-made drain system. It’s cheaper and still effective for drainage.
Foam insulation instead of fiberglass. It provides better sealing and is easier to apply.
Estimating the Cost
Egress Window: $300 - $700
Window Well: $100 - $400
Gravel: $50 - $100
Concrete Saw Rental: $50 - $100 per day
Shovel: $15 - $30
Level: $10 - $20
Caulk and Caulk Gun: $10 - $20
Pressure-treated Lumber: $20 - $50
Nails and Screws: $10 - $20
Waterproofing Membrane: $20 - $50
Safety Gear (Gloves, Goggles, Mask): $20 - $40
Total Estimated Cost: $605 - $1,530
Budget-Friendly Alternatives:
Used or Discounted Window: $100 - $300
DIY Window Well (using bricks or wood): $50 - $150
Borrow Tools: Free
Recycled Gravel: $20 - $50
Total Estimated Cost with Alternatives: $400 - $1,020
Different Ways to Customize
Materials: Instead of standard vinyl windows, consider wood or fiberglass for a different look. Wood offers a classic feel, while fiberglass provides durability.
Colors: Choose a frame color that matches your home’s exterior. White is common, but black or bronze can add a modern touch. Paint the window well to blend with landscaping.
Styles: Opt for a casement window that swings out for easy escape, or a double-hung window for a traditional appearance.
Window Wells: Use metal for a sleek, industrial look, or stone for a natural, rustic feel. Add decorative liners to enhance the appearance.
Grates and Covers: Install decorative grates or clear covers to keep debris out while allowing light in. Grates can be customized with patterns or designs.
Interior Finishes: Frame the inside with trim that matches your room’s decor. Use stained wood for a warm look or painted trim for a clean finish.
Lighting: Add well lights inside the window well to brighten the area at night. Solar-powered options are eco-friendly and easy to install.
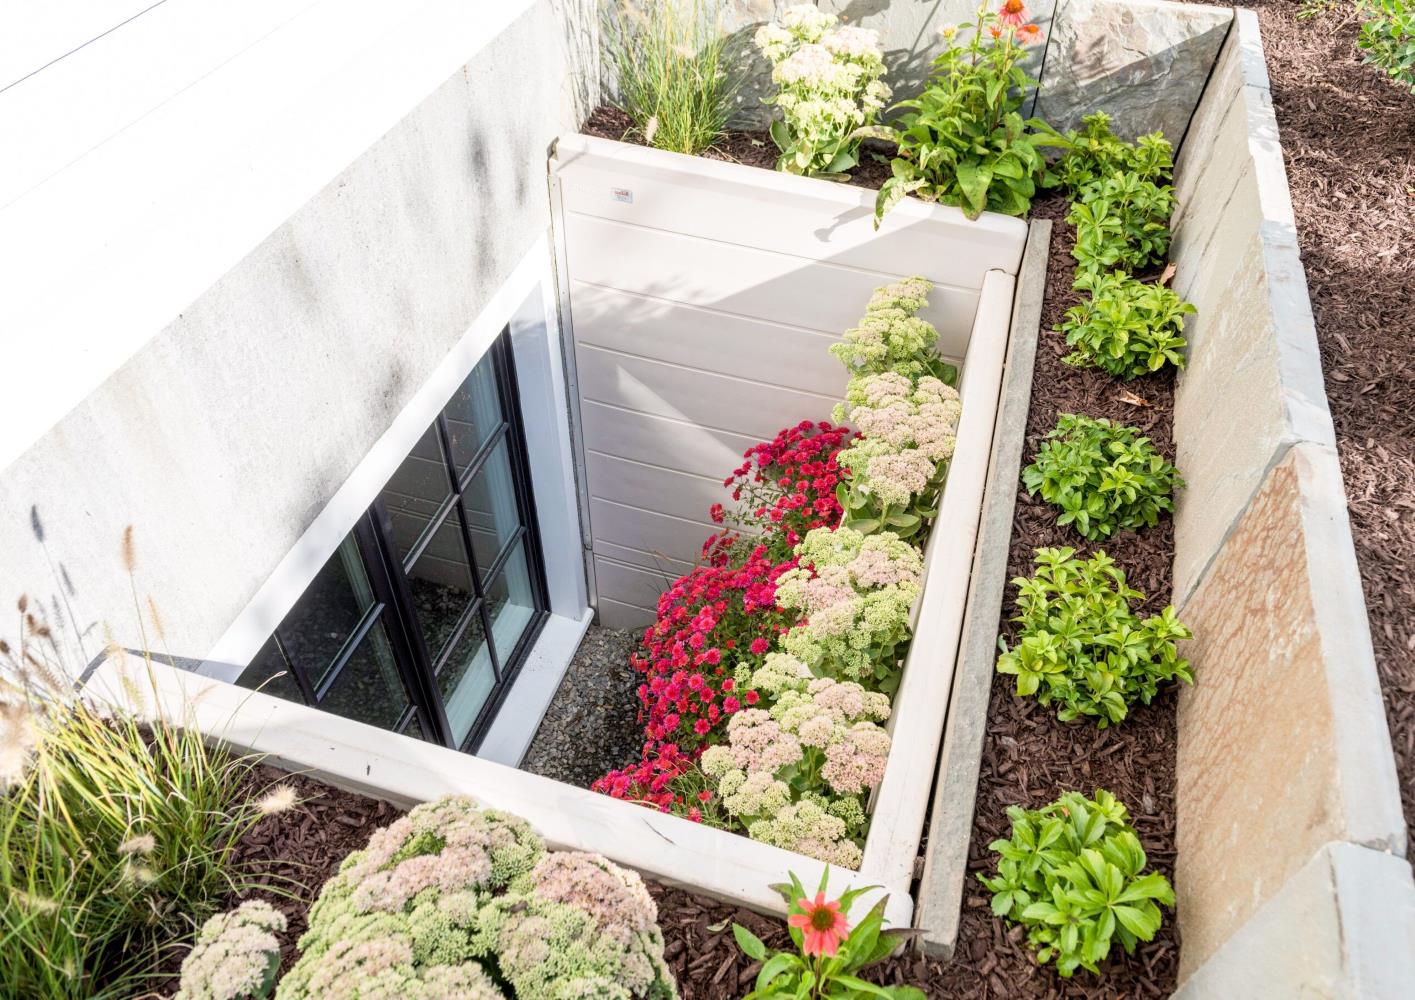
Landscaping: Surround the window well with plants or flowers to make it more attractive. Use gravel or mulch to improve drainage and aesthetics.
Safety Features: Install an escape ladder inside the window well for easy access. Choose a ladder that matches the well’s material for a cohesive look.
Eco-Friendly Tips
Choose reclaimed wood for framing. Reclaimed wood reduces the need for new lumber, saving trees. Use recycled glass for the window itself. Recycled glass has the same strength as new glass but uses less energy to produce.
Opt for eco-friendly insulation like sheep's wool or recycled denim. These materials are sustainable and provide excellent insulation. Seal gaps with low-VOC caulk. Low-VOC products release fewer harmful chemicals into the air.
Recycle old materials from the existing window. Metal parts, glass, and wood can often be reused or recycled. Use energy-efficient windows to reduce heating and cooling costs. Look for windows with a high Energy Star rating.
Consider natural light. Position the window to maximize daylight, reducing the need for artificial lighting. Plant native vegetation around the window well. Native plants require less water and maintenance.
Use a manual saw instead of a power saw when cutting wood. Manual tools use no electricity, making them more eco-friendly. Choose non-toxic paint for any finishing touches. Non-toxic paint is better for indoor air quality and the environment.
Your Egress Window Awaits
You've got the know-how to install an egress window. Gather your tools, measure twice, cut once, and follow each step carefully. Remember, safety first. Wear protective gear and ensure the work area is clear. If you hit a snag, don't hesitate to ask for help or consult a professional.
Installing an egress window not only boosts your home's value but also enhances safety. It's a project that requires patience and precision, but the end result is worth the effort. Now, roll up your sleeves, get to work, and soon you'll have a new window that brings light and safety to your space.
Happy building!
What is an egress window?
An egress window is a window large enough for a person to escape through in case of an emergency, like a fire. It's also big enough for a firefighter to enter.
Why do I need an egress window?
Building codes require egress windows in certain rooms, especially basements and bedrooms, for safety reasons. They provide a safe exit during emergencies.
How big does an egress window need to be?
The minimum size for an egress window is usually 20 inches wide and 24 inches high. The opening must be at least 5.7 square feet.
Can I install an egress window myself?
Yes, you can install one yourself if you're handy with tools and have some DIY experience. However, it involves cutting through walls, so be prepared for a big project.
What tools will I need?
You'll need a saw, drill, measuring tape, level, shovel, and safety gear like gloves and goggles. A friend to help wouldn't hurt either.
How long does it take to install an egress window?
It usually takes a weekend if you're doing it yourself. Professional installers might finish in a day or two.
Do I need a permit to install an egress window?
Yes, most places require a permit for installing an egress window. Check with your local building department to make sure you follow all the rules.