
Home>Home & Furniture>Doors & Windows>How to Create Faux Stained Glass
Doors & Windows
How to Create Faux Stained Glass
Published: August 24, 2024
Learn how to create stunning faux stained glass with our step-by-step guide. Perfect for adding a touch of elegance to your windows and doors. Get started today!
(Many of the links in this article redirect to a specific reviewed product. Your purchase of these products through affiliate links helps to generate commission for Twigandthistle.com, at no extra cost. Learn more)
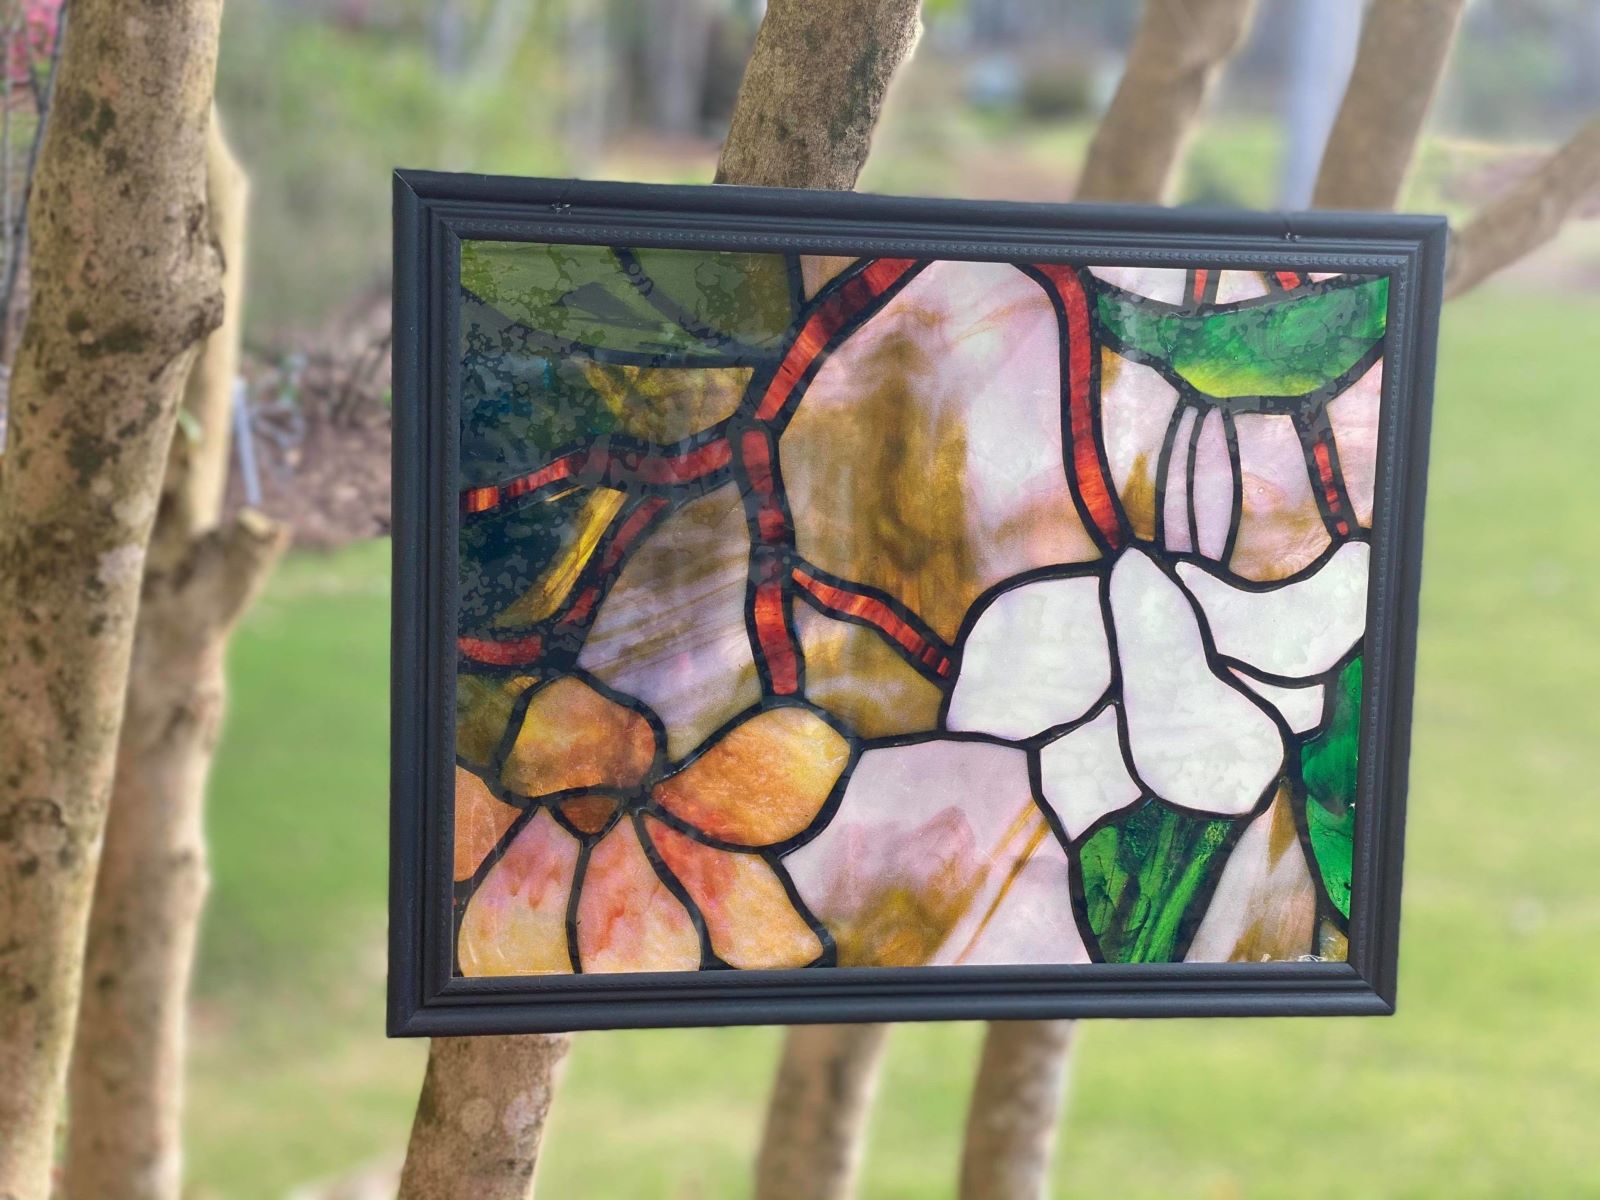
Creating faux stained glass can transform ordinary windows into colorful works of art. This fun and easy DIY project uses simple materials to mimic the look of traditional stained glass without the need for special skills or tools. Whether you want to add a splash of color to a room or create privacy while letting in light, faux stained glass is a versatile option. You can personalize the designs to match any decor style, making it a great activity for both kids and adults. Ready to add some vibrant charm to your home? Let’s get started!
Getting Ready for Your Project
Gather Materials: Collect glass paint, paintbrushes, a glass surface, painter's tape, and a design template.
Choose a Design: Pick a simple design or create your own. Print it out to use as a guide.
Clean the Glass: Use glass cleaner to remove any dirt or grease. Ensure the surface is completely dry.
Secure the Template: Tape the design template to the back of the glass. This will help you trace the design.
Set Up Workspace: Lay down newspaper or a drop cloth to protect your workspace. Ensure good lighting and ventilation.
Safety Gear: Wear gloves to protect your hands from paint. Use goggles if working with glass cutters.
Outline the Design: Use painter's tape to outline sections of the design. This helps keep paint within the lines.
Test Paints: Try out the glass paints on a small piece of glass to see how they look when dry.
Mix Colors: If needed, mix colors beforehand to get the desired shades.
Practice Strokes: Practice your brush strokes on a scrap piece of glass to get comfortable with the technique.
Gather Your Supplies
- Glass Surface: A clear glass pane or an old picture frame glass works well.
- Glass Paints: Special paints designed for glass surfaces. These come in various colors.
- Glass Outliner: A thick, black paint used to create the "lead" lines in stained glass.
- Paint Brushes: Small, fine-tipped brushes for detailed work.
- Palette: A surface to mix and hold paints.
- Rubbing Alcohol: Used to clean the glass before painting.
- Cotton Balls or Pads: For applying rubbing alcohol to the glass.
- Paper Towels: To dry the glass after cleaning.
- Painter’s Tape: To secure the glass while working and to create clean edges.
- Design Template: A printed pattern to follow, placed under the glass.
- Marker: To trace the design onto the glass if needed.
- Protective Gloves: To keep hands clean and safe from chemicals.
- Drop Cloth or Newspaper: To protect the work surface from paint spills.
- Drying Rack: A place to let the painted glass dry without smudging.
Glass Surface is the base for your artwork. Glass Paints add color, while the Glass Outliner creates the look of lead lines. Use Paint Brushes for applying paint and a Palette to mix colors. Clean the glass with Rubbing Alcohol and Cotton Balls or Pads. Dry it using Paper Towels. Secure the glass with Painter’s Tape. Follow a Design Template and trace it with a Marker. Wear Protective Gloves to avoid stains. Protect your workspace with a Drop Cloth or Newspaper. Let your work dry on a Drying Rack.
Skill Level and Time Commitment
Skill Level: Beginner
Time Required: 2-3 hours
Steps:
- Gather Materials: Glass surface, glass paint, paintbrushes, black paint for outlines, and a design template.
- Clean the Glass: Ensure the glass is free of dust and grease.
- Tape the Template: Place the design template under the glass.
- Outline the Design: Use black paint to trace the design on the glass.
- Fill in Colors: Paint within the outlines using glass paint.
- Drying Time: Allow the paint to dry completely, usually 1-2 hours.
Tips:
- Practice on a small piece of glass first.
- Use a steady hand for clean outlines.
- Mix colors for unique shades.
Instructions for Creating Faux Stained Glass
Gather Materials:
- Clear glass or plastic sheet
- Glass paint or acrylic paint
- Black leading paint or black puffy paint
- Paintbrushes
- Painter's tape
- Design template (optional)
Prepare the Surface:
- Clean the glass or plastic sheet with soap and water.
- Dry thoroughly to remove any dust or fingerprints.
Secure the Template:
- If using a design template, tape it to the back of the glass or plastic sheet.
- Ensure it is centered and secure.
Outline the Design:
- Use black leading paint or black puffy paint to trace the design on the front side.
- Let the outlines dry completely, usually for a few hours.
Paint the Sections:
- Choose your colors and start filling in the sections with glass paint or acrylic paint.
- Use a small paintbrush for precision.
- Allow each color to dry before moving to the next section to prevent smudging.
Add Details:
- Once the main colors are dry, add any additional details or shading.
- Use a fine brush for intricate work.
Final Touches:
- Check for any missed spots or uneven areas.
- Touch up as needed with additional paint.
Dry Completely:
- Let the entire piece dry for at least 24 hours.
- Ensure it is placed in a dust-free area.
Display:
- Remove any painter's tape and clean the edges.
- Place your faux stained glass in a window or frame it for display.
Helpful Tips and Tricks
Use clear contact paper instead of glass paint for an easier, less messy project. Draw your design on paper first, then tape it behind the glass or plastic surface to trace over. Black puffy paint works great for outlining your design, giving it that leaded glass look. Mix white glue with food coloring to create your own stained glass paint. Apply the paint with a toothpick or small brush for more control over small areas.
Avoid using too much paint at once; it can cause drips and uneven drying. Don’t rush the drying process; let each color dry before adding another to prevent smudging. Clean the surface thoroughly before starting to ensure the paint adheres properly.
Use acrylic sheets instead of real glass for a safer, kid-friendly project. Permanent markers can be a quick alternative to paint for smaller designs. Try using colored cellophane for a different texture and look.
Estimating the Cost
Glass Paints: $20-$30 for a basic set. Glass Markers: $10-$15 for outlining. Clear Glass Panel: $10-$20 depending on size. Painter's Tape: $5 for masking areas. Paint Brushes: $5-$10 for a small set. Rubbing Alcohol: $3 for cleaning the glass. Paper Towels: $2 for wiping. Plastic Cups: $2 for mixing paints. Drop Cloth: $5 to protect surfaces.
Total Cost: Around $62-$90.
Budget-Friendly Alternatives:
- Use acrylic paints mixed with glue instead of glass paints: $10.
- Replace glass markers with black permanent markers: $5.
- Use an old picture frame as the glass panel: Free if you have one.
- Substitute painter's tape with masking tape: $2.
- Use old brushes or sponges for painting: Free if available.
Total Cost with Alternatives: Around $24-$34.
Different Ways to Customize
Alternative Materials: Instead of using traditional glass, try acrylic sheets or plastic panels. These materials are safer and easier to cut. For the paint, use glass paint, acrylic paint, or even permanent markers. If you want a textured look, consider using puffy paint or fabric paint.
Colors: Experiment with different color schemes. Use pastel shades for a soft, dreamy effect or bold, vibrant colors for a more striking appearance. Try metallic paints for a shiny, reflective look. Mixing glitter into the paint can add a sparkling effect.
Styles: Create different designs to match various themes. For a modern look, use geometric patterns and minimalist shapes. For a classic style, try floral designs or intricate patterns. If you prefer something whimsical, consider fantasy themes like dragons or fairy tales.
Frames: Customize the frame by painting it to match the faux stained glass. Use wooden frames for a rustic look or metal frames for a sleek, contemporary style. Adding decorative elements like beads or ribbons can enhance the overall appearance.
Lighting: Enhance the faux stained glass by placing it near a light source. Use LED strips or fairy lights behind the glass to make the colors pop. For a more natural effect, position it where it can catch sunlight.
Textures: Add texture by using mod podge or clear nail polish over the paint. This gives a more authentic stained glass feel. You can also use tissue paper or cellophane to create a layered, textured look.
Borders: Create borders using black paint or leading strips to mimic the look of real stained glass. For a more unique border, try using copper tape or colored washi tape.
Eco-Friendly Tips
Recycled glass jars or old picture frames make great bases for faux stained glass projects. Use eco-friendly paints or natural dyes instead of synthetic ones. For the leading lines, try recycled aluminum foil or old wire hangers. Instead of buying new brushes, repurpose old toothbrushes or makeup brushes. Use leftover plastic wrap or recycled plastic sheets to create texture. Seal your work with non-toxic sealants or homemade glue from flour and water.
Your Masterpiece Awaits
You've got all the tools and techniques to create stunning faux stained glass. From choosing the right design to applying the paint, every step is a chance to let your creativity shine. Remember, practice makes perfect. Don't be afraid to make mistakes; they're just part of the learning process. Whether you're decorating a window, a mirror, or even a picture frame, your unique touch will make it special. So gather your supplies, set up your workspace, and dive into your next project. Your masterpiece is just a few brushstrokes away. Happy crafting!
What materials do I need to create faux stained glass?
You'll need clear glass or plastic, glass paint, paintbrushes, black leading paint or liquid leading, and a design template.
Can I use regular paint for faux stained glass?
Regular paint won't work well. You need glass paint because it sticks to glass and creates that translucent effect.
How do I transfer my design onto the glass?
Tape your design template to the back of the glass. Then, trace the design with liquid leading on the front side.
How long does it take for the paint to dry?
Glass paint usually takes about 24 hours to dry completely. Be patient to avoid smudging.
Can I clean faux stained glass?
Yes, but gently! Use a damp cloth and avoid harsh chemicals to keep the paint intact.
Is faux stained glass safe for kids to make?
Absolutely! Just make sure they use non-toxic glass paint and supervise them, especially with the liquid leading.
Can I remove the paint if I make a mistake?
Yes, you can use a razor blade or paint remover to carefully scrape off mistakes and start over.