
Home>Home & Furniture>Doors & Windows>How to Build DIY Bifold Barn Doors
Doors & Windows
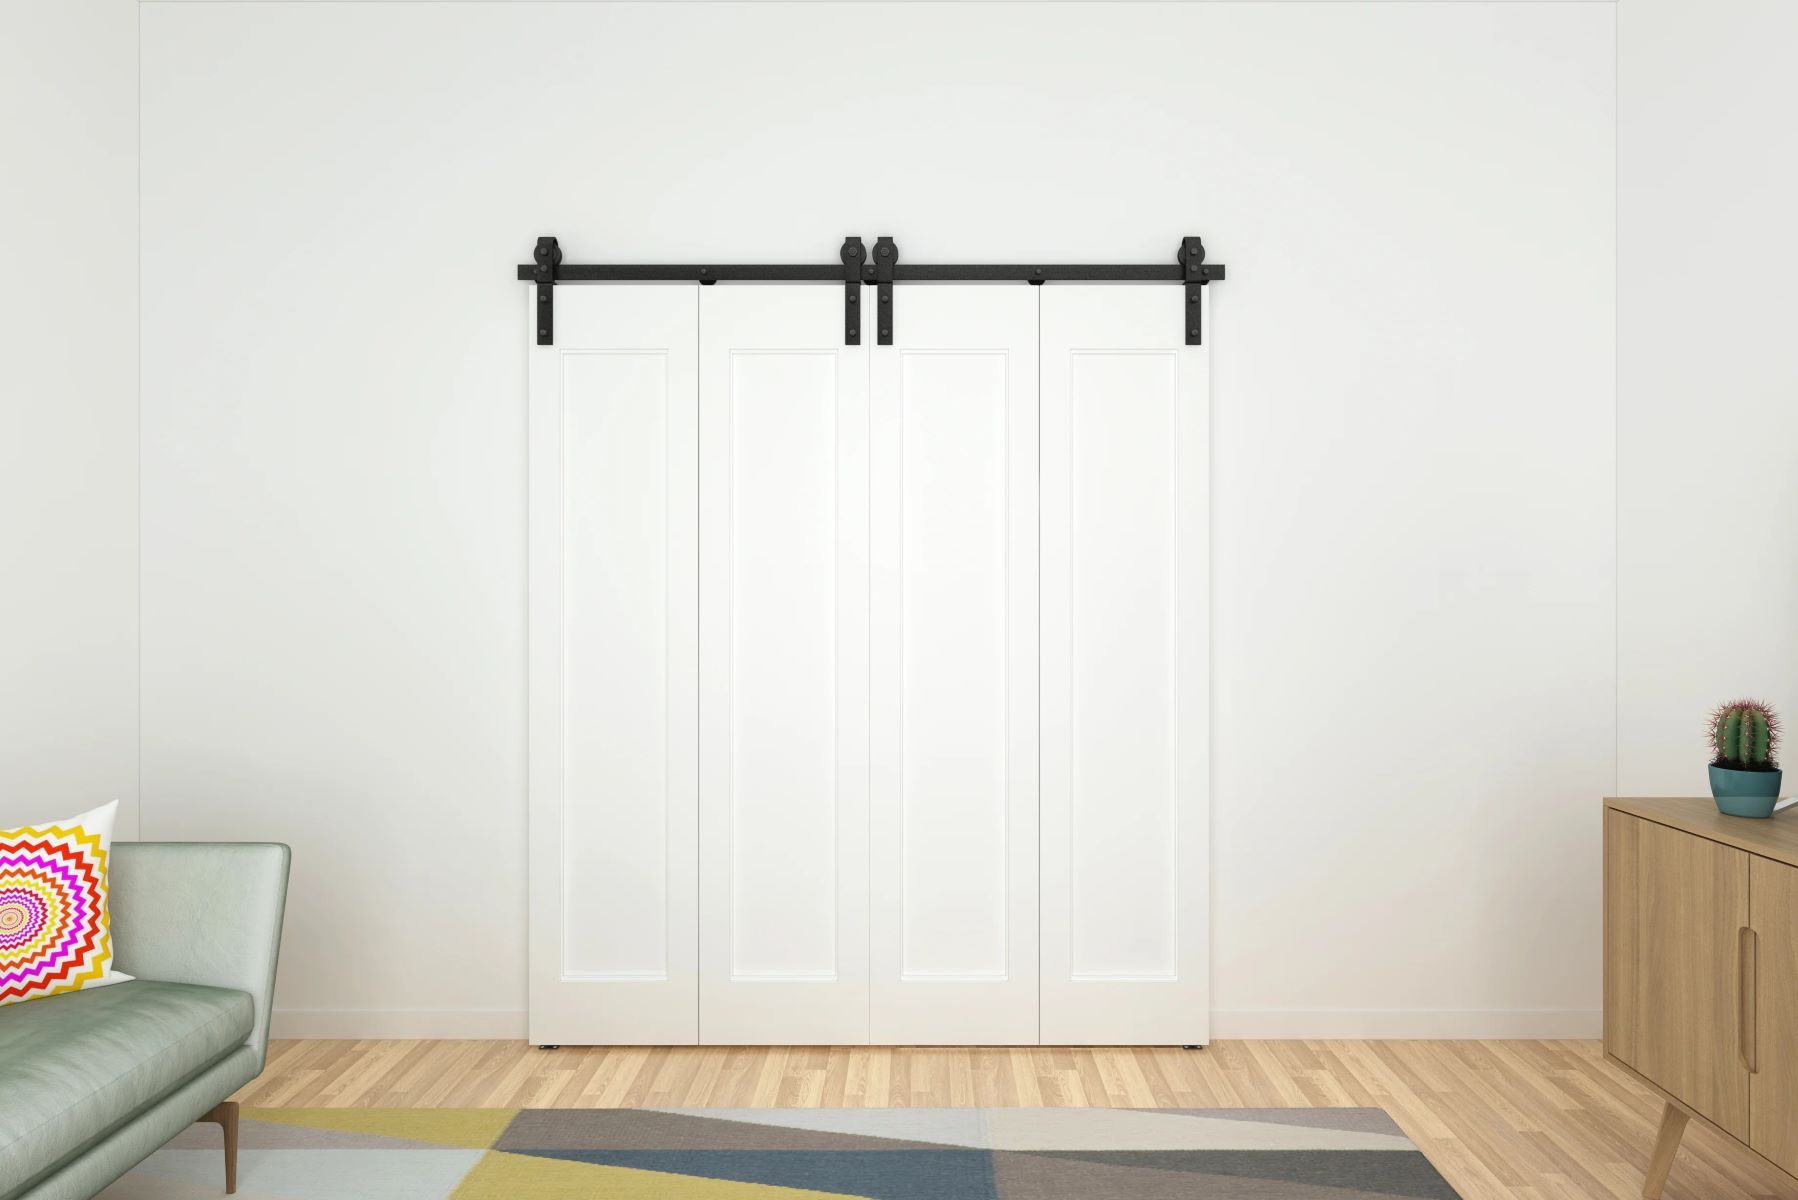
How to Build DIY Bifold Barn Doors
Published: September 7, 2024
Learn how to build DIY bifold barn doors with our step-by-step guide. Perfect for adding rustic charm to any space, this project is both budget-friendly and rewarding.
(Many of the links in this article redirect to a specific reviewed product. Your purchase of these products through affiliate links helps to generate commission for Twigandthistle.com, at no extra cost. Learn more)
Building your own bifold barn doors can be a fun and rewarding project. These doors save space, add a rustic touch, and are much cheaper when made yourself. Whether you’re sprucing up your living room or want a unique closet door, bifold barn doors fit many styles. Don't worry if you're new to woodworking; this guide will make it simple. Follow the steps, gather the right tools and materials, and soon you’ll have a beautiful, custom door that’s sure to impress. Let's dive in and get started on crafting your very own bifold barn doors.
Getting Ready for Your Project
Measure the Doorway: Use a tape measure to get the exact height and width of the doorway. Write these measurements down.
Gather Materials: Collect all necessary materials like wood planks, hinges, screws, handles, and paint or stain. Make sure you have enough for the project.
Safety Gear: Wear safety goggles, gloves, and a dust mask to protect yourself from wood dust and splinters.
Prepare Workspace: Clear a large, flat area to work in. Lay down a drop cloth or old sheet to catch any debris or paint drips.
Cut Wood Planks: Use a saw to cut the wood planks to the measured dimensions. Sand the edges to smooth them out.
Assemble Frame: Lay out the cut planks to form the door frame. Use wood glue and screws to secure the joints.
Attach Hinges: Mark where the hinges will go. Pre-drill holes and then attach the hinges to the door frame.
Paint or Stain: Apply paint or stain to the door. Let it dry completely before moving on.
Install Handles: Mark where the handles will go. Pre-drill holes and then attach the handles securely.
Mount the Doors: With help, hold the doors in place and attach the other side of the hinges to the doorway. Make sure they open and close smoothly.
Final Check: Ensure all screws are tight and the doors are level. Adjust if necessary.
Materials and Tools Needed
Materials:
- Wood Panels: These form the main structure of the doors. Choose sturdy wood like pine or oak.
- Hinges: Connect the panels and allow the doors to fold. Look for heavy-duty ones.
- Track System: Guides the doors along the top. Includes a rail and rollers.
- Handles: For opening and closing the doors. Pick ones that match your style.
- Screws: Secure the hinges and track system. Ensure they are the right length for your wood.
- Wood Stain or Paint: Protects the wood and gives it a finished look. Choose a color that fits your decor.
- Sandpaper: Smooths the wood surfaces before staining or painting. Use medium to fine grit.
Tools:
- Measuring Tape: Ensures accurate measurements for cutting and fitting.
- Saw: Cuts the wood panels to size. A circular saw works well.
- Drill: Makes holes for screws and hinges. Also used for driving screws.
- Screwdriver: Tightens screws. A power screwdriver can save time.
- Level: Ensures the doors hang straight. A must for proper alignment.
- Paintbrush or Roller: Applies stain or paint evenly. Choose based on the finish you want.
- Clamps: Holds wood pieces together while working. Keeps everything steady.
These materials and tools will help you build sturdy, stylish bifold barn doors for your space.
Skill Level and Time Required
Skill Level: Intermediate
Time Required: 6-8 hours
- Materials Gathering: 1 hour
- Cutting Wood: 1-2 hours
- Assembling Panels: 2 hours
- Installing Hardware: 1 hour
- Finishing Touches: 1-2 hours
Step-by-Step Instructions
Gather Materials:
- Two wooden doors
- Hinges (4 per door)
- Track hardware for bifold doors
- Screws and screwdriver
- Measuring tape
- Saw
- Sandpaper
- Paint or stain (optional)
Measure the Doorway:
- Measure the height and width of the doorway.
- Ensure the doors will fit within these dimensions.
Cut the Doors:
- If needed, cut the doors to fit the measured dimensions.
- Use sandpaper to smooth any rough edges.
Attach Hinges:
- Lay the doors flat on the ground.
- Attach two hinges to the inner edge of each door.
- Space the hinges evenly, one near the top and one near the bottom.
Install Track Hardware:
- Follow the manufacturer's instructions to install the track hardware at the top of the doorway.
- Ensure the track is level and securely attached.
Hang the Doors:
- Attach the top pivot bracket to the top of the first door.
- Insert the pivot pin into the track.
- Repeat for the second door, ensuring both doors are aligned.
Test the Doors:
- Open and close the doors to ensure they move smoothly along the track.
- Adjust the hinges or track if necessary.
Finish the Doors:
- Paint or stain the doors if desired.
- Allow them to dry completely before use.
Final Adjustments:
- Check for any loose screws or misalignments.
- Tighten or adjust as needed.
Helpful Tips and Tricks
Measure twice, cut once. Accurate measurements prevent wasted materials and frustration.
Use a level to ensure doors hang straight. Crooked doors won't slide properly.
Pre-drill holes for screws. This avoids splitting the wood.
Sand edges of the doors. Smooth edges make painting or staining easier.
Use quality hinges. Cheap hinges can bend or break, causing the doors to sag.
Paint or stain before assembly. It's easier to cover all surfaces when the doors are flat.
Common mistakes to avoid:
Skipping measurements. Always double-check dimensions before cutting.
Using low-quality wood. Cheap wood can warp or crack over time.
Ignoring alignment. Misaligned doors won't close properly.
Alternatives for materials or methods:
Plywood instead of solid wood. Plywood is lighter and less likely to warp.
Pocket hole screws instead of nails. Screws provide a stronger hold.
Sliding barn door hardware instead of bifold hardware. Sliding doors can be easier to install and use.
Estimating the Cost
Materials:
- Wood: $100-$150 (Pine or plywood)
- Hinges: $20-$30 (Heavy-duty)
- Handles: $10-$20 (Barn-style)
- Track System: $50-$100 (Sliding door track)
- Screws/Nails: $5-$10
- Paint/Stain: $15-$30
Tools:
- Saw: $50-$100 (Circular or miter saw)
- Drill: $30-$60
- Screwdriver: $5-$15
- Measuring Tape: $5-$10
- Sandpaper: $5-$10
Total Cost: $290-$535
Budget-Friendly Alternatives:
- Wood: Use reclaimed wood or pallets ($0-$50)
- Handles: Repurpose old handles or knobs ($0)
- Track System: Use a simple hinge system instead of a sliding track ($20-$30)
- Tools: Borrow tools from friends or rent from a local hardware store ($0-$20)
Creative Variations and Customizations
Materials: Instead of traditional wood, try reclaimed wood for a rustic look. Plywood can be a budget-friendly option. For a modern touch, use metal sheets or glass panels.
Colors: Paint the doors in bold colors like red or navy for a statement piece. For a more subtle look, use pastel shades or neutral tones like beige or gray. Staining the wood can also bring out its natural beauty.
Styles: Add decorative trim or molding for a classic look. For a farmhouse style, use X-braces or Z-braces on the doors. If you prefer a sleek, modern design, go for clean lines and minimalist hardware.
Hardware: Swap out standard handles for vintage knobs or industrial pulls. Use black iron hinges for a rustic feel or brushed nickel for a contemporary look.
Finishes: Apply a distressed finish for a weathered appearance. For a polished look, use a high-gloss finish. A matte finish can give a more understated, elegant vibe.
Additional Features: Incorporate mirrors on the doors to make a room feel larger. Add chalkboard paint for a functional and fun twist. Install sliding barn door hardware instead of bifold hinges for a different opening mechanism.
Eco-Friendly Building Tips
Reclaimed wood is a great option. Old barn wood or pallets can be repurposed. This reduces waste and adds character.
Eco-friendly paint or stain is another good choice. Look for low-VOC or natural options. These are better for the environment and your health.
Use recycled hardware if possible. Old hinges, handles, or tracks can be cleaned up and reused. This saves money and resources.
Consider bamboo for some parts. Bamboo grows quickly and is very sustainable. It’s also strong and looks nice.
Insulation can be added using natural materials. Wool or cotton insulation helps keep your home energy-efficient.
For the glue, choose a non-toxic, water-based option. This is safer for you and the planet.
Solar-powered tools can be used during construction. These reduce your carbon footprint.
Lastly, plan carefully to minimize waste. Measure twice, cut once. Use leftover materials for other projects.
Your DIY Barn Door Awaits
Building DIY bifold barn doors isn't just about saving money; it's about creating something unique. You've learned how to measure, cut, assemble, and install your doors. Now, you can enjoy the satisfaction of a job well done. Remember, the key is patience and attention to detail. Don't rush the process. Each step, from selecting the right materials to the final coat of paint, adds to the overall quality. If you hit a snag, don't get discouraged. Every mistake is a learning opportunity. Keep your tools handy, follow the steps, and soon enough, you'll have a stunning set of bifold barn doors. So, roll up your sleeves, grab your tools, and get started. Your space will thank you for the upgrade. Happy building!
What materials do I need to build bifold barn doors?
You'll need wood planks, hinges, screws, door handles, and a track system. Don't forget wood glue and sandpaper for a smooth finish.
How much time will it take to complete this project?
Depending on your skill level, it might take a weekend. Plan for about 10-12 hours of work, including drying time for glue and paint.
Can I customize the size of the doors?
Absolutely! Measure your doorway and cut the wood planks to fit. Customizing the size ensures a perfect fit for your space.
Do I need special tools?
Basic tools like a saw, drill, measuring tape, and a screwdriver will do. A level helps ensure everything is straight.
How do I install the track system?
Follow the manufacturer's instructions. Typically, you'll mount the track above the doorway and attach the rollers to the top of the doors.
Can I paint or stain the doors?
Yes, you can paint or stain the wood to match your decor. Just make sure to sand the wood first for a smooth finish.
Are bifold barn doors suitable for all rooms?
They're great for closets, pantries, and laundry rooms. However, they might not be ideal for main entryways due to their folding nature.