
Home>Home & Furniture>Doors & Windows>How to Build an Insulated Door for Your Dining Room
Doors & Windows
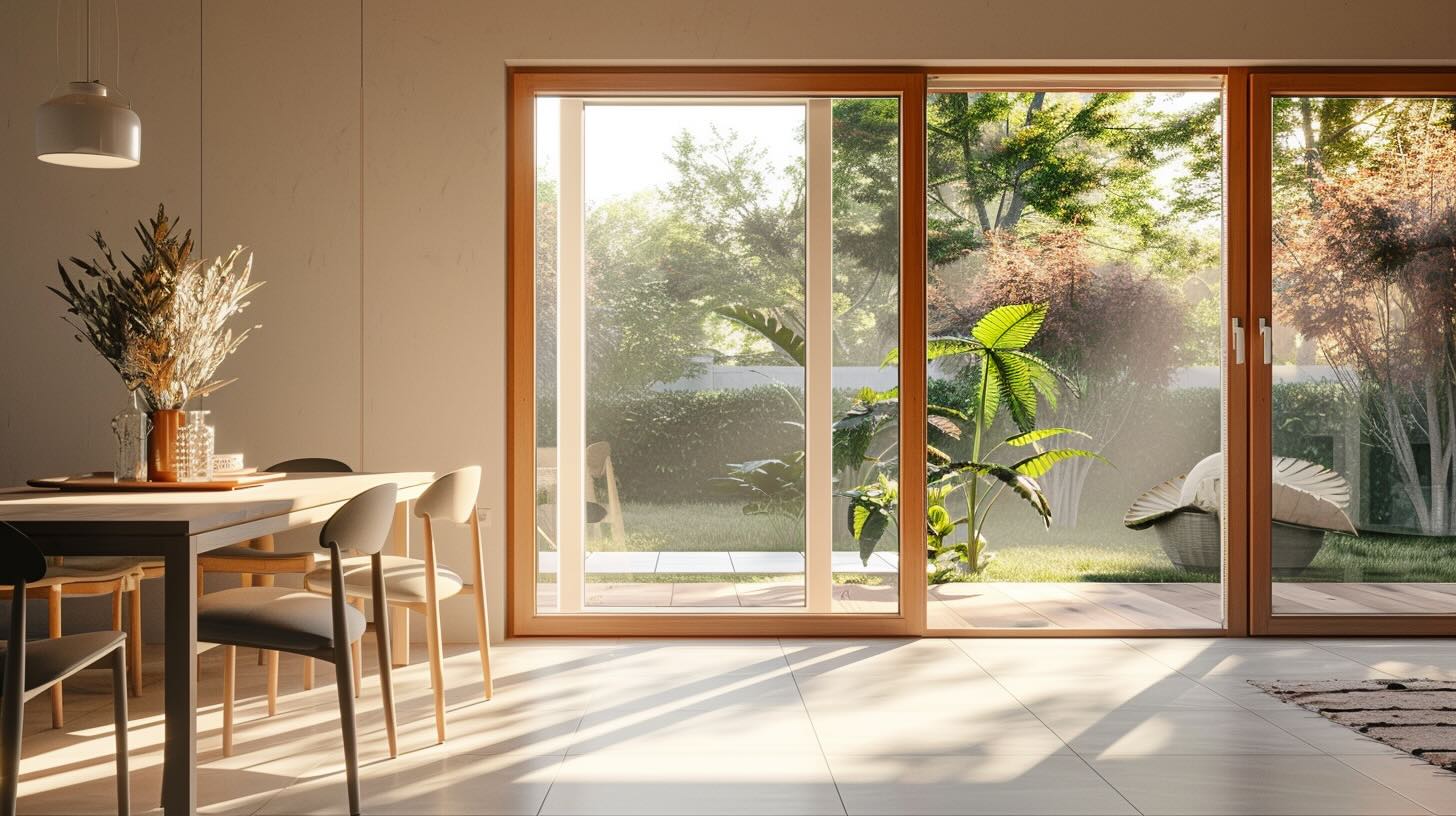
How to Build an Insulated Door for Your Dining Room
Published: September 17, 2024
Learn how to build an insulated door for your dining room with our step-by-step guide. Enhance energy efficiency and comfort in your home with these expert tips.
(Many of the links in this article redirect to a specific reviewed product. Your purchase of these products through affiliate links helps to generate commission for Twigandthistle.com, at no extra cost. Learn more)
Building an insulated door for your dining room can both improve energy efficiency and add a touch of craftsmanship to your home. Whether you’re tired of drafts or looking to keep the space cozier during meals, this project will help you achieve a more comfortable environment. With a few tools, some materials, and a bit of patience, you’ll have a functional and stylish door that stands out. This guide will walk you through the steps, making the process manageable even for beginners. Let’s get started on creating a door that enhances both comfort and style in your dining area.
Preparation Steps
Gather Materials: Collect insulation foam, door slab, weatherstripping, screws, hinges, door handle, drill, saw, measuring tape, safety goggles, gloves, and a dust mask.
Measure Door Frame: Use a measuring tape to get the exact dimensions of the door frame. Write these down to ensure the door fits perfectly.
Cut Door Slab: If the door slab is too large, use a saw to cut it to the correct size. Wear safety goggles and a dust mask to protect your eyes and lungs from sawdust.
Install Insulation: Cut the insulation foam to fit inside the door slab. Secure it with adhesive or screws. Make sure it covers the entire surface for maximum insulation.
Attach Hinges: Mark where the hinges will go on the door and the frame. Use a drill to attach them securely.
Add Weatherstripping: Apply weatherstripping around the edges of the door to prevent drafts. This will help keep the dining room warm.
Install Door Handle: Follow the instructions on the door handle package to install it. Make sure it is securely attached.
Safety Tips: Always wear gloves when handling tools and materials. Keep your workspace clean and organized to avoid accidents. Make sure the area is well-lit.
Workspace Setup: Choose a flat, stable surface to work on. Ensure you have enough space to move around and access all your tools easily.
Gathering Materials and Tools
- Insulated Door Slab: The main part of the door, already insulated to keep the dining room warm.
- Hinges: Metal pieces that allow the door to swing open and shut.
- Screws: Used to attach the hinges and other hardware to the door and frame.
- Screwdriver: A tool for driving screws into the door and frame.
- Drill: Makes holes for screws and other hardware.
- Measuring Tape: Ensures accurate measurements for fitting the door.
- Level: Ensures the door is hung straight.
- Chisel: Carves out spaces for hinges in the door and frame.
- Hammer: Drives nails and helps with chiseling.
- Utility Knife: Cuts insulation material or trims edges.
- Weatherstripping: Seals gaps around the door to prevent drafts.
- Door Handle and Lockset: Allows you to open, close, and lock the door.
- Paint or Stain: Finishes the door to match your dining room decor.
- Paintbrush or Roller: Applies paint or stain evenly.
- Sandpaper: Smooths out any rough edges on the door.
- Wood Shims: Helps level the door during installation.
- Safety Glasses: Protects your eyes while working.
- Work Gloves: Protects your hands from splinters and sharp edges.
Required Skills and Time
Skill Level: Intermediate. This project requires basic carpentry skills, knowledge of insulation materials, and the ability to use power tools safely.
Time Required: 8-10 hours. This includes measuring, cutting, assembling, insulating, and installing the door.
Detailed Instructions
Gather Materials and Tools
- Insulated door slab
- Door frame kit
- Hinges
- Screws
- Drill
- Screwdriver
- Measuring tape
- Level
- Utility knife
- Weatherstripping
- Door handle and lock set
Measure the Doorway
- Use a measuring tape to find the height and width of the doorway.
- Ensure the door slab matches these measurements.
Prepare the Door Frame
- Assemble the door frame kit according to the instructions.
- Place the frame in the doorway, ensuring it fits snugly.
Install the Hinges
- Mark hinge locations on the door and frame.
- Use a utility knife to cut hinge recesses.
- Attach hinges to the door using screws and a screwdriver.
Hang the Door
- Lift the door into the frame, aligning hinges.
- Secure hinges to the frame with screws.
Check Alignment
- Use a level to ensure the door hangs straight.
- Adjust hinges if necessary.
Install the Door Handle and Lock
- Follow the instructions for the door handle and lock set.
- Drill necessary holes and attach the handle and lock.
Add Weatherstripping
- Apply weatherstripping around the door frame to seal gaps.
- Ensure a tight fit to improve insulation.
Test the Door
- Open and close the door several times.
- Check for smooth operation and proper sealing.
Make Final Adjustments
- Tighten any loose screws.
- Adjust weatherstripping if needed.
Helpful Tips and Tricks
Measure Twice, Cut Once: Accurate measurements are key. Double-check dimensions before cutting materials to avoid mistakes.
Use Quality Insulation: Choose foam board insulation or fiberglass for better thermal performance. Foam board is easier to handle and cut.
Seal All Gaps: Use weatherstripping around the door frame to prevent drafts. Apply caulk to seal any small gaps.
Reinforce the Frame: Ensure the door frame is sturdy. Use screws instead of nails for better strength.
Install a Door Sweep: Attach a door sweep at the bottom to block drafts and keep the room warm.
Paint or Finish: Apply a sealant or paint to protect the door from moisture and wear.
Common Mistakes to Avoid:
Skipping the Sealant: Not sealing gaps can lead to drafts and poor insulation.
Using Low-Quality Materials: Cheap insulation or weatherstripping won't last long and will reduce effectiveness.
Incorrect Measurements: Misjudging dimensions can lead to a poorly fitting door, causing gaps and drafts.
Alternatives for Materials or Methods:
Recycled Materials: Use recycled wood or reclaimed doors for an eco-friendly option.
Spray Foam Insulation: For hard-to-reach areas, spray foam can be more effective than traditional insulation.
Magnetic Weatherstripping: Easier to install and provides a tight seal, magnetic weatherstripping can be a good alternative.
Pre-Insulated Doors: If building from scratch seems too complex, consider buying a pre-insulated door.
Estimating Costs
Materials:
- Wood (for the door frame): $50-$100
- Insulation (foam board or fiberglass): $20-$40
- Plywood (for the door panels): $30-$60
- Weatherstripping: $10-$20
- Door hinges: $10-$20
- Door handle and lock set: $20-$50
- Paint or stain: $15-$30
- Screws and nails: $5-$10
Tools:
- Saw (circular or hand saw): $50-$100 (or borrow)
- Drill: $30-$60 (or borrow)
- Measuring tape: $5-$10
- Level: $10-$20
- Paintbrushes or rollers: $5-$15
- Screwdriver: $5-$10
Total Cost: $265-$555
Budget-Friendly Alternatives:
- Reclaimed wood for the frame and panels: $0-$50
- Second-hand tools from garage sales or thrift stores: $20-$50
- Basic door handle and lock set: $10-$20
- Leftover paint from previous projects: $0
Total Cost with Alternatives: $150-$300
Customization Ideas
Materials: Instead of standard wood, consider using reclaimed wood for a rustic look. Fiberglass can offer better insulation and durability. Metal doors, like steel, provide a modern, industrial feel.
Colors: Paint the door in bold colors like deep blue or forest green for a statement piece. Neutral tones like beige or gray blend seamlessly with most interiors. Staining the wood can highlight its natural grain.
Styles: Add glass panels to let light through while keeping the room insulated. Barn door hardware can give a farmhouse vibe. For a sleek, modern look, opt for a flush door with no panels or decorations.
Insulation: Use spray foam insulation inside the door for maximum efficiency. Weatherstripping around the edges can further prevent drafts. Consider a double-layered door with an air gap for added insulation.
Handles and Knobs: Choose antique brass for a vintage touch. Matte black handles offer a contemporary look. Crystal knobs can add an elegant, classic feel.
Decorative Elements: Add carved designs or molding for a traditional look. Metal inlays can create a unique, artistic door. Wainscoting panels add texture and depth.
Finishing Touches: Apply a high-gloss finish for a polished look. A matte finish provides a more understated, modern appearance. Distressing techniques can give the door an aged, weathered look.
Eco-Friendly Tips
Reclaimed wood makes a great choice for the door frame. It’s sturdy and gives a rustic look. You can find reclaimed wood at salvage yards or old barns.
Recycled insulation materials like denim or wool work well for filling the door. These materials are effective at keeping heat in and cold out. They are also better for the environment compared to traditional fiberglass insulation.
Use eco-friendly paint or stain for finishing the door. Look for products labeled low-VOC (volatile organic compounds). These paints release fewer harmful chemicals into the air.
For the door handle and hinges, consider repurposing old hardware. You can find unique pieces at thrift stores or antique shops. This reduces waste and adds character to your door.
Weatherstripping made from recycled rubber or other sustainable materials helps seal gaps around the door. This keeps drafts out and improves energy efficiency.
Finally, if you need glass panels, opt for double-glazed recycled glass. It provides better insulation and reduces the need for heating or cooling.
Your Dining Room's New Look
Building an insulated door for your dining room isn't just about saving energy. It's also about enhancing comfort and adding style. With some basic tools and a bit of patience, you can create a door that keeps your space cozy and quiet. Remember to measure accurately, choose the right insulation materials, and follow the steps carefully. Don't rush the process; take your time to ensure everything fits perfectly. Once installed, you'll notice the difference in temperature and noise levels immediately. Plus, you'll have the satisfaction of knowing you did it yourself. So, grab your tools, get started, and enjoy the benefits of your new insulated door. Happy building!
How do I measure my door frame accurately?
Use a tape measure to get the width and height of the door frame. Measure at three points: top, middle, and bottom for width; left, center, and right for height. Use the smallest measurements to ensure the door fits snugly.
What materials do I need to build an insulated door?
You'll need wood for the frame, insulation foam or fiberglass, plywood or MDF for the panels, weatherstripping, hinges, screws, and a door handle. Don't forget paint or stain for finishing touches.
How do I install insulation in the door?
Cut the insulation foam or fiberglass to fit inside the door frame. Place it snugly between the wood panels. Secure it with adhesive if needed. Make sure there are no gaps for the best insulation.
What tools will I need for this project?
Basic tools include a saw, drill, screwdriver, hammer, measuring tape, level, and clamps. A router can help with more precise cuts, and a paintbrush or roller is needed for finishing.
How do I ensure the door is properly sealed?
Apply weatherstripping around the edges of the door. This helps block drafts and keeps the room insulated. Check for any gaps and fill them with caulk or additional weatherstripping.
Can I customize the door design?
Absolutely! You can add decorative panels, glass inserts, or even carvings. Just make sure any additions don't compromise the door's insulation properties. Paint or stain it to match your dining room decor.
How long does it take to build an insulated door?
Depending on your skill level and tools, it can take anywhere from a weekend to a few days. Plan for extra time if you're adding custom designs or waiting for paint to dry.