
Home>Home & Furniture>Doors & Windows>How to Build a Sliding Window: Step-by-Step Guide
Doors & Windows
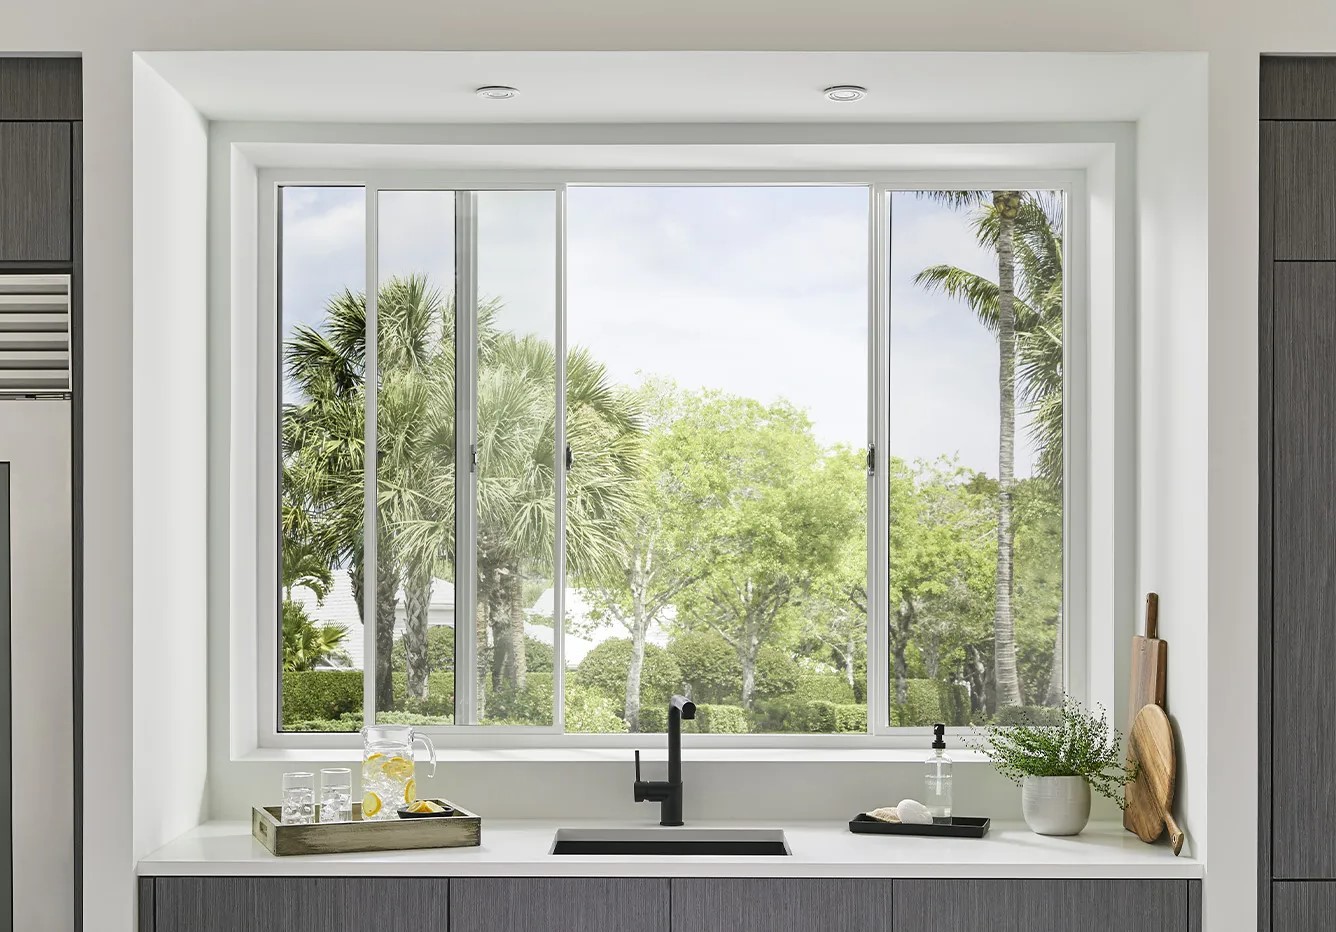
How to Build a Sliding Window: Step-by-Step Guide
Published: August 24, 2024
Learn how to build a sliding window with our step-by-step guide. From materials to installation, get expert tips for a seamless DIY project. Perfect for beginners!
(Many of the links in this article redirect to a specific reviewed product. Your purchase of these products through affiliate links helps to generate commission for Twigandthistle.com, at no extra cost. Learn more)
Building a sliding window can seem tricky, but with the right tools and some patience, it's doable. This guide will help you create a functional, stylish window for your home. Whether replacing an old one or adding a new feature, this step-by-step process will guide you from beginning to end. Perfect for DIY enthusiasts of all skill levels, you’ll learn how to measure, cut, assemble, and install the sliding window. Get ready to enhance your space and enjoy the satisfaction of a job well done. Let's get started!
Getting Ready for Your Project
Gather Materials: Collect wood, glass, screws, screwdriver, measuring tape, saw, safety goggles, gloves, and caulk.
Measure the Opening: Use a measuring tape to get the exact dimensions of the window opening. Write down the measurements.
Cut the Wood: Cut the wood to fit the frame size. Ensure the cuts are straight and smooth.
Assemble the Frame: Use screws to join the wood pieces together, forming a rectangular frame. Check for squareness using a carpenter's square.
Install the Glass: Carefully place the glass into the frame. Secure it with glazing points or clips.
Add Tracks: Attach the sliding tracks to the top and bottom of the frame. Ensure they are level and aligned.
Install the Window: Place the window into the opening. Make sure it slides smoothly on the tracks.
Seal the Edges: Apply caulk around the edges to prevent air and water leaks.
Safety Tips:
- Always wear safety goggles and gloves when cutting wood or handling glass.
- Ensure your workspace is clean and free of clutter to avoid accidents.
- Use a stable workbench to support materials while cutting or assembling.
Workspace Setup:
- Clear a large area to lay out all materials.
- Ensure good lighting to see clearly.
- Keep tools within easy reach but organized to avoid tripping.
Gathering Materials and Tools
Materials Needed:
- Window Frame Kit: Pre-made frame for the window.
- Glass Panels: Two or more glass sheets for the sliding mechanism.
- Weatherstripping: Seals gaps to prevent drafts.
- Screws and Nails: Fasteners to secure parts.
- Silicone Sealant: Waterproofs and seals edges.
- Lubricant: Ensures smooth sliding of the window.
- Wood or Metal Trim: Finishes the edges of the window.
Tools Needed:
- Measuring Tape: Measures dimensions accurately.
- Level: Ensures everything is straight.
- Screwdriver: Tightens screws.
- Hammer: Drives nails.
- Drill: Makes holes for screws.
- Caulking Gun: Applies silicone sealant.
- Utility Knife: Cuts weatherstripping and trim.
- Safety Glasses: Protects eyes during work.
- Gloves: Protects hands from sharp edges and tools.
Summary of Materials and Tools:
Window Frame Kit: This is the pre-made structure that holds the glass panels. Glass Panels: These are the transparent parts that slide open and closed. Weatherstripping: This material seals any gaps to keep out drafts and moisture. Screws and Nails: These fasteners hold everything together. Silicone Sealant: This waterproof material seals the edges to prevent leaks. Lubricant: This helps the window slide smoothly. Wood or Metal Trim: This finishes the edges for a clean look.
Measuring Tape: This tool measures the dimensions of the window and frame. Level: This ensures that the window is installed straight. Screwdriver: This tool tightens screws. Hammer: This drives nails into place. Drill: This makes holes for screws. Caulking Gun: This tool applies the silicone sealant. Utility Knife: This cuts the weatherstripping and trim to size. Safety Glasses: These protect your eyes while working. Gloves: These protect your hands from sharp edges and tools.
Required Skills and Time Commitment
Skill Level: Intermediate
Time Required: 6-8 hours
Important Keywords:
- Measure and Cut - Precise measurements ensure a perfect fit.
- Frame Assembly - Constructing the window frame.
- Install Tracks - Essential for smooth sliding.
- Fit Glass Panels - Handle with care to avoid breakage.
- Seal and Secure - Prevents drafts and ensures stability.
- Test Operation - Ensures the window slides smoothly.
Detailed Instructions for Building
Gather Materials and Tools
- Sliding window kit
- Measuring tape
- Level
- Screwdriver
- Screws
- Caulk and caulk gun
- Safety glasses
- Gloves
Measure the Opening
- Measure the width and height of the window opening.
- Ensure measurements are accurate for a proper fit.
Prepare the Frame
- Clean the window opening.
- Remove any old caulk or debris.
Install the Window Frame
- Place the bottom part of the frame into the opening.
- Use a level to ensure it is straight.
- Secure the frame with screws.
Insert the Sliding Panels
- Slide the window panels into the frame.
- Ensure they move smoothly along the track.
Secure the Panels
- Lock the panels in place using the provided locks.
- Check that they open and close properly.
Seal the Edges
- Apply caulk around the edges of the frame.
- Smooth the caulk for a clean finish.
Test the Window
- Open and close the window several times.
- Ensure it operates smoothly and seals properly.
Clean Up
- Remove any excess caulk.
- Clean the window and surrounding area.
Helpful Tips and Tricks
Measure accurately before cutting any materials. Use a level to ensure everything is straight. Lubricate the tracks for smooth sliding. Pre-drill holes to avoid splitting the wood. Use weatherstripping to seal gaps and improve insulation.
Common mistakes to avoid: Not measuring correctly can lead to poor fit. Forgetting to level the frame results in a crooked window. Skipping lubrication makes sliding difficult. Not pre-drilling can split wood. Ignoring weatherstripping leads to drafts.
Alternatives: Instead of wood, consider vinyl for lower maintenance. Use double-pane glass for better insulation. Instead of traditional weatherstripping, try foam tape for easier application.
Estimating the Costs
Glass Pane: $50-$100 depending on size and quality.
Window Frame: $30-$60 for aluminum or vinyl.
Sliding Track: $20-$40.
Weather Stripping: $10-$20.
Screws and Fasteners: $5-$10.
Sealant: $5-$10.
Tools:
- Drill: $30-$50.
- Screwdriver Set: $10-$20.
- Measuring Tape: $5-$10.
- Level: $10-$20.
- Utility Knife: $5-$10.
Total Cost: $180-$350.
Budget-Friendly Alternatives:
- Recycled Glass Pane: $20-$50.
- Second-hand Frame: $10-$30.
- Basic Hand Tools: Borrow from friends or family.
Different Ways to Customize
Materials: Instead of standard glass, consider using acrylic or polycarbonate for a more durable option. For the frame, aluminum can be swapped with wood for a rustic look or PVC for a budget-friendly choice.
Colors: Paint the frame in bold colors like red or blue to make it stand out. For a more subtle appearance, use neutral tones like beige or gray.
Styles: Add decorative grilles inside the glass for a classic touch. Use frosted glass for privacy or stained glass for an artistic flair. Install double-pane glass for better insulation.
Handles and Locks: Choose modern stainless steel handles for a sleek look or antique brass for a vintage feel. Install child-proof locks for added safety.
Tracks: Use concealed tracks for a cleaner appearance or heavy-duty tracks for larger windows. Add soft-close mechanisms to prevent slamming.
Screens: Incorporate retractable screens for a seamless look when not in use. Use fine mesh screens to keep out smaller insects.
Weatherproofing: Add weatherstripping for better insulation. Use silicone sealant around the edges to prevent leaks.
Accessories: Install window blinds or shades for light control. Add window film for UV protection or decorative purposes.
Eco-Friendly Building Tips
Gather Materials: Use reclaimed wood for the window frame. Reclaimed wood can be found at salvage yards or old furniture. This reduces the need for new lumber.
Glass: Opt for double-glazed glass. It provides better insulation, reducing energy consumption for heating and cooling.
Insulation: Use natural wool or recycled denim for insulation around the window frame. These materials are eco-friendly and provide excellent insulation.
Sealant: Choose a low-VOC (Volatile Organic Compounds) sealant. Low-VOC products are better for indoor air quality and the environment.
Hardware: Reuse old window hardware if possible. If not, look for hardware made from recycled metal.
Paint: Use eco-friendly paint or stain for the frame. These paints have fewer harmful chemicals and are better for the environment.
Construction: When cutting wood or glass, try to minimize waste. Use leftover pieces for other projects or donate them.
Installation: Ensure the window is properly sealed to prevent drafts. This will improve energy efficiency, reducing heating and cooling costs.
Maintenance: Regularly check the window for any gaps or leaks. Keeping it in good condition will extend its life and maintain energy efficiency.
Disposal: If replacing an old window, recycle the glass and metal parts. Many recycling centers accept these materials.
Your Sliding Window Awaits
Building a sliding window isn't rocket science. With the right tools, a bit of patience, and some elbow grease, you can create a functional and stylish window. Measure twice, cut once, and always double-check your work. Remember, safety first—wear those goggles and gloves. Don't rush; take your time to ensure everything fits snugly. If you hit a snag, don't sweat it. Troubleshooting is part of the process. Once installed, give yourself a pat on the back. You've just added value to your home with your own two hands. Enjoy the fruits of your labor every time you slide that window open. Now, go ahead and tackle your next DIY project with confidence. Happy building!
What materials do I need to build a sliding window?
You'll need wood or aluminum for the frame, glass panes, screws, a saw, measuring tape, screwdriver, window track, and weather stripping.
How do I measure for the window frame?
Measure the height and width of the window opening. Add an extra 1/4 inch to each measurement to ensure the frame fits snugly.
What's the best way to cut the frame pieces?
Use a miter saw for precise cuts. Make sure to cut the pieces at a 45-degree angle for a perfect fit at the corners.
How do I install the window track?
Attach the window track to the bottom and top of the frame using screws. Ensure it's level so the window slides smoothly.
How do I secure the glass panes?
Place the glass panes into the frame and secure them with glazing points or clips. Apply a bead of silicone sealant around the edges to keep them in place.
What kind of weather stripping should I use?
Use foam or rubber weather stripping to seal any gaps around the window. This helps keep out drafts and improves energy efficiency.
How do I ensure the window slides smoothly?
Make sure the tracks are clean and free of debris. You can also apply a bit of lubricant to the tracks for smoother operation.