
Home>Home & Furniture>Doors & Windows>How to Build a DIY Window Awning
Doors & Windows
How to Build a DIY Window Awning
Published: August 9, 2024
Learn how to build a DIY window awning with our step-by-step guide. Enhance your home's curb appeal and protect your windows from the elements with this easy project.
(Many of the links in this article redirect to a specific reviewed product. Your purchase of these products through affiliate links helps to generate commission for Twigandthistle.com, at no extra cost. Learn more)
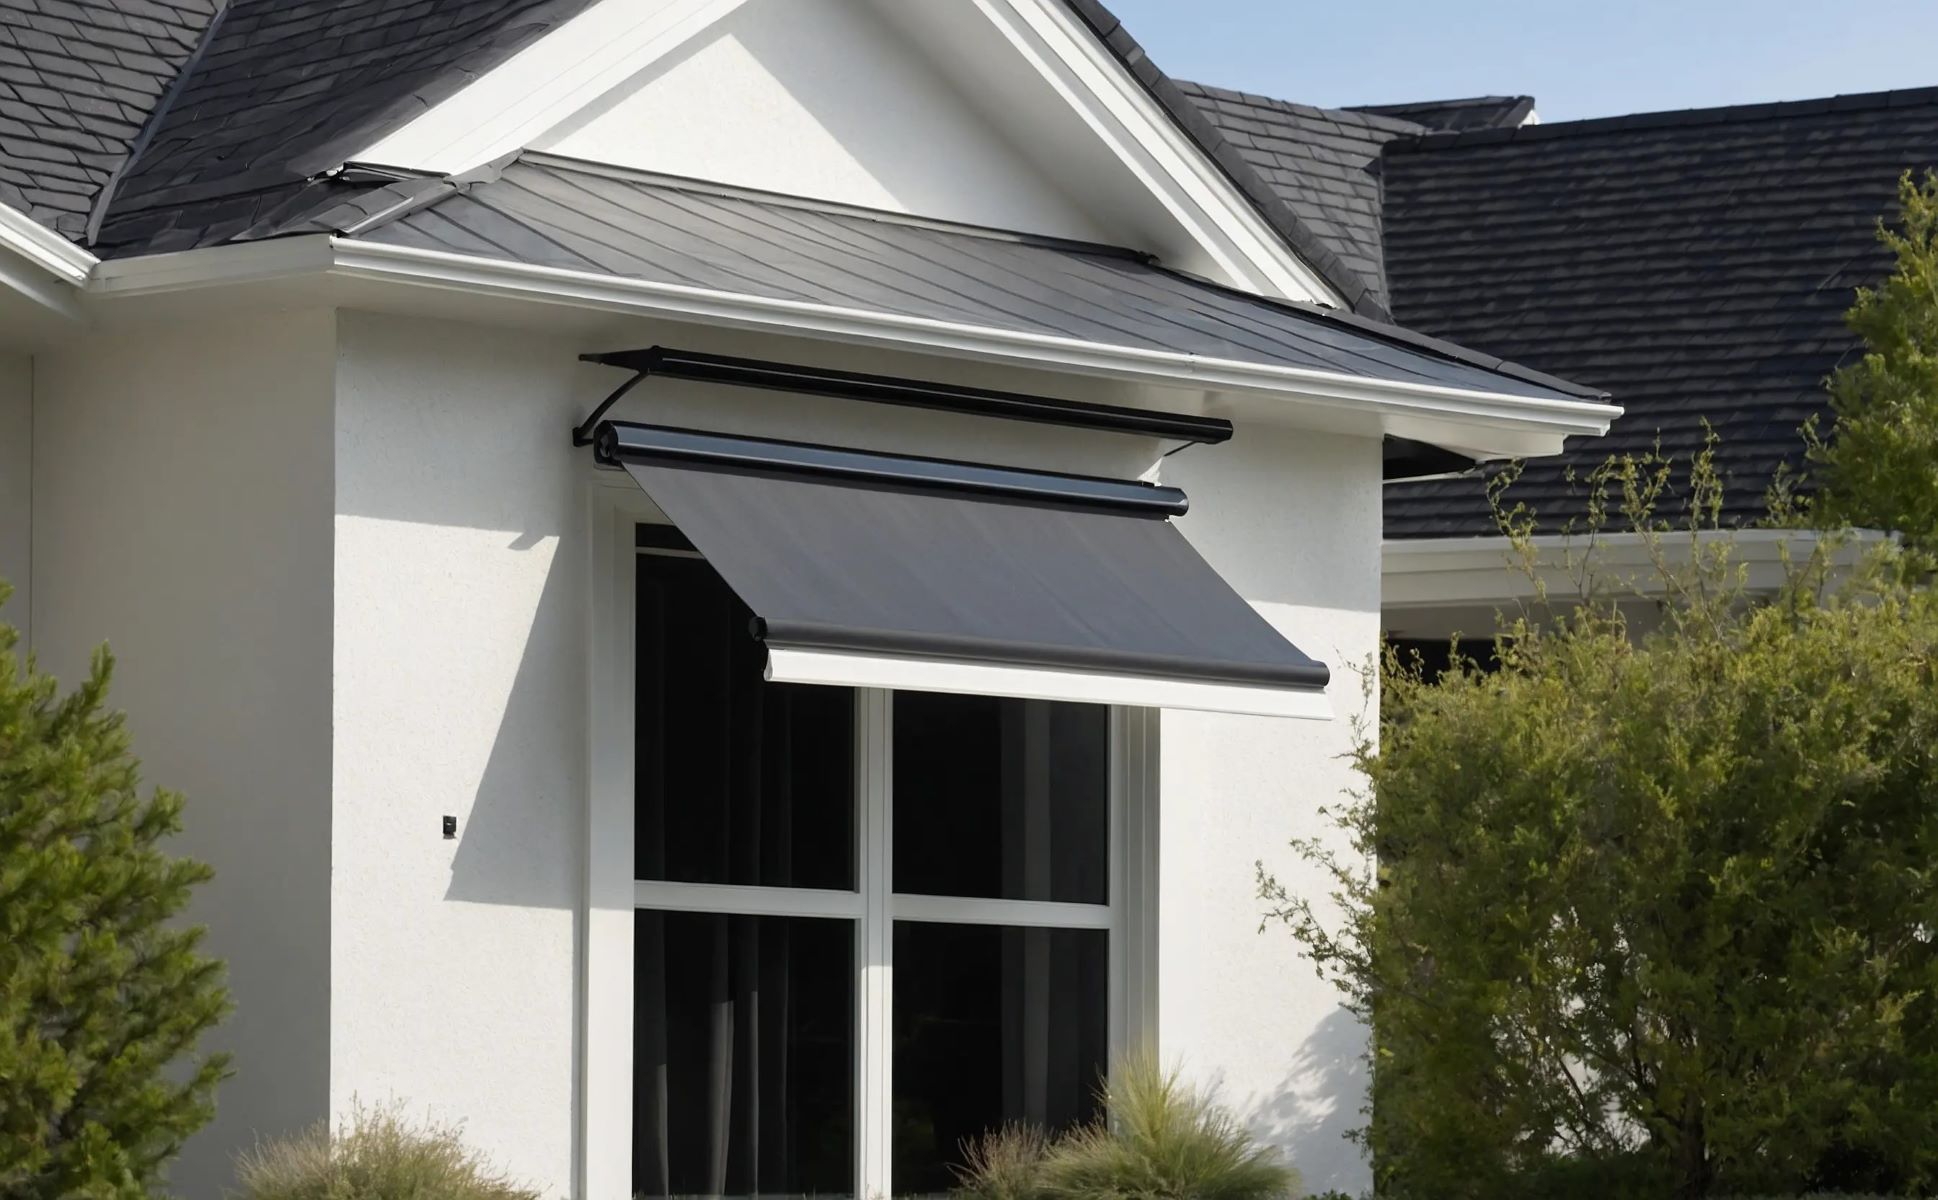
Adding a window awning can enhance your home's appearance while giving you extra shade. Making one yourself might seem challenging, but with some basic tools and materials, you can create a functional and attractive awning. This guide will walk you through the steps to build your own window awning, offering protection from sun and rain. With a bit of effort and creativity, you can achieve professional-looking results. It's a perfect weekend project for anyone looking to add a personal touch to their home. Ready to get started? Let's dive into the process!
Getting Ready for Your Project
Measure the Window: Use a tape measure to get the exact width and height of the window. Write these measurements down.
Choose Materials: Decide on the type of wood, metal, or fabric you want to use. Make sure they are weather-resistant.
Gather Tools: Collect all necessary tools like a saw, drill, screws, screwdriver, level, and safety gear.
Safety First: Wear safety goggles, gloves, and a dust mask. Make sure your workspace is well-ventilated.
Clear the Area: Remove any obstacles around the window. Ensure you have enough space to work comfortably.
Cut the Materials: Based on your measurements, cut the wood or metal to the required sizes. Double-check measurements before cutting.
Pre-Drill Holes: Pre-drill holes in the wood or metal to make assembly easier and prevent splitting.
Assemble the Frame: Use screws and a drill to put together the frame of the awning. Make sure it’s sturdy.
Attach the Fabric: If using fabric, stretch it over the frame and secure it with staples or screws.
Mount the Awning: Use a level to ensure the awning is straight. Secure it to the wall above the window with heavy-duty screws.
Check Stability: Give the awning a gentle shake to ensure it’s firmly attached and stable.
What You Need: Materials and Tools
- Measuring Tape: Used to measure the dimensions of the window and the awning materials.
- Pencil and Paper: For sketching the design and noting measurements.
- Drill: Essential for making holes in the wall to attach the awning.
- Screws and Anchors: Secure the awning brackets to the wall.
- Brackets: Hold the awning in place above the window.
- Saw: Cuts wood or metal to the required size.
- Wood or Metal Panels: Form the main structure of the awning.
- Sanding Paper: Smooths the edges of the cut panels.
- Paint or Stain: Protects the awning material from weather damage.
- Paintbrushes or Rollers: Apply paint or stain evenly.
- Level: Ensures the awning is installed straight.
- Safety Goggles and Gloves: Protect eyes and hands during construction.
- Ladder: Reaches higher areas for installation.
- Caulk and Caulking Gun: Seals gaps to prevent water leakage.
- Screws and Bolts: Fasten the panels together securely.
Skill Level and Time Commitment
Skill Level: Intermediate
Time Required: Approximately 4-6 hours
Important Keywords:
- Skill Level
- Time Required
- Intermediate
- 4-6 hours
Steps:
- Measure and Cut Materials - 1 hour
- Assemble Frame - 1.5 hours
- Attach Fabric or Covering - 1 hour
- Install Awning - 1.5 hours
Tools Needed:
- Drill
- Saw
- Measuring Tape
- Screws
- Level
Materials Needed:
- Wood or Metal for Frame
- Fabric or Polycarbonate Sheets
- Brackets
- Screws
Building Your Window Awning: Step-by-Step
Gather Materials:
- Plywood sheet
- 2x4 lumber
- Screws
- Brackets
- Paint or stain
- Waterproof fabric
- Measuring tape
- Saw
- Drill
- Screwdriver
- Level
Measure the Window:
- Measure the width of the window.
- Decide how far out you want the awning to extend.
Cut the Plywood and Lumber:
- Cut the plywood to the width of the window.
- Cut two pieces of 2x4 lumber to the desired extension length.
Assemble the Frame:
- Attach the 2x4 pieces to the plywood using screws.
- Ensure the frame is sturdy and square.
Attach Brackets:
- Secure brackets to the top corners of the window.
- Make sure brackets are level.
Mount the Frame:
- Lift the frame and align it with the brackets.
- Secure the frame to the brackets using screws.
Paint or Stain:
- Paint or stain the frame to protect it from weather.
- Allow it to dry completely.
Attach Waterproof Fabric:
- Cut the fabric to fit over the frame.
- Staple or screw the fabric to the top of the frame.
- Ensure the fabric is tight and secure.
Check Stability:
- Ensure all screws are tight.
- Check that the awning is secure and stable.
Final Touches:
- Trim any excess fabric.
- Touch up any paint or stain if needed.
Helpful Tips and Tricks
Measure twice, cut once. Always double-check your measurements before cutting any materials. This saves time and prevents waste.
Use treated wood. Treated wood resists rot and insects, making your awning last longer.
Pre-drill holes. Pre-drilling prevents wood from splitting when you insert screws.
Angle the awning. Ensure your awning has a slight angle to allow rainwater to run off easily.
Use waterproof fabric. Choose a fabric that can withstand weather conditions to keep your window area dry.
Secure brackets firmly. Make sure the brackets holding the awning are securely fastened to the wall to prevent it from falling.
Paint or seal wood. Protect the wood from weather damage by painting or sealing it.
Common mistakes to avoid include:
Skipping measurements. Not measuring accurately can lead to an ill-fitting awning.
Using untreated wood. Untreated wood deteriorates quickly when exposed to the elements.
Ignoring weight limits. Overloading the awning with heavy materials can cause it to collapse.
Not checking for level. An uneven awning looks bad and may not function properly.
Forgetting to seal edges. Unsealed edges can allow water to seep in, causing damage.
Alternatives for materials or methods:
Metal brackets. Use metal brackets instead of wood for added strength.
Polycarbonate sheets. These can replace fabric for a more durable, weather-resistant option.
Adjustable awnings. Consider adjustable awnings that can be retracted when not in use.
PVC pipes. Use PVC pipes for the frame instead of wood for a lightweight, durable option.
Canvas drop cloths. These can be a cheaper alternative to specialized waterproof fabric.
Estimating the Cost
Lumber: You'll need about 4 pieces of 2x4 wood. Each piece costs around $5, totaling $20.
Plywood: A single sheet of 3/4-inch plywood should suffice. This costs about $30.
Screws and Nails: A box of screws and a box of nails will cost around $10 each, totaling $20.
Brackets: Four metal brackets for support, costing $5 each, will total $20.
Paint or Stain: One can of outdoor paint or stain costs about $15.
Fabric: For the awning cover, outdoor fabric costs around $10 per yard. You’ll need about 3 yards, totaling $30.
Tools: If you don’t already have them, a saw, drill, measuring tape, and paintbrush will cost around $100 combined.
Total Cost: Adding everything up, the total cost is approximately $235.
Budget-Friendly Alternatives:
- Use reclaimed wood instead of new lumber, which can be free or very cheap.
- Instead of metal brackets, use wooden supports made from leftover lumber.
- Look for discounted paint or fabric at clearance sales or thrift stores. This can save you up to $20.
- Borrow tools from friends or family to cut down on the $100 tool cost.
Different Styles and Customizations
Materials: Instead of wood, try metal or PVC for a modern look. Fabric awnings can add a softer touch.
Colors: Paint the awning in bright colors like red or yellow for a cheerful vibe. Use neutral tones like beige or gray for a classic appearance.
Styles: Go for a rustic look with reclaimed wood. Try a contemporary style with sleek lines and minimalistic design.
Shapes: Experiment with different shapes like curved or triangular awnings instead of the traditional rectangular shape.
Decorative Elements: Add decorative brackets or trim to enhance the design. Use stencils to create patterns on the awning.
Lighting: Install LED lights underneath for a cozy evening glow. Use solar-powered lights for an eco-friendly option.
Functionality: Make the awning retractable for flexibility. Add side panels for extra shade and privacy.
Textures: Combine different textures like smooth metal with rough wood for a unique look. Use textured paint to add depth.
Eco-Friendly Options: Use recycled materials for a sustainable project. Opt for low-VOC paints to reduce environmental impact.
Personal Touches: Add monograms or family names to personalize the awning. Use seasonal decorations to change the look throughout the year.
Eco-Friendly Building Tips
Reclaimed Wood: Use old pallets or leftover wood from other projects. Sand and treat it to ensure durability.
Bamboo: A fast-growing, renewable resource. It's lightweight, strong, and naturally resistant to pests.
Recycled Metal: Look for scrap metal sheets or old roofing materials. These can be cut to size and painted for a fresh look.
Canvas or Fabric: Repurpose old sails, tents, or heavy-duty fabric. Ensure it's weather-resistant by treating it with eco-friendly waterproofing solutions.
Natural Stains and Paints: Opt for non-toxic, water-based stains and paints. These are better for the environment and safer for you.
Solar-Powered Lights: If adding lighting, choose solar-powered options. They save energy and reduce electricity bills.
Rainwater Collection: Design the awning to direct rainwater into a collection barrel. This water can be used for gardening or other purposes.
Upcycled Brackets and Supports: Use old metal brackets, pipes, or wooden beams for support. This reduces waste and gives a unique look.
Local Materials: Source materials from local suppliers to reduce transportation emissions and support the community.
Minimalist Design: Keep the design simple. Use fewer materials and reduce waste.
Your DIY Awning Awaits
Building a DIY window awning isn't just about saving money. It's a chance to flex those creative muscles and add a personal touch to your home. With some basic tools, a bit of patience, and a clear plan, you can create a functional and stylish awning. Remember to measure carefully, choose the right materials, and follow safety guidelines. Don't rush the process; take your time to ensure everything fits perfectly. Once installed, your new awning will not only provide shade and protection but also enhance your home's curb appeal. So, gather your supplies, roll up your sleeves, and get started. Your hard work will pay off every time you look out your window and see the beautiful awning you built with your own hands. Happy building!
What materials do I need to build a window awning?
You'll need wood, screws, brackets, fabric, and paint or stain. A saw, drill, and measuring tape are also essential.
How do I measure for my awning?
Measure the width of your window, then add a few inches on each side for extra coverage. Decide how far out you want the awning to extend from the wall.
Can I use any type of fabric?
It's best to use outdoor fabric that's water-resistant and UV-protected. This ensures durability and longevity.
How do I attach the awning to my house?
Use brackets to secure the awning frame to the wall. Make sure to drill into studs for a strong hold.
Do I need to treat the wood?
Yes, treating the wood with paint or stain helps protect it from the elements and extends its life.
How long will it take to build?
Depending on your skill level, it could take a weekend to complete. Plan for a few hours each day.
Can I customize the design?
Absolutely! You can choose different fabrics, colors, and shapes to match your home's style.