
Home>Home & Furniture>Doors & Windows>How to Build a DIY Transom Window
Doors & Windows
How to Build a DIY Transom Window
Published: August 25, 2024
Learn how to build a DIY transom window with our step-by-step guide. Enhance your home's natural light and aesthetic appeal with this easy and rewarding project.
(Many of the links in this article redirect to a specific reviewed product. Your purchase of these products through affiliate links helps to generate commission for Twigandthistle.com, at no extra cost. Learn more)
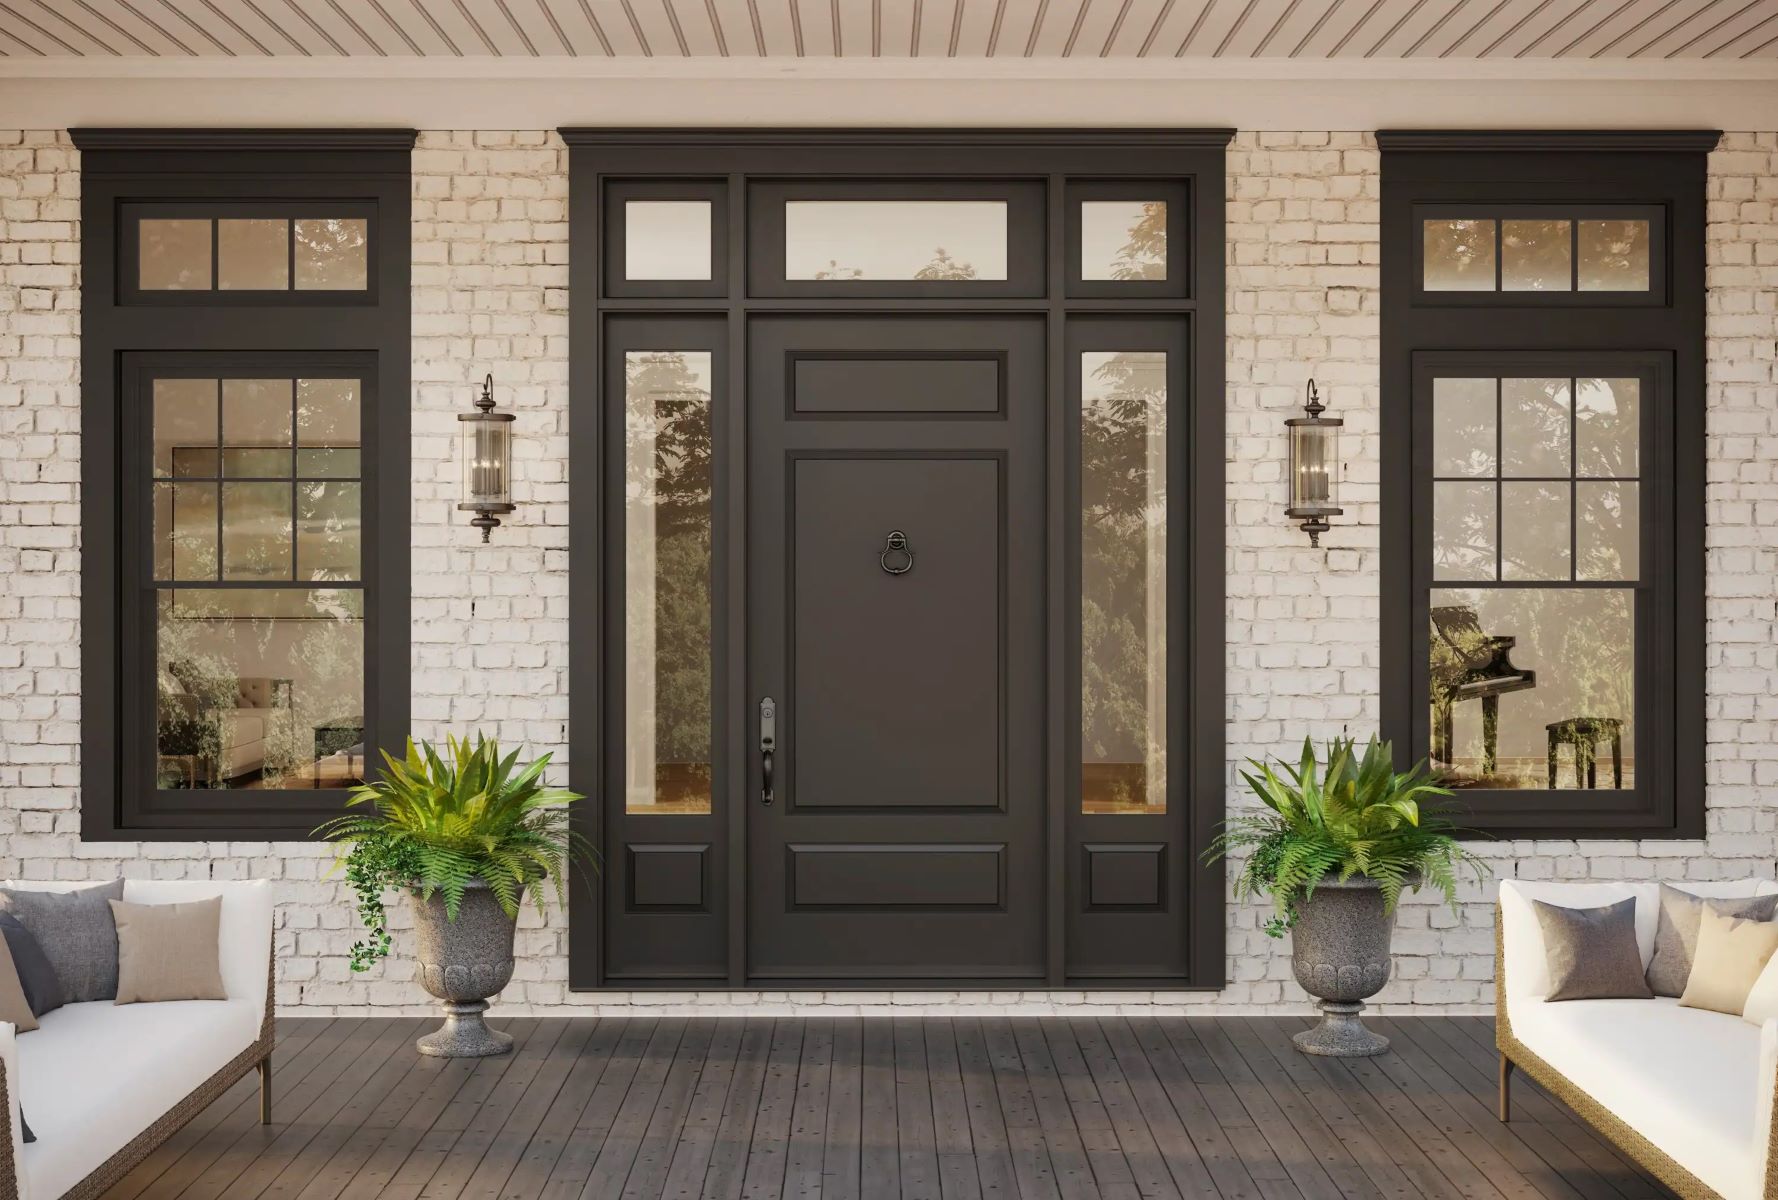
Adding a transom window to your home sounds tricky but is very doable with some basic tools and patience. These small windows above doors or other windows bring in extra light, improve airflow, and add a touch of elegance. This guide will take you step by step through the process, including what tools and materials you'll need, how to measure the space, and how to install your new window safely. With clear instructions and a bit of effort, you can transform any room in your home with a beautiful transom window. Ready to get started?
Getting Ready for Your Project
Gather Materials: Collect wood, glass, nails, screws, a saw, a hammer, a drill, measuring tape, and safety goggles.
Measure the Space: Measure the area where the transom window will go. Write down the dimensions.
Cut the Wood: Cut wood pieces according to your measurements. Ensure pieces fit together snugly.
Safety First: Wear safety goggles and gloves to protect your eyes and hands.
Prepare the Workspace: Clear a large, flat surface. Ensure good lighting and ventilation.
Pre-Drill Holes: Pre-drill holes in the wood to prevent splitting when you assemble the frame.
Assemble the Frame: Use nails or screws to put the frame together. Make sure it’s square by measuring diagonally.
Insert the Glass: Carefully place the glass into the frame. Secure it with glazing points or small nails.
Seal the Edges: Apply caulk around the edges of the glass to seal it in place and prevent drafts.
Paint or Stain: Finish the frame with paint or stain to match your decor. Let it dry completely before installation.
Materials and Tools Checklist
Materials:
- Wood: Used for the window frame. Choose sturdy wood like pine or oak.
- Glass Pane: The main component for the window. Ensure it fits the frame.
- Wood Glue: Helps secure the frame pieces together.
- Wood Screws: Provides additional strength to the frame.
- Putty: Seals gaps between the glass and frame.
- Paint or Stain: Adds a finishing touch to the frame.
- Sandpaper: Smooths out rough edges on the wood.
- Primer: Prepares the wood for painting or staining.
Tools:
- Measuring Tape: Ensures accurate measurements for the frame and glass.
- Saw: Cuts the wood to the required dimensions.
- Drill: Makes holes for the screws.
- Screwdriver: Tightens the screws into the wood.
- Clamps: Holds the wood pieces together while the glue dries.
- Paintbrush: Applies paint or stain to the frame.
- Putty Knife: Spreads putty around the glass pane.
- Safety Glasses: Protects your eyes while cutting and drilling.
Each material and tool plays a crucial role in building a sturdy, attractive transom window.
Required Skills and Time Commitment
Skill Level: Intermediate
Time Required: 6-8 hours
- Gather Materials: 30 minutes
- Measure and Cut Wood: 1-2 hours
- Assemble Frame: 1 hour
- Install Glass: 1 hour
- Paint or Stain: 1-2 hours
- Install Window: 1-2 hours
Detailed Steps to Build Your Window
Gather Materials:
- Wood for the frame (1x4 or 1x6 boards)
- Glass pane
- Wood glue
- Nails or screws
- Paint or stain
- Sandpaper
- Measuring tape
- Saw
- Drill
- Putty or wood filler
Measure the Opening:
- Measure the width and height of the space where the transom window will go.
- Add 1/4 inch to each measurement for the frame.
Cut the Wood:
- Cut four pieces of wood for the frame: two for the width and two for the height.
- Ensure the cuts are straight for a snug fit.
Assemble the Frame:
- Apply wood glue to the ends of the vertical pieces.
- Attach the horizontal pieces to form a rectangle.
- Secure with nails or screws.
Sand the Frame:
- Sand all edges and surfaces until smooth.
- Remove any splinters or rough spots.
Insert the Glass Pane:
- Place the glass pane into the frame.
- Ensure it fits snugly without gaps.
Secure the Glass:
- Apply a thin bead of wood glue around the edge of the glass.
- Use small nails or glazing points to hold the glass in place.
Fill Gaps and Holes:
- Use putty or wood filler to fill any gaps or nail holes.
- Let it dry completely.
Sand Again:
- Lightly sand the filled areas until smooth.
Paint or Stain:
- Apply paint or stain to the frame.
- Let it dry according to the manufacturer's instructions.
Install the Transom Window:
- Place the transom window into the opening.
- Secure with screws or nails.
Final Touches:
- Check for any gaps or uneven edges.
- Apply caulk if needed to seal any gaps.
Helpful Tips and Tricks
Measure twice, cut once. Accurate measurements prevent wasted materials. Use high-quality wood like pine or oak for the frame. Pre-drill holes before screwing to avoid splitting the wood. Use a level to ensure the window is straight. Seal gaps with caulk to prevent drafts.
Common mistakes include incorrect measurements, which lead to gaps or misalignment. Skipping primer on wood can cause paint to peel. Not using safety gear like goggles and gloves can result in injuries.
For alternatives, consider PVC trim instead of wood for a low-maintenance option. Acrylic sheets can replace glass for a shatterproof window. Instead of screws, construction adhesive can be used for a cleaner look.
Budgeting for Your DIY Transom Window
Materials:
- Wood (for the frame): $20-$50
- Glass pane: $30-$70
- Wood glue: $5-$10
- Paint or stain: $10-$20
- Sandpaper: $5-$10
- Caulk: $5-$10
- Screws and nails: $5-$10
Tools:
- Saw: $30-$100 (or borrow)
- Hammer: $10-$20
- Screwdriver: $5-$15
- Paintbrushes: $5-$10
- Measuring tape: $5-$15
- Level: $10-$20
- Caulking gun: $5-$15
Total Cost: $135-$375
Budget-Friendly Alternatives:
- Reuse old wood or find free pallets.
- Buy second-hand tools from thrift stores or online marketplaces.
- Use leftover paint from previous projects.
- Borrow tools from friends or family.
Creative Variations and Customizations
Materials: Instead of traditional wood, try using metal or PVC for a modern look. Reclaimed barn wood can add a rustic touch. Acrylic or polycarbonate sheets can replace glass for a lightweight option.
Colors: Paint the frame in bold colors like navy blue or emerald green for a statement piece. For a more subtle look, use neutral tones like white, gray, or beige. Consider a two-tone effect by painting the interior and exterior frames different colors.
Styles: For a vintage feel, use stained glass or frosted glass with intricate designs. A minimalist style can be achieved with clear glass and a simple frame. Add decorative molding or trim for a classic look. For a bohemian vibe, incorporate colorful beads or macramé around the frame.
Hardware: Use antique brass or black iron hardware for a traditional look. Stainless steel or chrome hardware can give a contemporary feel. Consider hidden hinges for a seamless appearance.
Lighting: Install LED strip lights around the frame for a backlit effect. Use solar-powered lights for an eco-friendly option. Add a small chandelier or pendant light above the window for extra flair.
Patterns: Create a geometric pattern with the frame for a modern touch. Use decorative film on the glass to mimic etched or frosted designs. Incorporate stencils or decals for a unique look.
Size: Adjust the window size to fit different spaces. A larger transom can make a room feel more open, while a smaller one can add a cozy touch. Consider using multiple smaller windows in a row for a unique design.
Functionality: Make the window operable with a hinged or sliding mechanism for ventilation. Add a screen to keep bugs out. Use smart glass that can change from clear to opaque for privacy.
Eco-Friendly Building Tips
Reclaimed Wood: Use old wood from barns, pallets, or other sources. Sand and treat it to ensure durability.
Recycled Glass: Find old windows or glass doors. Cut them to fit your transom window frame.
Low-VOC Paints: Choose paints with low volatile organic compounds to reduce harmful emissions.
Natural Insulation: Use materials like wool or cotton for insulation around the window frame.
Energy-Efficient Glass: Opt for double-pane or low-emissivity glass to improve insulation and reduce energy costs.
Solar-Powered Tools: If possible, use solar-powered tools to minimize electricity use during construction.
Eco-Friendly Sealants: Select sealants made from natural ingredients to avoid toxic chemicals.
Recycled Metal Hardware: Use hinges, screws, and other hardware made from recycled metals.
Local Sourcing: Get materials from local suppliers to reduce transportation emissions.
Upcycled Decor: Add decorative elements like stained glass pieces or old window grilles to enhance the look without buying new items.
Your DIY Transom Window Awaits
Building a DIY transom window isn't just about adding a decorative element to your home. It's about personalizing your space, learning new skills, and enjoying the satisfaction of a job well done. With some basic tools, a bit of patience, and a can-do attitude, you can create a beautiful, functional window that adds character and light to any room. Remember, the key is to measure carefully, cut precisely, and take your time with each step. Don't rush the process; enjoy it. Whether you're a seasoned DIYer or a beginner, this project is totally doable. So, gather your materials, roll up your sleeves, and get started. Your home will thank you for the extra charm and brightness. Happy building!
What materials do I need to build a DIY transom window?
You'll need wood, glass, screws, wood glue, a saw, a drill, sandpaper, and paint or stain.
How do I measure for a transom window?
Measure the width and height of the space above your door. Add a bit for the frame.
Can I use any type of glass?
Tempered glass is best. It's stronger and safer than regular glass.
How do I cut the wood for the frame?
Use a saw to cut the wood to the dimensions you measured. Make sure the angles are precise.
Do I need to sand the wood before assembling?
Yes, sanding smooths out rough edges and helps the paint or stain adhere better.
How do I install the glass into the frame?
Apply wood glue to the frame's edges, place the glass, and secure it with screws or glazing points.
Is it necessary to paint or stain the frame?
Painting or staining protects the wood and gives it a finished look.