
Home>Home & Furniture>Doors & Windows>How to Build a DIY RV Entry Door
Doors & Windows
How to Build a DIY RV Entry Door
Published: September 20, 2024
Learn how to build a DIY RV entry door with our step-by-step guide. Enhance your RV's security and aesthetics with this comprehensive, easy-to-follow tutorial.
(Many of the links in this article redirect to a specific reviewed product. Your purchase of these products through affiliate links helps to generate commission for Twigandthistle.com, at no extra cost. Learn more)
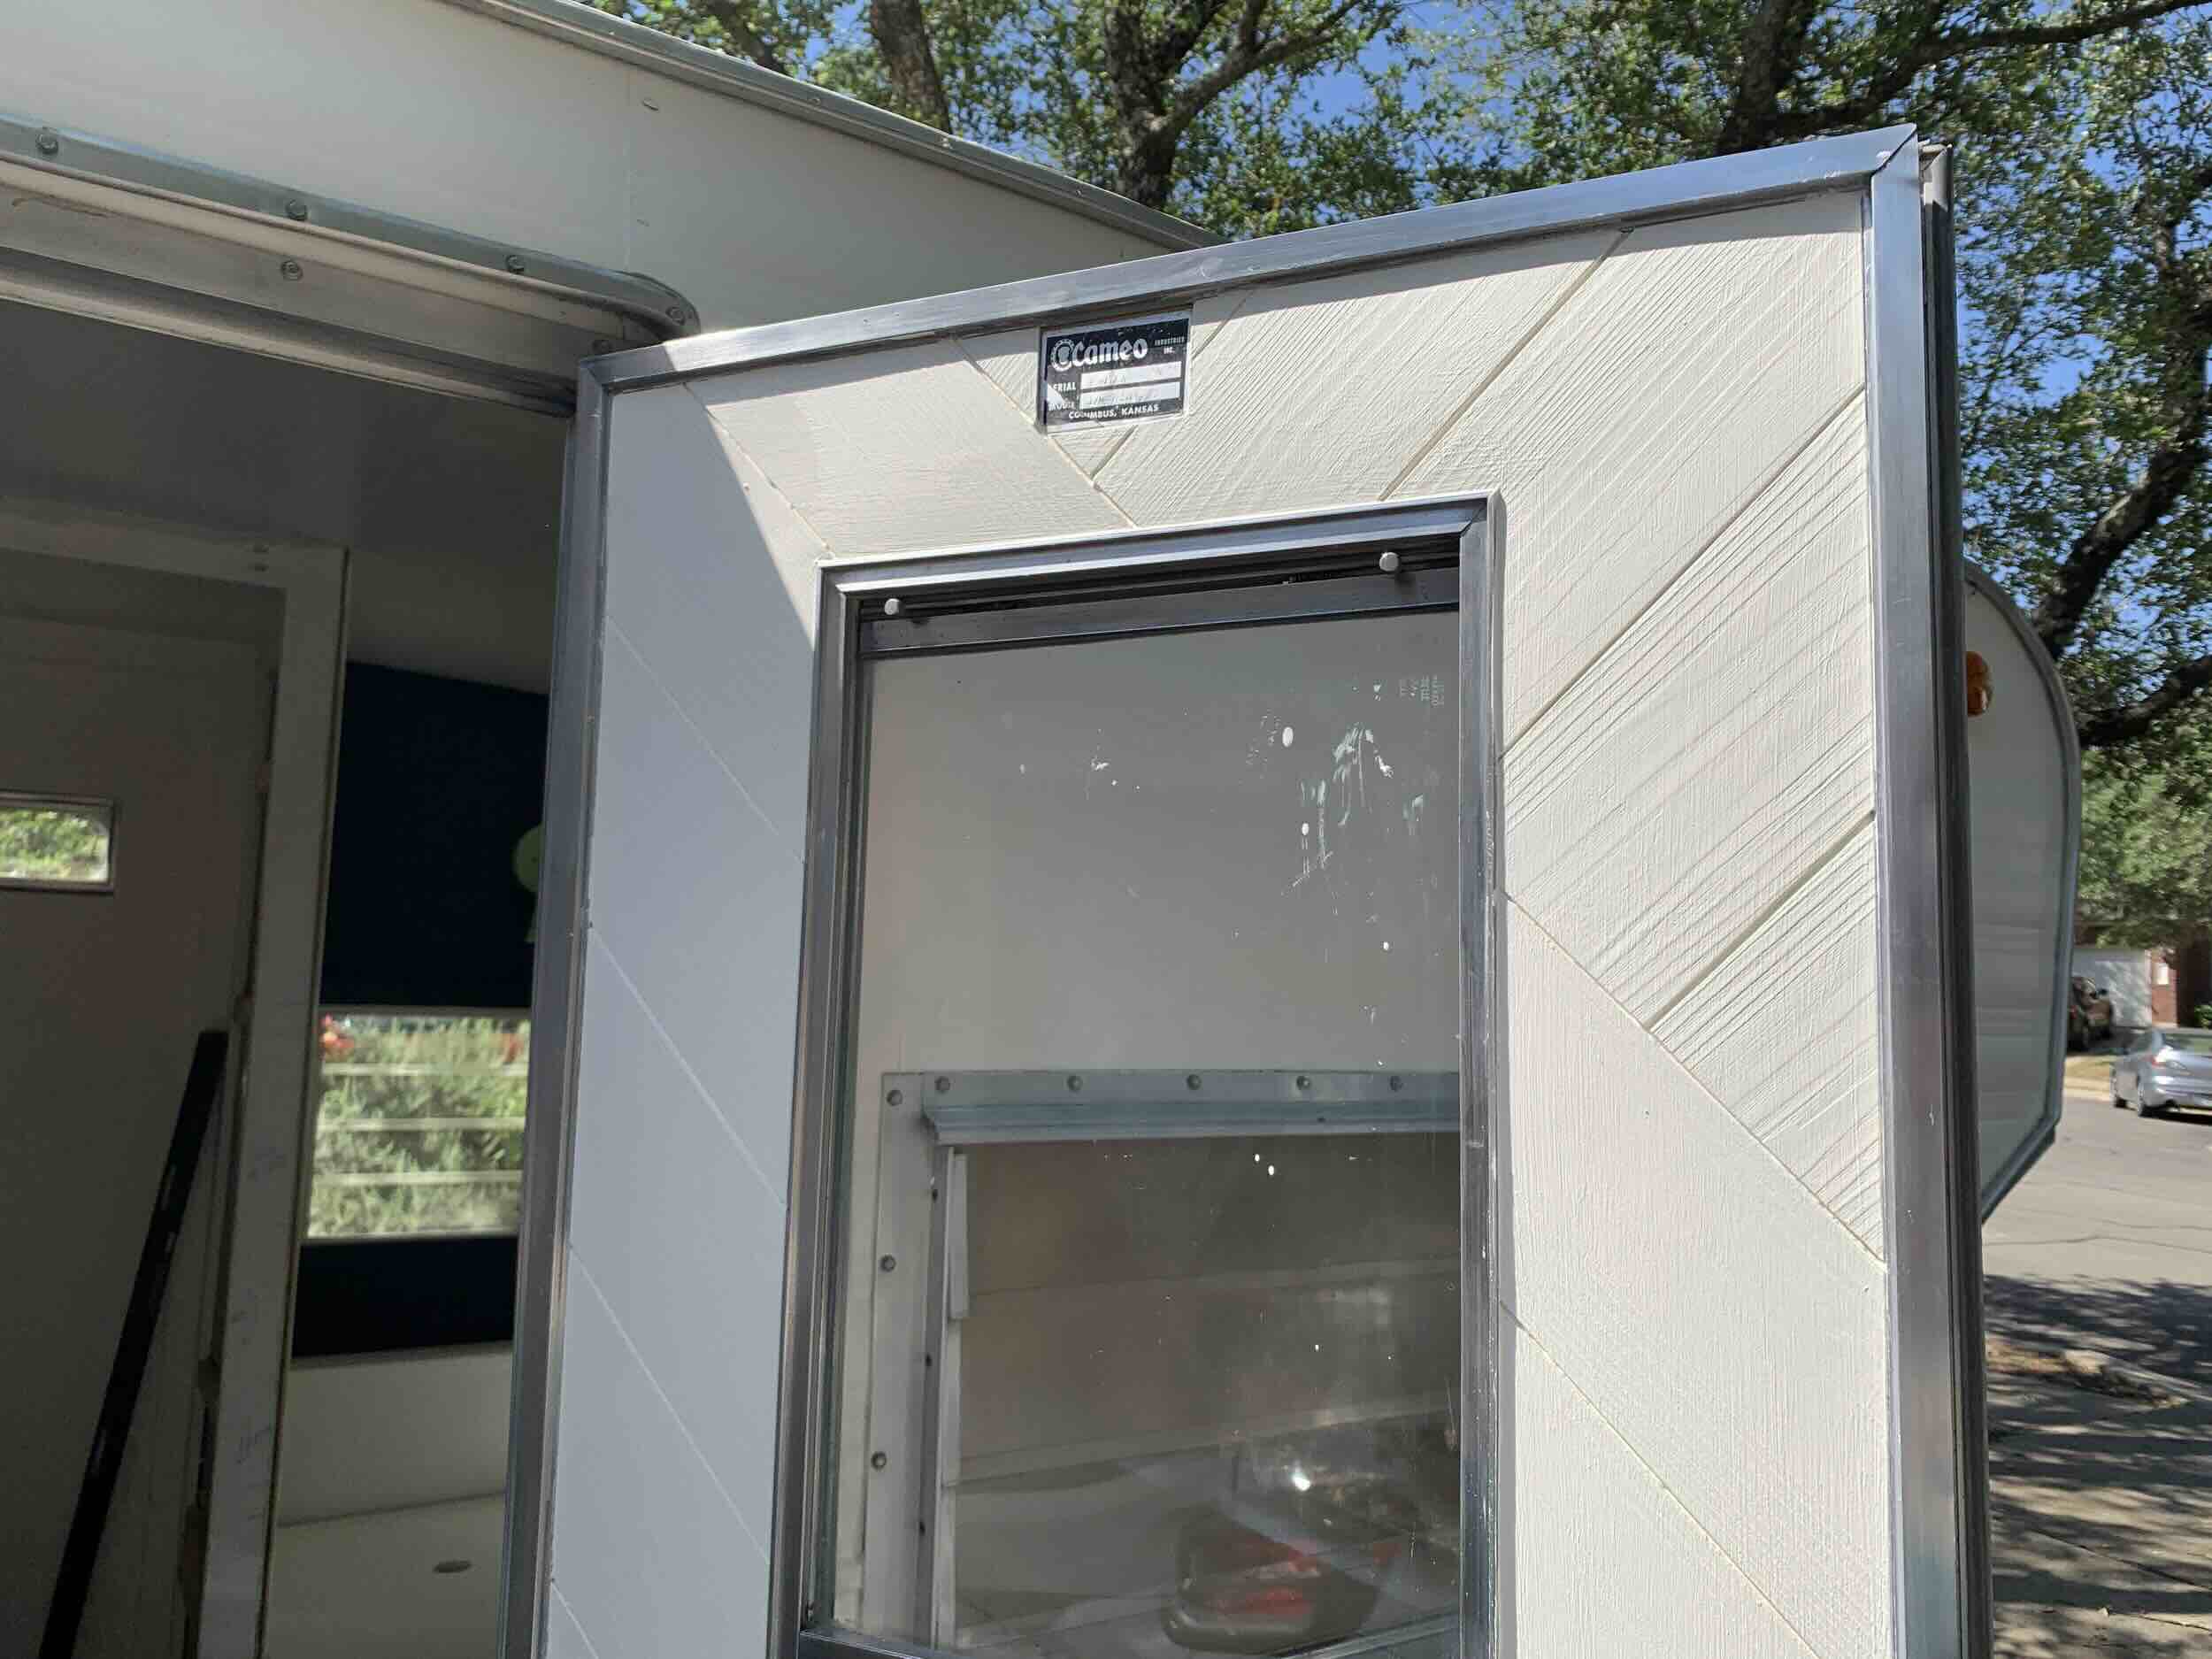
Building a DIY RV entry door can be a fun and rewarding project. Whether your current door is worn out or you're just looking for a custom touch, making your own door lets you tailor it to your needs. This guide will walk you through the basics, from gathering materials to installing your new door. No need for advanced carpentry skills; just some basic tools and a bit of patience. By the end, you’ll have a secure, stylish entryway that boosts your RV’s functionality and appearance. Ready to get started? Let's dive in!
Getting Ready for Your Project
Gather Materials: Collect all necessary materials like plywood, hinges, screws, insulation, and a door handle. Make sure everything is within reach.
Measure the Door Frame: Use a tape measure to get the exact dimensions of the door frame. Write these measurements down.
Safety Gear: Wear safety goggles, gloves, and a dust mask to protect yourself from wood dust and sharp tools.
Clear the Workspace: Ensure your workspace is clean and free of clutter. This helps prevent accidents and makes it easier to move around.
Prepare Tools: Lay out tools like a saw, drill, screwdriver, and measuring tape. Check that they are in good working condition.
Cut the Plywood: Using the measurements, cut the plywood to the correct size. Double-check the dimensions before cutting to avoid mistakes.
Sand the Edges: Smooth the edges of the cut plywood with sandpaper to prevent splinters and ensure a snug fit.
Install Insulation: Place insulation material inside the plywood frame to help with temperature control and noise reduction.
Attach Hinges: Secure the hinges to the door frame and the plywood. Make sure they are aligned properly for smooth opening and closing.
Fit the Door Handle: Install the door handle according to the manufacturer's instructions. Ensure it is sturdy and functional.
Test the Door: Before finalizing, test the door to make sure it opens and closes smoothly. Make any necessary adjustments.
Gather Your Materials and Tools
- Plywood: Used for the main structure of the door. Choose a sturdy, weather-resistant type.
- 2x4 Lumber: Provides the frame and support for the door.
- Insulation Foam: Keeps the door insulated, maintaining temperature inside the RV.
- Weatherstripping: Seals the edges to prevent drafts and water leaks.
- Door Handle and Lock: Ensures security and ease of use.
- Hinges: Allows the door to swing open and close smoothly.
- Screws and Nails: Fasten the components together securely.
- Wood Glue: Adds extra strength to the joints.
- Sandpaper: Smooths out rough edges and surfaces.
- Paint or Stain: Protects the wood and gives it a finished look.
- Primer: Prepares the wood for painting or staining.
- Caulk: Fills gaps and seals joints to make the door weatherproof.
- Measuring Tape: Ensures accurate measurements for cutting materials.
- Circular Saw: Cuts the plywood and lumber to size.
- Drill: Makes holes for screws and handles.
- Screwdriver: Tightens screws.
- Hammer: Drives nails into the wood.
- Clamps: Holds pieces together while the glue dries.
- Level: Ensures the door is straight and even.
- Safety Gear: Includes gloves, goggles, and a dust mask to protect while working.
Required Skills and Time Commitment
Skill Level: Intermediate
Time Required: Approximately 6-8 hours
Steps:
- Measure and Plan: 1 hour
- Gather Materials: 30 minutes
- Cut Wood Panels: 1 hour
- Assemble Frame: 1.5 hours
- Install Insulation: 30 minutes
- Attach Exterior Panels: 1 hour
- Install Hardware: 1 hour
- Final Adjustments: 30 minutes
Follow These Steps
Gather Materials and Tools
- Plywood
- Insulation foam
- Hinges
- Door handle and lock
- Weatherstripping
- Screws and nails
- Drill
- Saw
- Measuring tape
- Pencil
Measure the Door Frame
- Use the measuring tape to get the height and width of the door frame.
- Write down the measurements.
Cut the Plywood
- Mark the measurements on the plywood using a pencil.
- Cut the plywood to size with a saw.
Add Insulation
- Cut the insulation foam to fit the plywood.
- Attach the foam to the plywood using adhesive or screws.
Attach Hinges
- Place the hinges on one side of the door.
- Mark where the screws will go.
- Drill pilot holes and then screw the hinges into place.
Install the Door Handle and Lock
- Mark where the handle and lock will go.
- Drill holes for the handle and lock.
- Attach the handle and lock according to the manufacturer's instructions.
Add Weatherstripping
- Measure the edges of the door.
- Cut the weatherstripping to fit.
- Attach the weatherstripping around the edges of the door.
Hang the Door
- Hold the door up to the frame.
- Align the hinges with the frame.
- Screw the hinges into the frame.
Test the Door
- Open and close the door to ensure it fits well.
- Make any necessary adjustments.
Finish
- Sand any rough edges.
- Paint or stain the door if desired.
Helpful Tips and Tricks
Measure Twice, Cut Once: Always double-check measurements before cutting materials. This saves time and reduces waste.
Use Lightweight Materials: Opt for lightweight yet sturdy materials like aluminum or fiberglass. These keep the door easy to handle and install.
Weatherproofing: Ensure proper sealing around the edges using weatherstripping or silicone caulk. This prevents drafts and water leaks.
Reinforce the Frame: Strengthen the door frame with additional bracing. This adds durability and security.
Pre-drill Holes: Pre-drill screw holes to avoid splitting the wood or other materials. This makes assembly smoother.
Test Fit: Before final installation, test fit all parts to ensure everything aligns correctly. Adjust as needed.
Use Quality Hinges: Invest in high-quality hinges to support the door's weight and ensure smooth operation.
Insulation: Add insulation inside the door panel to improve energy efficiency and soundproofing.
Common Mistakes to Avoid:
Incorrect Measurements: Misjudging dimensions can lead to a poorly fitting door. Always measure accurately.
Ignoring Weight: Using heavy materials can strain the RV structure. Choose lightweight options.
Poor Sealing: Skipping weatherproofing steps can result in leaks and drafts. Always seal properly.
Weak Frame: A flimsy frame can compromise the door's stability. Reinforce it well.
Alternatives for Materials or Methods:
Materials: Instead of traditional wood, consider composite materials for durability and resistance to weather.
Methods: Use a pocket hole jig for stronger joints without visible screws. This enhances the door's appearance and strength.
Estimating the Costs
Plywood: $30-$50 per sheet (you might need 1-2 sheets)
Insulation: $10-$20 (foam board or fiberglass)
Weatherstripping: $5-$15
Hinges: $10-$20 for a set of 3
Door Handle and Lock: $20-$40
Screws and Nails: $5-$10
Sealant: $5-$10
Paint or Stain: $10-$20
Tools:
- Saw: $50-$100 (if you don't already have one)
- Drill: $30-$60 (if needed)
- Screwdriver: $5-$10
- Measuring Tape: $5-$10
- Sandpaper: $5
Total Estimated Cost: $185-$365
Budget-Friendly Alternatives:
- Use reclaimed wood instead of new plywood: $0-$20
- Borrow or rent tools from a friend or a local tool library: $0-$20
- Opt for basic hardware instead of premium options: $10-$20
Revised Total Cost: $100-$200
Different Ways to Customize
Materials: Instead of using standard wood, consider aluminum for a lighter door or fiberglass for better insulation. Reclaimed wood can give a rustic look.
Colors: Paint the door a bright color like red or yellow to make it stand out. For a more modern look, use neutral colors like gray or white.
Styles: Add a window to the door for extra light inside the RV. Use stained glass for a decorative touch. Install a screen door behind the main door to let in fresh air while keeping bugs out.
Hardware: Choose decorative handles and hinges to match the RV's interior. Brass or chrome can add a touch of elegance. Consider a keypad lock for added security.
Insulation: Add foam insulation inside the door to keep the RV warm in winter and cool in summer. Use weatherstripping around the edges to prevent drafts.
Finishes: Apply a waterproof sealant to protect the door from the elements. Use a high-gloss finish for a sleek look or a matte finish for a more subdued appearance.
Decorations: Attach a decorative plaque or sign with the RV's name. Add hooks or pockets on the inside for extra storage. Use decals or stickers to personalize the door.
Eco-Friendly Tips
Reclaimed wood can be a great option for the frame. It’s sturdy and gives a rustic look. Recycled metal can be used for hinges and handles. This reduces waste and adds durability. For insulation, consider using recycled denim or sheep's wool. Both are effective and eco-friendly. Natural linseed oil can be used to treat the wood, protecting it without harmful chemicals. Salvaged windows from old homes or buildings can be repurposed for the door’s window, providing light and a view. When painting, choose low-VOC or VOC-free paints to minimize harmful emissions. Use bamboo or cork for any additional trim or accents. Both materials are sustainable and add a unique touch. Finally, ensure all screws and nails are made from recycled steel to keep the project as green as possible.
Your DIY RV Door Awaits
Building your own RV entry door might seem like a big job, but with the right tools and a bit of patience, it's totally doable. You've got the measurements, the materials, and the steps laid out. Just remember to double-check your measurements before cutting anything. Secure the hinges and locks properly to ensure safety. Don’t rush the finishing touches; a smooth paint job or stain can make all the difference. If you hit a snag, take a break and come back with fresh eyes. This project not only saves money but also gives a sense of accomplishment. Plus, you get a custom door that fits your style. So, roll up those sleeves, grab your tools, and get to work. Your RV will thank you!
How do I measure for a new RV entry door?
Measure the width and height of the existing door frame. Make sure to measure from the inside edges of the frame, not the door itself. Also, check the thickness of the door to ensure a proper fit.
What materials do I need to build an RV entry door?
You'll need plywood, insulation, hinges, a door handle, weatherstripping, and sealant. A saw, drill, and screwdriver will also come in handy.
How do I insulate the RV entry door?
Cut foam board insulation to fit inside the door frame. Secure it with adhesive and cover it with a layer of plywood. This helps keep your RV warm in winter and cool in summer.
How do I install the hinges?
Attach the hinges to the door first. Then, align the door with the frame and mark where the hinges will go on the frame. Drill pilot holes and screw the hinges into place.
How do I weatherproof the door?
Apply weatherstripping around the edges of the door to seal any gaps. Use sealant around the frame to prevent water from leaking in. This keeps your RV dry and cozy.
Can I add a window to my RV entry door?
Yes, you can! Cut a hole in the door where you want the window. Install a window frame and secure the glass with sealant. Make sure it’s properly sealed to avoid leaks.
How do I install the door handle and lock?
Mark where you want the handle and lock. Drill holes for the hardware, then attach the handle and lock according to the manufacturer's instructions. Make sure everything is secure and works smoothly.