
Home>Home & Furniture>Doors & Windows>How to Build a DIY Murphy Door
Doors & Windows
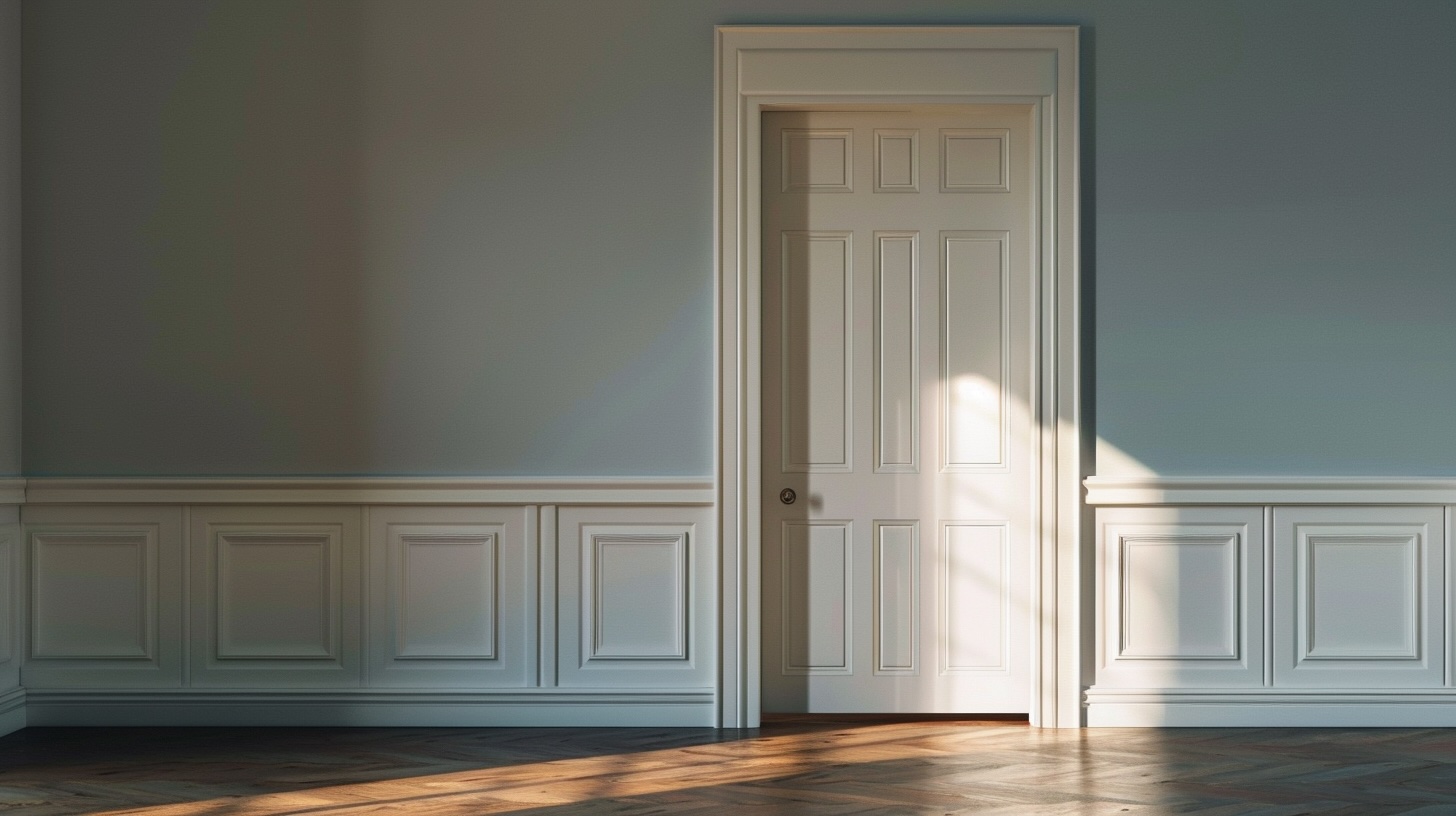
How to Build a DIY Murphy Door
Published: September 18, 2024
Learn how to build a DIY Murphy door with our step-by-step guide. Transform your space with this hidden door project, perfect for adding style and functionality to any room.
(Many of the links in this article redirect to a specific reviewed product. Your purchase of these products through affiliate links helps to generate commission for Twigandthistle.com, at no extra cost. Learn more)
Ever feel like you could use some extra space at home? A Murphy door might be just what you need. These clever doors can turn any room into a hidden treasure. They look just like a regular bookcase or cabinet, but they swing open to reveal a secret space. Making your own Murphy door isn't as hard as it might seem. With a few tools and some basic materials, you can create a functional and stylish addition to your home. Get ready to impress your friends and add a bit of mystery to your living space!
Getting Ready for Your Project
Gather Materials: Collect all necessary tools and materials. You'll need wood, hinges, screws, a drill, a saw, measuring tape, and a level.
Measure the Space: Measure the doorway where the Murphy door will go. Accurate measurements ensure a perfect fit.
Plan the Design: Sketch the design of your Murphy door. Decide if it will have shelves or a plain surface.
Prepare the Workspace: Clear a large area to work. Ensure good lighting and ventilation.
Safety Gear: Wear safety goggles, gloves, and a dust mask. Protect yourself from wood dust and sharp tools.
Cut the Wood: Use a saw to cut the wood pieces according to your design. Double-check measurements before cutting.
Assemble the Frame: Assemble the door frame using screws and a drill. Make sure it’s square and sturdy.
Install Hinges: Attach hinges to the door frame. Ensure they are aligned properly for smooth operation.
Test Fit: Place the door in the doorway to check the fit. Make any necessary adjustments.
Finish the Door: Sand the wood to remove rough edges. Paint or stain the door if desired.
Install the Door: Secure the Murphy door in place. Use a level to ensure it’s straight.
Check Operation: Open and close the door several times. Make sure it operates smoothly without sticking.
Materials and Tools Needed
Plywood Sheets: Used for the main structure of the door. Choose sturdy, high-quality plywood for durability.
Wood Screws: Essential for assembling the plywood pieces. Make sure to get screws that are long enough to hold the pieces together securely.
Hinges: Special hinges designed for Murphy doors. These allow the door to open and close smoothly.
Wood Glue: Provides extra strength to the joints. Use it along with screws for a more secure build.
Paint or Stain: Gives the door a finished look. Choose a color or stain that matches your room's decor.
Sandpaper: Smooths out rough edges and surfaces. Helps the paint or stain adhere better.
Measuring Tape: Ensures accurate measurements for cutting plywood and placing hinges.
Circular Saw: Cuts the plywood sheets to the required dimensions. A table saw can also be used if available.
Drill: Needed for making holes for screws and hinges. A cordless drill is convenient for mobility.
Level: Ensures the door is installed straight. Prevents it from being crooked or uneven.
Clamps: Holds pieces together while the glue dries. Keeps everything in place during assembly.
Pencil: Marks measurements and cutting lines on the plywood. Essential for accuracy.
Safety Gear: Includes safety glasses and gloves. Protects you while cutting and assembling the door.
Skill Level and Time Required
Skill Level: Intermediate. Requires basic carpentry skills, familiarity with power tools, and some experience with home improvement projects.
Time Required: 2-3 days. This includes time for measuring, cutting, assembling, and installing the door. Drying time for paint or stain may extend the project duration.
Step-by-Step Instructions
Gather Materials and Tools
- Wood: Plywood or MDF
- Hinges: Heavy-duty, preferably hidden
- Screws: Various sizes
- Wood Glue
- Paint or Stain: Optional, for finishing
- Tools: Drill, saw, measuring tape, level, screwdriver
Measure and Cut Wood
- Measure the door frame dimensions.
- Cut wood panels to fit the frame.
- Cut additional pieces for shelves if desired.
Assemble Door Frame
- Lay out the cut wood pieces.
- Attach using wood glue and screws.
- Ensure the frame is square using a level.
Install Shelves (Optional)
- Measure and mark shelf positions.
- Attach shelves inside the frame using screws.
Attach Hinges
- Mark hinge positions on the door and frame.
- Pre-drill holes for screws.
- Attach hinges to the door, then to the frame.
Mount the Door
- Position the door in the doorway.
- Secure hinges to the door frame.
- Check that the door swings open and closed smoothly.
Finish the Door
- Sand any rough edges.
- Paint or stain the door if desired.
- Allow to dry completely.
Install Handle and Latch
- Choose a handle that matches your decor.
- Attach the handle to the door.
- Install a latch or lock if needed.
Test and Adjust
- Open and close the door several times.
- Make any necessary adjustments to hinges or alignment.
Enjoy Your New Murphy Door
- Use the door as a hidden storage space or secret passage.
Tips and Tricks for Success
Measure Twice, Cut Once: Always double-check your measurements before cutting any wood. This saves time and materials.
Use a Stud Finder: Ensure the door frame attaches securely to wall studs. This provides stability and support.
Pre-Drill Holes: Prevent wood from splitting by pre-drilling holes for screws. It makes assembly smoother.
Level the Door: Use a level to make sure the door is straight. An uneven door won't close properly.
Heavy-Duty Hinges: Choose strong hinges to support the weight of the door. Regular door hinges might not be sturdy enough.
Magnetic Catches: Install magnetic catches to keep the door closed. This prevents it from swinging open unintentionally.
Paint or Stain Before Assembly: It's easier to paint or stain the wood before putting everything together. This ensures even coverage.
Common Mistakes to Avoid:
Skipping the Stud Finder: Not securing the frame to studs can make the door unstable.
Incorrect Measurements: Misjudging dimensions can lead to gaps or a door that doesn't fit.
Using Weak Hinges: Regular hinges may not support the door's weight, causing sagging.
Alternatives for Materials or Methods:
Plywood Instead of Solid Wood: Plywood is lighter and often cheaper than solid wood. It can be just as strong when properly reinforced.
Pocket Screws: Use pocket screws for a cleaner look. They hide the screws and provide strong joints.
Sliding Barn Door Hardware: If hinges seem too complicated, consider using sliding barn door hardware. It can be easier to install and offers a unique look.
Cost Estimation
Plywood: $50-$100 (depends on quality and thickness)
Hinges: $20-$40 (heavy-duty ones)
Screws and Nails: $10-$15
Wood Glue: $5-$10
Paint or Stain: $20-$30
Door Handle: $10-$25
Shelf Brackets: $10-$20
Tools:
- Drill: $50-$100 (if you don't have one)
- Saw: $30-$60 (circular or jigsaw)
- Screwdriver Set: $10-$20
- Measuring Tape: $5-$10
- Level: $10-$15
Total Estimated Cost: $230-$445
Budget-Friendly Alternatives:
- Use reclaimed wood or old furniture for plywood: Free or cheaper
- Borrow tools from friends or neighbors: Free
- Look for discounted paint or stain at hardware stores: $10-$15
- Use basic hinges instead of heavy-duty: $10-$20
Variations and Customizations
Materials: Instead of traditional wood, consider using metal for an industrial look or reclaimed wood for a rustic feel. Plywood can be a budget-friendly option.
Colors: Paint the door to match your room's decor. Bold colors like red or blue can make a statement, while neutral tones like white, gray, or beige offer a more subtle appearance. Stain the wood to highlight its natural grain.
Styles: Add molding or trim for a classic look. For a modern touch, go with sleek, flat panels. Barn door hardware can give it a farmhouse vibe.
Handles and Knobs: Choose vintage handles for a retro feel or sleek, modern knobs for a contemporary look. Hidden handles can make the door blend seamlessly into the wall.
Shelving: Incorporate built-in shelves on the inside of the door for extra storage. Use adjustable shelves to customize the space for different items.
Lighting: Add LED strip lights inside the door frame for a cool, illuminated effect. Motion sensor lights can add convenience.
Mirrors: Attach a full-length mirror to the door for a functional and stylish addition. This can also make a small room feel larger.
Decorative Elements: Use wallpaper or decals to add patterns or designs. Corkboard or chalkboard paint can turn the door into a message center.
Hinges and Mechanisms: Opt for soft-close hinges to prevent slamming. Heavy-duty hinges can support more weight if you plan to add shelves or other features.
Secret Compartments: Create hidden storage within the door for valuables or important documents. Use magnetic locks for easy access.
Sustainability Tips
Reclaimed Wood: Use wood from old furniture or pallets. This reduces waste and gives a rustic look.
Eco-friendly Paint: Choose low-VOC or zero-VOC paint. These paints have fewer harmful chemicals.
Recycled Hardware: Look for hinges, handles, and other hardware at salvage yards or thrift stores. This saves money and resources.
Sustainable Plywood: Opt for FSC-certified plywood. This ensures the wood comes from responsibly managed forests.
Natural Finishes: Use beeswax or natural oils instead of synthetic finishes. These are safer for you and the environment.
Energy-efficient Lighting: If your Murphy door includes lighting, use LED bulbs. They last longer and use less energy.
Insulation: Add eco-friendly insulation like sheep wool or recycled denim. This helps with energy efficiency.
Minimal Waste: Plan your cuts carefully to minimize scrap wood. Use leftover pieces for other projects or donate them.
Non-toxic Adhesives: Use water-based or plant-based glues. These are less harmful than traditional adhesives.
Your DIY Murphy Door Awaits
Building a DIY Murphy door isn't just about saving space; it's about adding a touch of creativity to your home. You've got the tools, the materials, and the know-how. Now, it's time to put everything together. Measure twice, cut once, and don't rush the process. Pay attention to the details like hinges and alignment. A little patience goes a long way. If you hit a snag, don't sweat it. Every project has its hiccups. Just step back, take a breather, and tackle it again. When you finally swing that door open, you'll feel a sense of accomplishment that's hard to beat. So, roll up your sleeves, get to work, and enjoy the satisfaction of a job well done. Your new Murphy door will be the talk of the house!
What materials do I need to build a DIY Murphy door?
You'll need wood, hinges, screws, brackets, a drill, a saw, and some paint or stain.
How much time will it take to complete?
It usually takes a weekend if you have all the materials and tools ready.
Can I customize the size of the Murphy door?
Absolutely! Just measure your doorway and adjust the plans accordingly.
Do I need special tools?
Not really. A drill, saw, measuring tape, and level should do the trick.
Is it difficult to install the hinges?
It can be a bit tricky. Make sure to measure and mark carefully before drilling.
Can I use the Murphy door as a bookshelf?
Yes, many people add shelves to their Murphy doors for extra storage.
How do I make sure the door stays hidden?
Use trim and paint that match your walls to help the door blend in seamlessly.