
Home>Home & Furniture>Doors & Windows>How to Build a DIY Garage Door Screen
Doors & Windows
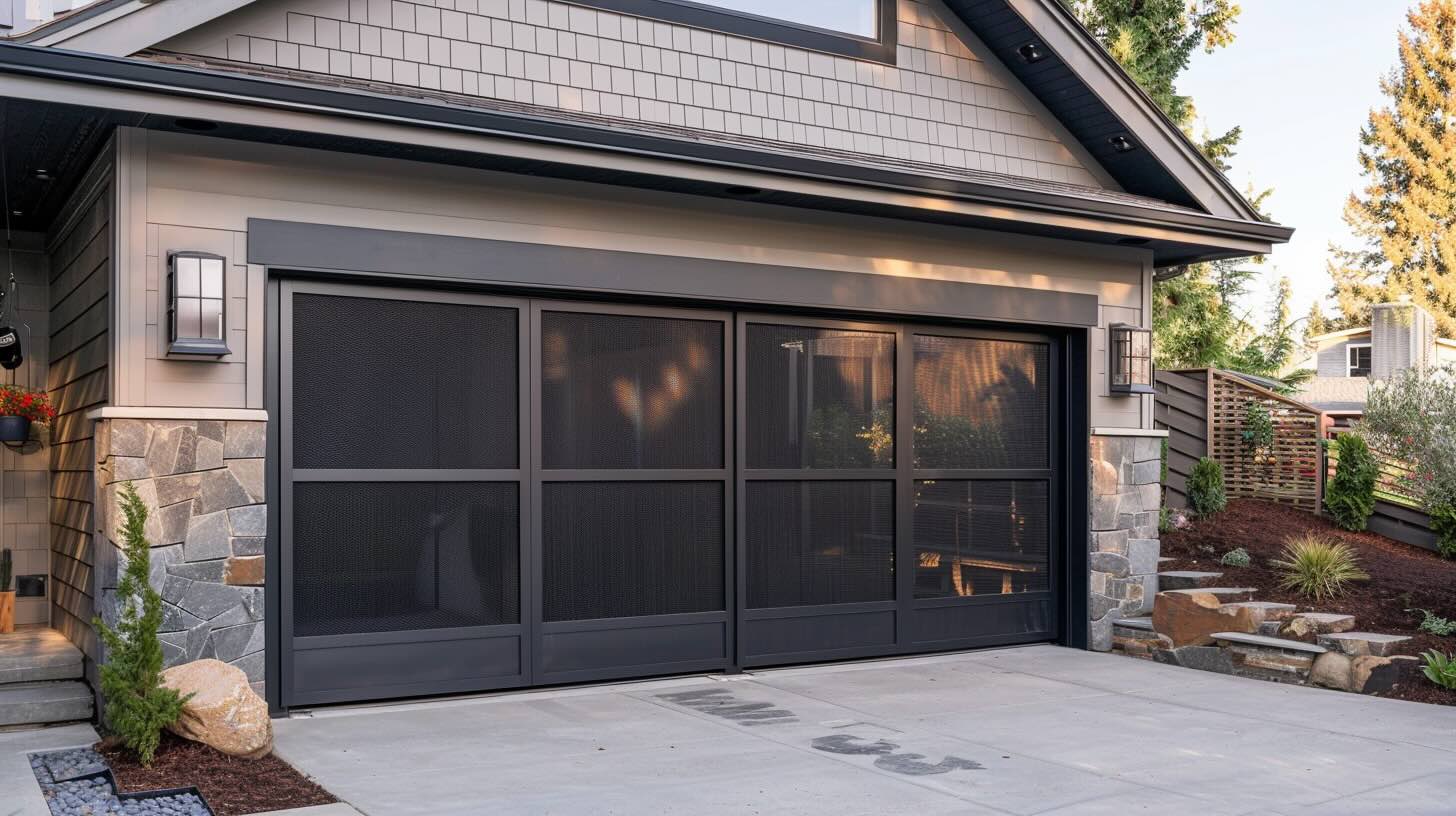
How to Build a DIY Garage Door Screen
Published: September 14, 2024
Learn how to build a DIY garage door screen with our step-by-step guide. Enhance your garage space, keep bugs out, and enjoy fresh air with this easy home improvement project.
(Many of the links in this article redirect to a specific reviewed product. Your purchase of these products through affiliate links helps to generate commission for Twigandthistle.com, at no extra cost. Learn more)
Transforming your garage into a versatile space can be exciting. One way to achieve this is by adding a DIY garage door screen. This project allows fresh air to flow in while keeping bugs out, making your garage perfect for various activities. Even if you're not a seasoned DIY expert, building your own garage door screen is straightforward and satisfying. You'll need some basic materials and a bit of time. In this guide, we’ll walk you through the simple steps to create a functional, budget-friendly garage door screen that enhances your home and lifestyle.
Getting Ready for Your Project
Measure Your Garage Door: Use a tape measure to get the exact width and height of the garage door. Write down these measurements.
Gather Materials: You’ll need screen material, a screen frame kit, spline, spline roller, utility knife, and mounting hardware. Make sure you have everything before starting.
Set Up Workspace: Clear a large, flat area to work. Lay down a tarp or old sheet to protect the screen material from dirt.
Safety Gear: Wear safety goggles and gloves to protect your eyes and hands while cutting and assembling the screen.
Cut Screen Material: Based on your measurements, cut the screen material to size, leaving a few extra inches on each side.
Assemble Frame: Follow the instructions in the screen frame kit to put together the frame. Use a rubber mallet to ensure the corners fit tightly.
Attach Screen to Frame: Lay the screen material over the frame. Use the spline roller to press the spline into the frame groove, securing the screen. Trim any excess screen material with a utility knife.
Install Mounting Hardware: Attach the mounting hardware to the garage door frame. Make sure it’s level and secure.
Hang the Screen: Lift the assembled screen and hang it on the mounting hardware. Check that it opens and closes smoothly.
Test and Adjust: Open and close the screen a few times to ensure it works properly. Make any necessary adjustments to the frame or mounting hardware.
Materials and Tools Checklist
Screen Material: Choose a durable mesh that allows airflow but keeps bugs out. Fiberglass or aluminum mesh works well.
Wooden Frame: Use 2x4 or 2x2 lumber to create a sturdy frame for the screen. Make sure the wood is treated to withstand outdoor conditions.
Screws and Nails: Secure the wooden frame together with screws or nails. Use galvanized ones to prevent rust.
Hinges: Attach the screen to the garage door frame with heavy-duty hinges. This allows the screen to swing open and closed.
Magnetic Strips or Velcro: Use these to keep the screen closed when not in use. Magnets or Velcro strips provide a tight seal.
Staple Gun: Attach the screen material to the wooden frame using a staple gun. Ensure the screen is taut to avoid sagging.
Measuring Tape: Measure the dimensions of your garage door opening accurately. This ensures the screen fits perfectly.
Saw: Cut the wooden frame pieces to the correct length. A handsaw or circular saw works well for this task.
Drill: Pre-drill holes for screws to prevent the wood from splitting. A cordless drill makes this job easier.
Screwdriver: Tighten screws and attach hinges with a screwdriver. A power screwdriver speeds up the process.
Sandpaper: Smooth any rough edges on the wooden frame. This prevents splinters and gives a polished look.
Paint or Stain: Protect the wooden frame with paint or stain. Choose a color that matches your garage exterior.
Utility Knife: Trim excess screen material after stapling it to the frame. A sharp utility knife ensures clean cuts.
Level: Ensure the frame is straight and level when installing. This prevents the screen from hanging unevenly.
Pencil: Mark measurements and hinge placements on the wood. A pencil allows for easy adjustments.
Required Skills and Time Commitment
Skill Level: Intermediate
Estimated Time Required: 4-6 hours
- Measure and Cut Materials: 1-2 hours
- Assemble Frame: 1 hour
- Attach Screen: 1-2 hours
- Install Screen on Garage Door: 1 hour
Detailed Building Instructions
Gather Materials:
- Screen mesh
- Velcro strips
- Measuring tape
- Scissors
- Staple gun
- Wooden frame (optional)
Measure the Garage Door:
- Use the measuring tape to find the height and width of the garage door opening.
- Write down the measurements.
Cut the Screen Mesh:
- Lay out the screen mesh on a flat surface.
- Cut the mesh to match the garage door measurements, adding a few extra inches on each side.
Attach Velcro Strips:
- Cut Velcro strips to fit the top, bottom, and sides of the garage door frame.
- Staple or stick one side of the Velcro to the garage door frame.
- Attach the other side of the Velcro to the edges of the screen mesh.
Install the Screen:
- Align the screen mesh with the Velcro strips on the garage door frame.
- Press the mesh firmly against the Velcro to secure it in place.
Optional Wooden Frame:
- If using a wooden frame, build a frame to fit the garage door opening.
- Staple the screen mesh to the wooden frame.
- Attach the frame to the garage door opening using screws or nails.
Test the Screen:
- Open and close the garage door to ensure the screen stays in place.
- Make any necessary adjustments to the Velcro or frame.
Enjoy Your New Screen:
- Use the screen to keep bugs out while allowing fresh air into the garage.
Helpful Tips and Tricks
Measure accurately before cutting any materials. This ensures a snug fit and prevents gaps. Use a magnetic screen for easy access in and out of the garage. Magnets allow the screen to close automatically after you pass through.
Choose durable materials like fiberglass mesh. It withstands wear and tear better than other options. Reinforce the edges with strong tape or fabric to prevent fraying.
Install a tension rod at the top of the screen. This keeps it taut and prevents sagging. Velcro strips can secure the sides to the garage frame, making it easy to remove when not needed.
Common mistakes include not measuring properly, which leads to ill-fitting screens. Avoid using cheap mesh that tears easily. Skipping edge reinforcement can cause the screen to fall apart quickly.
Alternatives include using a retractable screen door kit. These kits come with all necessary parts and are easier to install. Another option is a sliding screen door, which can be more durable and user-friendly.
Budgeting for Your DIY Garage Door Screen
Materials:
- Screen Mesh: $30-$50 (depends on size and quality)
- Magnetic Strips: $10-$20
- Velcro Strips: $10-$15
- PVC Pipes: $20-$40 (for frame)
- Pipe Connectors: $5-$10
- Zip Ties: $5
- Weather Stripping: $10-$15
Tools:
- Measuring Tape: $5-$10
- Utility Knife: $5-$10
- Scissors: $5
- Drill: $30-$50 (if you don't have one)
- Screwdriver: $5-$10
Total Cost: $135-$240
Budget-Friendly Alternatives:
- Screen Mesh: Use old window screens or buy in bulk for discounts.
- PVC Pipes: Substitute with wooden dowels or repurpose old curtain rods.
- Magnetic Strips: Use magnetic tape from craft stores.
- Velcro Strips: Sew on old Velcro from unused items.
- Weather Stripping: Use foam tape or old fabric strips.
These alternatives can reduce costs by $30-$50.
Creative Variations and Customizations
Materials: Instead of using standard screen mesh, consider using heavy-duty mesh for better durability. For a more budget-friendly option, plastic mesh can work well. If you want something more stylish, decorative metal mesh adds a unique touch.
Colors: Most screens come in basic black or gray. Try using white mesh for a cleaner look or green mesh to blend with outdoor surroundings. Colored frames can also add a pop of personality. Paint the frame in bright colors like red or blue for a fun twist.
Styles: For a more rustic look, use wooden frames instead of metal. If you prefer a modern style, aluminum frames offer a sleek appearance. Adding curtains or roll-up shades can provide extra privacy and sun protection.
Opening Mechanisms: Instead of a simple pull-down screen, consider a sliding screen for easier access. Motorized screens can be controlled with a remote, adding convenience. Magnetic closures offer a quick and easy way to seal the screen without zippers.
Additional Features: Add pockets or hooks to the frame for storing small tools or gardening supplies. Install LED lights around the frame for better visibility at night. Weatherstripping can help seal gaps and keep bugs out more effectively.
Eco-Friendly Building Tips
Eco-friendly materials and methods can make your DIY garage door screen project both sustainable and cost-effective.
Bamboo is a great option for the frame. It grows quickly, making it a renewable resource. Reclaimed wood can also be used. Check local salvage yards or online marketplaces for old wood that can be repurposed.
For the screen itself, consider using recycled mesh. Some companies offer mesh made from recycled plastic bottles. This reduces waste and gives new life to old materials.
Natural fibers like cotton or hemp can be used for the screen. These materials are biodegradable and have a lower environmental impact compared to synthetic options.
When it comes to fasteners, opt for recycled metal screws or nails. These can often be found at hardware stores specializing in eco-friendly products.
Solar-powered lights can be added to the garage door screen for visibility at night. This reduces electricity usage and harnesses renewable energy.
Non-toxic paint or stain can be used to finish the frame. These products are better for the environment and your health.
Reuse old materials whenever possible. Old window screens, leftover paint, or even parts from an old screen door can be repurposed for this project.
By choosing sustainable materials and methods, you can create a functional, eco-friendly garage door screen that benefits both you and the planet.
Your DIY Garage Door Screen Awaits
Building a DIY garage door screen isn't just a fun project; it's a practical solution for enjoying your garage space. By following these steps, you can create a screen that fits perfectly, keeps bugs out, and lets fresh air in. Remember to measure your garage door accurately, choose the right materials, and take your time with the installation.
Don't forget to double-check your work to ensure everything is secure. With a bit of effort, you'll have a functional screen that enhances your garage's usability. Plus, you'll get the satisfaction of knowing you built it yourself. So grab your tools, gather your materials, and get started on your DIY project. Your new garage door screen is just a few steps away!
How much does it cost to build a DIY garage door screen?
The cost can vary, but typically, you'll spend between $50 and $150. It depends on the materials you choose and the size of your garage door.
What materials do I need for this project?
You'll need screen mesh, magnetic strips, adhesive, a utility knife, measuring tape, and Velcro strips. Some folks also use PVC pipes for a sturdier frame.
How long will it take to complete?
Most people can finish this project in about 2 to 4 hours. It depends on your experience and the complexity of your garage door.
Can I use any type of screen mesh?
It's best to use a durable, weather-resistant mesh. Fiberglass and polyester are popular choices. Avoid flimsy materials that might tear easily.
Will the screen affect my garage door's operation?
If installed correctly, the screen shouldn't interfere with the door's function. Make sure the screen can be easily moved or rolled up when you need to open or close the door.
How do I clean and maintain the screen?
Cleaning is simple! Just use a mild soap and water mixture. Gently scrub with a soft brush, then rinse and let it air dry. Regular cleaning will keep it looking good and functioning well.
Can I remove the screen during winter?
Absolutely! Many folks prefer to take the screen down during colder months. Just detach the Velcro or magnetic strips and store the screen in a dry place until spring.