
Home>Home & Furniture>Doors & Windows>How to Build a Cozy Dog Window Seat
Doors & Windows
How to Build a Cozy Dog Window Seat
Published: August 12, 2024
Learn how to build a cozy dog window seat with our step-by-step guide. Create a comfortable spot for your furry friend to enjoy the view and relax in style.
(Many of the links in this article redirect to a specific reviewed product. Your purchase of these products through affiliate links helps to generate commission for Twigandthistle.com, at no extra cost. Learn more)
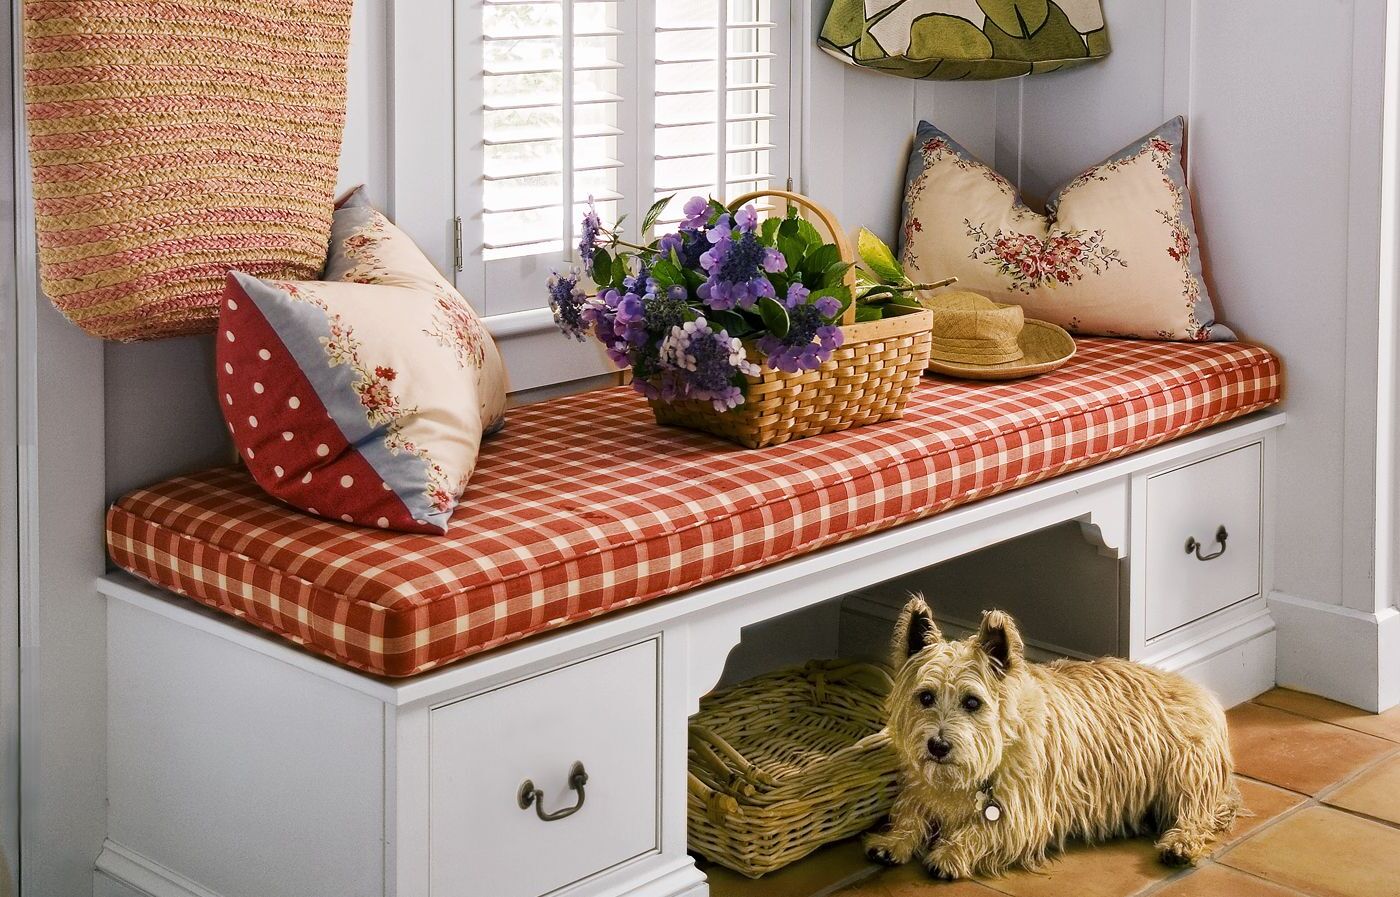
Giving your dog a comfy spot by the window can be a fun project for any DIY enthusiast. A dog window seat combines a love for your pet with some basic carpentry and creativity. Your dog will love watching the world outside while lounging in their new favorite spot. Plus, creating this cozy area can be rewarding for the whole family. You don't need advanced skills to get started—just some basic tools, materials, and a bit of patience. Let's dive into the process of making a special window seat that both you and your dog will enjoy.
Getting Ready for the Project
Measure the Window Area: Use a tape measure to get the width and height of the window. This ensures the seat fits perfectly.
Gather Materials: Collect wood, screws, a saw, a drill, sandpaper, paint, a cushion, and fabric. Make sure everything is within reach.
Safety Gear: Wear safety goggles and gloves to protect your eyes and hands while cutting and assembling.
Clear the Workspace: Remove any clutter from the area where you’ll be working. Ensure there's enough space to move around comfortably.
Cut the Wood: Use a saw to cut the wood pieces according to your measurements. Sand the edges to avoid splinters.
Assemble the Frame: Drill holes and screw the wood pieces together to form the base and sides of the seat. Double-check stability.
Paint the Frame: Apply a coat of paint to the wood. Let it dry completely before moving on.
Prepare the Cushion: Cut fabric to cover the cushion. Sew or staple the fabric around the cushion for a snug fit.
Attach the Cushion: Place the cushion on the seat frame. Secure it with Velcro strips or fabric ties to keep it in place.
Install the Seat: Position the seat under the window. Ensure it’s stable and secure, so your dog can safely enjoy their new spot.
Materials and Tools Needed
Materials:
- Plywood: Forms the base and sides of the seat.
- Foam Cushion: Provides comfort for your dog.
- Fabric: Covers the foam cushion for a cozy feel.
- Wood Screws: Holds the plywood pieces together.
- Wood Glue: Adds extra strength to the joints.
- Paint or Stain: Finishes the wood for a polished look.
- Sandpaper: Smooths the wood surfaces.
Tools:
- Tape Measure: Ensures accurate measurements.
- Saw: Cuts the plywood to size.
- Drill: Makes holes for screws and drives them in.
- Screwdriver: Tightens the screws.
- Paintbrush: Applies paint or stain.
- Staple Gun: Attaches fabric to the cushion.
- Scissors: Cuts fabric and foam to size.
Skill Level and Time Required
Skill Level: Intermediate
Time Required: 4-6 hours
Steps:
- Measure and Cut Wood: 1 hour
- Assemble Frame: 1.5 hours
- Attach Cushion: 1 hour
- Paint or Stain: 1-2 hours
Tools Needed:
- Saw
- Drill
- Screws
- Paintbrush
Materials Needed:
- Wood
- Cushion
- Paint or Stain
Tips:
- Double-check measurements before cutting.
- Use clamps to hold pieces steady.
- Let paint dry fully before use.
Step-by-Step Instructions
Measure the Window Area
- Use a tape measure to find the width and height of the window.
- Note the measurements on paper.
Gather Materials
- Plywood: Cut to fit the window measurements.
- Foam Cushion: Same size as the plywood.
- Fabric: Enough to cover the foam cushion.
- Screws: To secure the plywood.
- Brackets: For mounting the seat.
- Staple Gun: To attach the fabric.
- Drill: For making holes.
Cut the Plywood
- Use a saw to cut the plywood to match the window measurements.
- Sand the edges to smooth them out.
Attach the Brackets
- Mark where the brackets will go on the wall under the window.
- Drill holes for the brackets.
- Secure the brackets with screws.
Mount the Plywood
- Place the plywood on the brackets.
- Secure the plywood to the brackets with screws.
Prepare the Cushion
- Cut the foam cushion to match the plywood size.
- Lay the fabric flat on a surface.
- Place the foam cushion on the fabric.
- Wrap the fabric around the cushion and staple it to the underside.
Attach the Cushion
- Place the cushion on top of the plywood.
- Secure it with a few staples or Velcro strips to keep it in place.
Add Finishing Touches
- Check for any loose screws or staples.
- Ensure the seat is stable and secure.
- Add a blanket or small pillow for extra comfort.
Helpful Tips and Tricks
Measure the window height and width. Choose a sturdy material like plywood for the base. Add foam padding for comfort. Cover the foam with a washable fabric. Secure the seat to the window sill using brackets. Paint or stain the wood to match your decor.
Common mistakes to avoid: Don't skip measuring the window accurately. Avoid using thin or weak materials. Don't forget to secure the seat properly to prevent accidents.
Alternatives: Instead of plywood, use solid wood for a more durable seat. Instead of foam, try using a memory foam mattress topper for extra comfort. Instead of brackets, use L-brackets for added stability.
Estimating the Cost
Materials:
- Plywood: $20-$30
- Foam Cushion: $15-$25
- Fabric: $10-$20
- Wood Screws: $5
- Wood Glue: $5
- Paint or Stain: $10-$15
Tools:
- Saw: $30-$50 (or borrow)
- Drill: $40-$60 (or borrow)
- Staple Gun: $10-$20
- Paintbrushes: $5-$10
- Measuring Tape: $5-$10
Total Cost: $155-$250
Budget-Friendly Alternatives:
- Plywood: Use scrap wood or reclaimed wood.
- Foam Cushion: Repurpose old cushions or pillows.
- Fabric: Use old blankets or sheets.
- Tools: Borrow from friends or rent from a local hardware store.
Different Variations and Customizations
Alternative Materials: Instead of using wood, try metal or plastic for a modern look. Recycled materials can also add an eco-friendly touch.
Colors: Paint the seat in bright colors like yellow or blue to make it pop. For a more neutral look, use white, gray, or beige.
Styles: Add cushions with different patterns like stripes, polka dots, or floral designs. Use fabric that matches your home decor, whether it's rustic, modern, or vintage.
Storage: Incorporate storage compartments under the seat for dog toys, leashes, or blankets. This keeps everything organized and within reach.
Height: Adjust the height of the seat to match your dog's size. Smaller dogs might need a lower seat, while larger dogs could use a higher one.
Shape: Experiment with different shapes like rounded edges or a curved backrest for added comfort and style.
Safety: Add non-slip pads on the bottom to keep the seat stable. Use soft, durable fabric to prevent any injuries or discomfort.
Personal Touches: Customize with your dog's name or paw prints using stencils or decals. Add a small canopy or curtains for a cozy, private space.
Lighting: Install a small LED light above the seat for nighttime use. This can make the area feel warm and inviting.
Mobility: Add wheels to the bottom for easy movement. This allows you to place the seat in different locations around the house.
Eco-Friendly Tips
Reclaimed Wood: Use old pallets or leftover wood from other projects. Sand them down to avoid splinters.
Eco-Friendly Paint: Choose non-toxic, low-VOC paint to keep the air clean.
Recycled Fabric: Find old blankets or cushions to create a soft seating area. Wash them thoroughly before use.
Natural Fillings: Use materials like cotton, wool, or shredded paper for stuffing cushions. These are biodegradable and safe.
Repurposed Furniture: Convert an old bench or table into the base of the window seat. This saves materials and gives new life to old items.
Energy-Efficient Tools: Use hand tools or energy-efficient power tools to reduce electricity consumption.
Sustainable Fasteners: Opt for screws and nails made from recycled metals. They are just as strong and better for the environment.
Local Materials: Source wood, fabric, and other materials locally to reduce transportation emissions.
Plant-Based Adhesives: Use glues made from natural ingredients like soy or corn. They are less harmful to the environment.
Solar Lighting: If adding a light near the seat, choose solar-powered options to save energy.
Your Pup's New Favorite Spot
Building a cozy dog window seat isn't just a fun DIY project; it's a great way to show your furry friend some love. With a few tools, some wood, and a bit of creativity, you can create a special place where your dog can relax and watch the world go by. Remember to measure your space carefully, choose comfortable materials, and ensure the seat is sturdy. Adding a soft cushion or blanket will make it even more inviting. Once it's done, your dog will have a new favorite spot to enjoy. Plus, you'll have the satisfaction of knowing you built it yourself. So grab your tools, get started, and watch your pup's tail wag with joy. Happy building!
How much space do I need for a dog window seat?
You don't need a ton of space. Measure your window and make sure there's enough room for your dog to sit or lie comfortably. A small nook or corner works great.
What materials should I use?
Use sturdy materials like wood for the base and soft, durable fabric for the cushion. You can also add foam padding for extra comfort.
How do I secure the seat to the window?
Use brackets or L-shaped metal braces to attach the seat to the wall under the window. Make sure everything's screwed in tightly to avoid any wobbling.
Can I make it removable?
Sure thing! Use detachable brackets or Velcro strips so you can easily take the seat down when needed. This is handy for cleaning or if you want to move it.
How do I make it comfortable for my dog?
Add a thick cushion or foam pad covered with a washable fabric. You can also throw in a few of your dog's favorite blankets or toys.
Is it safe for all dogs?
Generally, yes. Just make sure the seat is sturdy and secure. For larger dogs, ensure the seat can support their weight. Always supervise at first to make sure your dog is comfortable and safe.
How can I make it look nice in my home?
Match the cushion fabric to your home decor. You can also paint or stain the wood to blend in with your furniture. Add some decorative pillows for a stylish touch.