
Home>Home & Furniture>Doors & Windows>DIY Snowman Door Decoration Ideas
Doors & Windows
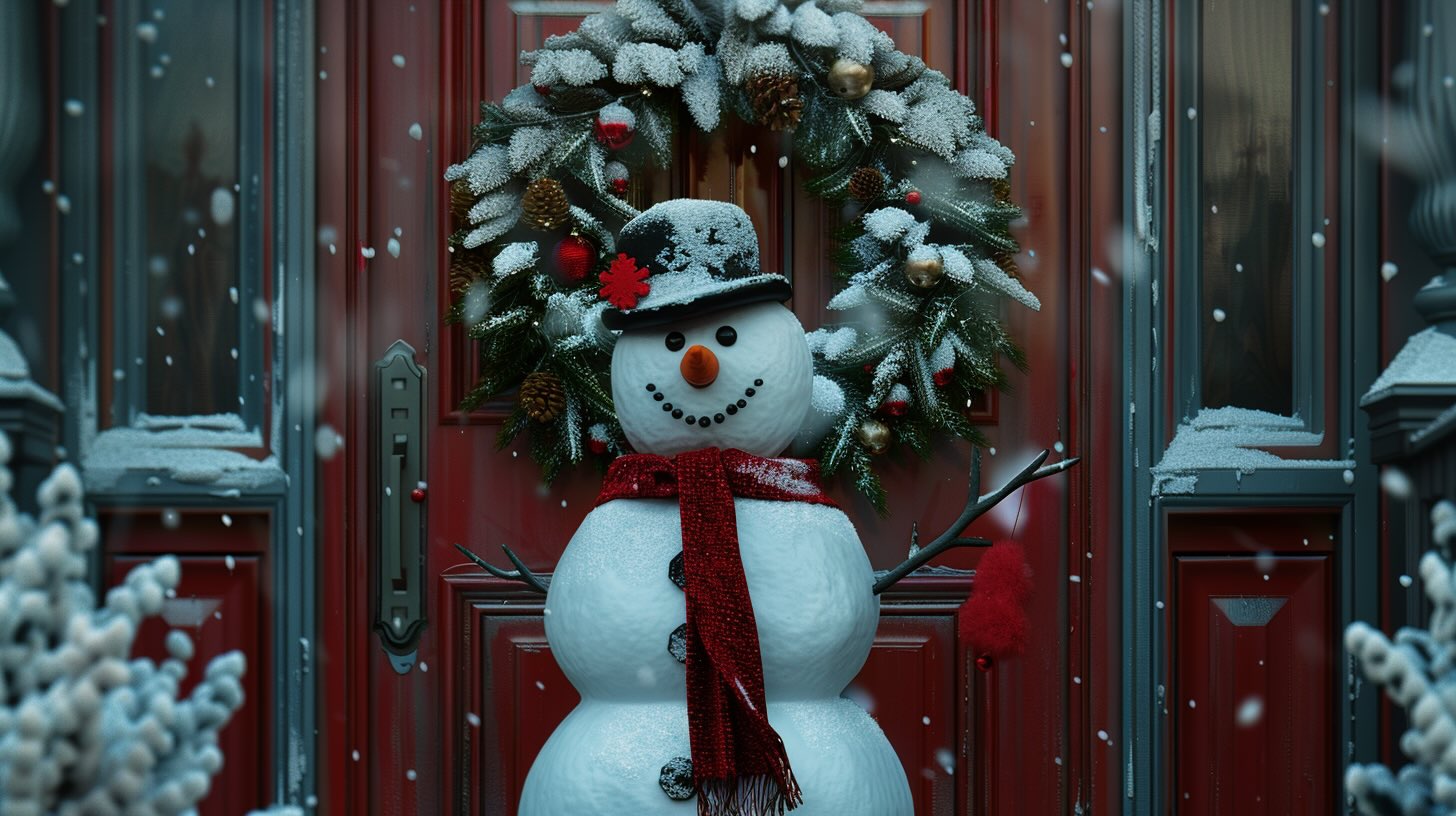
DIY Snowman Door Decoration Ideas
Published: September 22, 2024
Discover creative and fun DIY snowman door decoration ideas to transform your home this winter. Easy, budget-friendly projects perfect for adding festive charm to your entryway!
(Many of the links in this article redirect to a specific reviewed product. Your purchase of these products through affiliate links helps to generate commission for Twigandthistle.com, at no extra cost. Learn more)
With the holiday season approaching, adding a festive touch to your home can be a fun and engaging activity. One creative way to spread some holiday cheer is by decorating your door with a DIY snowman. Whether you have a lot of crafting experience or just enjoy simple projects, making a snowman door decoration can be a delightful undertaking for all ages. You can use everyday materials, making this project both budget-friendly and customizable. Let's dive into some easy and charming ideas to transform your front door into a welcoming winter wonderland.
Getting Ready for Your Project
Gather Materials: Collect white paper, scissors, glue, markers, buttons, a hat, scarf, and tape.
Safety First: Use scissors carefully. Keep fingers away from blades. If using a hot glue gun, avoid touching the hot tip or glue.
Clear Workspace: Ensure your workspace is clean and has enough room for all materials. A large table works best.
Measure Door: Measure the door to ensure your snowman fits. Use a tape measure for accuracy.
Cut Shapes: Cut out circles for the snowman’s body and head. Make sure they are proportional.
Prepare Accessories: Cut out a hat, scarf, and buttons from colored paper. You can also use real buttons and fabric.
Arrange Pieces: Lay out all pieces on the floor to see how they fit together. Adjust sizes if needed.
Attach to Door: Use tape to attach the snowman’s body, head, and accessories to the door. Start from the bottom and work up.
Add Details: Draw or glue on eyes, nose, mouth, and buttons. Use markers or colored paper.
Final Check: Ensure everything is securely attached. Make sure the door can still open and close easily.
What You Need to Get Started
- White Foam Board: Used as the base for the snowman's body. Easy to cut and lightweight.
- Black Construction Paper: For the snowman's hat, eyes, and buttons. Sturdy and easy to shape.
- Orange Construction Paper: To create the snowman's carrot nose. Bright and eye-catching.
- Scissors: Essential for cutting out shapes from foam board and construction paper. Make sure they are sharp.
- Glue: To attach the paper pieces to the foam board. Use a strong adhesive for durability.
- Markers: For adding details like the snowman's mouth and any other decorations. Choose waterproof markers.
- Ribbon: To make a scarf for the snowman. Adds a colorful touch and can be easily tied.
- Tape: To secure the snowman to the door. Use double-sided tape for a clean look.
- Ruler: For measuring and ensuring straight lines. Helps in making precise cuts.
- Hole Punch: To create holes for hanging or adding extra decorations. Useful for threading ribbon.
- Buttons: Real buttons can be glued on for a 3D effect. Adds a charming, realistic touch.
- Glitter: Optional, for adding sparkle to the snowman. Use sparingly to avoid mess.
- Paint: For adding color to the foam board or touching up details. Choose acrylic paint for best results.
- Paintbrushes: Needed for applying paint. Use different sizes for various details.
- Craft Knife: For more detailed cutting work. Be careful and use a cutting mat to protect surfaces.
How Much Time and Skill You Need
Skill Level: Beginner
Time Required: 1-2 hours
- Gather Materials: 10 minutes
- Cut and Shape: 20 minutes
- Assemble Snowman: 30 minutes
- Decorate: 30 minutes
- Clean Up: 10 minutes
Follow These Steps
Gather Materials:
- White paper plates (3 different sizes)
- Black construction paper
- Orange construction paper
- Red or green scarf (or fabric)
- Buttons
- Glue
- Scissors
- Tape
- Markers
Create Snowman Body:
- Tape the largest paper plate at the bottom of the door.
- Place the medium-sized plate above the large one, securing with tape.
- Attach the smallest plate at the top for the head.
Make the Face:
- Cut out two circles from black construction paper for eyes.
- Cut a triangle from orange construction paper for the nose.
- Glue eyes and nose onto the smallest plate.
- Draw a smile with markers.
Add Buttons:
- Glue buttons down the center of the medium and large plates.
Create Hat:
- Cut a hat shape from black construction paper.
- Attach the hat to the top of the smallest plate.
Add Scarf:
- Tie the scarf around where the smallest and medium plates meet.
Final Touches:
- Draw or glue additional decorations like snowflakes or mittens.
- Ensure all parts are securely attached.
Helpful Tips for Success
Use foam sheets for the snowman's body. They are lightweight and easy to cut. Attach with double-sided tape to avoid damaging the door.
Common mistakes to avoid: Using heavy materials that might fall off. Not measuring the door first can lead to a snowman that doesn’t fit well.
Alternatives: Instead of foam, try using white paper plates for the body. For the hat, a black construction paper works great. Old scarves or fabric scraps can be used for the snowman’s scarf.
How Much Will It Cost?
Materials:
- White felt: $5
- Black felt: $2
- Orange felt: $1
- Red scarf: $3
- Buttons: $2
- Glue: $3
- Cardboard: $0 (recycled from home)
Tools:
- Scissors: $5
- Hot glue gun: $10
Total Cost: $31
Budget-Friendly Alternatives:
- Old white sheet instead of white felt: $0 (recycled from home)
- Construction paper instead of felt: $2
- Old scarf instead of buying new: $0 (recycled from home)
- Regular glue instead of hot glue gun: $1
Total Cost with Alternatives: $10
Different Ways to Personalize
Alternative Materials: Instead of felt, use construction paper or foam sheets for the snowman’s body. For a more rustic look, try using burlap or wood slices.
Colors: Traditional white can be swapped for glittery silver or light blue to give a frosty effect. Use bright colors for the hat and scarf to make the snowman pop.
Styles: Create a vintage snowman with old buttons and a plaid scarf. For a modern twist, use geometric shapes for the snowman’s body and accessories.
Accessories: Add a top hat made from black cardboard or a knit beanie. Use real twigs for arms or ribbon for a scarf.
Lighting: Attach battery-operated fairy lights around the snowman to make it glow at night.
Textures: Mix in cotton balls or pom-poms to give the snowman a fluffy appearance.
Personalization: Write a welcome message or family name on the snowman’s belly using paint pens or stickers.
Background: Use a snowflake-patterned wrapping paper or fabric as the backdrop for the door.
Interactive Elements: Add Velcro pieces so kids can change the snowman’s accessories.
Eco-Friendly Options: Use recycled materials like old newspapers for the body and bottle caps for buttons.
Eco-Friendly Ideas
Recycled cardboard can be used to create the snowman's body. Cut out circles from old boxes and paint them white.
Old buttons make perfect eyes and mouth pieces. If you don't have buttons, use bottle caps or small stones.
Scrap fabric can be turned into a scarf. Look for old shirts or fabric scraps you no longer need.
Twigs from your yard can be used for the snowman's arms. They add a natural touch and are easy to find.
Used paper can be rolled into a hat. Paint it black or any color you like.
Reused plastic bottles can be cut and painted to make the snowman's nose. Orange paint will give it a carrot look.
Old socks can be turned into mittens or a hat. Just cut and shape them to fit.
Leftover yarn can be used to create hair or other decorations.
Recycled paper can be used to make snowflakes around the snowman. Cut out different shapes and sizes for variety.
Old Christmas ornaments can be repurposed to add extra sparkle. Attach them to the snowman or around the door.
Bring Your Snowman to Life
Creating your own snowman door decoration is a fun, rewarding project. With just a few materials and a bit of creativity, you can transform your door into a festive winter wonderland. Remember to use sturdy materials for the base, like cardboard or foam board, to ensure your snowman holds up throughout the season. Add personal touches with accessories like scarves, hats, and buttons. Don’t forget to involve the whole family; it’s a great way to spend time together and make lasting memories. Once your snowman is complete, step back and admire your handiwork. Your door will not only look inviting but also spread holiday cheer to everyone who passes by. So grab your supplies, get crafting, and let your imagination run wild. Happy decorating!
How do I make a snowman door decoration?
Gather white paper plates, black construction paper, orange felt, glue, and markers. Glue three plates vertically for the body. Cut out a hat from black paper, glue it on top. Use markers to draw eyes, mouth, and buttons. Cut a carrot nose from orange felt, glue it on.
What materials do I need?
You'll need paper plates, construction paper, felt, glue, markers, scissors, and ribbon. Optional: glitter, pom-poms, or buttons for extra flair.
Can I use other materials besides paper plates?
Absolutely! Try using foam circles, cardboard, or even fabric. Just make sure the materials are sturdy enough to hang on a door.
How do I attach the snowman to the door?
Use double-sided tape, command strips, or a ribbon looped through the top plate. Make sure it's secure but easy to remove later.
How can I make my snowman more unique?
Add accessories like a scarf from old fabric, glitter for sparkle, or googly eyes. Personalize it with your family's name or a fun holiday message.
Is this project kid-friendly?
Definitely! Kids can help with cutting, gluing, and decorating. Just supervise when using scissors and glue.