
Home>Home & Furniture>Doors & Windows>DIY Round Door Hanger Ideas
Doors & Windows
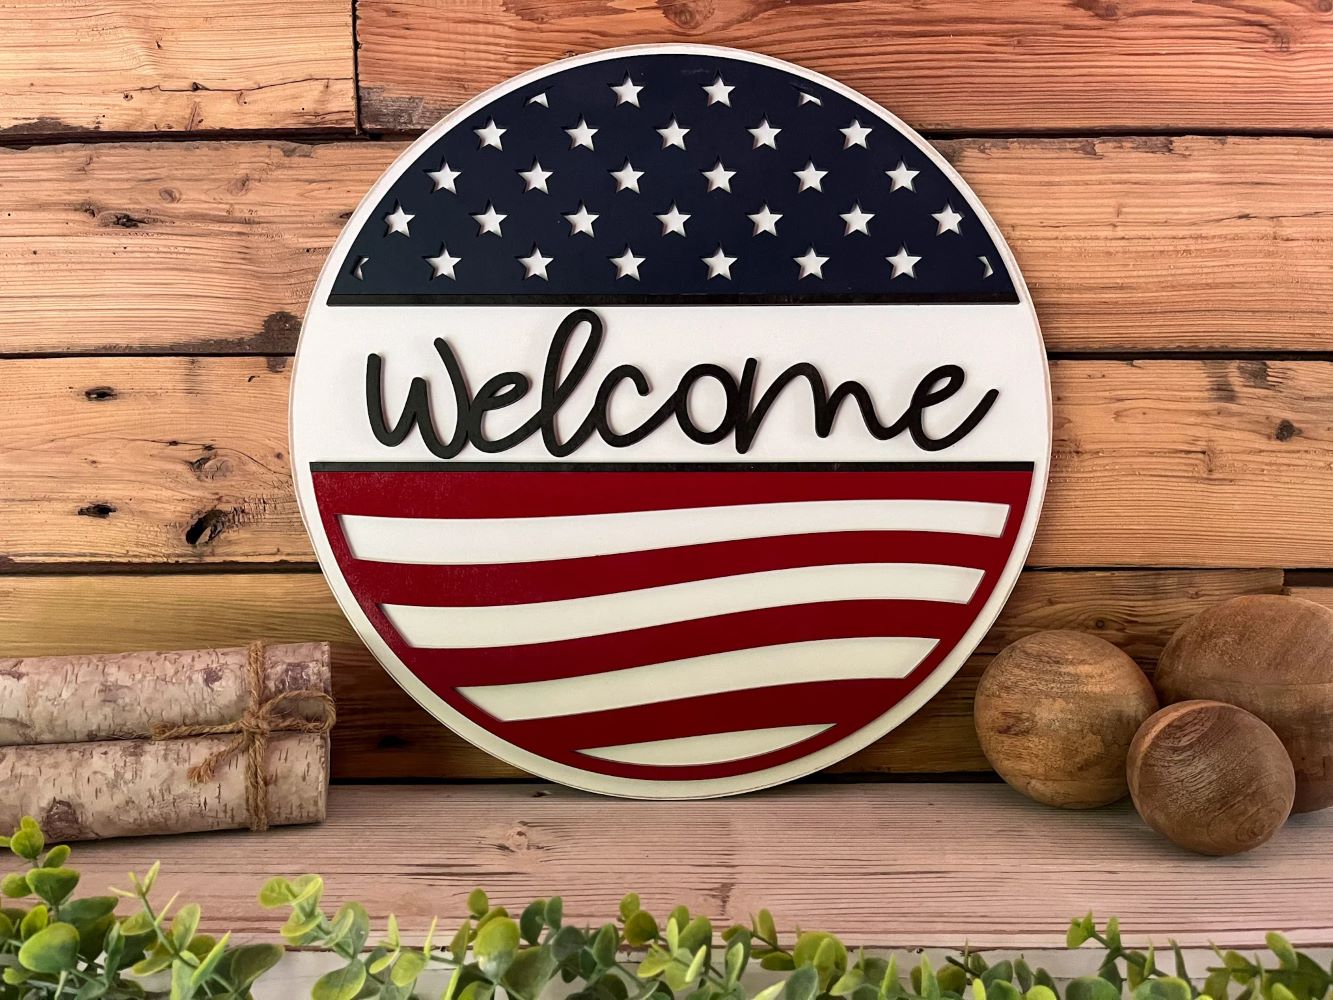
DIY Round Door Hanger Ideas
Published: September 20, 2024
Discover creative DIY round door hanger ideas to enhance your home's curb appeal. Easy-to-follow steps and tips for crafting unique, personalized door decor.
(Many of the links in this article redirect to a specific reviewed product. Your purchase of these products through affiliate links helps to generate commission for Twigandthistle.com, at no extra cost. Learn more)
Looking to spruce up your entryway? A round door hanger is a fun, creative way to add personality to your home. Whether you're celebrating a holiday, welcoming guests, or just love the idea of a unique door decoration, these projects are perfect for any skill level. You can use a variety of materials like wood, fabric, or metal to make something truly unique. With just a few supplies and some creativity, you can create a beautiful door hanger that will make your front door stand out in your neighborhood. Get ready to dive into some awesome DIY round door hanger ideas!
Getting Ready for Your Project
Gather Materials: Collect wooden rounds, paint, brushes, stencils, ribbons, and hooks. Make sure everything is within reach.
Safety First: Wear safety goggles and gloves. Ensure your workspace is well-ventilated, especially when using paint or glue.
Workspace Setup: Lay down newspapers or a drop cloth to protect surfaces. Arrange tools and materials neatly to avoid clutter.
Clean the Wood: Wipe the wooden round with a damp cloth to remove dust and debris. Let it dry completely before starting.
Sand the Surface: Use sandpaper to smooth out any rough edges or surfaces. This helps the paint adhere better.
Prime the Wood: Apply a coat of primer if you plan to paint the entire surface. This ensures even coverage and vibrant colors.
Plan Your Design: Sketch your design on paper first. Decide where to place stencils, paint, and other decorations.
Test Paint Colors: Try out paint colors on a small section or a scrap piece of wood to see how they look when dry.
Secure the Hanger: Attach a hook or ribbon to the back of the wooden round for hanging. Make sure it’s sturdy enough to hold the weight.
Organize Tools: Keep scissors, glue, and other tools in a designated spot. This makes it easier to find what you need quickly.
Check Lighting: Ensure your workspace has good lighting. This helps you see details clearly and avoid mistakes.
Prepare for Cleanup: Have a trash bag and wet wipes handy for quick cleanup. This keeps your workspace tidy and ready for the next project.
Gathering Your Supplies
Wooden Round: The base for your door hanger. Choose a size that fits your door.
Sandpaper: Smooths the wooden surface, making it ready for painting or staining.
Paint or Stain: Adds color or a natural wood finish to your hanger. Acrylic paint works well.
Paintbrushes: Different sizes help with broad strokes and detailed designs.
Stencils: Create patterns or letters easily. Great for adding words or shapes.
Hot Glue Gun: Attaches decorations securely. Be careful, it gets very hot.
Ribbon: For hanging the door hanger. Choose a sturdy, decorative ribbon.
Decorative Items: Flowers, bows, or seasonal decorations. Personalize your hanger.
Pencil: Sketch your design before painting. Helps plan your layout.
Ruler: Ensures straight lines and even spacing. Useful for precise designs.
Clear Sealant: Protects your finished hanger from weather. Keeps it looking new.
Drill: Makes holes for hanging. Ensure the bit matches your ribbon size.
Scissors: Cuts ribbon and other materials. Keep them sharp for clean cuts.
Tape: Holds stencils in place while painting. Prevents shifting and smudging.
Skill Level and Time Commitment
Skill Level: Beginner
Time Required: 1-2 hours
- Gather Materials: 10 minutes
- Cut and Sand Wood: 20 minutes
- Paint or Stain: 30 minutes (including drying time)
- Add Decorations: 30 minutes
- Attach Hanger: 10 minutes
Total Time: 1-2 hours
How to Make Your Door Hanger
Gather Materials:
- Wooden round (pre-cut or cut yourself)
- Sandpaper
- Paint or stain
- Paintbrushes
- Stencils or vinyl decals (optional)
- Ribbon or twine
- Hot glue gun
- Scissors
Prepare the Wooden Round:
- Sand the wooden round to smooth any rough edges.
- Wipe off dust with a damp cloth.
Paint or Stain:
- Apply paint or stain to the wooden round.
- Let it dry completely. Apply a second coat if needed.
Add Design:
- Use stencils or vinyl decals to add designs or words.
- Paint over the stencil or apply the decal smoothly.
- Let it dry.
Attach Ribbon or Twine:
- Cut a piece of ribbon or twine to the desired length.
- Hot glue each end to the back of the wooden round to create a hanger.
Decorate Further:
- Add bows, flowers, or other decorations using hot glue.
- Ensure everything is securely attached.
Hang Your Creation:
- Find a suitable spot on your door.
- Hang your new door hanger and enjoy!
Helpful Hints and Tips
Choose the Right Base: Use a sturdy wooden or MDF base for durability. Avoid flimsy materials like cardboard.
Prep Your Surface: Sand the base lightly to ensure paint or stain adheres well. Skipping this step can lead to peeling paint.
Use Stencils: For clean, professional-looking designs, use stencils. Freehand painting can be tricky and lead to uneven lines.
Seal Your Work: Apply a clear sealant to protect your design from weather and wear. Forgetting this step can cause your hanger to fade or chip.
Add a Hanger: Attach a strong ribbon or twine securely to the back. Weak attachments can cause your hanger to fall.
Layering Elements: Use different textures like burlap, felt, or faux greenery for added depth. Flat designs can look less interesting.
Hot Glue Gun: Use a hot glue gun for attaching decorations. Regular glue may not hold up well.
Personalization: Add a family name or welcome message for a personal touch. Generic designs can feel impersonal.
Seasonal Themes: Create interchangeable elements for different seasons. This keeps your door hanger relevant year-round.
Common Mistakes to Avoid:
- Overloading with decorations, making it too heavy.
- Ignoring weatherproofing, leading to damage.
- Using low-quality paint that fades quickly.
- Not measuring your door space, resulting in a hanger that's too big or small.
Material Alternatives:
- Instead of wood, use foam board for a lighter option.
- Swap paint for fabric or paper decoupage for a different texture.
- Use waterproof markers instead of paint for quick designs.
Budgeting for Your DIY Project
Wooden Round Base: $10-$15
Acrylic Paints: $5-$10
Paint Brushes: $3-$5
Stencils: $5-$8
Ribbon: $2-$4
Hot Glue Gun: $10-$15
Glue Sticks: $3-$5
Sandpaper: $2-$3
Hanging Hardware: $2-$4
Total Cost: $42-$69
Budget-Friendly Alternatives:
Wooden Round Base: Use an old cutting board or scrap wood
Acrylic Paints: Use leftover wall paint
Paint Brushes: Use sponges or old makeup brushes
Stencils: Make your own with cardboard
Ribbon: Use fabric scraps or old clothing
Hot Glue Gun: Use strong craft glue
Glue Sticks: Use white school glue
Sandpaper: Use a nail file
Hanging Hardware: Use string or twine
Personalizing Your Creation
Materials: Instead of wood, try using foam board or cardboard for a lighter option. For a rustic look, consider burlap or fabric stretched over a frame.
Colors: Paint your door hanger in seasonal colors like orange and brown for fall, or red and green for Christmas. Use metallic paints for a modern touch.
Styles: Go for a farmhouse style with distressed paint and twine. For a more elegant look, use gold leaf or stencils to create intricate designs.
Themes: Customize with holiday themes like pumpkins for Halloween or hearts for Valentine's Day. Create a welcome sign with your family name or a favorite quote.
Embellishments: Add ribbons, flowers, or beads for extra flair. Use vinyl decals or stickers for easy decoration.
Hanging Options: Instead of a simple hook, use a decorative ribbon or chain to hang your door hanger. Attach a magnet if your door is metal.
Textures: Incorporate textures like lace, felt, or buttons to make your door hanger stand out. Use spackle or modelling paste to create a 3D effect.
Personalization: Add initials or monograms for a personal touch. Use chalkboard paint so you can change the message whenever you like.
Lighting: Attach battery-operated fairy lights for a magical glow. Use glow-in-the-dark paint for a fun twist.
Eco-Friendly: Use recycled materials like old CDs or bottle caps. Try natural elements like twigs, leaves, or pinecones for an earthy feel.
Eco-Friendly Crafting Ideas
Reclaimed Wood: Use old pallets or leftover wood from other projects. Sand it down, paint or stain it, and cut it into a round shape.
Fabric Scraps: Gather old clothes, curtains, or fabric remnants. Wrap them around a cardboard or wooden circle to create a colorful, textured hanger.
Natural Elements: Collect twigs, leaves, or dried flowers. Arrange them in a circular pattern and glue them onto a wooden or cardboard base.
Recycled Paper: Use old magazines, newspapers, or scrap paper. Roll or fold them into shapes, then glue them onto a round base for a unique, eco-friendly design.
Cork: Save wine corks and cut them into slices. Glue them onto a wooden or cardboard circle to create a rustic, textured look.
Upcycled Metal: Use old cans or metal lids. Flatten them and arrange them in a circular pattern on a wooden base for a modern, industrial feel.
Burlap: Repurpose old burlap sacks. Cut them into strips and wrap them around a wooden or cardboard circle for a rustic, farmhouse-style hanger.
Buttons: Collect old buttons from clothes or sewing kits. Glue them onto a round base to create a colorful, textured design.
Shells: Gather shells from the beach. Arrange them in a circular pattern and glue them onto a wooden or cardboard base for a coastal-themed hanger.
Yarn: Use leftover yarn from knitting or crochet projects. Wrap it around a wooden or cardboard circle to create a soft, colorful hanger.
Your DIY Journey Awaits
Creating your own round door hanger is a fantastic way to add a personal touch to your home. With just a few materials and a bit of creativity, you can craft something truly unique. Whether you prefer a rustic look or something more modern, the possibilities are endless. Don’t be afraid to experiment with different colors, textures, and designs. Remember, the best part of DIY is making something that reflects your own style. So grab your supplies, roll up your sleeves, and get crafting. You’ll not only end up with a beautiful door hanger but also a sense of accomplishment. Happy crafting!
What materials do I need to make a round door hanger?
You'll need a wooden round, paint, brushes, stencils, ribbon, glue, and hooks. You might also want some decorative items like flowers or letters.
How do I prepare the wooden round?
Sand the wooden round to make it smooth. Wipe off any dust with a damp cloth. This helps the paint stick better.
What kind of paint should I use?
Use acrylic paint. It's easy to work with and dries quickly. You can find it in many colors at any craft store.
How do I add designs to my door hanger?
Use stencils or freehand your designs. Stencils help keep things neat. If you’re confident, freehand can give a personal touch.
How do I attach the ribbon?
Glue or staple the ribbon to the back of the wooden round. Make sure it’s secure so it can hang properly.
Can I use other decorations?
Absolutely! Add flowers, letters, or seasonal items. Use hot glue to attach them securely.
How do I hang my door hanger?
Use a hook or nail on your door. Make sure the ribbon is strong enough to hold the weight of your decorated hanger.