
Home>Home & Furniture>Doors & Windows>DIY: How to Build a Door
Doors & Windows
DIY: How to Build a Door
Published: September 10, 2024
Learn how to build a door with our step-by-step DIY guide. Discover essential tools, materials, and expert tips to create a sturdy and stylish door for your home.
(Many of the links in this article redirect to a specific reviewed product. Your purchase of these products through affiliate links helps to generate commission for Twigandthistle.com, at no extra cost. Learn more)
Building a door might seem challenging, but it's a rewarding DIY project. Whether you need a new door for your home or want to replace an old one, creating it yourself can be both fun and cost-effective. Before starting, gather all necessary tools and materials. Make sure you measure everything accurately. A solid door not only improves security but also adds charm to your space. Even if this is your first attempt at carpentry, with patience and careful attention to detail, you can craft a door that fits perfectly and looks great. Ready to roll up your sleeves? Let’s get started!
Preparation Steps
Measure the Door Frame: Use a tape measure to get the exact height and width of the door frame. Write down these measurements.
Choose Materials: Decide on the type of wood or material for the door. Plywood, solid wood, or MDF are common choices.
Gather Tools: Collect all necessary tools like a saw, drill, screws, hinges, screwdriver, sandpaper, and a level.
Safety Gear: Wear safety goggles, gloves, and a dust mask to protect yourself while cutting and sanding.
Prepare Workspace: Set up a clean, flat workspace. Ensure good lighting and ventilation. Lay down a drop cloth to catch sawdust.
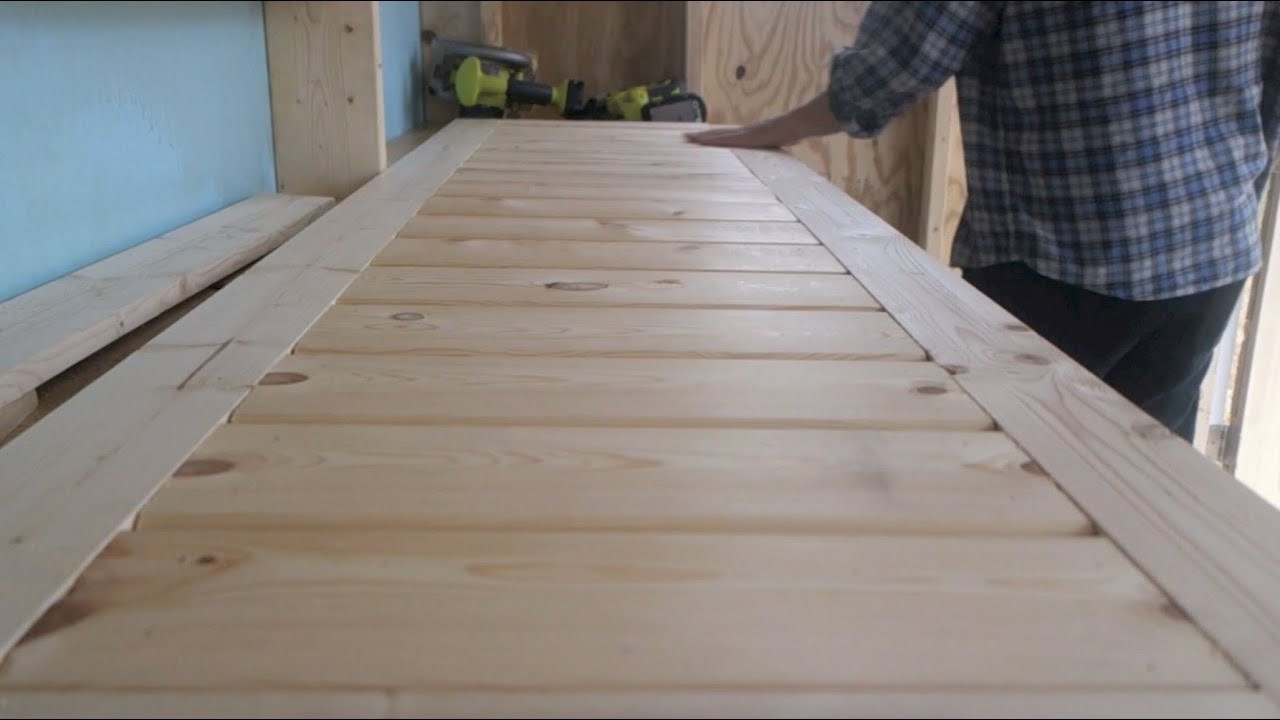
Cut the Wood: Mark the wood according to your measurements. Use a saw to cut the wood pieces to size.
Sand the Edges: Smooth out the edges of the cut wood with sandpaper to avoid splinters.
Assemble the Door: Lay out the wood pieces and start assembling them using screws and a drill. Make sure everything is aligned properly.
Attach Hinges: Mark where the hinges will go. Use a drill to attach them securely to the door.
Test Fit: Place the door in the frame to ensure it fits properly. Make any necessary adjustments.
Finish: Apply paint or stain if desired. Let it dry completely before hanging the door.
Hang the Door: Secure the door in the frame using the hinges. Check that it opens and closes smoothly.
Materials and Tools Needed
Materials:
- Wood Panels: These form the main structure of the door.
- Hinges: Allow the door to swing open and closed.
- Screws: Secure the hinges and other components.
- Door Handle: Provides a way to open and close the door.
- Latch or Lock: Ensures the door stays closed and can be locked.
- Wood Glue: Bonds wood pieces together for added strength.
- Sandpaper: Smooths the wood surfaces.
- Paint or Stain: Adds color and protects the wood.
Tools:
- Tape Measure: Measures the dimensions of the door and frame.
- Saw: Cuts the wood panels to the correct size.
- Drill: Makes holes for screws and hinges.
- Screwdriver: Tightens screws.
- Hammer: Drives nails if needed.
- Level: Ensures the door is straight.
- Clamps: Hold wood pieces together while the glue dries.
- Paintbrush or Roller: Applies paint or stain evenly.
Skill Level and Time Required
Skill Level: Intermediate
Time Required: Approximately 6-8 hours
- Gather Materials and Tools: 1 hour
- Measure and Cut Wood: 2 hours
- Assemble Door Frame: 1 hour
- Attach Panels: 1 hour
- Sand and Finish: 1-2 hours
Step-by-Step Instructions
Gather Materials and Tools
- Door slab or wood panels
- Hinges
- Door handle and lock
- Screws
- Drill
- Screwdriver
- Measuring tape
- Saw (if cutting wood panels)
- Sandpaper
- Paint or stain (optional)
- Paintbrush (if painting or staining)
Measure the Door Frame
- Use measuring tape to measure the height and width of the door frame.
- Write down these measurements.
Cut the Door Slab or Panels
- If using wood panels, cut them to match the door frame measurements.
- Sand the edges to smooth them out.
Attach Hinges to the Door
- Mark hinge positions on the door slab or panels.
- Use a drill to create pilot holes for screws.
- Screw hinges into place.
Position the Door in the Frame
- Hold the door in the frame to check fit.
- Mark hinge positions on the door frame.
Attach Hinges to the Frame
- Drill pilot holes in the door frame.
- Screw hinges into the frame.
Install the Door Handle and Lock
- Mark positions for the handle and lock on the door.
- Drill holes for the handle and lock.
- Attach the handle and lock with screws.
Test the Door
- Open and close the door to ensure it swings smoothly.
- Make adjustments if necessary.
Paint or Stain the Door (Optional)
- Apply paint or stain to the door using a paintbrush.
- Allow it to dry completely.
Final Touches
- Check all screws and hinges for tightness.
- Ensure the door is level and secure.
Helpful Tips and Tricks
Measure twice, cut once. Always double-check your measurements before cutting any material. This saves time and reduces waste.
Use a level. Ensure your door frame is perfectly vertical and horizontal. A crooked frame will cause the door to hang improperly.
Pre-drill holes. When attaching hinges or screws, pre-drill holes to prevent wood from splitting.
Sand edges. Smooth out the edges of the door and frame to avoid splinters and ensure a snug fit.
Use quality hinges. Invest in sturdy hinges to support the door's weight and ensure smooth operation.
Seal the wood. Apply a sealant or paint to protect the door from moisture and wear.
Common mistakes to avoid:
Skipping the level. Not using a level can result in a door that doesn't close properly.
Incorrect measurements. Failing to measure accurately can lead to a door that doesn't fit the frame.
Using cheap materials. Low-quality wood or hinges can cause the door to warp or sag over time.
Alternatives for materials or methods:
Composite wood. Instead of solid wood, use composite wood for a more budget-friendly option.
Pocket doors. Consider a pocket door if space is limited. It slides into the wall, saving room.
Prefabricated door kits. These kits come with pre-cut materials and instructions, making the process easier for beginners.
Estimating the Cost
Wood: $50-$100 depending on type and size. Pine is cheaper, oak is pricier.
Hinges: $10-$20 for a set of three.
Doorknob: $15-$30. Basic models cost less, fancier ones more.
Screws: $5 for a box.
Sandpaper: $5 for a pack.
Paint or Stain: $15-$25 per can.
Brushes/Rollers: $10 for a set.
Saw: $30-$50. A hand saw is cheaper, a power saw costs more.
Drill: $40-$60. Cordless drills are pricier.
Tape Measure: $5-$10.
Level: $10-$15.
Safety Gear: $15-$20 for goggles and gloves.
Total Cost: $210-$370 depending on choices.
Budget-Friendly Alternatives:
- Use reclaimed wood: Often free or very cheap.
- Borrow tools from friends or neighbors.
- Buy second-hand tools from thrift stores or online marketplaces.
- Use basic paint instead of specialty finishes.
Customizing Your Door
Materials: Instead of traditional wood, try using metal for a more industrial look or fiberglass for better insulation. Reclaimed wood can add a rustic charm.
Colors: Paint the door in bold colors like red or blue for a statement piece. For a more subtle look, use neutral tones like beige or gray. Staining the wood can highlight its natural beauty.
Styles: Create a barn door with sliding hardware for a farmhouse feel. A French door with glass panels can add elegance and light. For a modern touch, consider a flush door with a smooth, flat surface.
Hardware: Swap out standard doorknobs for handles or pulls in unique shapes or finishes like brushed nickel or antique brass. Add a peephole or knocker for extra functionality.
Decorative Elements: Add molding or trim to create a paneled look. Use stencils or decals for custom designs. Attach a kick plate at the bottom for added durability and style.
Windows: Incorporate a small window or transom for natural light. Use frosted glass for privacy or stained glass for a colorful touch.
Finishes: Apply a high-gloss finish for a sleek, modern look or a matte finish for a more understated appearance. Use weatherproofing treatments if the door will be exposed to the elements.
Size: Customize the door size to fit unique spaces. Consider a double door for grand entrances or a Dutch door for a charming, functional twist.
Eco-Friendly Building Tips
Reclaimed Wood: Use old wood from barns, pallets, or old furniture. This reduces waste and gives the door a rustic look.
Eco-Friendly Paint: Choose low-VOC or zero-VOC paints. These paints are better for the environment and your health.
Natural Insulation: Use materials like wool or cotton for insulation. These materials are sustainable and provide good insulation.
Recycled Hardware: Find hinges, handles, and locks from salvage yards or online marketplaces. Reusing these items saves resources and adds character.
Energy-Efficient Glass: If adding windows, use double-glazed or low-emissivity glass. These options improve energy efficiency.
Non-Toxic Adhesives: Select adhesives that are free from harmful chemicals. This ensures a safer indoor environment.
Sustainable Wood: If new wood is necessary, choose FSC-certified wood. This certification ensures the wood comes from responsibly managed forests.
Solar-Powered Tools: Use solar-powered tools when possible. This reduces reliance on non-renewable energy sources.
Natural Finishes: Opt for natural oils or waxes to finish the door. These finishes are less harmful to the environment.
Upcycled Materials: Incorporate materials like old windows or metal grates into the door design. This adds a unique touch and reduces waste.
Your Door Awaits
Building your own door isn't just about saving money; it's about learning, creating, and achieving something tangible. You've measured, cut, sanded, and assembled. Now, you have a sturdy, custom door to show for it. Remember, the key to any DIY project is patience and attention to detail. Mistakes happen, but each one is a lesson. Don't rush the process. Enjoy it. Take pride in your work. You've not only built a door but also gained valuable skills and confidence. Next time you walk through that door, you'll feel a sense of accomplishment. So, what's next on your DIY list? Maybe a matching frame or some custom shelves? The possibilities are endless. Keep building, keep learning, and most importantly, keep having fun. Happy building!
How do I measure for a new door?
Measure the height and width of the existing door frame. Don’t forget to measure the thickness of the door too. Write down these measurements.
What tools will I need?
You’ll need a tape measure, screwdriver, hammer, saw, drill, and level. A chisel might come in handy too.
How do I cut the door to size?
Mark the measurements on the door. Use a saw to cut along the lines. Sand the edges to make them smooth.
How do I attach the hinges?
Position the hinges on the door and mark where the screws will go. Use a chisel to create shallow recesses for the hinges. Screw the hinges into place.
How do I hang the door?
With the help of a friend, lift the door into the frame. Align the hinges with the recesses in the frame. Screw the hinges to the frame.
How do I install the door handle?
Mark where the handle will go. Drill a hole for the handle and another for the latch. Attach the handle and latch according to the instructions.
What if the door doesn’t close properly?
Check if the door is level. Adjust the hinges or sand the edges if needed. Make sure the latch aligns with the strike plate.