
Home>Home & Furniture>Doors & Windows>DIY Garage Door Skins: Transform Your Space
Doors & Windows
DIY Garage Door Skins: Transform Your Space
Published: September 14, 2024
Transform your garage with DIY garage door skins! Discover step-by-step instructions, materials needed, and creative ideas to enhance your space effortlessly.
(Many of the links in this article redirect to a specific reviewed product. Your purchase of these products through affiliate links helps to generate commission for Twigandthistle.com, at no extra cost. Learn more)
Tired of looking at that same old garage door every day? Give it a fresh, new look with DIY garage door skins. These skins are simple to install and offer a budget-friendly way to revamp your space. Whether you want a sleek modern style or a rustic, old-world charm, garage door skins can help you achieve your perfect look. They not only improve curb appeal but also provide an added layer of protection. Best part? You don't need to be a seasoned DIYer to get great results. Ready to make a change? Let's dive in!
Getting Ready for Your Project
Gather Materials: Collect all necessary tools and materials. This includes garage door skins, adhesive, a utility knife, measuring tape, and a level.
Safety Gear: Wear safety goggles and gloves to protect your eyes and hands. Ensure you have a dust mask if cutting or sanding.
Clear the Area: Remove any obstacles around the garage door. Ensure you have enough space to move freely.
Clean the Surface: Wash the garage door with soap and water. Let it dry completely to ensure the adhesive sticks well.
Measure and Cut: Measure the garage door dimensions accurately. Cut the skins to fit using a utility knife. Double-check measurements before cutting.
Test Fit: Place the cut skins on the door without adhesive to ensure they fit perfectly. Adjust if necessary.
Apply Adhesive: Follow the adhesive instructions. Apply it evenly on the back of the skins.
Attach Skins: Carefully place the skins on the garage door. Use a level to ensure they are straight.
Press Firmly: Press the skins firmly against the door to ensure a good bond. Use a roller if available.
Let it Set: Allow the adhesive to dry completely before using the garage door. Check the manufacturer's instructions for drying time.
Gathering Materials and Tools
Garage Door Skins: These are the main materials. Choose skins that fit your door's size and style.
Measuring Tape: Essential for measuring the door and skins accurately.
Utility Knife: Used for cutting the skins to the correct size.
Straight Edge: Helps in making precise cuts with the utility knife.
Adhesive: Needed to attach the skins to the garage door. Make sure it’s strong and weather-resistant.
Caulking Gun: Used to apply adhesive smoothly and evenly.
Level: Ensures the skins are applied straight and even.
Screwdriver: Necessary for removing any hardware from the door before applying skins.
Sandpaper: Prepares the door surface by smoothing it out for better adhesion.
Cleaning Supplies: Includes a bucket, soap, water, and a sponge to clean the door before application.
Painter’s Tape: Helps in marking areas and holding skins in place temporarily.
Safety Gear: Gloves and safety glasses protect your hands and eyes during the project.
Skill Level and Time Commitment
Skill Level: Intermediate
Time Required: 4-6 hours
Steps:
- Measure and Cut: Measure the garage door panels. Cut the skins to fit.
- Clean Surface: Clean the garage door thoroughly. Remove dirt and grease.
- Apply Adhesive: Use a strong adhesive. Apply it evenly on the door panels.
- Attach Skins: Carefully place the skins on the door. Press firmly to ensure they stick.
- Trim Edges: Trim any excess material. Use a utility knife for clean edges.
- Secure Edges: Use screws or nails to secure the edges. This prevents peeling.
- Final Touches: Inspect the door. Make sure everything is secure and looks good.
Tools Needed:
- Measuring tape
- Utility knife
- Adhesive
- Screws or nails
- Screwdriver or hammer
- Cleaning supplies
Materials Needed:
- Garage door skins
- Adhesive
- Screws or nails
Instructions to Follow
Gather Materials
- Garage door skins
- Measuring tape
- Utility knife or scissors
- Adhesive (double-sided tape or adhesive spray)
- Cleaning supplies (soap, water, cloth)
- Ladder
Measure Your Garage Door
- Use measuring tape to find the height and width of each panel.
- Write down measurements for accuracy.
Cut the Skins
- Lay out the garage door skins.
- Use a utility knife or scissors to cut skins to match your measurements.
Clean the Garage Door
- Mix soap and water.
- Wipe down each panel with a cloth to remove dirt and grime.
- Let the door dry completely.
Apply Adhesive
- Choose between double-sided tape or adhesive spray.
- If using tape, place strips along the edges and middle of each skin.
- For adhesive spray, follow the instructions on the can.
Attach the Skins
- Start at the top panel.
- Align the skin with the panel edges.
- Press firmly to ensure it sticks well.
- Repeat for each panel.
Smooth Out Bubbles
- Use your hands or a flat tool to smooth out any air bubbles.
- Work from the center outward.
Trim Excess Material
- Check for any overhanging edges.
- Use a utility knife to trim excess material for a clean finish.
Inspect Your Work
- Step back and look for any loose edges or bubbles.
- Press down or smooth out as needed.
Clean Up
- Dispose of scraps and packaging.
- Store leftover materials for future touch-ups.
Helpful Tips and Tricks
Measure twice, cut once. Always double-check your measurements before cutting materials. This saves time and prevents waste.
Clean the garage door thoroughly. Dirt and grease can prevent adhesive from sticking properly. Use a degreaser and a scrub brush.
Use a level. Ensure each panel is straight. Crooked panels look unprofessional and may not function correctly.
Work in sections. Apply skins one section at a time. This helps maintain alignment and reduces errors.
Use a utility knife for trimming. Scissors can leave jagged edges, while a utility knife provides cleaner cuts.
Apply adhesive evenly. Uneven adhesive can cause bubbles or peeling. Use a roller to smooth out the adhesive.
Common mistakes to avoid:
- Skipping the cleaning step. Adhesive won’t stick to dirty surfaces.
- Not using a level. Misaligned panels look bad and may not work well.
- Rushing the job. Take your time to ensure accuracy.
Alternatives:
- Instead of adhesive skins, consider magnetic skins. They’re easier to apply and remove.
- For a rustic look, use wood panels. They can be stained or painted to match your home.
- Vinyl wraps offer a durable, weather-resistant option. They come in various colors and patterns.
Important keywords: Measure, clean, level, sections, utility knife, adhesive evenly, common mistakes, alternatives.
Estimating the Cost
Garage door skins can give your garage a fresh look. Here's a rough estimate of the total cost for materials and tools:
- Plywood or MDF Panels: $50-$100 (depends on the size of your garage door)
- Wood Glue: $5-$10
- Screws and Nails: $5-$10
- Paint or Stain: $20-$40
- Sandpaper: $5
- Primer: $10-$20
- Sealant: $10-$20
Tools:
- Measuring Tape: $5-$10
- Saw: $30-$100 (or rent for $10-$20/day)
- Drill: $40-$100
- Paint Brushes or Rollers: $10-$20
- Sanding Block or Electric Sander: $10-$50
Total Estimated Cost: $200-$400
Budget-Friendly Alternatives:
- Reclaimed Wood: Often free or very cheap from pallets or old furniture.
- Basic Paint: Instead of high-end brands, use store brands.
- Borrow Tools: Ask friends or family to borrow tools instead of buying.
- Second-Hand Tools: Check thrift stores or online marketplaces for used tools.
This should help you transform your garage door without breaking the bank.
Different Ways to Customize
Materials: Use wood panels for a rustic look or metal sheets for an industrial feel. Vinyl wraps offer easy application and a variety of designs. Magnetic skins can be swapped out quickly.
Colors: Paint the skins in bold colors like red or blue for a striking appearance. For a more subtle look, choose neutral tones such as beige or gray. Metallic finishes like silver or bronze can add a modern touch.
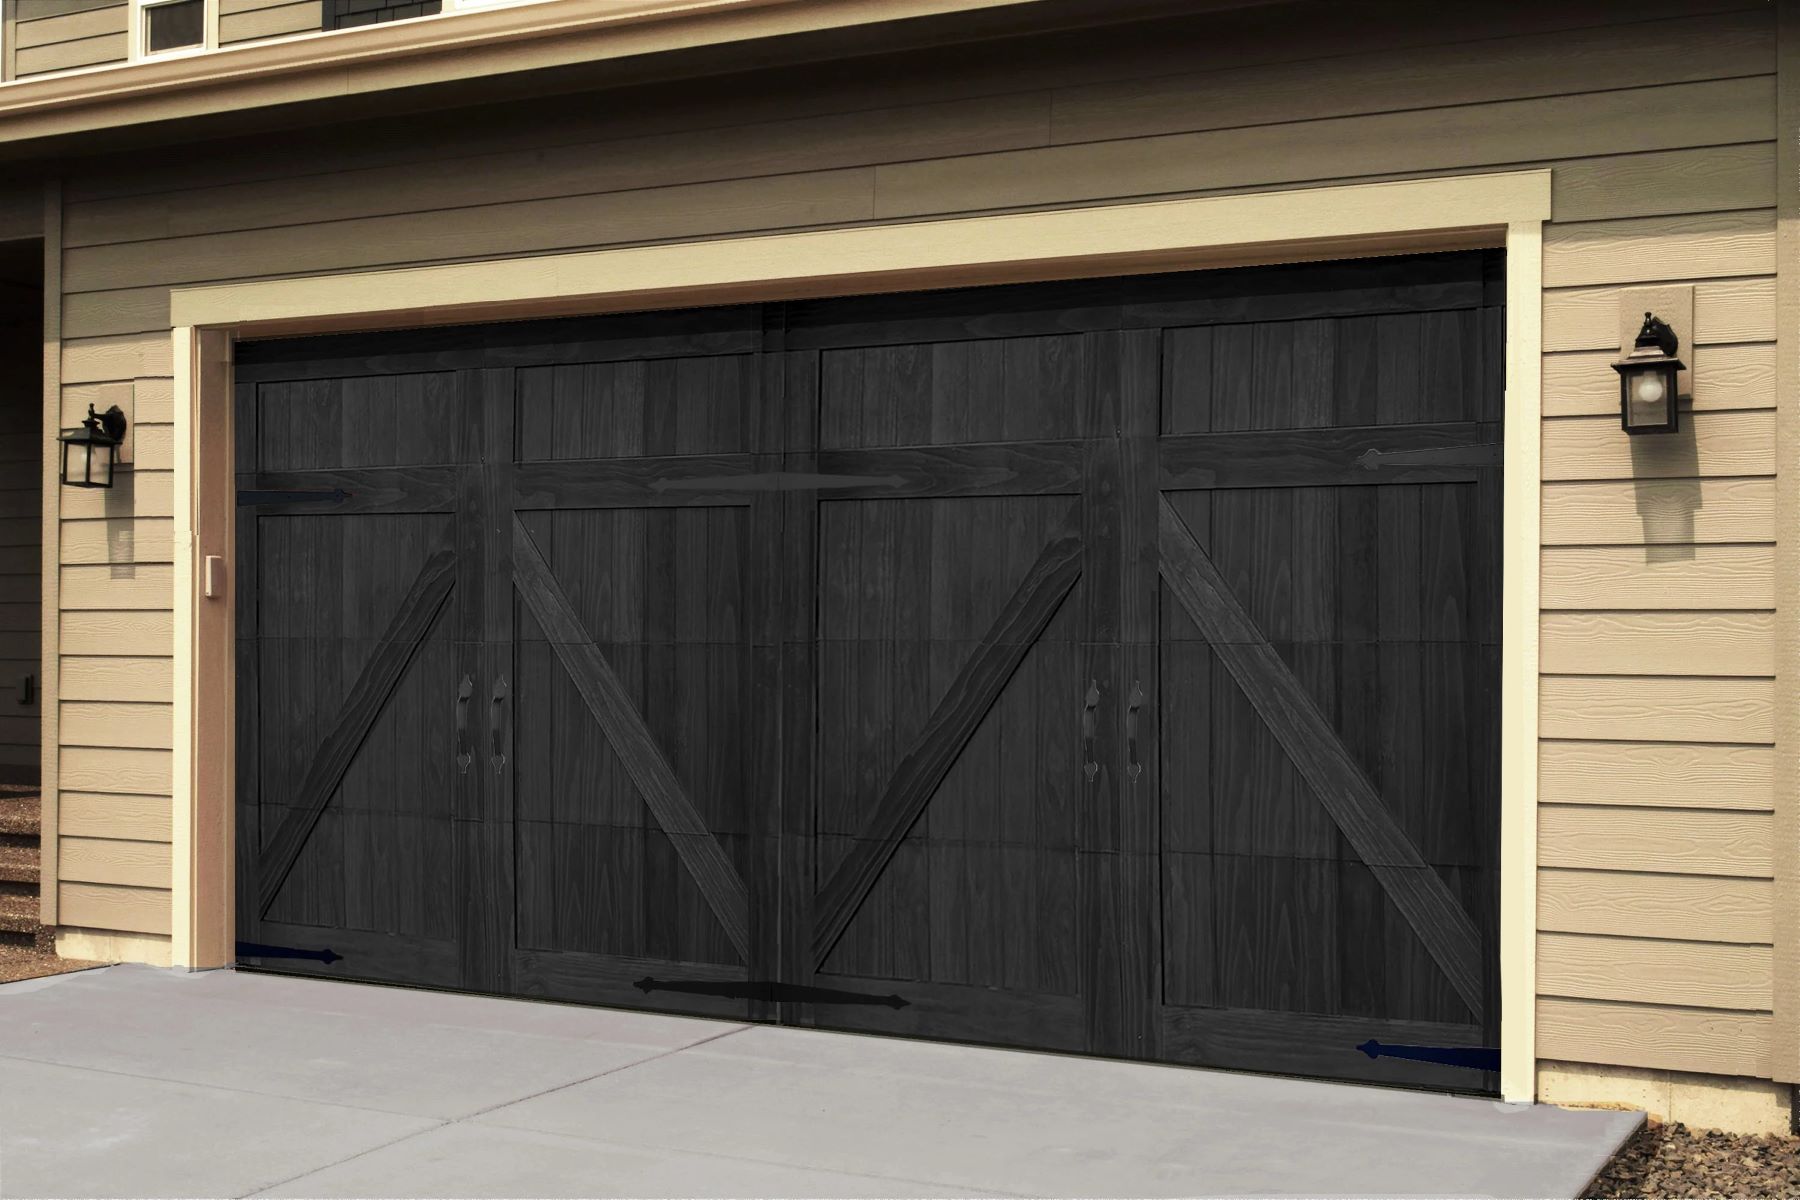
Styles: Create a faux carriage house look with decorative hardware and cross beams. For a contemporary style, opt for sleek, smooth panels. Add windows or faux windows to give the garage door a more sophisticated appearance.
Patterns: Use geometric patterns for a modern vibe. Floral designs can add a touch of elegance. Stripes or chevrons can make the door stand out.
Textures: Choose textured materials like faux stone or brick for a unique look. Embossed patterns can add depth and interest. Smooth finishes offer a clean, minimalist appearance.
Finishing Touches: Add decorative hardware like handles and hinges for an authentic look. Use trim pieces to frame the door and add detail. Lighting around the garage door can highlight the new design and improve curb appeal.
Eco-Friendly Tips
Reclaimed Wood: Use old pallets or barn wood to create a rustic look. Sand and treat the wood to ensure durability.
Recycled Metal: Old metal sheets or corrugated panels can give an industrial feel. Ensure they are rust-free and properly treated.
Bamboo Panels: Bamboo grows quickly, making it a sustainable choice. It's also lightweight and easy to work with.
Cork Sheets: Cork is renewable and provides good insulation. It can be glued directly onto the door.
Recycled Plastic Panels: These are durable and come in various colors and textures. They are made from post-consumer waste, reducing landfill.
Eco-friendly Paints: Use low-VOC or zero-VOC paints to reduce harmful emissions. These paints are better for indoor air quality.
Natural Stains and Sealants: Opt for water-based or plant-based stains and sealants. They are less toxic and environmentally friendly.
Upcycled Materials: Look for materials you already have at home. Old doors, shutters, or even large picture frames can be repurposed.
Solar Panels: If you're handy with electronics, consider adding solar panels to the garage door. They can power lights or small appliances in the garage.
Green Roof: If your garage door is flat, you can add a small green roof. Use lightweight soil and drought-resistant plants to create a mini garden.
Time to Get Crafty
You've got all the tools and tips to transform your garage door with a DIY skin. It's not just about aesthetics; it's about making your space truly yours. Remember, prep work is key. Clean the surface, measure twice, cut once. Don't rush the application process. Take your time to ensure everything lines up perfectly. If you hit a snag, don't sweat it. Mistakes happen, and they're usually fixable.
Once you're done, step back and admire your work. You've just added a personal touch to your home, and that's something to be proud of. Plus, you've probably saved a good chunk of change by doing it yourself. So, grab your materials, roll up your sleeves, and get started. Your garage door is waiting for its makeover. Happy crafting!
How do I choose the right material for my garage door skin?
Consider the climate in your area. For hot, sunny places, UV-resistant materials like vinyl or aluminum work best. In colder regions, wood or composite materials provide better insulation.
Can I install a garage door skin myself?
Absolutely! With some basic tools and a bit of patience, you can do it. Just follow the instructions that come with the skin, and you’ll have a fresh-looking garage door in no time.
How do I prep my garage door before installing the skin?
First, clean the door thoroughly to remove any dirt or grease. Then, sand any rough spots and make sure the surface is smooth. This helps the skin adhere better.
Will a garage door skin affect the insulation of my garage?
It can, depending on the material you choose. Some skins offer additional insulation, while others are purely decorative. Check the product details to see if it provides any thermal benefits.
How do I maintain my new garage door skin?
Keep it clean by washing it with mild soap and water. Avoid using harsh chemicals that could damage the material. Regular inspection for any wear or tear will help it last longer.
Can I remove the garage door skin if I change my mind?
Yes, most skins are designed to be removable. You might need some solvent to get rid of any adhesive residue, but it’s generally a straightforward process.
How long will a garage door skin last?
The lifespan depends on the material and exposure to the elements. On average, a good-quality skin can last between 5 to 10 years with proper care.