
Home>Home & Furniture>Doors & Windows>DIY Garage Door Opener Installation Guide
Doors & Windows
DIY Garage Door Opener Installation Guide
Published: September 14, 2024
Learn how to install a garage door opener with our step-by-step DIY guide. Save time and money with expert tips and detailed instructions for a smooth installation process.
(Many of the links in this article redirect to a specific reviewed product. Your purchase of these products through affiliate links helps to generate commission for Twigandthistle.com, at no extra cost. Learn more)
Installing a garage door opener yourself may sound intimidating, but with the right tools and guidance, you can tackle it. This guide breaks down the process, making it easier for any DIY enthusiast. Whether upgrading an old system or adding one for the first time, this step-by-step approach will help save money and time. Plus, you'll have the satisfaction of knowing you did it yourself. Grab your tools, set aside an afternoon, and let’s get started on making your garage door opener installation a success. Get ready to transform your garage into a more convenient space.
Getting Ready for the Project
Gather Tools and Materials: Ensure you have a drill, screwdriver, wrench, tape measure, ladder, and the garage door opener kit. Check the kit for all necessary parts.
Read the Manual: Go through the instruction manual provided with the garage door opener. Familiarize yourself with the steps and safety warnings.
Clear the Workspace: Remove any obstacles from the garage area. Ensure the space around the garage door is clear for easy movement.
Disconnect Power: Turn off the power to the garage door to avoid any electrical hazards. Unplug any existing opener.
Inspect the Door: Check the garage door for any damage or wear. Ensure it moves smoothly and is balanced. Repair any issues before proceeding.
Measure and Mark: Measure the height of the garage door and mark the spots where the opener will be installed. Use a level to ensure accuracy.
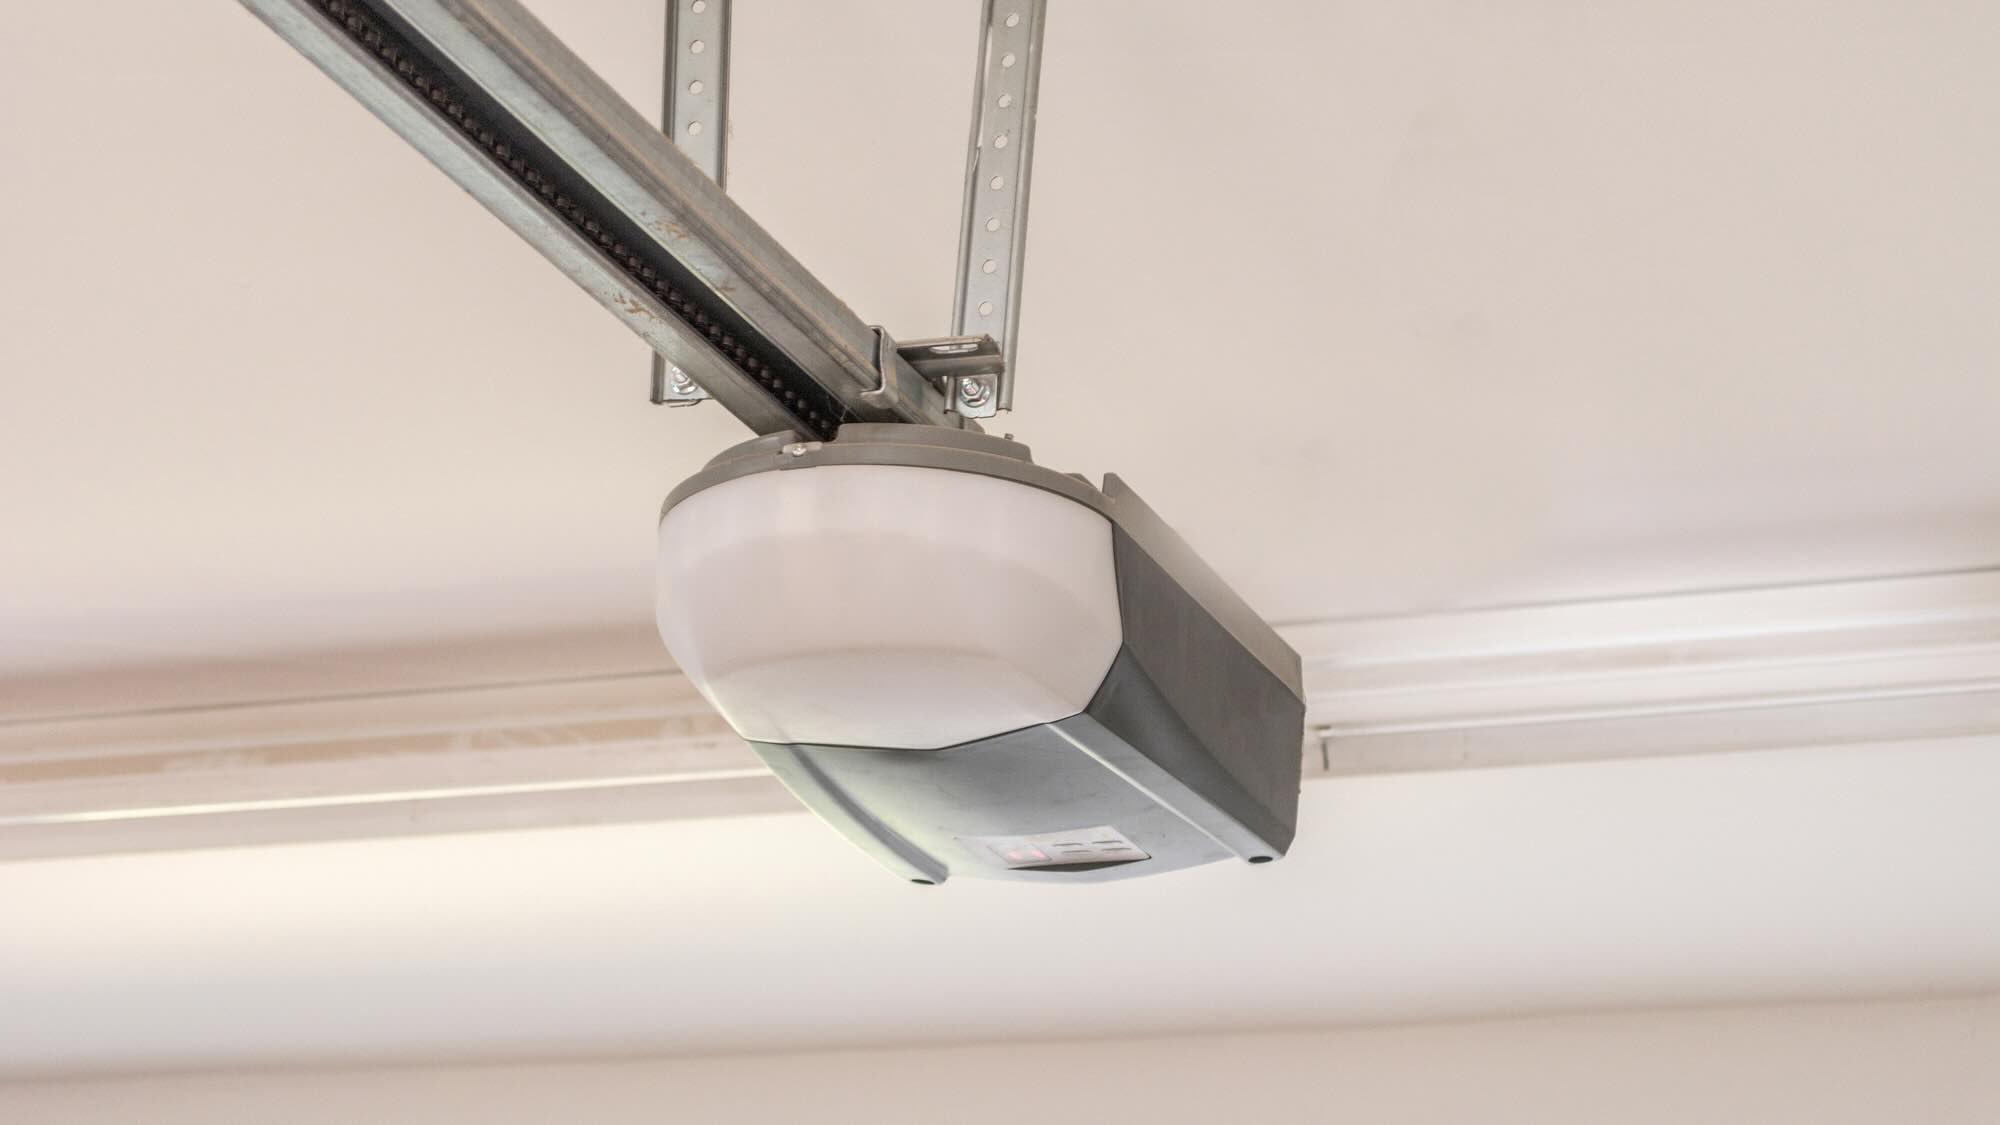
Install Support Bracket: Attach the support bracket to the ceiling where the opener will be mounted. Ensure it is securely fastened.
Safety Tips:
- Wear Safety Glasses: Protect your eyes from debris.
- Use a Stable Ladder: Ensure the ladder is on a flat surface.
- Work with a Partner: Having someone assist can make the process safer and easier.
Check for Obstructions: Ensure there are no pipes, wires, or other obstructions where you plan to install the opener.
Prepare the Door: If the door has a manual lock, disable it to prevent damage to the opener.
Following these steps will help ensure a smooth and safe installation process.
What You Need: Materials and Tools
- Garage Door Opener Kit: Contains the motor, rail, belt or chain, and remote controls.
- Ladder: Needed to reach the ceiling and high points of the garage door.
- Power Drill: Used for drilling holes and driving screws.
- Drill Bits: Various sizes for different screw types.
- Screwdriver Set: Both flathead and Phillips for different screws.
- Wrenches: Adjustable or specific sizes for bolts and nuts.
- Pliers: Helpful for gripping and bending wires.
- Tape Measure: Ensures accurate measurements.
- Level: Ensures the rail and opener are installed straight.
- Pencil: For marking measurements and positions.
- Stud Finder: Locates studs in the ceiling for secure mounting.
- Safety Glasses: Protects eyes from debris.
- Work Gloves: Protects hands from sharp edges and tools.
- Step Stool: Useful for reaching lower heights without a ladder.
- Wire Strippers: Strips insulation from wires for connections.
- Extension Cord: Provides power if outlets are far from the work area.
- Socket Set: Various sizes for tightening nuts and bolts.
- Hammer: Useful for tapping parts into place.
- C-Clamps: Holds the door in place during installation.
- Manual: Instructions specific to the garage door opener model.
Skills and Time Needed
Skill Level: Intermediate
Time Required: 4-6 hours
Important Steps:
- Gather Tools: Screwdriver, wrench, drill, ladder.
- Read Instructions: Follow the manual provided with the opener.
- Assemble Opener: Put together the rail, motor, and other parts.
- Mount Opener: Attach to the ceiling and door.
- Connect Wiring: Ensure proper electrical connections.
- Test Opener: Make sure it opens and closes smoothly.
Tips:
- Safety First: Disconnect power before starting.
- Measure Twice: Ensure accurate alignment.
- Seek Help: Have a friend assist with lifting.
Follow These Steps
Gather Tools and Materials
- Garage door opener kit
- Ladder
- Drill
- Screwdrivers
- Wrenches
- Measuring tape
- Pencil
- Safety glasses
Prepare the Garage Door
- Ensure the garage door is closed.
- Disconnect any existing opener.
- Check that the door is balanced and moves smoothly.
Assemble the Opener
- Follow the manufacturer's instructions to assemble the opener.
- Attach the rail to the motor unit.
- Slide the trolley onto the rail.
Install the Opener
- Mark the centerline of the garage door.
- Measure and mark the height for the opener bracket.
- Attach the bracket to the wall above the door.
Mount the Opener
- Lift the opener and place it on a ladder.
- Secure the opener to the bracket.
- Attach the rail to the header bracket above the door.
Install the Safety Sensors
- Mount the sensors on each side of the door, 6 inches above the floor.
- Run the wires from the sensors to the opener.
- Connect the wires to the opener.
Connect the Opener to the Door
- Attach the trolley to the door arm.
- Connect the door arm to the garage door.
- Ensure the door arm is properly aligned.
Wire the Opener
- Run the power cord from the opener to an electrical outlet.
- Plug in the opener.
Program the Opener
- Follow the manufacturer's instructions to program the remote controls.
- Test the opener to ensure it opens and closes the door smoothly.
Test the Safety Features
- Place an object in the door's path to test the auto-reverse feature.
- Ensure the sensors stop the door when something is detected.
Final Adjustments
- Adjust the travel limits and force settings as needed.
- Tighten all bolts and screws.
Clean Up
- Remove all tools and materials from the work area.
- Dispose of any packaging properly.
Helpful Tips and Tricks
Measure Twice, Cut Once: Always double-check measurements before drilling or cutting anything. This avoids mistakes and ensures everything fits perfectly.
Read the Manual: Each garage door opener model has specific instructions. Read the manual thoroughly to understand the steps and any unique requirements.
Use a Stud Finder: When mounting the opener, ensure you attach it to a stud in the ceiling. This provides the necessary support and prevents the opener from falling.
Lubricate Moving Parts: Before installation, lubricate the garage door’s moving parts. This ensures smooth operation and reduces wear and tear.
Check Power Source: Ensure the power outlet for the opener is functional and within reach. Use an extension cord if necessary, but avoid overloading circuits.
Balance the Door: Make sure the garage door is balanced before installing the opener. An unbalanced door can strain the opener and cause it to fail.
Secure All Bolts and Screws: Tighten all bolts and screws securely. Loose hardware can cause the opener to malfunction or become a safety hazard.
Test the Safety Features: After installation, test the opener’s safety features like the auto-reverse mechanism. This ensures the door will stop and reverse if it encounters an obstacle.
Common Mistakes to Avoid:
Skipping the Manual: Not reading the manual can lead to improper installation and potential damage.
Ignoring Safety Precautions: Always disconnect the power before working on the opener to avoid electric shocks.
Incorrect Alignment: Misaligning the opener can cause the door to operate unevenly or not at all.
Overtightening Bolts: Over-tightening can strip threads or damage components, leading to future issues.
Alternatives for Materials or Methods:
Battery Backup: Consider a garage door opener with a battery backup. This ensures the door can operate during power outages.
Smart Opener: Opt for a smart garage door opener that can be controlled via a smartphone app for added convenience.
Chain vs. Belt Drive: Choose a belt drive opener for quieter operation, especially if the garage is attached to the house. Chain drives are more durable but noisier.
LED Lighting: Use LED bulbs in the opener’s light socket for better energy efficiency and longer life.
Wireless Keypad: Install a wireless keypad outside the garage for easy access without needing a remote.
How Much Will It Cost?
Garage Door Opener: $150 - $300
Mounting Brackets: $10 - $20
Screws and Bolts: $5 - $10
Power Drill: $50 - $100
Wrenches: $20 - $40
Ladder: $30 - $60
Safety Glasses: $5 - $15
Extension Cord: $10 - $20
Total Cost: $280 - $565
Budget-Friendly Alternatives:
Used Garage Door Opener: $100 - $150
Borrow Tools: Free (from friends or neighbors)
Basic Safety Glasses: $2 - $5
Cheaper Ladder: $20 - $30
Different Ways to Customize
Materials: Instead of using a standard metal opener, consider a quiet belt-drive model. These use a rubber belt, reducing noise. For a more durable option, try a chain-drive opener, which is great for heavy doors.
Colors: Match the opener's color to your garage's interior. Many openers come in neutral colors like white, black, or gray. For a custom look, paint the opener's housing to blend with your garage's decor.
Styles: Choose a smart garage door opener with Wi-Fi capabilities. This allows you to control the door using a smartphone app. For a vintage touch, install a manual pulley system alongside the automatic opener.
Accessories: Add motion-sensor lights to the opener for better visibility. Install a battery backup system to ensure the door works during power outages. Consider a keypad entry system for easy access without a remote.
Safety Features: Upgrade to an opener with auto-reverse technology, which stops and reverses the door if it detects an obstacle. Install security cameras to monitor the garage area.
Insulation: If your garage is attached to your home, consider adding insulation to the door. This helps maintain temperature and reduces noise.
Remote Controls: Customize the remote controls by choosing ones with multiple buttons to operate more than one door. Opt for a mini remote that can be attached to a keychain for convenience.
Installation Tools: Use a laser level for precise alignment. A cordless drill with various bits can speed up the installation process. Consider a socket set for tightening bolts and screws securely.
Eco-Friendly Tips
Reuse old screws, bolts, and brackets from your previous garage door opener if they are still in good condition. This reduces waste and saves money.
Opt for recycled metal for any new parts you need. Many hardware stores offer these options, which are just as strong as new metal but much better for the environment.
Choose a solar-powered garage door opener. These use renewable energy, reducing your carbon footprint and saving on electricity bills.
Use LED lights if your garage door opener has a light feature. LEDs are energy-efficient and last longer than traditional bulbs.
Consider wooden mounts or brackets made from reclaimed wood. This adds a rustic touch while being eco-friendly.
Dispose of old materials properly. Take any unusable metal parts to a recycling center instead of throwing them in the trash.
When packaging, opt for biodegradable or recyclable materials. Avoid plastic whenever possible.
Finally, share or donate any leftover materials or tools you no longer need. Someone else might find them useful, reducing overall waste.
Your Garage Door Opener Awaits
You've got all the tools and knowledge to install your own garage door opener. Remember, safety first. Double-check your connections and make sure everything's secure. If something doesn't seem right, don't hesitate to consult the manual or seek help. Testing the opener a few times ensures it works smoothly. Regular maintenance will keep it running for years. Now, enjoy the convenience of your new setup. Happy DIY-ing!
How long does it take to install a garage door opener?
Typically, it takes about 4-6 hours to install a garage door opener. If you're handy with tools, it might be quicker.
What tools will I need for the installation?
You'll need a drill, screwdriver, wrench, tape measure, level, and a ladder. Having a socket set can also be helpful.
Can I install a garage door opener by myself?
Yes, you can! However, having a buddy to help with lifting and positioning the opener can make the job easier and safer.
Do I need to hire an electrician?
Not usually. Most garage door openers plug into a standard outlet. If you don't have an outlet nearby, you might need an electrician to install one.
What safety features should I look for?
Look for auto-reverse, motion sensors, and manual release. These features help prevent accidents and ensure your garage door operates safely.
How do I know if my garage door is compatible?
Check the weight and height of your garage door. Most openers are designed for standard doors, but heavy or oversized doors might need a more powerful opener.
What maintenance is required after installation?
Regularly lubricate the moving parts, check the balance of the door, and test the safety features. This keeps your opener running smoothly and safely.