
Home>Home & Furniture>Doors & Windows>DIY Fly Screen Door: Step-by-Step Guide
Doors & Windows
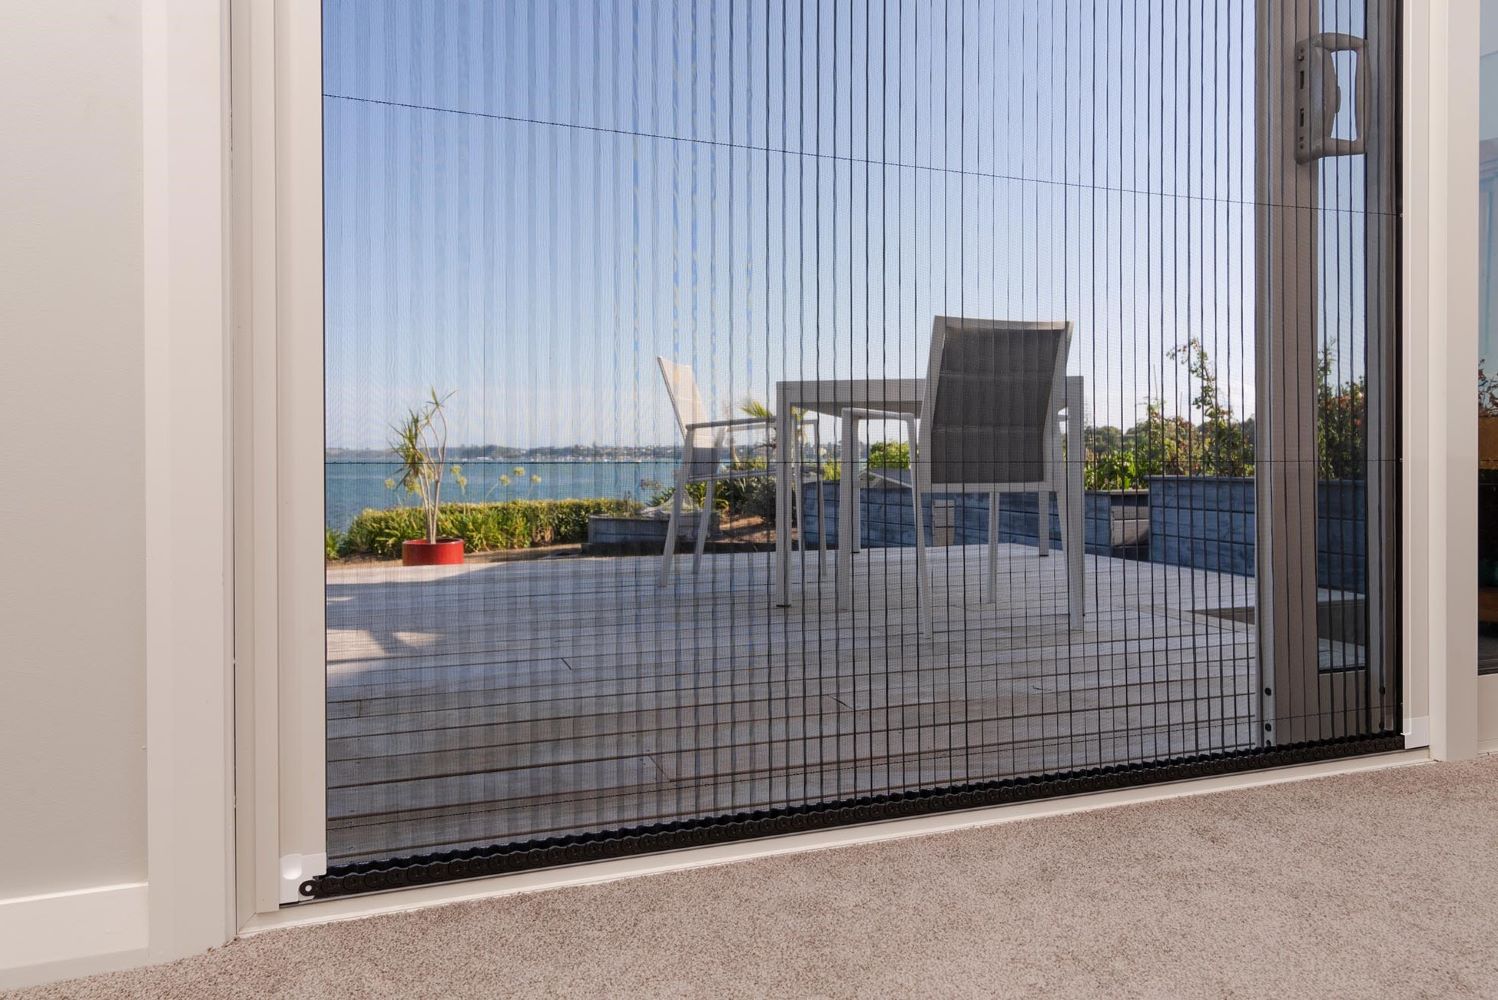
DIY Fly Screen Door: Step-by-Step Guide
Published: September 13, 2024
Learn how to create your own DIY fly screen door with our step-by-step guide. Keep insects out and fresh air in with this easy, cost-effective home improvement project.
(Many of the links in this article redirect to a specific reviewed product. Your purchase of these products through affiliate links helps to generate commission for Twigandthistle.com, at no extra cost. Learn more)
Tired of pesky insects buzzing around your home? Installing a fly screen door can be the perfect solution. Not only does it keep bugs out, but it also allows fresh air to flow inside. You don't need to be a professional handyman to tackle this project. With some basic tools and a bit of patience, you can build your fly screen door. This guide will walk you through the process step-by-step, making it simple and manageable. Get ready to enjoy a bug-free home while still enjoying the breeze. Let's get started on your DIY fly screen door!
Getting Ready for Your Project
Measure the Door Frame: Use a tape measure to get the height and width of your door frame. Write down these measurements.
Gather Materials: Collect all necessary materials like a fly screen, frame kit, spline, spline roller, utility knife, and screws.
Set Up Workspace: Find a flat, clean area to work. Lay down a drop cloth to protect surfaces.
Safety Gear: Wear safety goggles and gloves to protect your eyes and hands from sharp tools and materials.
Cut the Frame Pieces: Using a saw, cut the frame pieces according to your door measurements. Double-check the lengths before cutting.
Assemble the Frame: Connect the frame pieces using corner connectors. Ensure the frame is square by measuring diagonally from corner to corner.
Attach the Fly Screen: Lay the screen over the frame. Use the spline roller to press the spline into the groove, securing the screen. Trim excess screen with a utility knife.
Install the Door: Attach hinges to the frame and then to the door frame. Make sure the door swings freely.
Check for Gaps: Ensure there are no gaps where insects can enter. Adjust the screen or frame if needed.
Clean Up: Dispose of any leftover materials and clean your workspace. Store tools safely.
What You Need to Get Started
Fly Screen Mesh: This is the main material that keeps bugs out while allowing air to flow through. Choose a durable mesh that fits your door size.
Screen Frame Kit: Includes the aluminum or plastic frame pieces that hold the mesh in place. Make sure it matches your door dimensions.
Spline: A flexible cord that secures the mesh into the frame. It comes in different sizes, so get the right one for your frame.
Spline Roller: A tool with a wheel used to press the spline into the frame groove, ensuring the mesh stays tight.
Utility Knife: Used for cutting the mesh and trimming excess spline. Make sure it’s sharp for clean cuts.
Measuring Tape: Essential for measuring the door and mesh accurately. Ensures everything fits perfectly.
Scissors: Handy for cutting the mesh to the approximate size before final trimming with the utility knife.
Screwdriver: Needed for attaching the frame to the door. Choose one that matches the screws in your frame kit.
Screws: Used to secure the frame to the door. Make sure they are the right length and type for your door material.
Hinges: Allow the screen door to swing open and closed. Choose sturdy hinges that can support the door’s weight.
Latch or Magnetic Catch: Keeps the door closed when not in use. A magnetic catch is easy to use and install.
Pencil: For marking measurements and screw placements on the door and frame.
Drill: Used for making holes for screws and hinges. Ensure you have the right drill bit size for your screws.
Level: Ensures the frame and door are installed straight. A small bubble level works well for this task.
Safety Glasses: Protect your eyes while cutting and drilling. Safety first!
Work Gloves: Protect your hands from sharp edges on the mesh and frame.
Skill Level and Time Commitment
Skill Level: Intermediate
Time Required: 2-4 hours
Steps:
- Measure Door Frame: 15-20 minutes
- Cut Screen Material: 30 minutes
- Attach Screen to Frame: 45 minutes
- Install Hinges and Handle: 30 minutes
- Mount Door: 30-45 minutes
- Final Adjustments: 15-20 minutes
Detailed Instructions for Building
Gather Materials:
- Fly screen mesh
- Screen door frame kit
- Spline (rubber cord)
- Spline roller
- Utility knife
- Measuring tape
- Screwdriver
- Screws
Measure Door Frame:
- Use measuring tape to measure height and width of the door frame.
- Write down measurements.
Assemble Door Frame:
- Follow instructions in the frame kit.
- Use screwdriver to secure corners with screws.
Cut Fly Screen Mesh:
- Lay mesh flat on a clean surface.
- Measure and cut mesh, leaving an extra 2 inches on all sides.
Attach Mesh to Frame:
- Place mesh over frame.
- Use spline roller to press spline into groove, securing mesh.
- Start at one corner, work your way around.
Trim Excess Mesh:
- Use utility knife to trim excess mesh.
- Be careful not to cut the spline.
Install Door:
- Position door in door frame.
- Use screws to attach hinges to frame.
- Ensure door swings freely.
Add Handle and Latch:
- Attach handle to door using screws.
- Install latch to keep door closed.
Test Door:
- Open and close door to ensure it works smoothly.
- Make any necessary adjustments.
Helpful Tips and Tricks
Measure Twice, Cut Once: Always double-check measurements before cutting materials. This ensures a perfect fit and reduces waste.
Use a Rubber Mallet: When fitting the screen into the frame, a rubber mallet helps avoid damaging the frame while ensuring a snug fit.
Choose the Right Screen Material: Fiberglass screens are durable and easy to work with. Aluminum screens are stronger but can be harder to install.
Secure Corners with Clips: Use corner clips to keep the screen taut and prevent sagging over time.
Lubricate Sliding Tracks: If your fly screen door slides, use a silicone spray to keep the tracks smooth and prevent sticking.
Common Mistakes to Avoid:
- Incorrect Measurements: Always measure the door frame accurately. A wrong measurement can lead to a poorly fitting screen.
- Overstretching the Screen: Stretching the screen too tight can cause it to tear or warp. Keep it taut but not overly tight.
- Ignoring Frame Alignment: Ensure the frame is square and aligned before securing it. Misalignment can cause the door to not close properly.
Material Alternatives:
- Pet-Resistant Screens: If you have pets, consider using pet-resistant screens. They are thicker and more durable against claws.
- Magnetic Screens: For a temporary or rental solution, magnetic screens are easy to install and remove without damaging the door frame.
Budgeting for Your DIY Project
Materials:
- Fly screen mesh: $20-$30
- Wood or aluminum frame: $30-$50
- Screen spline: $5-$10
- Spline roller: $5-$10
- Hinges: $5-$10
- Magnetic latch or handle: $10-$15
- Screws and nails: $5
Tools:
- Measuring tape: $5-$10
- Saw (if using wood): $20-$40
- Drill: $30-$60
- Screwdriver: $5-$15
- Hammer: $5-$10
Total Cost: $145-$265
Budget-Friendly Alternatives:
- Repurpose old wood: Free or low cost
- Use a basic hand saw: $10-$20
- Borrow tools from friends or family: Free
- Opt for a simple latch: $5
Adjusted Total Cost: $80-$150
Personalize Your Fly Screen Door
Materials: Instead of traditional aluminum frames, try using wood for a rustic look. PVC pipes can also work for a lightweight, budget-friendly option.
Colors: Paint the frame in bright colors like turquoise or yellow for a cheerful vibe. For a more classic look, use neutral tones like white, gray, or black.
Styles: Add a decorative trim around the edges for a more polished appearance. Consider using magnetic strips instead of a latch for easy opening and closing.
Screen Types: Use pet-resistant mesh if you have animals. For extra privacy, choose a tinted screen.
Handles: Install a decorative handle or knob to match your home’s decor.
Additional Features: Attach a kick plate at the bottom to protect the screen from damage. Add a closer to ensure the door shuts automatically.
Eco-Friendly Tips for Your Project
Materials Needed:
- Wooden Frame: Use reclaimed wood from old furniture or pallets. Sand it down to remove splinters.
- Mesh Screen: Opt for biodegradable or recycled mesh. Old window screens work well.
- Staples or Tacks: Reuse staples or tacks from previous projects.
- Hinges and Handle: Salvage these from old doors or cabinets.
- Eco-friendly Paint or Stain: Choose non-toxic, water-based options.
Step-by-Step Guide:
- Measure and Cut: Measure the door frame. Cut the reclaimed wood to size. Ensure pieces fit together snugly.
- Assemble Frame: Use screws or nails to join the wood pieces. Make sure the frame is square.
- Attach Mesh: Lay the mesh over the frame. Use a staple gun or tacks to secure it. Pull the mesh tight to avoid sagging.
- Trim Excess Mesh: Cut off any extra mesh around the edges.
- Install Hinges: Attach hinges to one side of the frame. Use screws to secure them.
- Add Handle: Fix the handle to the opposite side. Ensure it’s easy to grip.
- Paint or Stain: Apply eco-friendly paint or stain to the wooden frame. Let it dry completely.
- Mount Door: Attach the door to the door frame using the hinges. Test to ensure it swings freely.
Tips:
- Reuse Materials: Look for items around your home that can be repurposed.
- Eco-friendly Products: Always choose sustainable and non-toxic options.
- Proper Disposal: Dispose of any waste materials responsibly. Recycle whenever possible.
Your DIY Fly Screen Door Awaits
Building a DIY fly screen door isn't just about keeping bugs out. It's about adding a touch of craftsmanship to your home. You've got the materials, followed the steps, and now, you can enjoy a bug-free space. Remember, the key is in the details. Make sure the frame is sturdy, the mesh is tight, and the hinges are secure. If something feels off, don't hesitate to adjust. A well-made screen door can last for years, giving you a sense of pride every time you use it. So, grab your tools, roll up your sleeves, and get to work. Your perfect fly screen door is just a few steps away. Happy building!
How do I measure my door for a fly screen?
Measure the width and height of the door frame. Make sure to measure from the inside edges for an accurate fit. Write down the measurements.
What materials do I need?
You'll need a fly screen mesh, frame kit, screws, hinges, a magnetic strip, and a saw. A measuring tape and screwdriver will also come in handy.
Can I install a fly screen door by myself?
Absolutely! With the right tools and a bit of patience, you can install a fly screen door on your own. Just follow the steps carefully.
How do I cut the fly screen mesh to size?
Lay the mesh flat and use a sharp utility knife or scissors to cut it. Make sure to leave a bit of extra mesh around the edges to secure it to the frame.
How do I attach the mesh to the frame?
Use a staple gun or adhesive strips to attach the mesh to the frame. Start at one corner and work your way around, keeping the mesh taut.
What if my door frame isn't perfectly square?
No worries! You can use shims to adjust the frame. Just place them where needed to ensure a snug fit.
How do I maintain my fly screen door?
Clean the mesh regularly with a soft brush or vacuum. Check for any tears or loose edges and repair them promptly to keep bugs out.