
Home>Home & Furniture>Doors & Windows>DIY Door Table Ideas
Doors & Windows
DIY Door Table Ideas
Published: September 22, 2024
Discover creative DIY door table ideas to transform old doors into stunning, functional tables. Perfect for home decor enthusiasts and upcycling projects. Get inspired now!
(Many of the links in this article redirect to a specific reviewed product. Your purchase of these products through affiliate links helps to generate commission for Twigandthistle.com, at no extra cost. Learn more)
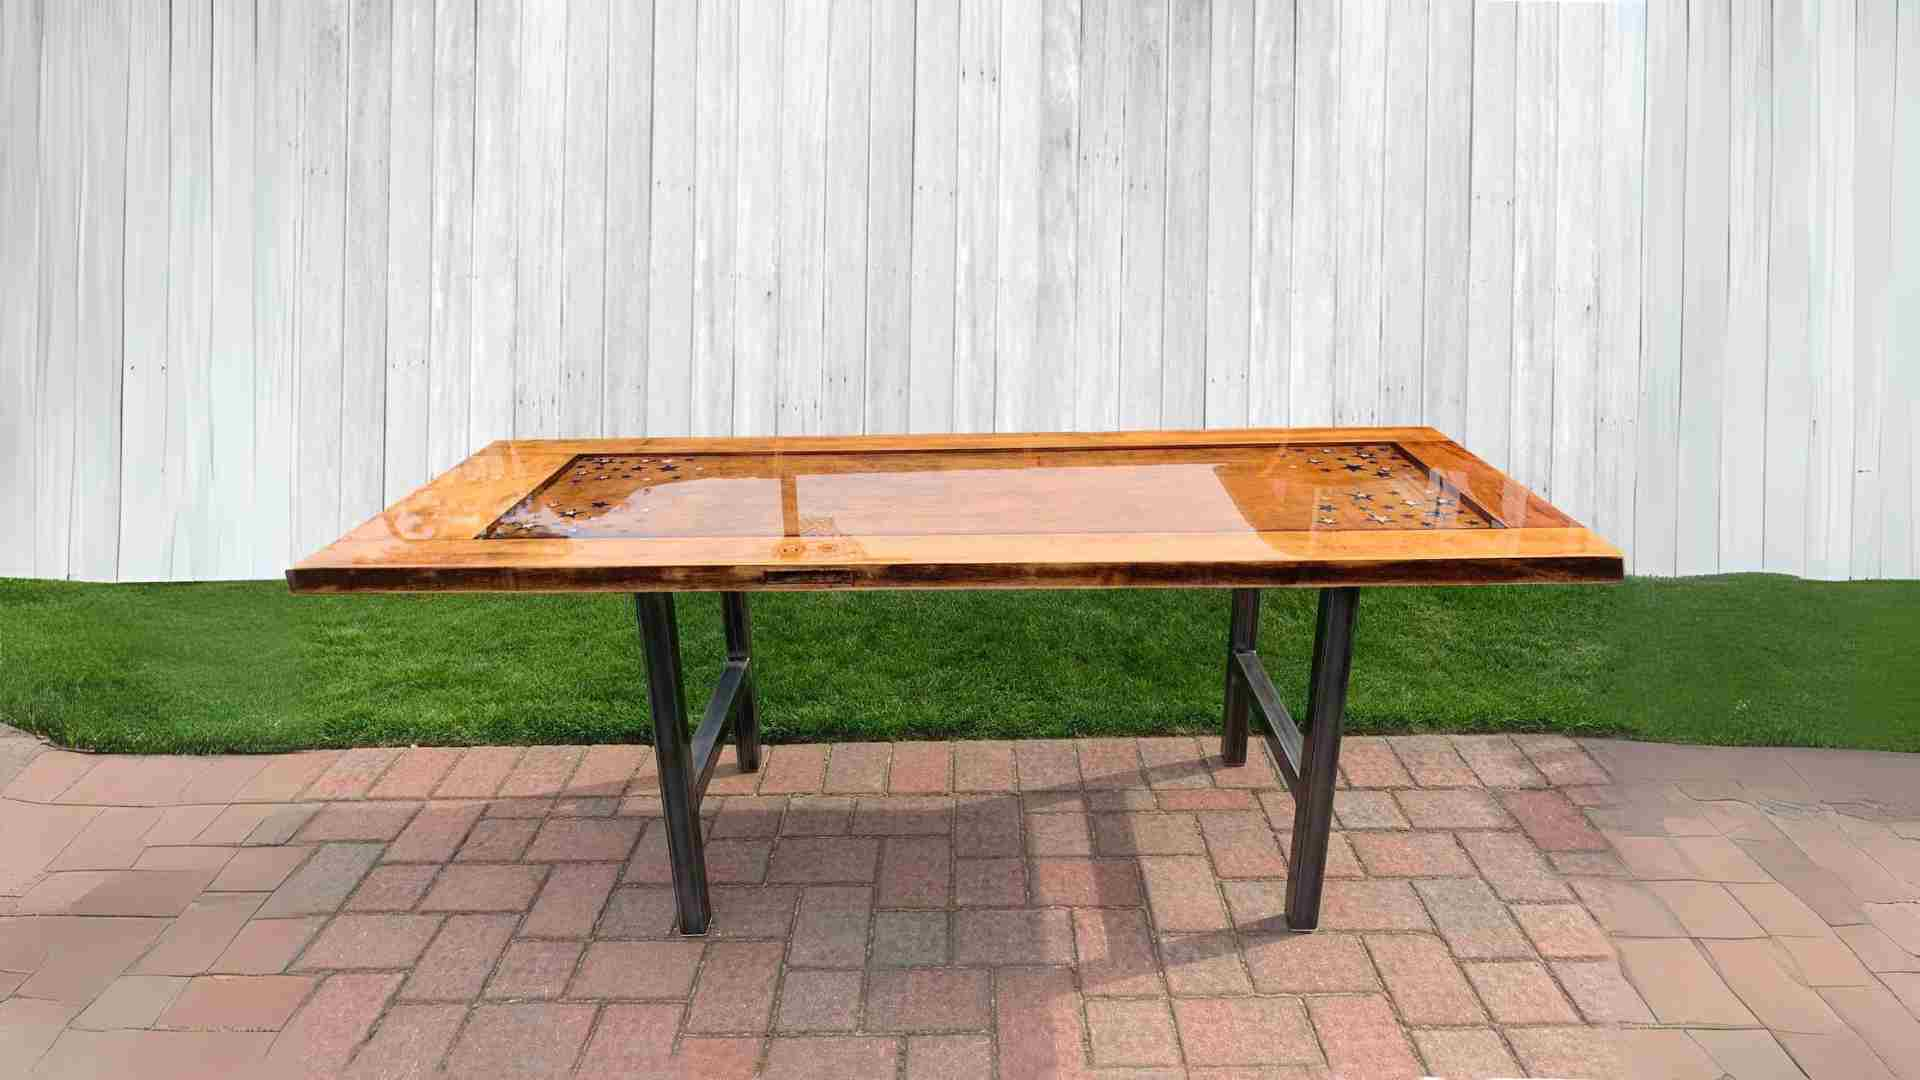
Ever thought about turning an old door into something new and functional? Creating a table from a door can be a fun and rewarding project. Instead of tossing that worn-out door, repurpose it into a unique piece of furniture. Whether you need a dining table, coffee table, or desk, a door can serve as a sturdy and stylish tabletop. Plus, it's an excellent way to recycle materials and add a bit of rustic charm to your home. Get ready to roll up your sleeves and explore some DIY door table ideas that will inspire your next home improvement project.
Getting Ready for Your Project
Gather Materials: Collect an old door, table legs, screws, sandpaper, paint or stain, a paintbrush, and a drill.
Safety Gear: Wear safety goggles, gloves, and a dust mask to protect yourself from dust and splinters.
Workspace Setup: Find a well-ventilated area with enough space to move around. Lay down a drop cloth to protect the floor.
Inspect the Door: Check for any nails or screws that need removal. Ensure the door is solid and not warped.
Clean the Door: Wipe down the door with a damp cloth to remove dirt and dust.
Sand the Surface: Use sandpaper to smooth out rough spots and remove old paint or finish.
Measure and Mark: Decide where to attach the table legs. Mark these spots with a pencil.
Pre-Drill Holes: Drill pilot holes where you marked for the legs. This prevents the wood from splitting.
Attach Legs: Secure the table legs to the door using screws and a drill.
Paint or Stain: Apply paint or stain to the door and legs. Let it dry completely.
Final Touches: Add felt pads to the bottom of the legs to protect your floors.
Gathering Materials and Tools
- Old Door: The main piece for your table. Choose one with a flat surface.
- Table Legs: Four sturdy legs to support the door. Metal or wooden legs work well.
- Sandpaper: For smoothing the door’s surface. Use medium to fine grit.
- Paint or Stain: To give the door a fresh look. Pick a color or finish that matches your decor.
- Paintbrushes or Rollers: For applying paint or stain evenly.
- Screws and Screwdriver: To attach the legs to the door securely.
- Measuring Tape: Ensures legs are placed evenly.
- Drill: Makes holes for screws. A cordless drill is easiest to use.
- Wood Glue: Adds extra strength to the leg attachments.
- Clamps: Holds pieces together while the glue dries.
- Drop Cloth: Protects your workspace from paint or stain spills.
- Safety Gear: Includes gloves, goggles, and a mask to protect yourself while working.
These materials and tools will help you transform an old door into a unique table.
Skill Level and Time Commitment
Skill Level: Intermediate
Time Required: 4-6 hours
- Removing the Door: 30 minutes
- Sanding and Prepping: 1 hour
- Painting or Staining: 2 hours (including drying time)
- Attaching Legs: 1 hour
- Final Touches: 30 minutes
Instructions to Follow
Gather Materials:
- Old door
- Sandpaper
- Paint or stain
- Paintbrushes
- Table legs or sawhorses
- Screws
- Drill
- Measuring tape
- Wood glue
Prepare the Door:
- Remove any hardware like knobs or hinges.
- Sand the door to remove old paint or finish.
- Wipe down the door to remove dust.
Paint or Stain:
- Apply paint or stain to the door.
- Let it dry completely.
- Apply a second coat if needed.
Attach Table Legs:
- Measure and mark where the legs will go.
- Drill pilot holes for screws.
- Attach legs using screws and wood glue for extra stability.
Secure the Legs:
- Ensure legs are straight and secure.
- Tighten all screws.
Finishing Touches:
- Add a clear coat for protection.
- Let it dry completely.
Set Up Your Table:
- Place the table in your desired location.
- Add any decorations or table settings.
Helpful Tips and Tricks
Measure twice, cut once. Always double-check measurements before cutting or drilling. This ensures everything fits perfectly.
Sand the edges of the door to avoid splinters. Smooth edges give a professional look.
Use sturdy legs. Old doors can be heavy, so choose legs that can support the weight. Metal or thick wooden legs work well.
Add a protective finish. Applying a coat of polyurethane or varnish protects the wood and makes cleaning easier.
Secure the legs properly. Use strong brackets or screws to attach the legs. Wobbly legs can make the table unstable.
Level the table. Check that the table is level before finalizing the leg attachment. Use shims if necessary.
Common mistakes to avoid:
Skipping sanding. Rough edges can cause injuries and look unpolished.
Using weak legs. Flimsy legs can break under the door's weight.
Ignoring measurements. Incorrect measurements can lead to uneven or unstable tables.
Alternatives for materials or methods:
Instead of traditional legs, consider using sawhorses for a rustic look.
For a modern touch, use hairpin legs. They are stylish and sturdy.
If you don't have an old door, use plywood or reclaimed wood. Both can be cut to size and customized easily.
Instead of screws, use wood glue and dowels for a cleaner look. This method hides hardware and gives a seamless finish.
Estimating the Cost
Materials:
- Old Door: $20-$50 (thrift store or salvage yard)
- Table Legs: $30-$60 (hardware store or online)
- Sandpaper: $5-$10
- Paint or Stain: $10-$20
- Screws and Brackets: $5-$10
- Polyurethane Finish: $10-$15
Tools:
- Drill: $30-$50 (if you don't already have one)
- Paintbrushes: $5-$10
- Screwdriver: $5-$10
- Measuring Tape: $5-$10
Total Cost: $120-$245
Budget-Friendly Alternatives:
- Table Legs: Use cinder blocks or wooden crates ($10-$20)
- Paint or Stain: Check for leftover paint at home or ask friends ($0)
- Polyurethane Finish: Use clear varnish or wax ($5-$10)
- Drill: Borrow from a friend or rent from a hardware store ($0-$10)
Alternative Total Cost: $60-$125
Different Variations and Customizations
Materials: Use reclaimed wood doors for a rustic look. Try glass doors for a modern, sleek style. Metal doors can give an industrial vibe.
Colors: Paint the door in bright colors like teal or yellow for a pop of color. Use stain to highlight the natural wood grain. Go for a distressed finish for a vintage feel.
Styles: Add hairpin legs for a mid-century modern look. Use chunky wooden legs for a farmhouse style. Attach wheels to make the table mobile.
Tops: Cover the door with epoxy resin for a glossy finish. Add a glass top to protect the door and make it easy to clean. Use tile for a mosaic design.
Storage: Attach shelves underneath for extra storage. Add drawers to keep items hidden. Use baskets for a casual, organized look.
Size: Cut the door to make a coffee table. Use a full-size door for a dining table. Combine two doors for a large workspace.
Accents: Add decorative hardware like vintage knobs or handles. Use stencils to paint designs or quotes. Attach LED lights underneath for a cool effect.
Eco-Friendly Tips
Reclaimed Wood: Use old doors from thrift stores or salvage yards. Sand them down and refinish for a rustic look.
Eco-Friendly Paint: Choose non-toxic, water-based paints to give your table a fresh look without harmful chemicals.
Recycled Metal: Use metal pipes or old table legs for sturdy support. These can often be found at scrap yards.
Natural Finishes: Opt for natural oils or beeswax to seal the wood. These finishes are better for the environment and give a nice, smooth finish.
Upcycled Materials: Incorporate glass from old windows as a tabletop cover. This adds a unique touch and protects the wood.
Sustainable Wood: If buying new wood, choose bamboo or FSC-certified wood. These options are more sustainable and environmentally friendly.
Second-Hand Hardware: Use handles, knobs, or hinges from old furniture to add character and reduce waste.
Minimalist Design: Keep the design simple to use fewer materials and reduce waste. A minimalist approach can also make the table more versatile.
Local Sourcing: Try to source materials locally to reduce the carbon footprint associated with transportation.
Multi-Functionality: Design the table to serve multiple purposes, like adding storage underneath. This maximizes the use of materials and space.
Your Next Project Awaits
Creating a DIY door table isn't just a fun project; it's a chance to add a unique touch to your home. By using reclaimed doors, you give new life to old materials while saving money. Whether you choose a rustic farmhouse style or a sleek modern look, the possibilities are endless. Remember to sand and seal your door properly to ensure durability. Adding sturdy legs or a supportive base will make your table both functional and stylish. Don't forget to personalize it with paint or stain to match your decor. With a bit of effort and creativity, you'll have a one-of-a-kind piece that’s sure to impress. So grab your tools, pick out a door, and get started on your next DIY adventure. Your perfect table is just a weekend away!
How do I turn an old door into a table?
First, sand the door to remove any rough spots. Then, paint or stain it to your liking. Attach legs or use sawhorses for support. Finally, add a glass top for a smooth surface.
What tools will I need for this project?
You'll need a sander, paintbrushes, screws, a drill, and table legs or sawhorses. A measuring tape and level will help ensure everything's straight.
Can I use any type of door?
Most doors work, but solid wood doors are best. Hollow-core doors might not be sturdy enough unless reinforced.
How do I make the table stable?
Use sturdy legs and make sure they're evenly spaced. Adding brackets or cross supports can also help with stability.
What kind of finish should I use?
Polyurethane or varnish works well for a durable finish. If you prefer a rustic look, consider a matte or chalk paint finish.
Can I add storage to my door table?
Yes, you can add shelves or drawers underneath. Use brackets to attach shelves or repurpose old drawers for extra storage.
How long will this project take?
Depending on your skill level, it could take a weekend. Sanding, painting, and drying times can add up, so plan accordingly.