
Home>Home & Furniture>Doors & Windows>DIY Dining Room Door Parts Upgrade
Doors & Windows
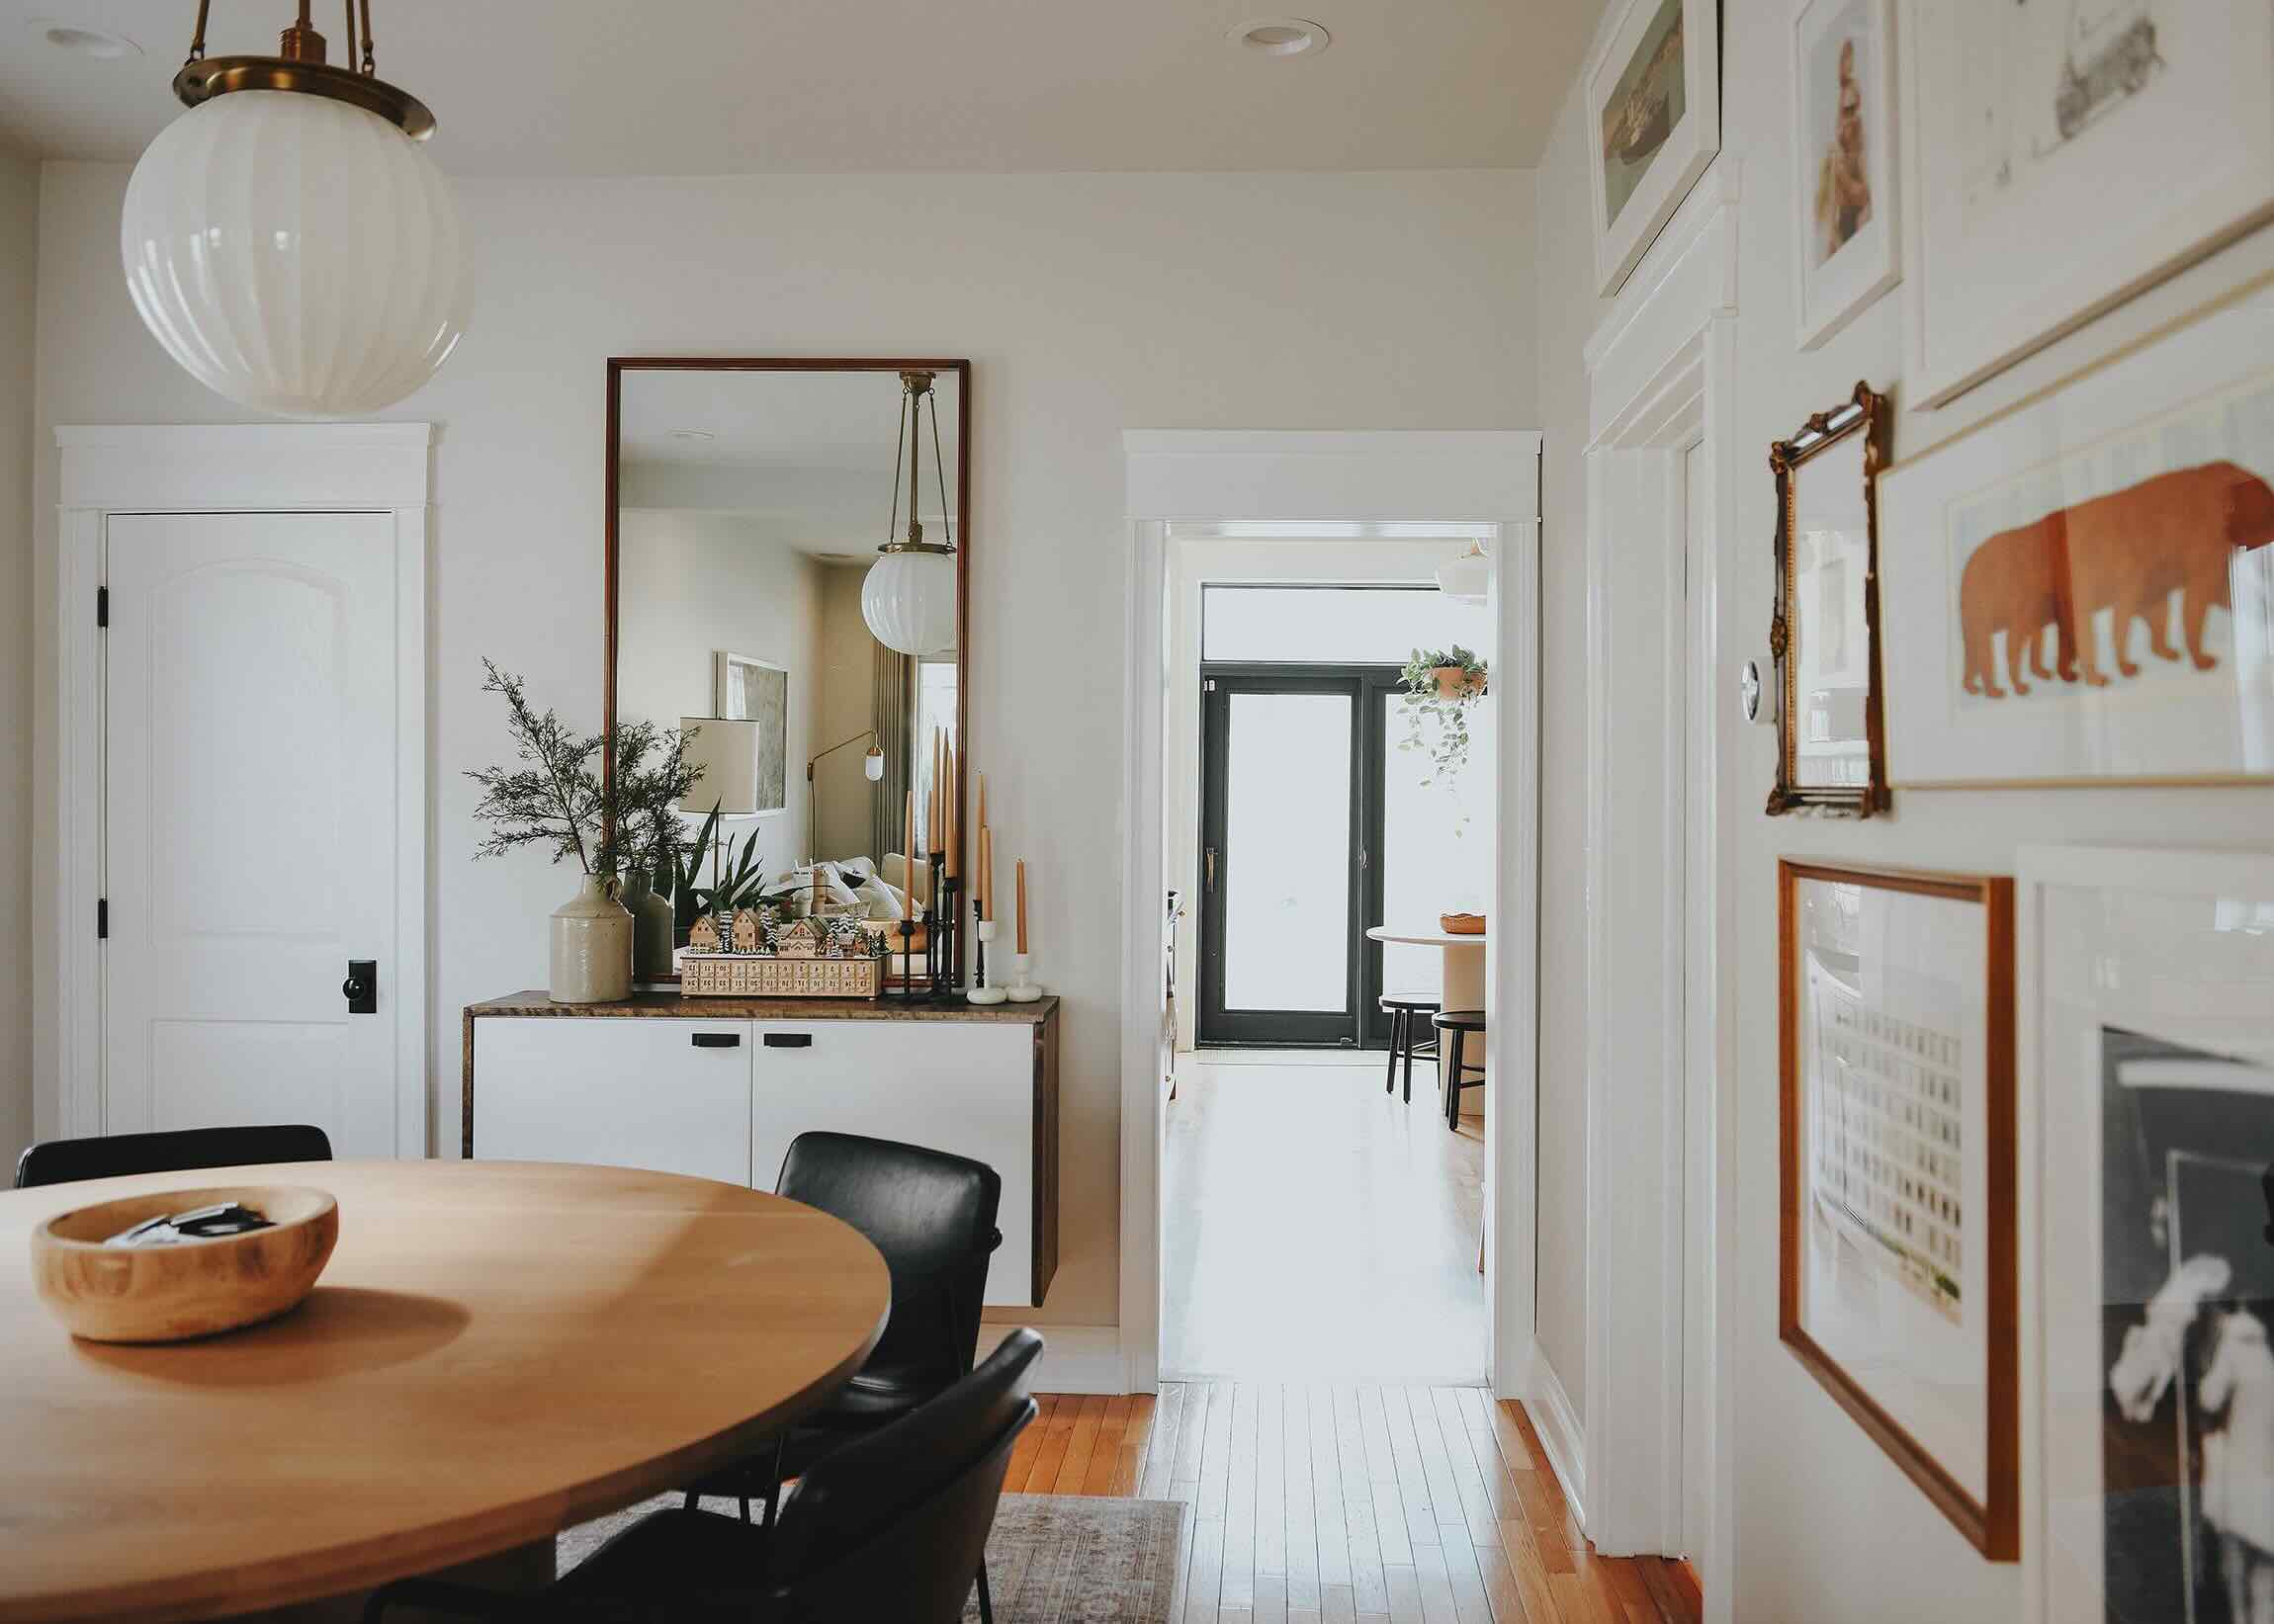
DIY Dining Room Door Parts Upgrade
Published: September 11, 2024
Upgrade your dining room doors with our DIY guide! Discover essential parts, tools, and step-by-step instructions for a stylish and functional transformation.
(Many of the links in this article redirect to a specific reviewed product. Your purchase of these products through affiliate links helps to generate commission for Twigandthistle.com, at no extra cost. Learn more)
Upgrading your dining room door might sound tricky, but it’s simpler than you think. With just a few tools and some basic parts, you can give your door a fresh look and better function. Whether dealing with a sticky latch, loose handle, or outdated hinges, these changes can make a big difference. You'll save money by doing it yourself and gain the satisfaction of a job well done. In this guide, learn how to replace common door parts and even add a touch of style to your dining room. Let’s get started!
Getting Ready for Your Project
Gather Tools and Materials: Collect a screwdriver, drill, measuring tape, level, new door parts, and safety gear like gloves and goggles.
Clear the Workspace: Move furniture and other items away from the door area. Ensure you have enough space to work comfortably.
Safety First: Wear gloves to protect your hands and goggles to shield your eyes from dust or debris.
Measure and Mark: Use a measuring tape to measure the existing door parts. Mark where the new parts will go to ensure proper alignment.
Turn Off Power: If your door has any electrical components, turn off the power at the circuit breaker to avoid any accidents.
Remove Old Parts: Use a screwdriver or drill to carefully remove old door parts. Keep screws and small parts in a container to avoid losing them.
Inspect the Door: Check the door and frame for any damage or wear. Repair any issues before installing new parts.
Read Instructions: Review the installation instructions for the new parts. Make sure you understand each step before proceeding.
Prepare New Parts: Lay out the new parts and ensure you have all necessary components. This helps avoid interruptions during installation.
Test Fit: Before final installation, test fit the new parts to ensure they align correctly with the door and frame.
Materials and Tools Needed
- Screwdriver Set: Essential for removing and installing screws. Includes flathead and Phillips head screwdrivers.
- Drill: Makes holes for new hardware. Use with different drill bits.
- Measuring Tape: Measures door dimensions and placement for new parts.
- Level: Ensures everything is straight and aligned.
- Hammer: Useful for tapping in nails or adjusting parts.
- Chisel: Helps in carving out wood for hinges or locks.
- Utility Knife: Cuts through packaging, trims materials.
- Pencil: Marks measurements and placements.
- New Hinges: Replaces old or worn-out hinges. Choose ones that match your door.
- Door Handle/Knob: Upgrades the look and function of the door. Pick a style you like.
- Screws: Needed for attaching new hardware. Ensure they fit your door and hardware.
- Sandpaper: Smooths out rough edges or old paint.
- Wood Filler: Fills in any holes or gaps in the door.
- Paint or Stain: Refreshes the door’s appearance. Choose a color that matches your decor.
- Paintbrushes or Rollers: Applies paint or stain evenly.
- Drop Cloth: Protects the floor from paint spills or debris.
- Safety Glasses: Protects your eyes from dust and debris.
- Gloves: Keeps your hands safe from splinters and chemicals.
Skill Level and Time Required
Skill Level: Intermediate
Time Required: 3-4 hours
- Remove Old Hardware: 30 minutes
- Measure and Mark New Hardware Locations: 20 minutes
- Drill Holes for New Hardware: 30 minutes
- Install New Hinges: 40 minutes
- Attach New Door Knob or Handle: 30 minutes
- Align and Adjust Door: 30 minutes
- Clean Up and Final Touches: 10 minutes
Step-by-Step Instructions
Gather Materials:
- New door handle
- Screwdriver
- Screws
- Drill (if needed)
- Measuring tape
- Pencil
Remove Old Handle:
- Use a screwdriver to unscrew the old handle.
- Carefully pull the handle off the door.
Measure and Mark:
- Measure the placement for the new handle.
- Mark the spots with a pencil.
Drill Holes:
- If new holes are needed, use a drill to make them.
- Ensure holes align with the new handle.
Attach New Handle:
- Place the new handle on the door.
- Insert screws into the holes.
- Tighten screws with a screwdriver.
Test Handle:
- Open and close the door to ensure the handle works properly.
- Adjust if necessary.
Clean Up:
- Remove any pencil marks.
- Dispose of old handle and screws properly.
Tips and Tricks
Measure Twice, Cut Once: Always double-check measurements before cutting or drilling. This saves time and materials.
Use Quality Tools: Invest in good tools. A sharp saw or a reliable drill makes tasks easier and safer.
Lubricate Hinges: Apply a bit of oil to door hinges to prevent squeaking and ensure smooth operation.
Pre-Drill Holes: When attaching hardware, pre-drill holes to avoid splitting wood.
Paint or Stain Before Installation: Painting or staining parts before installation ensures even coverage and saves cleanup time.
Common Mistakes to Avoid:
Skipping Primer: Always use primer before painting. It helps paint adhere better and last longer.
Over-Tightening Screws: Tightening screws too much can strip the holes or damage the wood.
Ignoring Alignment: Ensure hinges and handles are aligned properly. Misalignment can cause the door to hang crookedly.
Alternatives for Materials or Methods:
Use Wood Filler: Instead of replacing damaged wood, use wood filler to repair small dents or holes.
Opt for Peel-and-Stick Veneer: For a quick update, use peel-and-stick veneer instead of traditional wood veneer.
Magnetic Catches: If traditional latches are too tricky, magnetic catches offer an easy-to-install alternative.
Cost Estimation
Door: $100-$300 depending on material (wood, metal, glass).
Hinges: $10-$20 for a set of three.
Doorknob/Handle: $20-$50 for a basic model.
Screws and Nails: $5-$10.
Paint or Stain: $20-$40 per gallon.
Sandpaper: $5-$10 for a pack.
Primer: $10-$20 per quart.
Brushes/Rollers: $10-$20.
Drop Cloth: $5-$10.
Level: $10-$20.
Screwdriver/Drill: $30-$100.
Total Cost: $225-$600.
Budget-Friendly Alternatives:
- Reclaimed Wood Door: $50-$150.
- Basic Hinges: $5-$10.
- Used Doorknob/Handle: $10-$20.
- Leftover Paint/Stain: Free if you have some.
- Borrow Tools: Free if you can borrow from friends or family.
Variations and Customizations
Materials: Instead of standard wood, try reclaimed wood for a rustic look or bamboo for an eco-friendly option. For a modern touch, use metal or glass inserts.
Colors: Paint the door a bold color like navy blue or emerald green for a statement piece. For a more subtle look, use pastel shades or neutral tones like beige or gray.
Styles: Swap out traditional door handles for vintage knobs or sleek, modern levers. Add decorative trim or molding to the door for extra detail. Consider installing a barn door for a farmhouse feel or a French door for a classic, elegant look.
Hardware: Use brushed nickel or oil-rubbed bronze hardware for a different finish. For a unique touch, try ceramic or glass knobs.
Glass Panels: Replace solid panels with frosted glass or stained glass inserts to add visual interest and light.
Decorative Elements: Add stencils or decals for a personalized touch. Install a kick plate at the bottom of the door for added durability and style.
Functionality: Consider adding a door sweep or weatherstripping for better insulation. Install a soft-close mechanism to prevent slamming.
Finishes: Use a matte finish for a contemporary look or a high-gloss finish for a more polished appearance. Try a distressed finish for a vintage vibe.
Sustainability Tips
Reclaimed Wood: Use old wood from barns or pallets for door frames or panels. It adds character and reduces waste.
Eco-friendly Paint: Choose low-VOC or zero-VOC paints. These paints are better for indoor air quality and the environment.
Recycled Hardware: Look for door handles, hinges, and locks at salvage yards or online marketplaces. Reusing these items saves resources.
Natural Finishes: Use natural oils or waxes instead of chemical-based varnishes. They are safer and more sustainable.
Insulation Strips: Install weatherstripping made from recycled materials to improve energy efficiency.
Bamboo: Consider bamboo for door panels. It’s a fast-growing, renewable resource.
Upcycled Glass: Use glass from old windows or doors for inserts. It adds a unique touch while recycling materials.
DIY Repairs: Fix existing parts instead of replacing them. Repairing extends the life of your door and reduces waste.
Your Dining Room Door Awaits
You've got all the tools and know-how to upgrade your dining room door. With a bit of patience and some elbow grease, you can transform that old door into something special. Remember to measure twice, cut once, and always double-check your work. If you hit a snag, don't sweat it. Take a break, then come back with fresh eyes. DIY projects are all about learning and improving your skills. Plus, there's nothing like the satisfaction of completing a project with your own two hands. So, gather your materials, roll up your sleeves, and get to work. Your dining room door is about to get a serious upgrade. Enjoy the process and the results. Happy DIY-ing!
How do I know if my dining room door needs an upgrade?
If your door sticks, creaks, or has visible damage, it’s time for an upgrade. Also, if it doesn’t match your decor, consider a change.
What tools will I need for this project?
You’ll need a screwdriver, drill, measuring tape, level, and possibly a saw. Don’t forget safety gear like gloves and goggles.
Can I replace the door myself, or should I hire a professional?
You can definitely do it yourself if you’re comfortable with basic tools. For more complex installations, like sliding doors, a pro might be a good idea.
What kind of door should I choose for my dining room?
Think about style and function. French doors add elegance, while barn doors save space. Solid wood doors offer privacy, and glass doors let in light.
How do I measure for a new door?
Measure the height, width, and depth of the existing door frame. Make sure to measure at multiple points to ensure accuracy.
What are some easy upgrades besides replacing the door?
You can update hardware like handles and hinges, add a fresh coat of paint, or install decorative trim to give your door a new look.
How long will this project take?
For a basic door replacement, plan for a few hours. More intricate projects, like installing a sliding door, could take a day or more.