
Home>Home & Furniture>Doors & Windows>DIY Back of Door Spice Rack
Doors & Windows
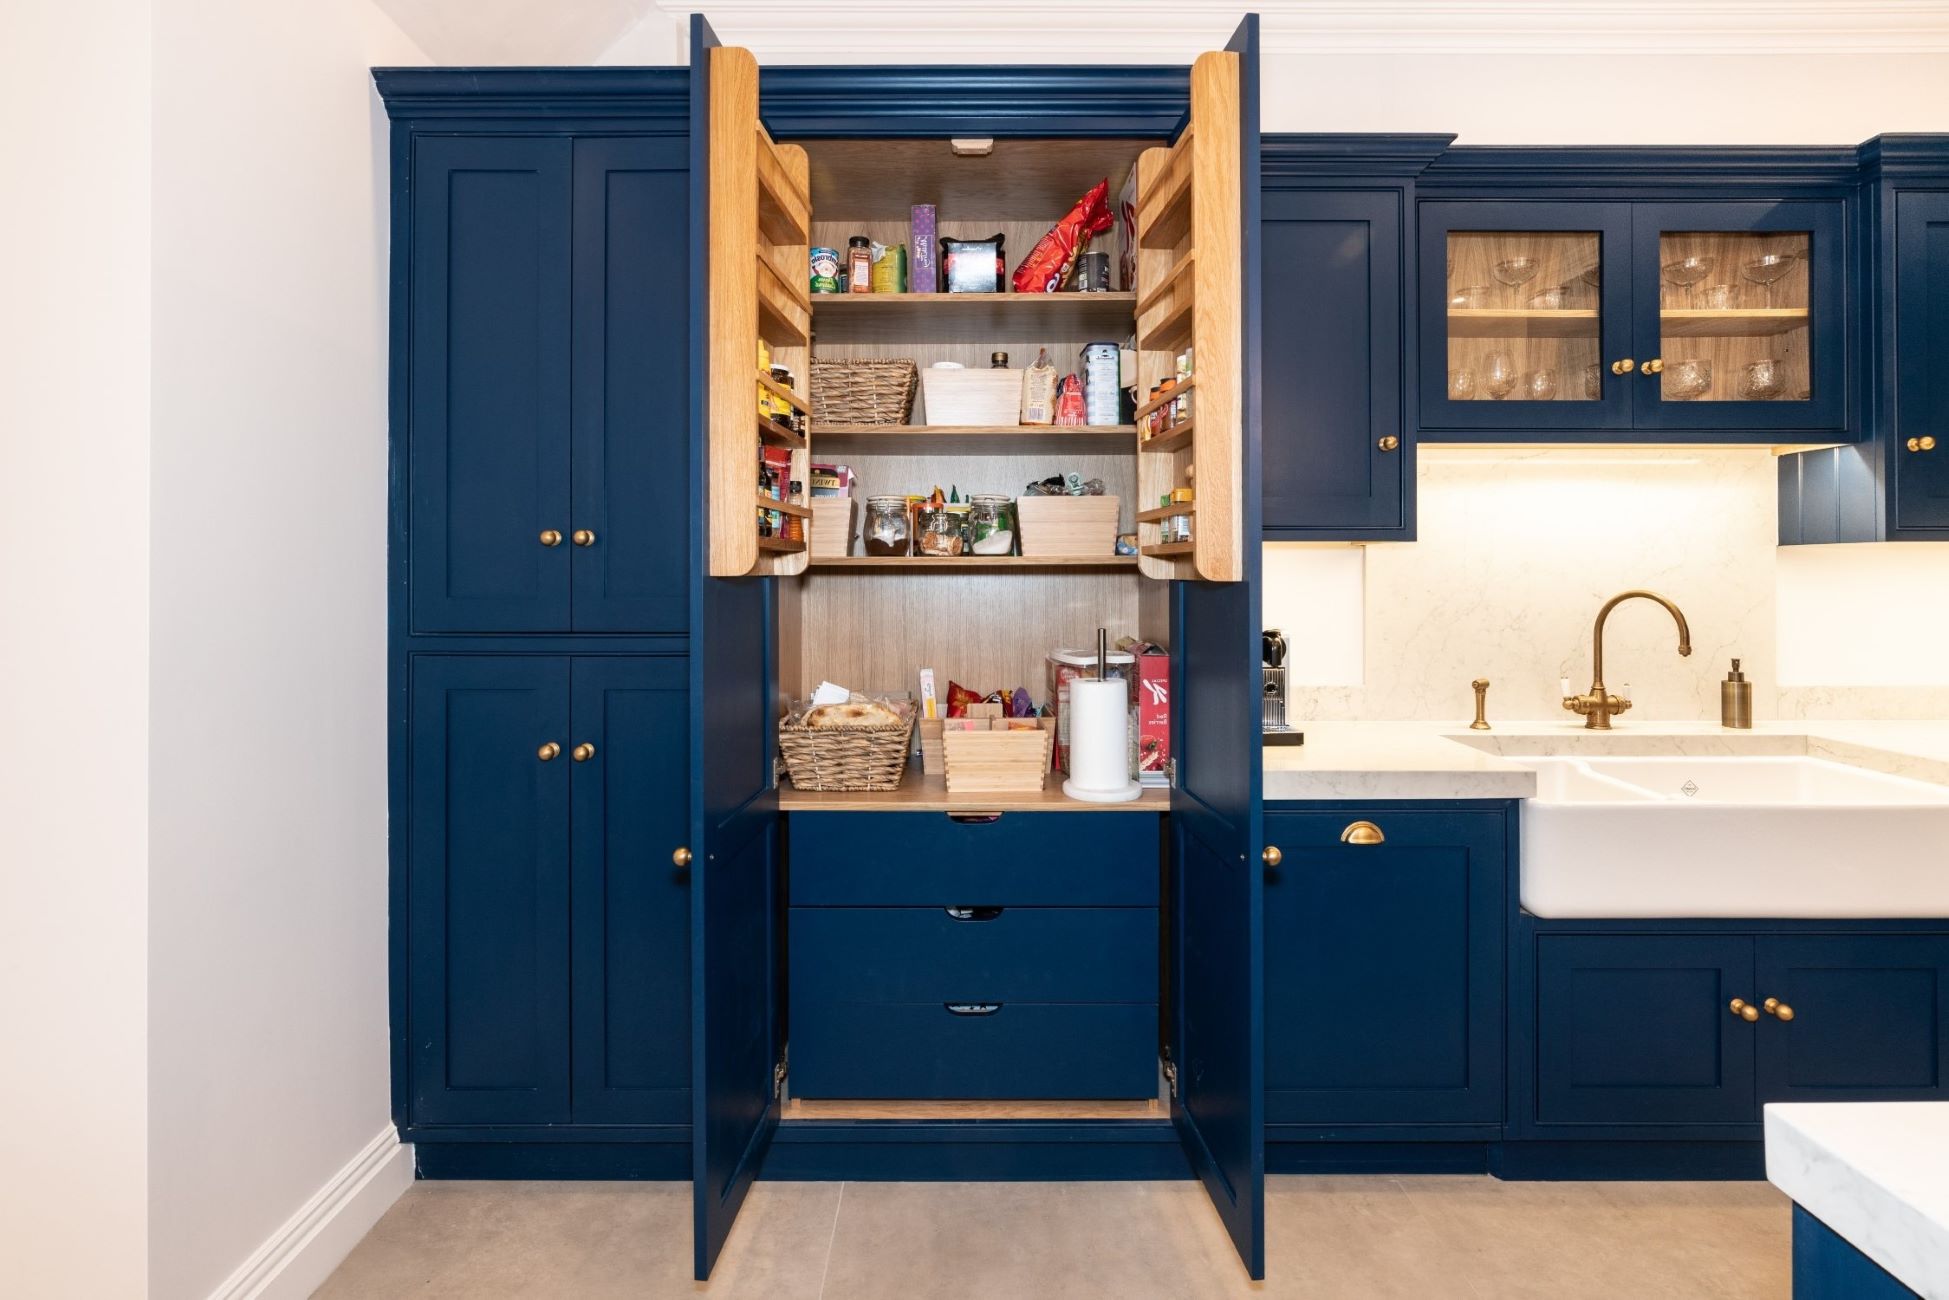
DIY Back of Door Spice Rack
Published: September 6, 2024
Create a DIY back of door spice rack with our step-by-step guide. Maximize kitchen space, keep spices organized, and add a touch of creativity to your home.
(Many of the links in this article redirect to a specific reviewed product. Your purchase of these products through affiliate links helps to generate commission for Twigandthistle.com, at no extra cost. Learn more)
Running out of cabinet space for your spices? A back-of-door spice rack might be just the solution you need. This simple DIY project can help organize your kitchen while keeping your spices easily accessible. Plus, it's budget-friendly and doesn't require advanced carpentry skills. You'll be surprised at how much space you free up in your cabinets. This guide will walk you through the steps needed to create your spice rack, using materials you likely already have at home. Get ready to transform that unused door space into a functional and stylish storage area.
Getting Ready for Your Project
Measure the Door: Use a tape measure to find the height and width of the door where the spice rack will go. Write down these measurements.
Gather Materials: Collect wood planks, screws, brackets, a drill, a saw, sandpaper, and paint or stain. Make sure you have everything before starting.
Safety Gear: Wear safety goggles and gloves to protect your eyes and hands. Keep a first aid kit nearby in case of minor injuries.
Clear the Workspace: Ensure your workspace is clean and well-lit. Remove any clutter that might cause accidents.
Cut the Wood: Use the saw to cut the wood planks to the desired size for your spice rack. Sand the edges to smooth them out.
Pre-Drill Holes: Mark where the screws will go and pre-drill holes in the wood. This prevents the wood from splitting when you assemble the rack.
Assemble the Rack: Use screws and brackets to put the pieces together. Make sure everything is tight and secure.
Paint or Stain: Apply paint or stain to the wood. Let it dry completely before moving on to the next step.
Attach to Door: Use screws to attach the spice rack to the door. Make sure it is level and securely fastened.
Organize Spices: Place your spices on the rack, arranging them in a way that makes them easy to find and use.
What You Need to Build a Spice Rack
- Wooden Boards: Used to create the shelves. Choose sturdy wood like pine or oak.
- Measuring Tape: Ensures accurate measurements for cutting wood and placing shelves.
- Saw: Cuts the wooden boards to the required size.
- Sandpaper: Smooths the edges of the cut wood to prevent splinters.
- Drill: Makes holes for screws and mounts the rack to the door.
- Screws: Secures the shelves and brackets in place.
- Brackets: Supports the shelves and attaches them to the door.
- Screwdriver: Tightens screws into the wood and brackets.
- Level: Ensures shelves are even and straight.
- Pencil: Marks measurements and placement points.
- Paint or Stain: Adds color or finish to the wood for a polished look.
- Paintbrush: Applies paint or stain to the wood.
- Protective Gear: Includes gloves and safety glasses to protect hands and eyes during construction.
How Much Time and Skill You Need
Skill Level: Beginner
Time Required: 1-2 hours
- Gather Materials: 10 minutes
- Measure and Mark: 15 minutes
- Cut Wood (if needed): 20 minutes
- Assemble Rack: 30 minutes
- Attach to Door: 15 minutes
Important Keywords: Beginner, 1-2 hours, Gather Materials, Measure and Mark, Cut Wood, Assemble Rack, Attach to Door
Instructions for Making a Spice Rack
Gather Materials:
- Wooden boards (for shelves)
- Screws
- Drill
- Measuring tape
- Pencil
- Sandpaper
- Paint or stain (optional)
- Wall anchors (if needed)
- Screwdriver
- Level
Measure the Door:
- Use the measuring tape to find the height and width of the door.
- Decide how many shelves you want and their spacing.
Cut the Wood:
- Cut the wooden boards to the desired length for each shelf.
- Sand the edges to smooth any rough spots.
Paint or Stain (Optional):
- Apply paint or stain to the wooden boards.
- Let them dry completely.
Mark Shelf Positions:
- Use the pencil to mark where each shelf will go on the door.
- Ensure the marks are level and evenly spaced.
Pre-drill Holes:
- Drill holes in the door where you marked for the screws.
- Also, pre-drill holes in the wooden boards to prevent splitting.
Attach Shelves:
- Hold the first shelf in place and screw it into the door.
- Repeat for each shelf, ensuring they are level.
Secure with Wall Anchors (if needed):
- If the door is hollow, use wall anchors to provide extra support.
- Insert anchors into the pre-drilled holes before attaching shelves.
Check Stability:
- Ensure all shelves are securely attached and level.
- Adjust if necessary.
Organize Spices:
- Place spice jars on the shelves.
- Arrange them for easy access and visibility.
Helpful Tips and Tricks
Measure Carefully: Before starting, measure the door and the space where the rack will go. This ensures the rack fits perfectly.
Use Lightweight Materials: Opt for lightweight wood or metal to avoid adding too much weight to the door. Plywood or aluminum work well.
Secure Properly: Use strong screws and anchors to secure the rack. This prevents it from wobbling or falling.
Adjustable Shelves: Consider making shelves adjustable. This allows you to fit different-sized spice jars easily.
Label Jars: Label the tops of jars for easy identification. This saves time when cooking.
Common Mistakes to Avoid:
- Overloading: Don't overload the rack. Too much weight can damage the door.
- Ignoring Door Swing: Ensure the rack doesn't interfere with the door's ability to open and close.
- Wrong Screws: Using the wrong screws can cause the rack to fall. Use screws appropriate for the door material.
Alternatives:
- Magnetic Strips: Use magnetic strips to hold metal spice containers. This saves space and looks neat.
- Over-the-Door Hooks: Use hooks that hang over the door. These require no drilling and are easy to remove.
- Adhesive Shelves: Use adhesive-backed shelves for a no-drill option. Ensure they can hold the weight of the spices.
How Much Will It Cost?
Materials:
- Wood (Pine or Plywood): $15-$20
- Screws: $5
- Wood Glue: $3
- Sandpaper: $3
- Paint or Stain: $10
- Hooks or Brackets: $5
Tools:
- Saw (Hand saw or Circular saw): $20-$50
- Drill: $30-$60
- Screwdriver: $5-$10
- Paintbrush: $2
Total Cost: $98-$168
Budget-Friendly Alternatives:
- Reclaimed Wood: Free or low cost
- Basic Hand Tools: Borrow from friends or family
- Dollar Store Paintbrush: $1
- Second-hand Drill: $15-$30
Adjusted Total Cost: $41-$92
Different Ways to Customize
Materials: Use wood, metal, or plastic for the rack. Wood gives a rustic look, metal offers a modern feel, and plastic is lightweight and easy to clean.
Colors: Paint or stain the rack to match your kitchen decor. Bright colors can make it pop, while neutral tones blend in seamlessly.
Styles: Add decorative elements like molding or stencils for a personalized touch. Use hooks or magnets to hold spice jars in place.
Shelves: Adjust the number and height of shelves to fit different spice jar sizes. Consider adding a lip on each shelf to prevent jars from falling.
Mounting: Use screws, adhesive strips, or over-the-door hooks to attach the rack. Screws offer stability, adhesive strips are easy to install, and hooks allow for easy removal.
Labels: Add chalkboard paint or stickers to label each shelf or jar. This helps keep spices organized and easy to find.
Lighting: Install LED strip lights for better visibility. Battery-operated lights are easy to add without wiring.
Extras: Include a small drawer or basket at the bottom for additional storage. This can hold measuring spoons or small kitchen gadgets.
Eco-Friendly Ideas for Your Project
Reclaimed Wood: Use old wooden pallets or leftover wood from other projects. Sand and paint them for a fresh look.
Glass Jars: Repurpose small glass jars from sauces or jams. Clean them thoroughly and use them to store spices.
Metal Cans: Clean and decorate used tin cans. Attach them to the rack for holding larger spice containers.
Recycled Plastic: Use sturdy plastic containers from old storage bins. Cut and shape them to fit your spice jars.
Old Shelves: Repurpose old bookshelves or small cabinets. Cut them to size and mount them on the door.
Eco-friendly Paint: Choose non-toxic, water-based paint for any wood or metal parts. This reduces harmful emissions.
Natural Adhesives: Use eco-friendly glue or nails instead of synthetic adhesives. This ensures a more sustainable build.
Fabric Pockets: Sew pockets from old fabric scraps. Attach them to the rack for holding spice packets.
Bamboo: Use bamboo strips or panels. Bamboo grows quickly and is a sustainable material.
Recycled Hooks: Use hooks from old projects or thrift stores. Attach them to hang measuring spoons or small utensils.
Spice Rack Success
Building your own back of door spice rack is a fantastic way to save space and keep your kitchen organized. With just a few materials and some basic tools, you can create a custom storage solution that fits your needs perfectly. Remember to measure your door carefully, choose sturdy shelves, and secure everything properly. This project not only adds functionality but also a touch of personal style to your kitchen. Plus, you'll get the satisfaction of knowing you built it yourself. So grab your tools, gather your spices, and get started on this fun and practical DIY project. Happy building!
How much space do I need for a back of door spice rack?
You'll need about 3-4 inches of depth. Measure the door's height and width to ensure it fits.
What materials work best for a spice rack?
Wood, metal, or plastic are great choices. Wood adds a rustic look, metal is sturdy, and plastic is lightweight.
How do I attach the spice rack to the door?
Use screws or adhesive strips. Screws are more secure, but adhesive strips are easier to remove.
Can I customize the size of the shelves?
Absolutely! Cut the shelves to fit your spice jars. Adjustable shelves offer flexibility for different jar sizes.
Will the door still close properly?
Yes, as long as the rack isn't too deep. Test the door before finalizing the installation.
How do I keep the spices from falling off?
Install a small lip or rail on each shelf. This keeps jars in place when the door moves.
Is it easy to clean?
Very! Just wipe down the shelves with a damp cloth. For wood, use a gentle cleaner to avoid damage.
Can I use this for other items?
Definitely! Store small kitchen items, cleaning supplies, or even bathroom essentials.