
Home>Home & Furniture>Doors & Windows>Budget-Friendly DIY Barn Door Guide
Doors & Windows
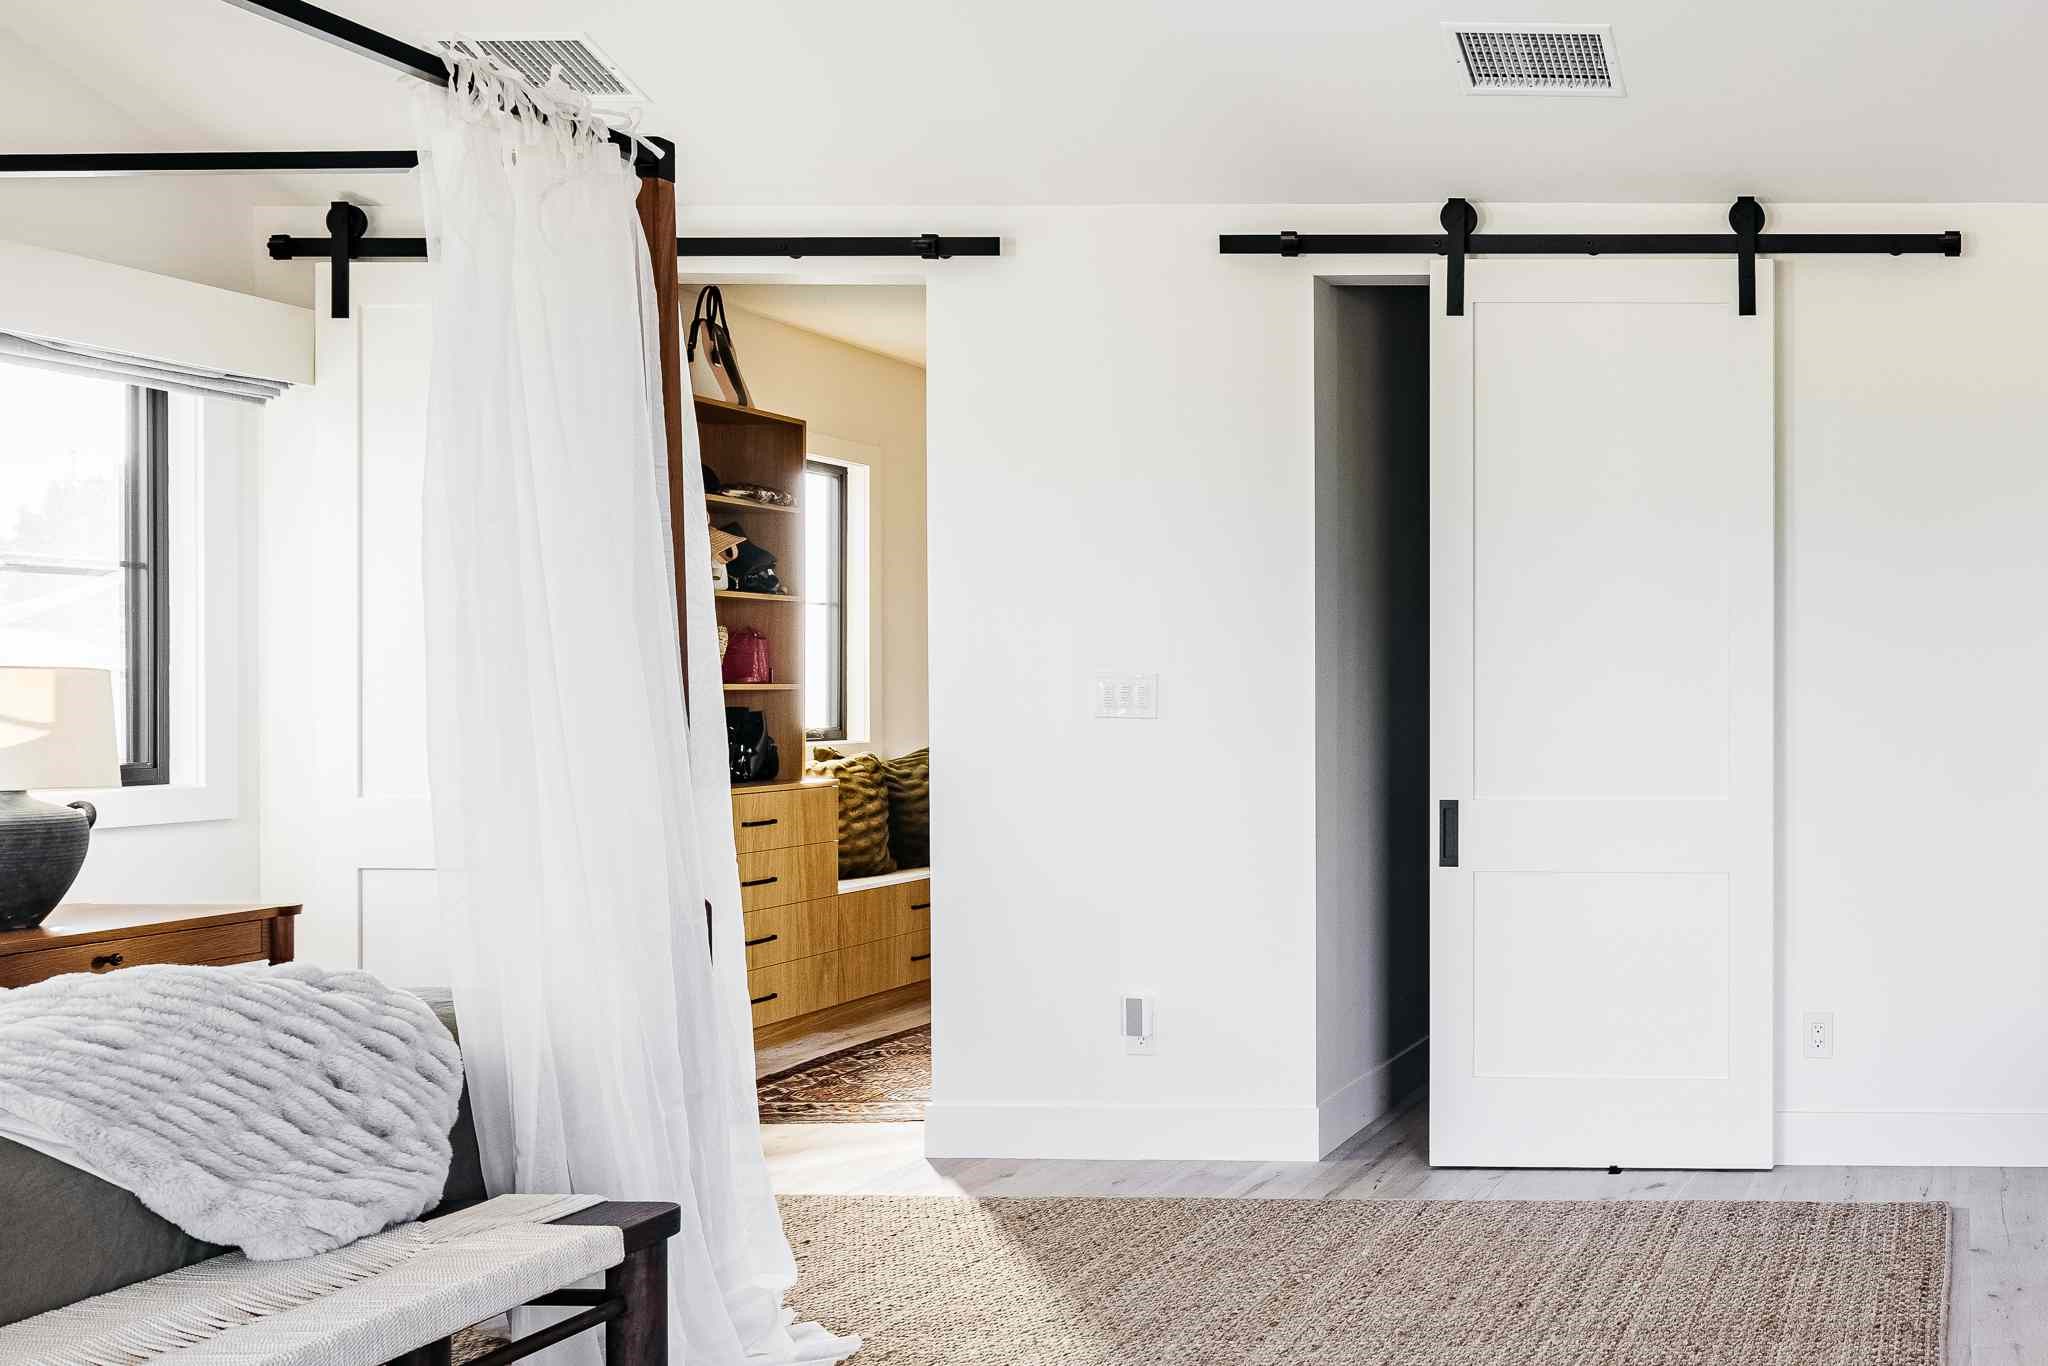
Budget-Friendly DIY Barn Door Guide
Published: September 8, 2024
Discover how to create a stylish, budget-friendly DIY barn door with our step-by-step guide. Perfect for adding rustic charm to any room without breaking the bank!
(Many of the links in this article redirect to a specific reviewed product. Your purchase of these products through affiliate links helps to generate commission for Twigandthistle.com, at no extra cost. Learn more)
Making your own barn door can be a fun and affordable way to add charm to your home. Forget spending a lot on store-bought options; this guide will show how you can build one with simple tools and materials. Even if you're new to DIY projects, don't worry. This guide will break down each step clearly, so you can follow easily. Soon, you'll have a stylish, functional barn door that won’t break the bank. Get ready to roll up your sleeves and create something special for your space.
Getting Ready for Your Project
Measure Your Space: Use a tape measure to get the exact dimensions of the doorway. Write down the height and width.
Choose Materials: Pick up wood, screws, and paint or stain. Reclaimed wood can save money and add character.
Gather Tools: Ensure you have a drill, saw, level, tape measure, sandpaper, and a paintbrush.
Safety Gear: Wear safety glasses, gloves, and a dust mask. Protect your eyes, hands, and lungs.
Clear the Area: Move furniture and other items out of the way. You need space to work and move around.
Prepare the Wood: Sand the wood to remove splinters. Paint or stain it and let it dry completely.
Install the Track: Use a level to ensure the track is straight. Secure it with screws into wall studs for stability.
Attach Hardware: Fix the rollers to the top of the door. Follow the instructions that come with the hardware kit.
Hang the Door: Lift the door and place the rollers on the track. Check that it slides smoothly.
Final Adjustments: Make sure the door is level and adjust if needed. Tighten any loose screws.
What You Need: Materials and Tools
Materials:
- Wood Panels: These form the main structure of the barn door. Choose sturdy, flat panels.
- Wood Screws: Essential for holding the panels together securely.
- Wood Glue: Adds extra strength to the joints.
- Sandpaper: Smooths out rough edges and surfaces.
- Paint or Stain: Gives the door a finished look. Choose based on your desired aesthetic.
- Barn Door Hardware Kit: Includes the track, rollers, and other necessary mounting hardware.
- Handles: Makes opening and closing the door easier. Choose a style that matches your decor.
- Measuring Tape: Ensures precise measurements for cutting and fitting.
- Pencil: Marks measurements and cutting lines.
- Level: Ensures the door and track are installed straight.
Tools:
- Drill: Used for making holes and driving screws.
- Saw: Cuts the wood panels to the desired size. A circular saw or handsaw works well.
- Screwdriver: Tightens screws. A power screwdriver can save time.
- Clamps: Holds pieces together while the glue dries.
- Hammer: Useful for tapping pieces into place.
- Stud Finder: Locates wall studs for securely mounting the track.
- Safety Gear: Includes gloves, safety glasses, and a dust mask to protect yourself while working.
How Much Skill and Time You Need
Skill Level: Intermediate
Time Required: 6-8 hours
- Gather Materials: 1 hour
- Measure and Cut Wood: 2 hours
- Assemble Door: 1.5 hours
- Sand and Paint: 1 hour
- Install Hardware: 1 hour
- Hang Door: 0.5 hours
Follow These Steps
Gather Materials:
- Wooden planks
- Screws
- Wood glue
- Sandpaper
- Paint or stain
- Barn door hardware kit
- Measuring tape
- Saw
- Drill
Measure Doorway:
- Measure the width and height of the doorway.
- Add 2 inches to the width and 1 inch to the height for overlap.
Cut Wood:
- Cut wooden planks to the measured dimensions.
- Ensure all pieces are even.
Assemble Door:
- Lay planks side by side.
- Apply wood glue between each plank.
- Secure with screws.
Sand and Finish:
- Sand the entire door to smooth rough edges.
- Apply paint or stain for desired finish.
- Allow to dry completely.
Install Hardware:
- Follow instructions in the barn door hardware kit.
- Attach rollers to the top of the door.
- Install the track above the doorway.
Hang Door:
- Lift door onto the track.
- Ensure it slides smoothly.
Test and Adjust:
- Open and close the door several times.
- Make any necessary adjustments for smooth operation.
Helpful Tips and Tricks
Measure Twice, Cut Once: Always double-check measurements before cutting any materials. This saves time and money.
Use Reclaimed Wood: Reclaimed wood can be cheaper and gives a rustic look. Check local salvage yards or online marketplaces.
DIY Hardware: Instead of buying expensive barn door hardware, use basic items like galvanized pipes and flanges. They work well and look industrial.
Paint or Stain: If reclaimed wood isn't available, buy cheaper wood and paint or stain it to look aged.
Pre-drill Holes: Pre-drilling holes prevents wood from splitting and makes assembly easier.
Level the Track: Ensure the track is perfectly level. An uneven track will cause the door to slide poorly.
Soft Close Mechanism: Install a soft-close mechanism to prevent the door from slamming. It's an affordable addition that adds a touch of luxury.
Common Mistakes to Avoid:
Incorrect Measurements: Incorrect measurements can lead to a door that doesn't fit. Always measure the door opening and the door itself multiple times.
Ignoring Wall Studs: Failing to mount the track on wall studs can cause the door to fall. Use a stud finder to locate studs before installation.
Cheap Hardware: Using low-quality hardware can result in a door that doesn't slide smoothly or falls off the track. Invest in decent hardware.
Alternatives for Materials or Methods:
PVC Boards: Use PVC boards instead of wood. They are lightweight, easy to clean, and resistant to moisture.
Sliding Closet Door Kits: Repurpose sliding closet door kits for barn doors. They are often cheaper and readily available.
Old Doors: Repurpose old doors from thrift stores or garage sales. They can be sanded down and repainted to fit your style.
How Much Will It Cost?
Materials:
- Barn Door Slab: $50-$100 (Plywood or reclaimed wood)
- Barn Door Hardware Kit: $40-$80 (Includes track, rollers, and handles)
- Stain or Paint: $10-$20 (Depending on brand and color)
- Sandpaper: $5 (For smoothing the wood)
- Wood Screws: $5 (For assembly and mounting)
Tools:
- Drill: $30-$50 (Cordless recommended)
- Screwdriver: $5-$10 (Manual or electric)
- Measuring Tape: $5 (For accurate measurements)
- Level: $10 (Ensures door hangs straight)
- Saw: $20-$40 (Hand saw or circular saw)
Total Estimated Cost: $180-$320
Budget-Friendly Alternatives:
- Door Slab: Use reclaimed wood or old doors from thrift stores ($20-$50)
- Hardware Kit: DIY with pipe fittings and wheels ($20-$40)
- Paint/Stain: Check for leftover paint at home or buy sample sizes ($5-$10)
- Tools: Borrow from friends or use community tool libraries (Free or minimal cost)
Total with Alternatives: $70-$150
Different Ways to Customize
Materials: Instead of traditional wood, try reclaimed wood for a rustic look or plywood for a cheaper option. Metal sheets can give an industrial vibe.
Colors: Paint the door in bold colors like red or blue for a statement piece. For a more subtle look, use neutral tones like white, gray, or beige. Stain the wood to highlight its natural grain.
Styles: Add decorative trim or molding to create a more elegant design. Use chalkboard paint on one side for a functional message board. Attach mirrors to make the room feel larger.
Hardware: Swap out standard handles for vintage knobs or leather pulls. Use black iron hardware for a farmhouse feel or brushed nickel for a modern touch.
Sliding Mechanism: Opt for a bypass sliding system if space is limited. For a unique twist, use barn door rollers with a soft-close feature to prevent slamming.
Accessories: Add a door latch for extra security. Install soft-close dampers to make the door glide smoothly. Use decorative hinges even if they’re not functional, just for added style.
Eco-Friendly Tips
Reclaimed wood is a fantastic option for a barn door. Old pallets, fences, or barn wood can be repurposed. This not only saves money but also gives the door a rustic look.
Recycled metal can be used for handles and hardware. Look for old pipes or metal scraps that can be cleaned and polished.
Eco-friendly paint or stain is another good choice. Look for products with low VOCs (volatile organic compounds) to reduce harmful emissions.
Natural fibers like jute or hemp can be used for decorative elements or even as a soft close mechanism.
Salvaged doors from thrift stores or demolition sites can be transformed into barn doors. This reduces waste and often costs less than new materials.
DIY sliding hardware can be made from items like old wheels or pulleys. This adds character and saves money.
Upcycled glass panels can be inserted into the door for a unique touch. Old windows or glass from other projects can be reused.
Sustainable adhesives and sealants should be chosen. Look for products labeled as eco-friendly or biodegradable.
Energy-efficient lighting around the barn door area can enhance its look while saving energy. LED lights are a good option.
Local materials reduce the carbon footprint. Try to source wood and other materials from local suppliers.
Your DIY Barn Door Awaits
Building your own barn door isn't just about saving money; it's about creating something unique. You've got the materials, the tools, and the know-how. Now, it's time to put it all together. Measure twice, cut once, and don't rush the process. A little patience goes a long way.
Remember, the satisfaction of seeing that door slide smoothly on its track is worth every minute spent. Plus, you'll have a great story to tell every time someone admires your handiwork. So, grab your tools, roll up your sleeves, and get started. Your new barn door is just a few steps away. Happy building!
How much does it cost to build a barn door?
Building a barn door can cost between $50 to $200, depending on the materials you choose. Reclaimed wood or plywood can save you some bucks.
What tools do I need?
You’ll need a saw, drill, screws, measuring tape, and a level. A sander and paintbrush might come in handy too.
Can I use any type of wood?
Most types of wood work fine. Pine, oak, and reclaimed wood are popular choices. Just make sure it’s sturdy and not warped.
How do I measure for the door?
Measure the width and height of your doorway. Add a couple of inches to each side for overlap. This ensures the door covers the opening completely.
Do I need special hardware?
Yes, you’ll need a barn door track and rollers. These can be found at most hardware stores or online. Make sure they can support the door’s weight.
How long does it take to build?
It usually takes a weekend. Cutting, assembling, and finishing the door can be done in a day. Installing the hardware might take another few hours.
Can I paint or stain the door?
Absolutely! Paint or stain the door to match your decor. Just make sure to sand it first for a smooth finish.