
Home>Home & Furniture>Bedroom>DIY Accent Wall Trim Ideas
Bedroom
DIY Accent Wall Trim Ideas
Published: July 18, 2024
Transform your bedroom with these DIY accent wall trim ideas. Discover creative, easy-to-follow tips to add style and character to your space. Get inspired now!
(Many of the links in this article redirect to a specific reviewed product. Your purchase of these products through affiliate links helps to generate commission for Twigandthistle.com, at no extra cost. Learn more)
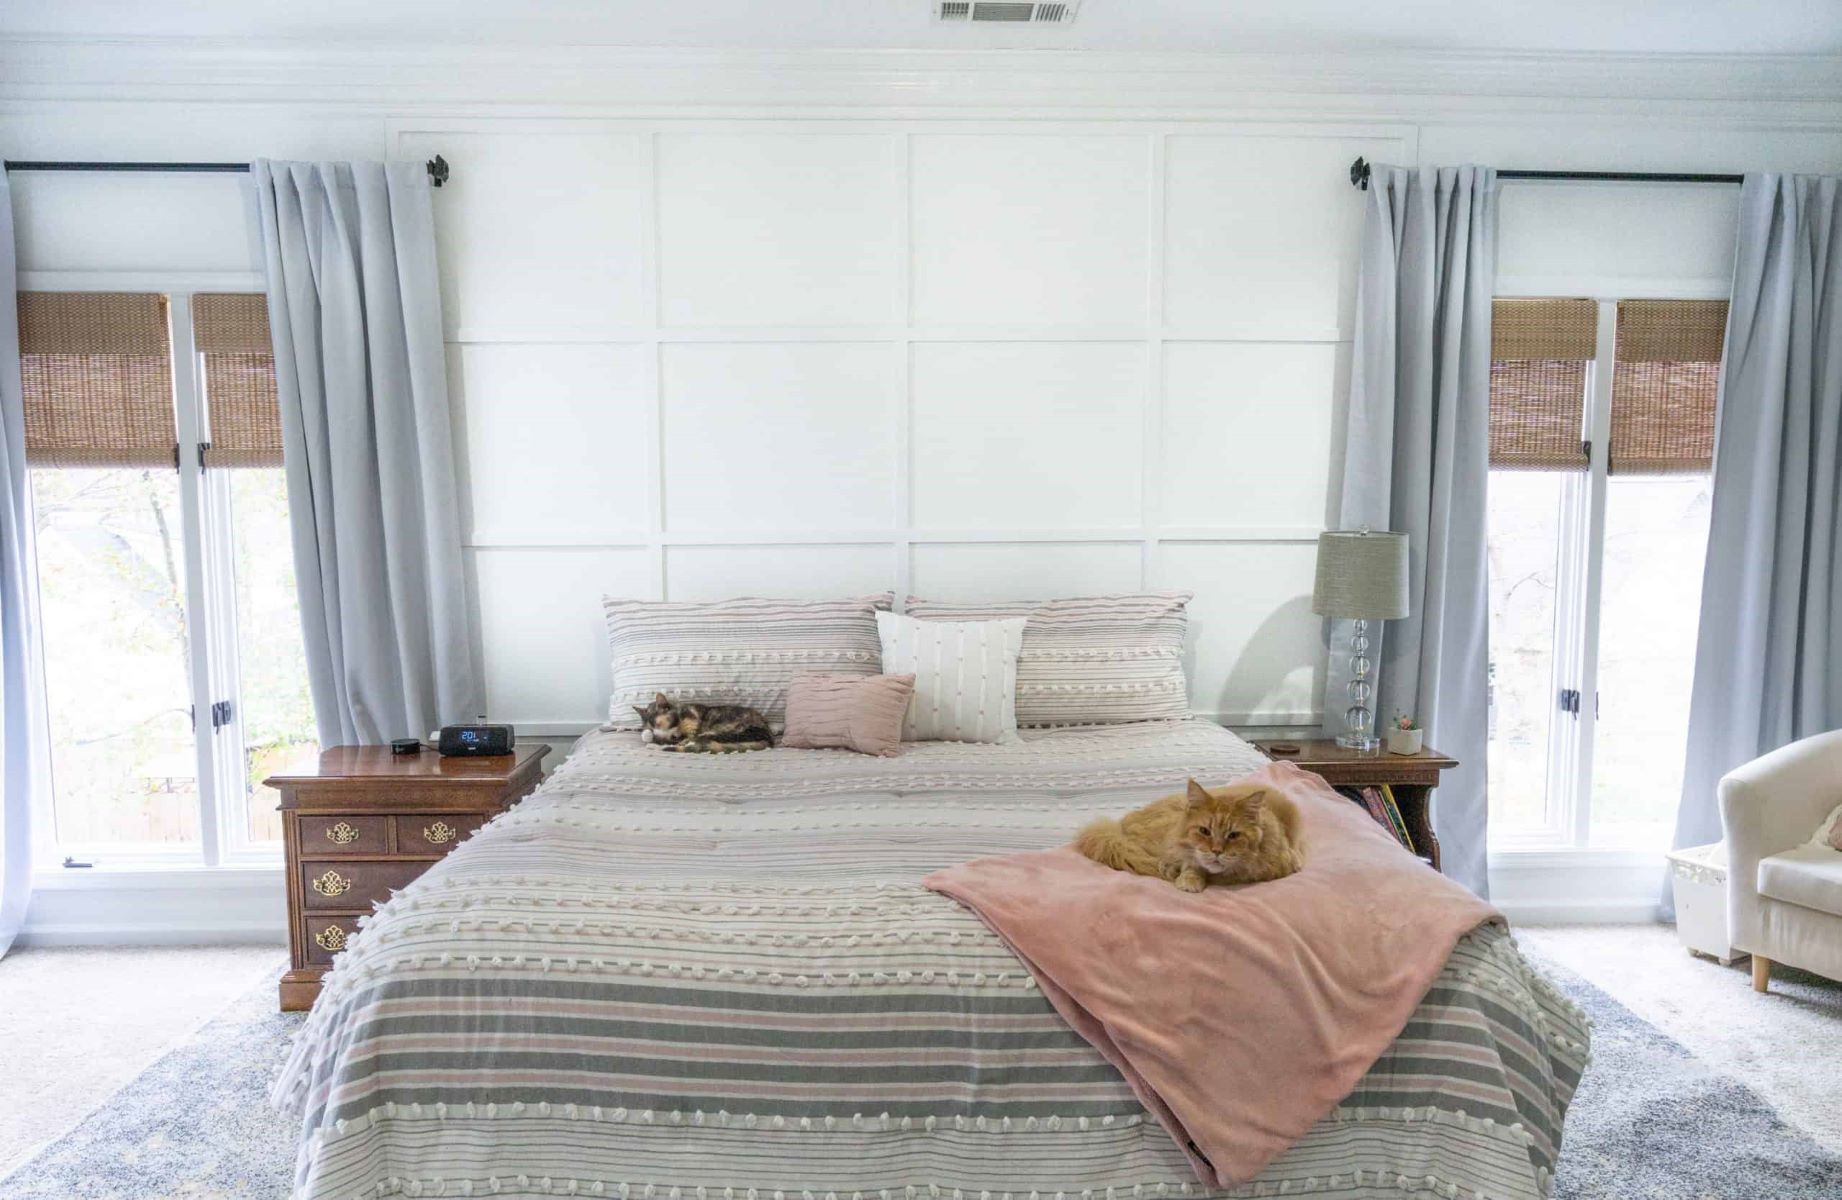
Transform your space with DIY accent wall trim ideas that don't require expert skills or a big budget. Adding trim to your walls can create depth, character, and a touch of elegance. Whether you're looking to modernize a bedroom, spruce up a living room, or give a hallway some flair, these projects can make a huge difference. Simple tools and readily available materials are all you need to get started. This guide will walk you through a variety of designs and techniques, making it easy for anyone to achieve a stunning accent wall. Ready to get creative? Let's dive in!
Getting Ready for Your Project
Gather Materials: Get all necessary tools and supplies like trim pieces, a saw, nails, a hammer, a level, measuring tape, and paint.
Measure the Wall: Measure the height and width of the wall. Mark where you want the trim to go.
Cut the Trim: Use a saw to cut the trim pieces to the right lengths. Make sure the cuts are straight.
Prepare the Wall: Clean the wall to remove dust and dirt. Fill any holes or cracks with spackle and let it dry.
Safety Gear: Wear safety glasses and gloves to protect your eyes and hands while cutting and nailing.
Set Up Workspace: Lay down a drop cloth to protect the floor. Set up a workbench or table to hold your tools and materials.
Check for Studs: Use a stud finder to locate studs in the wall. Mark these spots to ensure the trim is securely attached.
Prime and Paint: If you plan to paint the trim, do it before attaching it to the wall. This makes the job easier and cleaner.
Dry Fit: Place the trim pieces on the wall without nails to ensure they fit correctly. Adjust as needed.
Attach the Trim: Use a level to make sure the trim is straight. Nail the trim into place, starting from the top and working your way down.
Fill Nail Holes: Use wood filler to cover nail holes. Sand smooth once dry.
Final Touches: Touch up any paint and clean up your workspace.
Gathering Materials and Tools
- Measuring Tape: Used to measure the dimensions of your wall and trim pieces accurately.
- Pencil: For marking measurements and guidelines on the wall and trim.
- Level: Ensures that your trim pieces are straight and even.
- Miter Saw: Cuts trim pieces at precise angles for perfect corners.
- Nail Gun: Secures the trim to the wall quickly and efficiently.
- Nails: Used with the nail gun to attach the trim.
- Wood Filler: Fills any gaps or holes in the trim for a smooth finish.
- Sandpaper: Smooths out rough edges and surfaces on the trim.
- Primer: Prepares the trim for painting by sealing the wood.
- Paint: Adds color and protection to the trim.
- Paintbrushes: Used to apply primer and paint to the trim.
- Caulk: Seals gaps between the trim and wall for a seamless look.
- Caulk Gun: Dispenses caulk smoothly and evenly.
- Drop Cloth: Protects floors and furniture from paint and debris.
- Safety Glasses: Protects your eyes while cutting and nailing trim.
- Work Gloves: Protects your hands during the project.
Skill Level and Time Commitment
Skill Level: Intermediate
Time Required: 1-2 days
- Planning and Measuring: 1-2 hours
- Cutting Trim Pieces: 2-3 hours
- Installing Trim: 4-6 hours
- Caulking and Filling Gaps: 1-2 hours
- Painting or Staining: 4-6 hours
Important Keywords: Skill Level, Time Required, Planning, Measuring, Cutting, Installing, Caulking, Filling Gaps, Painting, Staining
Detailed Step-by-Step Guide
Choose Your Wall:
- Pick a wall that will stand out.
- Clean the wall to remove dust and dirt.
Measure the Wall:
- Use a tape measure to get the height and width.
- Write down the measurements.
Plan Your Design:
- Sketch your design on paper.
- Decide on the pattern and layout.
Buy Materials:
- Purchase trim pieces, nails, and paint.
- Get a level, saw, hammer, and caulk.
Cut the Trim:
- Measure and mark the trim pieces.
- Use a saw to cut them to size.
Paint the Trim:
- Lay the trim pieces on a drop cloth.
- Apply paint and let it dry.
Attach the Trim:
- Start with the outer frame.
- Use a level to ensure straight lines.
- Nail the trim to the wall.
Fill Gaps and Holes:
- Use caulk to fill gaps between trim pieces.
- Fill nail holes with wood filler.
Touch Up Paint:
- Paint over caulk and wood filler.
- Ensure a smooth finish.
Clean Up:
- Remove any tape or drop cloths.
- Clean the area and enjoy your new accent wall.
Helpful Tips and Tricks
Measure Twice, Cut Once: Always double-check measurements before cutting trim. This prevents waste and ensures a perfect fit.
Use a Level: Keep lines straight by using a level. Crooked trim looks unprofessional.
Paint Before Installation: Painting trim before attaching it to the wall saves time and avoids messes.
Use Adhesive and Nails: Combining adhesive with nails ensures trim stays put. Nails alone might not hold over time.
Miter Corners: For a clean look, miter (angle) the corners of your trim. This makes seams less noticeable.
Fill Gaps: Use caulk to fill gaps between trim and wall. This gives a seamless appearance.
Sand Edges: Smooth out rough edges with sandpaper before painting. This helps paint adhere better.
Common Mistakes to Avoid:
Skipping Primer: Always prime trim before painting. This helps paint stick and last longer.
Ignoring Wall Texture: If walls are textured, use thicker trim to cover imperfections.
Rushing: Take your time. Rushing leads to mistakes and poor quality.
Alternatives for Materials or Methods:
MDF vs. Wood: MDF trim is cheaper and easier to work with than wood. However, wood is more durable and looks better.
Peel-and-Stick Trim: For a quick project, use peel-and-stick trim. It's easy to apply and remove.
Painted Lines: Instead of trim, paint lines on the wall to mimic the look of trim. This saves money and time.
Estimating Your Costs
Materials:
- Wood trim: $1-$3 per linear foot. For a 10x10 wall, expect to spend about $100-$300.
- Paint: $20-$50 per gallon. One gallon should be enough.
- Primer: $15-$30 per gallon.
- Caulk: $3-$5 per tube. One or two tubes should suffice.
- Sandpaper: $5-$10 for a pack.
Tools:
- Miter saw: $100-$200. Consider borrowing or renting to save money.
- Nail gun: $50-$150. Alternatively, use a hammer and nails for $10-$20.
- Level: $10-$20.
- Measuring tape: $5-$15.
- Paintbrushes/rollers: $10-$20.
Budget-friendly alternatives:
- Foam trim: $0.50-$1 per linear foot. Cheaper and easier to cut.
- Sample paint sizes: $5-$10 each. Use multiple colors for a unique look.
- Manual miter box and saw: $15-$30. Less expensive than a power miter saw.
- Hand sander: $10-$20. Cheaper than an electric sander.
Total estimated cost: $200-$600, depending on material and tool choices. Budget-friendly options can reduce costs to $100-$300.
Creative Variations and Customizations
Materials: Instead of traditional wood, consider using MDF (medium-density fiberboard) for a smoother finish. PVC trim is another option, especially for moisture-prone areas like bathrooms. For a rustic look, try reclaimed wood or pallet wood.
Colors: Paint the trim in bold colors like navy blue or emerald green for a dramatic effect. For a more subtle look, use neutral tones like beige or gray. If you want a modern touch, consider black trim against a white wall.
Styles: Create a geometric pattern with the trim for a contemporary feel. For a classic look, use wainscoting or board and batten styles. If you prefer something unique, try a herringbone or chevron pattern.
Textures: Add texture by using beadboard or shiplap. For a more intricate design, consider carved wood trim or molding with detailed patterns.
Finishes: Use a high-gloss finish for a sleek, modern look. For a more traditional feel, go with a satin or matte finish. If you like a vintage vibe, consider a distressed or weathered finish.
Lighting: Incorporate LED strip lights behind the trim for a backlit effect. Use spotlights to highlight specific areas of the wall. For a cozy ambiance, consider sconce lighting on either side of the accent wall.
Combinations: Mix and match different styles and materials. For example, combine reclaimed wood with geometric patterns or use PVC trim with bold colors. Experiment to find a combination that suits your taste.
Eco-Friendly Tips
Reclaimed Wood: Use old barn wood or pallets. Sand them down, paint, or stain for a rustic look.
Bamboo: Fast-growing and sustainable. Easy to cut and shape for trim.
Cork: Renewable and lightweight. Adds texture and warmth.
Recycled Metal: Old metal sheets or pipes can be cut and shaped. Adds an industrial feel.
Salvaged Molding: Find old trim pieces at salvage yards. Clean them up and repaint.
Natural Stone Veneer: Thin slices of stone. Eco-friendly and durable.
Eco-Friendly Paint: Use low-VOC or zero-VOC paints. Better for indoor air quality.
Recycled Plastic Trim: Made from recycled materials. Durable and easy to clean.
Fabric Trim: Use leftover fabric strips. Adds a soft, unique touch.
Living Wall: Incorporate plants into your trim. Improves air quality and aesthetics.
Your Wall, Your Masterpiece
You've got all the tools and ideas to create a stunning accent wall. Whether using wood trim, paint, or wallpaper, each method adds a unique touch to your space. Remember, the key is to let your creativity shine. Don't be afraid to mix and match styles or colors. Even small details like corner pieces or molding can make a big difference. Take your time, measure twice, and cut once. Mistakes happen, but they're part of the learning process. Enjoy the journey and the satisfaction that comes with a job well done. Your wall is more than just a backdrop; it's a statement of your personal style. So go ahead, grab those tools, and start transforming your space today. Happy DIY-ing!
What materials do I need for an accent wall trim project?
You’ll need wood trim, paint, primer, measuring tape, level, saw, nails, hammer, and caulk.
How do I choose the right trim style?
Consider your room’s style. For a modern look, go with clean lines. For something traditional, choose ornate designs.
Can I install trim by myself?
Absolutely! With some basic tools and a bit of patience, you can do it. Just follow a step-by-step guide.
How do I measure for trim?
Measure the height and width of your wall. Then, calculate the length of trim needed. Always buy a bit extra for mistakes.
Should I paint the trim before or after installation?
It’s easier to paint before installation. Touch up any nail holes or scratches after it’s up.
How do I attach the trim to the wall?
Use nails or a nail gun. Make sure the trim is level before securing it. Fill any gaps with caulk.
What if my walls aren’t perfectly straight?
Use caulk to fill gaps between the trim and wall. This will give a seamless look even if walls aren’t perfect.