
Home>Home & Furniture>Bedroom>Creative DIY Wall Painting Ideas
Bedroom
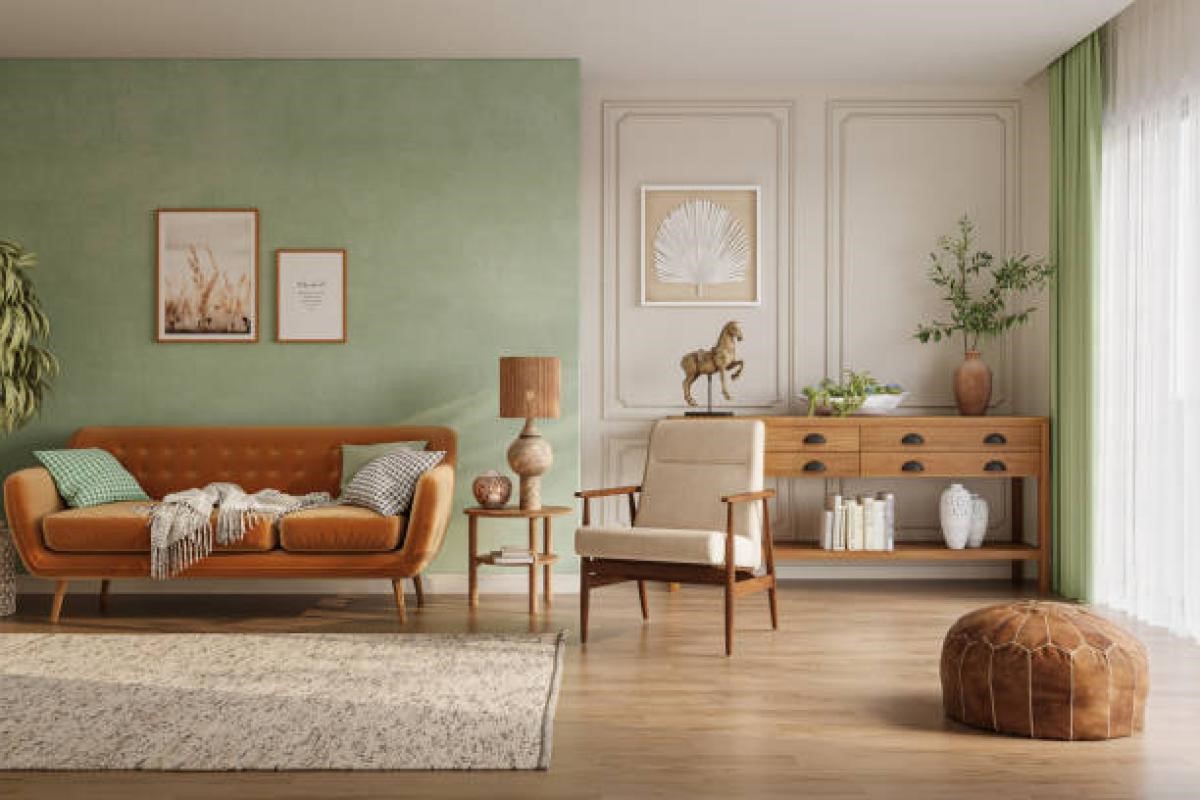
Creative DIY Wall Painting Ideas
Published: July 20, 2024
Discover creative DIY wall painting ideas to transform your space. From geometric patterns to ombre effects, get inspired and add a personal touch to your home decor!
(Many of the links in this article redirect to a specific reviewed product. Your purchase of these products through affiliate links helps to generate commission for Twigandthistle.com, at no extra cost. Learn more)
Looking to add some personality to your walls without spending a fortune? DIY wall painting can be a fun, creative way to transform any room. With a little paint and imagination, you can create unique designs that reflect your style. Whether you prefer bold patterns or subtle textures, there’s something for everyone. This guide will give you some simple yet striking ideas to get started. Ready to pick up a brush? Let’s dive into some fantastic DIY wall painting ideas that will breathe new life into your living spaces.
Getting Ready for Your Project
Gather Supplies: Get paint, brushes, rollers, painter's tape, drop cloths, and stencils.
Choose Colors: Pick your color palette. Test small patches on the wall to see how they look in different lighting.
Prepare the Wall: Clean the wall with soap and water. Fill any holes or cracks with spackle. Sand the wall for a smooth surface.
Protect the Area: Cover floors and furniture with drop cloths. Use painter's tape to protect trim, windows, and outlets.
Ventilation: Open windows or use a fan to ensure good airflow. This helps with drying and reduces paint fumes.
Safety Gear: Wear gloves, goggles, and a mask to protect your skin, eyes, and lungs from paint and dust.
Prime the Wall: Apply a primer if changing from a dark to light color or if the wall has stains. Let it dry completely.
Plan Your Design: Sketch your design on paper. Use stencils or painter's tape to outline patterns on the wall.
Test Techniques: Practice your painting techniques on a piece of cardboard before applying them to the wall.
Start Painting: Begin with background colors and let them dry. Add details and patterns last. Use multiple coats if needed.
Gathering Supplies and Equipment
Paint: Choose colors that match your design. You might need multiple shades for more intricate patterns.
Paint Brushes: Different sizes help with various details. Small brushes for fine lines, larger ones for broad strokes.
Painter's Tape: Essential for creating clean, straight lines and protecting areas you don't want painted.
Drop Cloths: Protect floors and furniture from paint splatters.
Paint Trays: Hold and mix paint easily. They also help in loading brushes or rollers evenly.
Rollers: Great for covering large areas quickly. Use different roller covers for different textures.
Stencils: Perfect for adding patterns or designs without freehand drawing.
Level: Ensures your designs are straight and even.
Pencil: Lightly sketch your design on the wall before painting.
Sandpaper: Smooths out any rough spots on the wall for a better paint finish.
Rags: Useful for wiping up spills or cleaning brushes.
Ladder: Helps reach higher areas safely.
Measuring Tape: Ensures accurate placement of designs and patterns.
Sponges: Can create unique textures and effects when painting.
Sealant: Protects your finished design from wear and tear.
Skill Level and Time Commitment
Skill Level: Intermediate
Time Required: 1-2 days
Preparation: 2-3 hours
- Clean walls
- Tape edges
- Gather supplies
Base Coat: 4-6 hours
- Apply primer
- Let it dry
Design Application: 6-8 hours
- Sketch design
- Paint details
Drying Time: 12-24 hours
- Allow paint to fully dry
How to Paint Your Walls: A Step-by-Step Guide
Choose Your Design
- Decide on a pattern or theme.
- Sketch it out on paper first.
Gather Supplies
- Paint: Choose colors.
- Brushes/Rollers: Different sizes.
- Painter's Tape: For clean lines.
- Drop Cloths: Protect floors.
- Stencils: If using patterns.
Prepare the Wall
- Clean the surface.
- Fill holes or cracks.
- Sand rough areas.
- Apply primer if needed.
Mark Your Design
- Use a pencil to lightly sketch.
- Apply painter's tape for straight lines.
Start Painting
- Begin with the base color.
- Let it dry completely.
- Apply the second color or pattern.
Use Stencils
- Secure stencil with tape.
- Apply paint with a sponge or brush.
- Remove stencil carefully.
Add Details
- Use smaller brushes for intricate designs.
- Touch up any mistakes.
Remove Tape
- Do this slowly to avoid peeling paint.
- Ensure paint is dry before removing.
Clean Up
- Wash brushes and rollers.
- Remove drop cloths.
- Dispose of any waste properly.
Admire Your Work
- Step back and enjoy your new wall!
Helpful Hints for a Perfect Finish
Use painter's tape for clean edges. Apply it firmly to prevent paint from seeping underneath.
Test colors on small sections before committing. Lighting can change how colors look.
Use stencils for intricate designs. They help create consistent patterns.
Mix paint with a little water for a watercolor effect. This gives a soft, blended look.
Try sponging for texture. Dip a sponge in paint and dab it on the wall.
Use a roller for large areas. It covers more space quickly and evenly.
Layer colors for depth. Start with a base color, then add layers with different shades.
Common mistakes to avoid:
Skipping primer can lead to uneven color. Always prime the wall first.
Overloading the brush causes drips. Dip just the tip of the brush in paint.
Not letting layers dry can ruin the design. Wait for each layer to dry completely.
Alternatives for materials or methods:
Instead of painter's tape, use liquid masking tape. It peels off easily and leaves clean lines.
For a unique look, try using fabric as a stencil. It adds interesting textures.
Use chalk paint for a matte finish. It’s easy to distress for a vintage look.
Instead of a roller, use a paint sprayer. It provides a smooth, even coat.
Budgeting for Your Wall Painting Project
Paint: $20-$50 per gallon, depending on the brand and finish. One gallon covers about 350 square feet.
Painter's Tape: $5-$10 per roll. Helps create clean lines and protect areas you don't want to paint.
Paint Brushes and Rollers: $10-$30 for a set. Quality brushes and rollers make a big difference in the final look.
Drop Cloths: $5-$20 each. Protects floors and furniture from paint splatters.
Paint Trays: $2-$10 each. Holds paint for easy access while painting.
Sandpaper: $5-$10 per pack. Smooths out walls before painting.
Primer: $10-$30 per gallon. Prepares the wall for paint, especially important for dark colors or uneven surfaces.
Stencils or Patterns: $5-$20 each. Adds unique designs to your walls.
Level and Measuring Tape: $10-$20 for both. Ensures your designs are straight and evenly spaced.
Total Cost: $72-$200, depending on the size of the project and the quality of materials chosen.
Budget-Friendly Alternatives:
- Use old sheets or newspapers instead of drop cloths.
- Borrow tools like levels and measuring tapes from friends or family.
- Look for discounted paint at hardware stores or online.
- Create your own stencils using cardboard or plastic sheets.
Personalizing Your Wall Art
Geometric Patterns: Use painter's tape to create triangles, squares, or hexagons. Try different colors like pastels for a soft look or bold hues for a vibrant effect.
Ombre Effect: Blend shades of one color from dark to light. Start with a dark base at the bottom and gradually lighten as you move up.
Stencils: Use stencils to add shapes or designs. Choose floral patterns, abstract shapes, or even quotes. Metallic paints can add a shiny touch.
Textured Paint: Add texture using sponges, rags, or brushes. Try sand paint for a gritty feel or marbleizing for a smooth, swirled look.
Murals: Paint a scene or landscape. Use acrylics for bright colors or watercolors for a softer look.
Stripes: Vertical or horizontal stripes can make a room look taller or wider. Use contrasting colors for a bold statement or similar shades for a subtle effect.
Chalkboard Paint: Create a chalkboard wall for drawing or writing. Perfect for kids' rooms or kitchens.
Metallic Accents: Add metallic paint for a touch of glamour. Use it for borders, patterns, or even entire walls.
Gradient Blocks: Paint blocks of color that gradually change from one shade to another. Use tape to keep edges clean.
Nature-Inspired: Use leaf prints, flower stamps, or tree silhouettes. Earthy tones like greens and browns work well.
Glow-in-the-Dark: Use glow-in-the-dark paint for fun designs that come alive at night. Great for kids' rooms or game rooms.
Polka Dots: Add polka dots using a sponge or stencil. Use bright colors for a playful look or metallics for something more elegant.
Abstract Art: Go freeform with abstract shapes and colors. Use brushes, sponges, or even hands to create unique designs.
Trompe-l'œil: Create optical illusions that make flat surfaces look three-dimensional. Paint fake windows, doors, or shelves.
Gradient Circles: Paint circles that change color from the center outwards. Use complementary colors for a striking effect.
Fabric-Inspired: Mimic the look of fabric patterns like plaid, stripes, or paisley. Use stencils or freehand for a custom touch.
Eco-Friendly Painting Practices
Eco-friendly paints are a great start. Look for low-VOC or zero-VOC options. These paints release fewer harmful chemicals into the air.
Recycled materials can add texture. Use old newspapers, magazines, or fabric scraps to create interesting patterns. Glue them to the wall before painting over them.
Natural brushes made from bamboo or recycled plastic are better for the environment. They work just as well as regular brushes.
Stencils can be made from old cardboard or plastic containers. Cut out shapes and use them to create designs on your wall.
Homemade paint is another option. Mix flour, water, and natural pigments like beet juice or turmeric for a non-toxic alternative.
Upcycling old items can add unique touches. Use old lace, doilies, or even leaves as stamps to create patterns.
Tape can help create clean lines. Use painter’s tape made from recycled materials to section off areas for different colors.
Sponges can create a textured look. Use natural sea sponges or old kitchen sponges to dab paint onto the wall.
Leftover paint from other projects can be mixed to create new colors. This reduces waste and saves money.
Chalkboard paint can turn a wall into a reusable canvas. Kids can draw on it, and it can be wiped clean easily.
Your Next DIY Adventure Awaits
You've got the tools, the ideas, and the inspiration. Now, it's time to transform those blank walls into a canvas of creativity. Whether you're going for bold geometric patterns, soothing ombre effects, or quirky stencils, remember that the key is to have fun and let your personality shine through. Don't stress over perfection; sometimes, the best designs come from happy accidents. Grab your brushes, pick your colors, and dive into your next DIY project with confidence. Each stroke of paint brings you closer to a space that truly feels like home. So, what are you waiting for? Get painting and watch your walls come to life!
How do I choose the right colors for my wall?
Think about the mood you want. Warm colors like red and orange can make a room feel cozy, while cool colors like blue and green can make it feel calm. Also, consider the lighting in the room. Natural light can change how colors look.
What tools do I need for wall painting?
You'll need paint rollers, brushes, painter's tape, a drop cloth, and a paint tray. Don't forget a ladder if you're painting high areas. A stir stick and paint can opener are also handy.
How do I prepare the wall before painting?
First, clean the wall to remove dust and dirt. Then, patch any holes or cracks with spackle. Sand the patched areas smooth. Finally, apply painter's tape to edges you don't want painted.
Should I use primer before painting?
Yes, using a primer helps the paint adhere better and makes the color more vibrant. It's especially important if you're painting over a dark color or a wall with stains.
How can I create patterns or designs on my wall?
Use stencils or painter's tape to create geometric shapes or stripes. You can also try sponging or rag rolling for a textured look. Freehand painting is great for more artistic designs.
How do I avoid streaks and brush marks?
Use a quality brush or roller and apply the paint in thin, even coats. Don't press too hard. Feather out the edges to blend the paint. Let each coat dry completely before adding another.
How long should I wait between coats of paint?
Usually, you should wait about 2-4 hours between coats. Check the paint can for specific drying times. Make sure the first coat is completely dry before applying the next one.