
Home>Home & Furniture>Bathroom>How to Build DIY Bathroom Wall Panels
Bathroom
How to Build DIY Bathroom Wall Panels
Published: July 12, 2024
Learn how to build DIY bathroom wall panels with our step-by-step guide. Transform your bathroom with stylish, cost-effective, and easy-to-install wall panels today!
(Many of the links in this article redirect to a specific reviewed product. Your purchase of these products through affiliate links helps to generate commission for Twigandthistle.com, at no extra cost. Learn more)
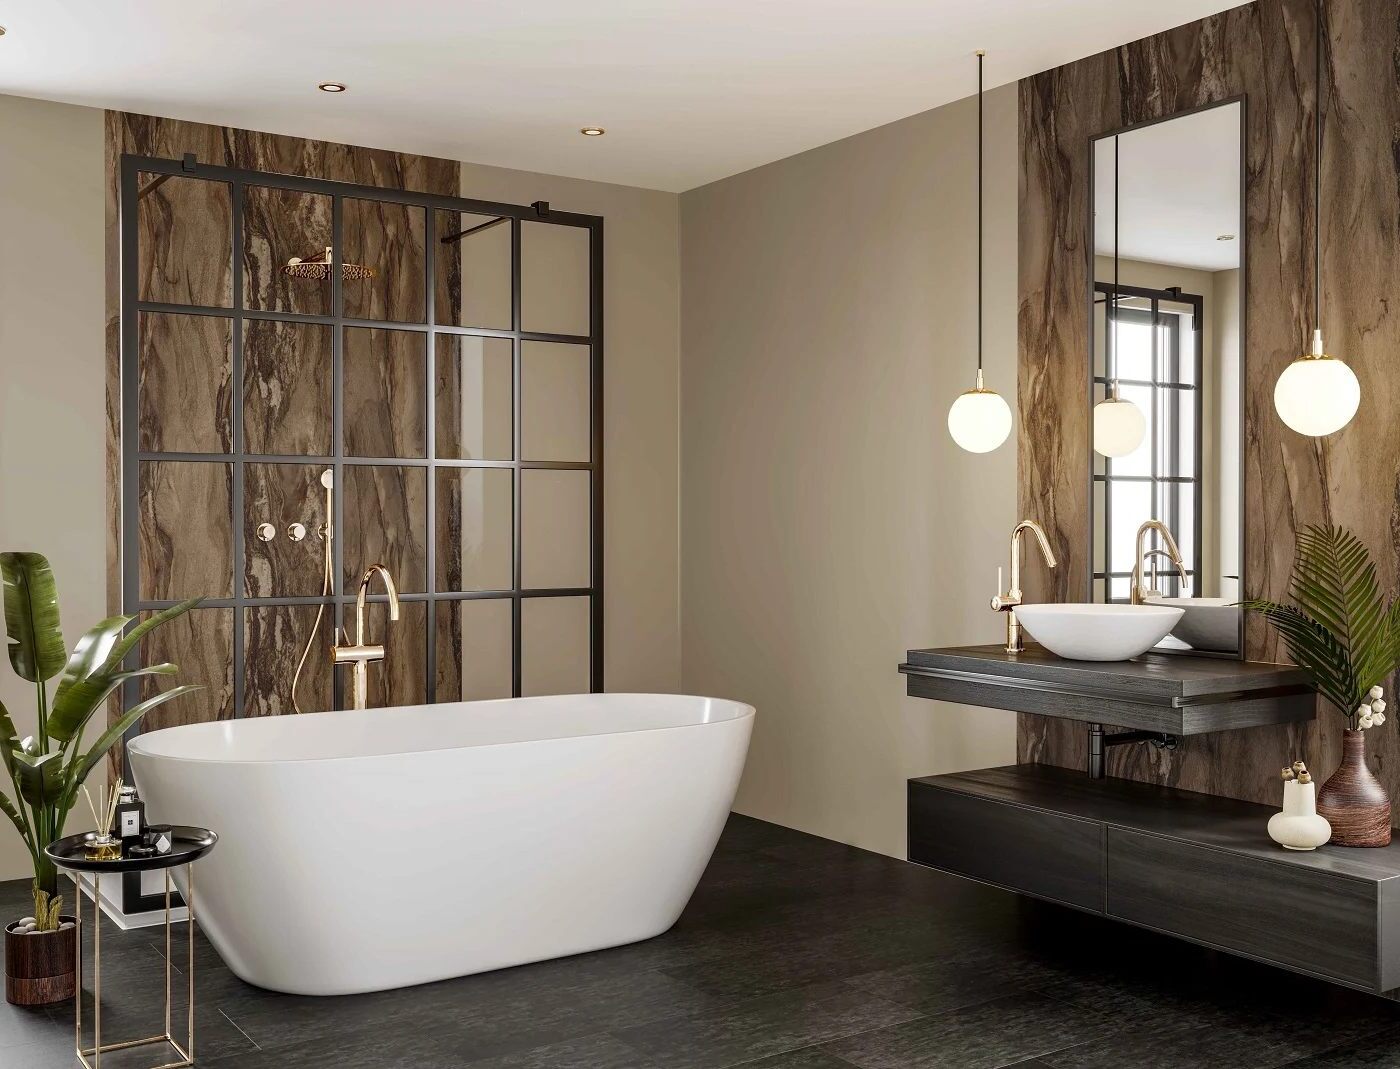
Transforming your bathroom with DIY wall panels can be a fun project that adds style and personality. These panels are decorative and protect walls from moisture. With some basic tools and materials, you can create an elegant look without hiring a professional. Not only does this save money, but it also gives you a sense of accomplishment. This guide will walk you through the steps, making the process simple and enjoyable. Whether you’re a seasoned DIYer or just starting, building bathroom wall panels yourself can be a rewarding and achievable task.
Getting Ready for Your Project
Gather Materials: Collect all necessary materials like wall panels, adhesive, measuring tape, level, saw, and safety gear.
Measure the Walls: Use a measuring tape to get accurate dimensions of the bathroom walls. Write down these measurements.
Prepare the Panels: Cut the wall panels to fit the measured dimensions using a saw. Wear safety goggles and gloves while cutting.
Clean the Walls: Ensure the bathroom walls are clean and dry. Remove any old wallpaper or paint that might interfere with the adhesive.
Set Up Workspace: Lay down a drop cloth to protect the floor. Arrange tools and materials within easy reach.
Check for Level: Use a level to ensure the walls are straight. Mark any uneven spots that might need extra attention.
Apply Adhesive: Follow the adhesive instructions. Apply it evenly on the back of the panels or directly on the wall.
Install Panels: Start from one corner and press the panels firmly against the wall. Use a level to make sure they are straight.
Seal Edges: Use caulk to seal the edges and corners to prevent water from seeping behind the panels.
Safety Tips: Always wear safety goggles and gloves. Ensure proper ventilation if using strong adhesives. Keep tools out of reach of children.
Gathering Materials and Tools
Materials:
- Wall Panels: Choose waterproof panels suitable for bathrooms.
- Adhesive: Use a strong, waterproof adhesive to secure panels.
- Sealant: Apply a waterproof sealant to prevent moisture damage.
- Primer: Prepares the wall surface for better adhesion.
- Paint: Optional, for customizing the panels.
Tools:
- Measuring Tape: Ensures accurate measurements for cutting panels.
- Level: Keeps panels straight during installation.
- Utility Knife: Cuts panels to the required size.
- Caulking Gun: Applies adhesive and sealant smoothly.
- Paintbrush or Roller: For applying primer and paint.
- Screwdriver: Secures any additional fixtures or fittings.
- Safety Gear: Includes gloves and goggles for protection.
Wall Panels come in various materials like PVC or acrylic, perfect for wet environments. Adhesive ensures panels stick firmly to the wall. Sealant protects against water seepage. Primer helps the adhesive bond better. Paint allows for a personalized touch.
Measuring Tape helps get precise dimensions. Level ensures panels are even. Utility Knife cuts panels to fit. Caulking Gun makes applying adhesive and sealant easier. Paintbrush or Roller spreads primer and paint evenly. Screwdriver is useful for attaching any extra hardware. Safety Gear keeps you safe while working.
Skill Level and Time Commitment
Skill Level: Intermediate
Time Required: 1-2 days
- Measure and Cut Panels: 2-3 hours
- Prepare Wall Surface: 1-2 hours
- Apply Adhesive: 1 hour
- Install Panels: 3-4 hours
- Seal Edges and Joints: 2-3 hours
- Clean Up and Final Touches: 1-2 hours
Step-by-Step Guide
Gather Materials and Tools
- Wall panels
- Measuring tape
- Level
- Pencil
- Adhesive
- Caulk gun
- Caulk
- Utility knife
- Saw
- Sandpaper
- Safety goggles
Measure the Wall
- Use the measuring tape to find the height and width of the wall.
- Mark these measurements with a pencil.
Cut the Panels
- Use a saw to cut the panels to the measured size.
- Smooth the edges with sandpaper.
Prepare the Wall
- Clean the wall surface to remove dust and grease.
- Ensure the wall is dry.
Apply Adhesive
- Load the caulk gun with adhesive.
- Apply adhesive in a zigzag pattern on the back of the panel.
Position the Panel
- Press the panel firmly against the wall.
- Use a level to ensure it is straight.
Secure the Panel
- Hold the panel in place for a few minutes to let the adhesive set.
- Repeat for additional panels, ensuring they align properly.
Seal the Edges
- Use caulk to seal the edges where panels meet.
- Smooth the caulk with a damp finger or tool.
Let it Dry
- Allow the adhesive and caulk to dry according to the manufacturer's instructions.
Clean Up
- Remove any excess adhesive or caulk.
- Clean your tools and work area.
Helpful Tips and Tricks
Measure Twice, Cut Once: Always double-check measurements before cutting panels. This saves time and materials.
Use Moisture-Resistant Materials: Bathrooms are humid. Choose moisture-resistant drywall or cement board to prevent mold.
Seal Edges Properly: Apply silicone sealant around edges and seams. This keeps water from seeping behind panels.
Pre-Drill Holes: Pre-drilling holes for screws prevents panels from cracking. Use a drill bit slightly smaller than the screw.
Level Panels: Use a spirit level to ensure panels are straight. Uneven panels look unprofessional and can cause issues later.
Paint or Finish Before Installation: Painting or finishing panels before installation makes the job easier and cleaner.
Common Mistakes to Avoid:
- Skipping Primer: Always prime surfaces before painting or tiling. Primer helps paint adhere better and last longer.
- Ignoring Ventilation: Ensure the bathroom has proper ventilation. This prevents moisture buildup and mold growth.
- Using Regular Drywall: Regular drywall absorbs moisture and deteriorates quickly. Always use moisture-resistant options.
Alternatives for Materials or Methods:
- PVC Panels: These are waterproof and easy to clean. They come in various designs and are simple to install.
- Tile Backer Board: Use this instead of drywall for a more durable, water-resistant option.
- Peel-and-Stick Tiles: For a quick and easy update, consider peel-and-stick tiles. They’re simple to apply and remove.
Estimating Your Costs
Plywood Panels: $50-$100 for 4-6 sheets, depending on quality.
Primer and Paint: $30-$50 for both. Budget-friendly option: Use leftover paint from another project.
Liquid Nails or Construction Adhesive: $5-$10 per tube. You might need 2-3 tubes.
Caulk: $5-$10 for a tube. Budget-friendly option: Buy a multi-pack.
Sandpaper: $5-$10 for a pack. Budget-friendly option: Use a sanding block.
Paintbrushes and Rollers: $10-$20 for a set. Budget-friendly option: Clean and reuse old brushes.
Level: $10-$20. Budget-friendly option: Borrow from a friend.
Measuring Tape: $5-$15. Budget-friendly option: Use one you already have.
Saw: $30-$100 for a hand saw or jigsaw. Budget-friendly option: Rent from a hardware store.
Safety Gear (gloves, goggles): $10-$20. Budget-friendly option: Use what you have at home.
Total Estimated Cost: $160-$355. Budget-friendly alternatives can lower costs to around $100-$150.
Creative Variations and Customizations
Materials: Instead of traditional wood, consider PVC panels for a waterproof option. Reclaimed wood adds a rustic touch, while bamboo offers an eco-friendly alternative.
Colors: Paint panels in soft pastels for a calming effect or bold colors like navy or emerald for a dramatic look. White panels create a clean, classic feel.
Styles: For a modern look, use sleek, flat panels. Shiplap panels give a farmhouse vibe, while beadboard adds a vintage charm.
Textures: Add texture with 3D wall panels or textured wallpaper. Stenciling can create intricate designs without much effort.
Finishes: Use a high-gloss finish for a contemporary look or a matte finish for a more subdued appearance. Distressed finishes can give a weathered, antique feel.
Patterns: Create patterns with herringbone or chevron layouts. Vertical panels can make the room feel taller, while horizontal panels can make it feel wider.
Accents: Incorporate metal trim for an industrial touch or molding for a more traditional look. LED strip lighting behind panels can add a modern, ambient glow.
Mix and Match: Combine different materials like wood and metal or tile and wood for a unique, eclectic style. Use contrasting colors to highlight specific areas.
Eco-Friendly Options: Use recycled materials or sustainable wood to make your project more environmentally friendly. Low-VOC paints can also reduce harmful emissions.
Budget-Friendly Alternatives: Peel-and-stick panels offer an easy, cost-effective solution. Painted plywood can mimic more expensive materials at a fraction of the cost.
Eco-Friendly Tips
Reclaimed Wood: Use old barn wood or pallets. Sand and treat them to prevent rot.
Recycled Glass Tiles: These tiles come from broken glass bottles. They add color and are eco-friendly.
Bamboo Panels: Bamboo grows quickly, making it a sustainable choice. It's also durable and water-resistant.
Cork: Cork is harvested from tree bark without harming the tree. It's mold-resistant and provides good insulation.
Recycled Plastic Panels: Made from used plastic bottles, these panels are waterproof and easy to clean.
Low-VOC Paints: Use paints with low volatile organic compounds. They are better for indoor air quality.
Natural Stone: Stones like slate or granite are durable and can be sourced locally to reduce transportation impact.
Salvaged Tiles: Look for leftover tiles from other projects or buy second-hand. This reduces waste and saves money.
Eco-Friendly Adhesives: Choose adhesives with low environmental impact. Look for water-based or natural options.
Insulation: Use recycled denim or wool insulation behind panels. They are effective and sustainable.
Your Bathroom's New Look Awaits
You've got the know-how to transform your bathroom with DIY wall panels. With some basic tools and a bit of elbow grease, you can create a stunning space. Remember, measure twice, cut once. Take your time with the prep work; it makes a world of difference. Don't skimp on quality materials; they'll ensure your project stands the test of time. If you hit a snag, don't sweat it. There are plenty of online resources and DIY communities ready to help. Now, roll up those sleeves and get to work. Your bathroom's new look is just a few steps away. Enjoy the process and take pride in your handiwork. Happy building!
What materials do I need to build bathroom wall panels?
You'll need plywood, waterproof adhesive, paint or sealant, screws, and a saw. Don't forget measuring tape and a level for accuracy.
How do I ensure the panels are waterproof?
Apply a waterproof sealant or paint to the panels. Make sure to cover all edges and corners thoroughly. Use waterproof adhesive to attach the panels to the wall.
Can I install these panels over existing tiles?
Yes, you can! Just make sure the tiles are clean and dry. Use a strong adhesive to secure the panels over the tiles.
How do I cut the panels to fit my bathroom?
Measure the wall dimensions carefully. Mark the measurements on the plywood and use a saw to cut. Double-check the fit before attaching them to the wall.
What tools do I need for this project?
You'll need a saw, measuring tape, level, screws, drill, and waterproof adhesive. A paintbrush or roller for applying sealant is also handy.
How long does it take to complete this project?
It usually takes a weekend. Cutting and fitting the panels might take a day, and applying sealant and letting it dry could take another day.
Can I paint the panels any color?
Absolutely! Just make sure to use waterproof paint. This helps protect the panels from moisture and keeps them looking fresh.