
Home>Home & Furniture>Bathroom>DIY Bathroom Painting Ideas
Bathroom
DIY Bathroom Painting Ideas
Published: July 11, 2024
Discover creative DIY bathroom painting ideas to transform your space. From color choices to techniques, get inspired and learn how to achieve a stunning bathroom makeover.
(Many of the links in this article redirect to a specific reviewed product. Your purchase of these products through affiliate links helps to generate commission for Twigandthistle.com, at no extra cost. Learn more)
Painting your bathroom can transform the space without breaking the bank. You don't need to be a professional painter to achieve great results. With the right colors and some creativity, you can give your bathroom a fresh, new look. This guide will help you choose the best paint, tools, and techniques for your project. Whether you're aiming for a calming retreat or a vibrant, energizing space, painting can make a big difference. Grab your brushes, pick your colors, and get ready to turn your bathroom into a place you'll love. Let's get started!
Getting Ready for Your Bathroom Painting Project
Gather Supplies: Get paint, brushes, rollers, painter's tape, drop cloths, and a ladder.
Ventilation: Open windows or use a fan to keep air flowing. Paint fumes can be strong.
Clean Walls: Wipe down walls with a damp cloth to remove dust and grime. This helps paint stick better.
Repair Holes: Fill any holes or cracks with spackle. Let it dry, then sand smooth.
Tape Off Areas: Use painter's tape to cover edges, trim, and fixtures. This keeps paint where it belongs.
Protect Floors: Lay down drop cloths to catch any drips or spills.
Prime Walls: Apply a coat of primer if changing from a dark to light color or if walls are stained.
Safety Gear: Wear gloves, goggles, and a mask to protect skin, eyes, and lungs.
Test Paint: Paint a small section to see how it looks when dry. This helps avoid surprises.
Organize Workspace: Keep tools and supplies within reach but out of the way to avoid tripping.
Essential Materials and Tools
Paint: Choose a high-quality, moisture-resistant paint designed for bathrooms. Semi-gloss or satin finishes work best.
Primer: Use a primer to ensure the paint adheres well and covers any stains or old colors.
Painter's Tape: Helps create clean edges and protects areas you don't want to paint.
Drop Cloths: Protect floors and fixtures from paint splatters.
Paint Brushes: Use angled brushes for cutting in around edges and corners.
Paint Rollers: Ideal for covering large wall areas quickly. Choose a roller with a medium nap for smooth surfaces.
Paint Tray: Holds paint for easy roller loading.
Sandpaper: Smooths out any rough spots on walls before painting. Medium-grit works well.
Spackling Paste: Fills in holes or cracks in the walls.
Putty Knife: Applies spackling paste smoothly.
Screwdriver: Removes outlet covers, light switch plates, and other fixtures.
Ladder or Step Stool: Helps reach higher areas safely.
Cleaning Supplies: Use a mild detergent and water to clean walls before painting.
Stir Sticks: Mixes paint thoroughly before application.
Paint Can Opener: Opens paint cans easily without damaging the lid.
Bucket: Holds water for cleaning brushes and rollers.
Rags or Paper Towels: Wipes up any spills or drips quickly.
Ventilation Mask: Protects from paint fumes, especially in a small bathroom.
Gloves: Keeps hands clean and protected from chemicals.
Skill Level and Time Commitment
Skill Level: Beginner
Time Required: Approximately 1-2 days
Steps:
Preparation: 2-3 hours
- Remove fixtures and cover surfaces.
- Clean walls and repair any damage.
Priming: 1-2 hours
- Apply primer to ensure paint adheres well.
Painting: 4-6 hours
- Apply two coats of paint, allowing drying time between coats.
Cleanup: 1-2 hours
- Reattach fixtures and clean up any spills.
Detailed Painting Instructions
Gather Supplies:
- Paint (moisture-resistant)
- Primer
- Paintbrushes and rollers
- Painter’s tape
- Drop cloths
- Sandpaper
- Paint tray
- Ladder or step stool
Prepare the Bathroom:
- Remove all items from walls and counters.
- Cover fixtures, floors, and counters with drop cloths.
- Use painter’s tape to protect edges and trim.
Clean and Sand Surfaces:
- Clean walls with a mild detergent to remove dirt and grime.
- Sand walls lightly to create a smooth surface for painting.
Apply Primer:
- Use a roller to apply primer evenly on walls.
- Let primer dry completely according to the manufacturer’s instructions.
Paint the Ceiling:
- Start with the ceiling to avoid drips on freshly painted walls.
- Use a roller for large areas and a brush for edges.
Paint the Walls:
- Cut in around edges and corners with a brush.
- Use a roller to apply paint in a “W” pattern for even coverage.
- Apply a second coat if needed after the first coat dries.
Paint Trim and Details:
- Use a small brush for baseboards, window frames, and door frames.
- Apply painter’s tape to protect walls from trim paint.
Clean Up:
- Remove painter’s tape before paint fully dries to avoid peeling.
- Clean brushes, rollers, and trays with water or paint thinner.
- Dispose of drop cloths and any debris properly.
Reassemble the Bathroom:
- Replace items on walls and counters once paint is completely dry.
- Remove drop cloths and enjoy your freshly painted bathroom.
Helpful Painting Tips
Choose the right paint: Use moisture-resistant paint to prevent mold and mildew. Semi-gloss or satin finishes work best.
Prep the walls: Clean surfaces with a mixture of water and mild detergent. Remove any old paint flakes with a scraper.
Tape off edges: Use painter’s tape to protect edges and fixtures. Press down firmly to avoid paint seeping underneath.
Prime the walls: Apply a primer to ensure the paint adheres well and covers any stains.
Ventilation: Keep the room well-ventilated. Open windows or use a fan to help the paint dry faster.
Use quality brushes and rollers: Invest in good-quality brushes and rollers for a smooth finish. Cheap tools can leave streaks or shed bristles.
Paint in sections: Work in small sections, starting from the top and moving down. This helps catch any drips.
Apply multiple coats: Two to three thin coats are better than one thick coat. Allow each coat to dry completely before adding the next.
Clean up immediately: Wash brushes and rollers right after use to keep them in good condition.
Common mistakes to avoid:
Skipping primer: This can lead to uneven coverage and peeling paint.
Not prepping surfaces: Dirt and grime can prevent paint from sticking properly.
Using the wrong paint: Regular paint won't hold up well in a humid bathroom.
Alternatives for materials or methods:
Paint with built-in primer: Saves time by combining two steps.
Spray paint: For a quicker application, though it requires more prep to protect surfaces.
Eco-friendly paint: Low-VOC or zero-VOC paints are better for indoor air quality.
Budgeting for Your Painting Project
Paint: A gallon of quality bathroom paint costs around $30-$50. You might need two gallons, so budget $60-$100.
Primer: Essential for a smooth finish. A gallon costs about $20-$30. One gallon should be enough.
Painter's Tape: To protect edges. A roll costs around $5-$10. One or two rolls should suffice.
Drop Cloths: Protect floors and fixtures. Plastic drop cloths cost about $5-$10 each. Two should be enough.
Paint Brushes and Rollers: A good brush costs $10-$15. A roller set costs about $15-$20.
Paint Tray: Needed for rollers. Costs around $5-$10.
Sandpaper: For prepping walls. A pack costs about $5.
Caulk: To fill gaps. A tube costs around $5.
Budget-Friendly Alternatives:
- Paint: Opt for store brands, which can be $20-$30 per gallon.
- Drop Cloths: Use old sheets or newspapers.
- Brushes and Rollers: Look for value packs or use reusable ones.
- Sandpaper: Buy in bulk to save money.
Total estimated cost: $130-$200. Budget-friendly options can reduce this to around $100.
Creative Painting Customizations
Alternative materials can add texture and interest. Instead of regular paint, try using chalk paint for a matte finish or milk paint for a vintage look. For a more modern feel, consider metallic paint or pearl finishes.
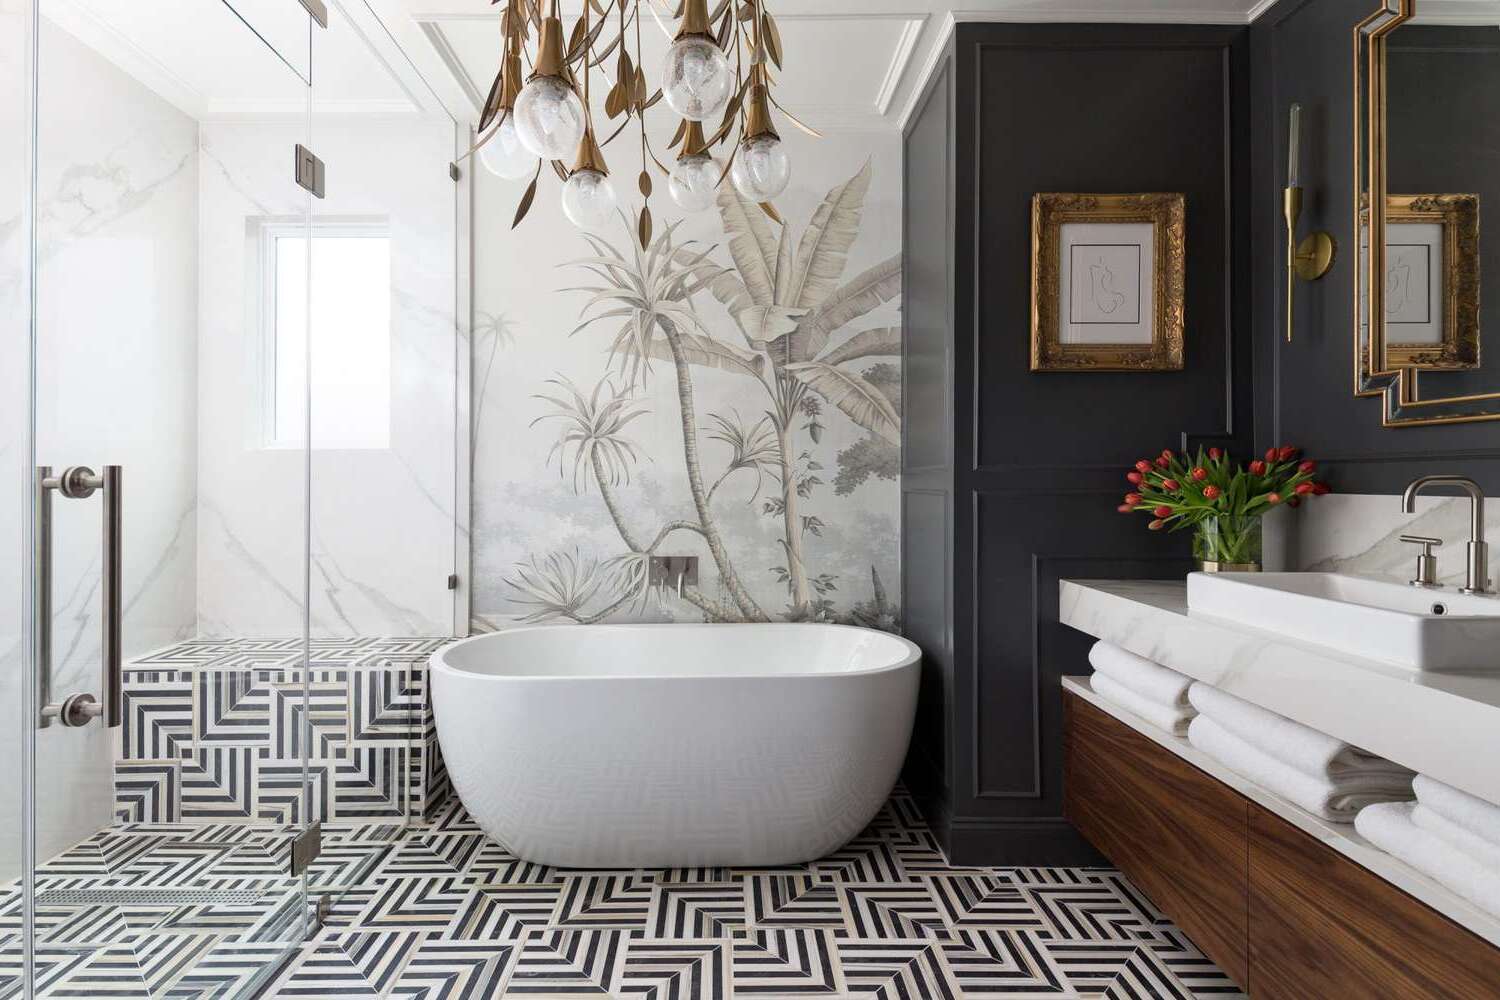
Colors can dramatically change the mood. For a calm, spa-like atmosphere, use soft blues, greens, or grays. To make a bold statement, try deep navy, charcoal, or even black. Bright colors like yellow or coral can make the space feel cheerful and energetic.
Styles can also vary. For a classic look, use neutral colors with white trim. A bohemian style might include earthy tones and hand-painted designs. Modern styles often use monochromatic schemes with geometric patterns. For a rustic feel, consider distressed finishes and warm, natural colors.
Patterns can add visual interest. Stripes can make a small bathroom feel larger. Stencils can create intricate designs without the need for wallpaper. Ombre effects can add a gradient of color that feels artistic and unique.
Accents can tie everything together. Painted trim in a contrasting color can highlight architectural details. Accent walls can draw attention to a specific area, like behind the sink or bathtub. Ceiling paint in a bold color can add an unexpected twist.
Finishes also matter. Glossy finishes are easy to clean and reflect light, making the room feel brighter. Matte finishes can hide imperfections and create a more subdued look. Satin finishes offer a balance between the two, providing durability and a soft sheen.
Eco-Friendly Painting Tips
Eco-friendly paint is a great choice. Look for low-VOC or zero-VOC paints. These have fewer harmful chemicals, making them safer for you and the environment.
Use recycled paint if possible. Some companies collect leftover paint, mix it, and resell it. This reduces waste and saves money.
Natural paint options, like those made from clay, milk, or lime, are also available. They are biodegradable and free from synthetic chemicals.
Reuse old brushes and rollers. Clean them well after each use to extend their life. If you need new ones, choose tools made from sustainable materials like bamboo handles and natural bristles.
For prepping walls, use recycled sandpaper. Some brands offer sandpaper made from recycled materials.
Repurpose old sheets or towels as drop cloths instead of buying new plastic ones. This reduces plastic waste and gives old textiles a new life.
When taping edges, opt for eco-friendly painter's tape. Some brands offer tape made from recycled paper and natural rubber adhesive.
Ventilate the room well while painting. Open windows and use fans to reduce indoor air pollution.
Finally, properly dispose of any leftover paint and materials. Many communities have recycling programs for paint and hazardous materials.
Your Bathroom Awaits
You've got all the tools and tips to transform your bathroom into a fresh, vibrant space. Whether you're going for a bold accent wall or a subtle, calming hue, remember to prep your surfaces well and choose the right paint for the job. Don't rush the process; take your time to ensure even coats and clean lines. With a bit of patience and creativity, your bathroom can become a personal oasis. So grab your brushes, roll up your sleeves, and get painting. Your dream bathroom is just a few strokes away. Enjoy the process and the satisfaction of a job well done. Happy painting!
What type of paint should I use for a bathroom?
Use moisture-resistant paint, like satin or semi-gloss. These types handle humidity better and are easier to clean.
Do I need to prime the walls before painting?
Yes, always prime the walls. Primer helps the paint adhere better and provides a uniform surface, especially in a bathroom where moisture is common.
How do I prep the bathroom for painting?
Remove any fixtures or hardware, clean the walls with a mild detergent, and fill any holes or cracks. Make sure the walls are completely dry before you start painting.
Can I paint over existing bathroom tiles?
Yes, you can paint over tiles, but you need to use a specialized tile paint and primer. Clean the tiles thoroughly and sand them lightly for better adhesion.
How long should I wait between coats of paint?
Wait at least 2-4 hours between coats. This ensures the paint dries properly and prevents peeling or bubbling.
What’s the best way to avoid streaks and drips?
Use a high-quality roller and brush. Apply the paint in thin, even layers and avoid overloading your brush or roller.
How can I make my bathroom paint job last longer?
Ensure proper ventilation to reduce moisture buildup. Use a dehumidifier if needed and clean the walls regularly with a mild cleaner.