
Home>Create & Decorate>DIY & Crafts>How To Make A Rocket
DIY & Crafts
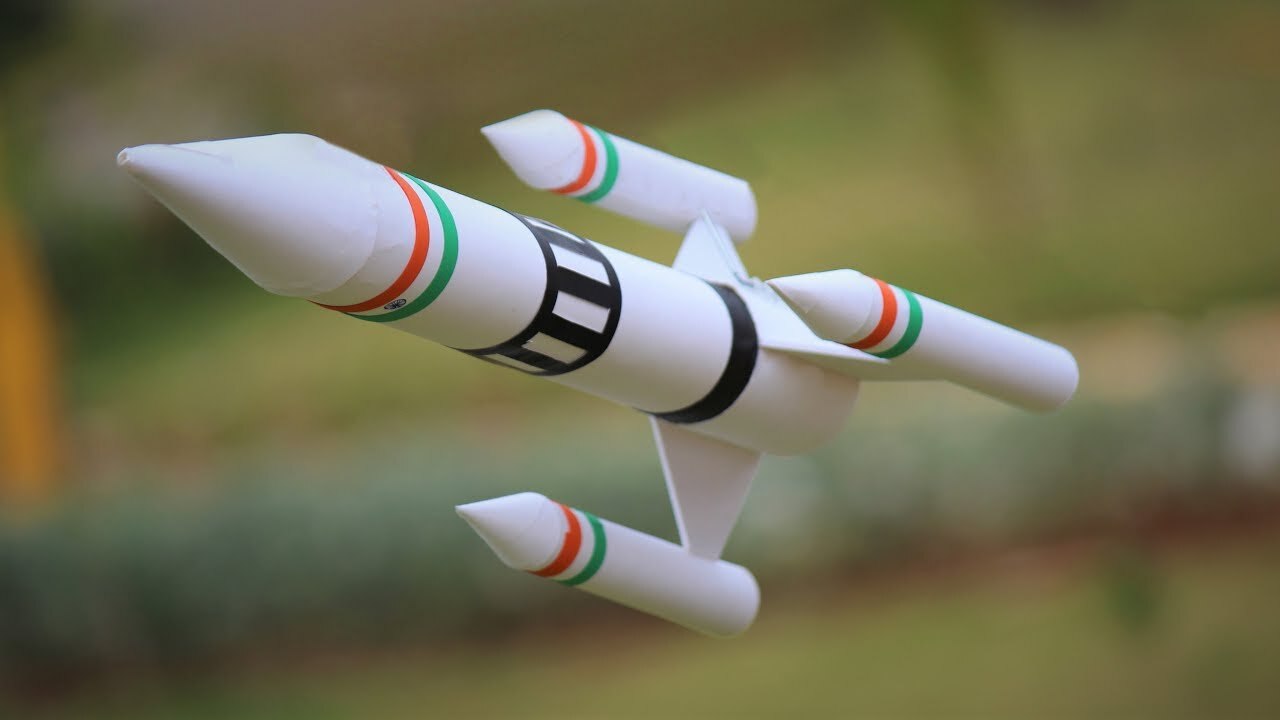
How To Make A Rocket
Published: June 15, 2024

Senior Editor in Create & Decorate, Kathryn combines traditional craftsmanship with contemporary trends. Her background in textile design and commitment to sustainable crafts inspire both content and community.
Learn how to make a rocket with this step-by-step DIY guide. Get creative with our crafts and build your own rocket today! Ideal for DIY & Crafts enthusiasts.
(Many of the links in this article redirect to a specific reviewed product. Your purchase of these products through affiliate links helps to generate commission for Twigandthistle.com, at no extra cost. Learn more)
Introduction
So, you want to learn how to make a rocket? Well, you've come to the right place! Making a rocket can be an exciting and rewarding DIY project that combines science, engineering, and a whole lot of fun. Whether you're a curious hobbyist or a budding aerospace engineer, building your own rocket can be a thrilling adventure. In this guide, we'll walk you through the step-by-step process of creating a simple yet impressive rocket that you can launch into the sky. Get ready to embark on an exhilarating journey as we delve into the world of rocketry and unleash your inner space explorer!
Gathering Materials
Before you embark on your rocket-building journey, it's essential to gather all the necessary materials. Here's a list of items you'll need to get started:
Materials:
- Cardboard: Look for sturdy cardboard to serve as the main body of your rocket.
- Scissors: A pair of sharp scissors will be essential for cutting and shaping the cardboard.
- Glue: Choose a strong adhesive that can securely bond the components of your rocket.
- Markers or Paint: These will be used to decorate and personalize your rocket.
- Plastic Bottle: You'll need a plastic bottle to act as the rocket's engine housing.
- Alka-Seltzer Tablets: These will be used to create the reaction that propels your rocket into the air.
- Decorative Materials: Optional items such as stickers, glitter, or colored tape to add flair to your rocket.
Once you have all these materials gathered, you'll be well-equipped to move on to the next exciting phase of building your very own rocket!
Building the Rocket Body
Now that you have all your materials ready, it's time to start building the body of your rocket. Follow these steps to create a sturdy and aerodynamic structure for your space-bound creation:
-
Prepare the Cardboard: Cut the cardboard into the desired shape for the rocket body. A typical rocket shape is a long, narrow cylinder with a pointed tip at one end. Use the scissors to carefully shape the cardboard, ensuring that it is smooth and free from any jagged edges.
-
Assemble the Body: Roll the cut cardboard into a cylinder and use the glue to secure the edges, creating a seamless body for your rocket. Make sure the cylinder is tightly sealed to prevent any air from escaping during the launch.
-
Add Fins: Cut out triangular fins from the remaining cardboard and attach them to the bottom of the rocket body. Fins help stabilize the rocket's flight by providing aerodynamic control. You can use glue to firmly attach the fins, ensuring they are evenly spaced around the base of the rocket.
-
Decorate: Let your creativity soar as you decorate the rocket body with markers, paint, or any decorative materials you've gathered. Personalize your rocket with unique designs, patterns, or even a custom logo to give it a distinct and eye-catching appearance.
By following these steps, you'll have a well-constructed rocket body that is both visually appealing and structurally sound, setting the stage for the next phase of the rocket-building process.
Creating the Rocket Engine
Now, let's dive into the exciting process of creating the powerhouse of your rocket – the rocket engine. This crucial component is responsible for generating the thrust needed to propel your rocket into the sky. Here's how you can craft a simple yet effective rocket engine using common household items:
-
Prepare the Plastic Bottle: Take the plastic bottle and remove the cap. This will serve as the housing for the rocket engine.
-
Insert the Alka-Seltzer Tablet: Place an Alka-Seltzer tablet inside the plastic bottle. The tablet will act as the catalyst for the chemical reaction that produces the gas responsible for launching the rocket.
-
Add Water: Pour a small amount of water into the plastic bottle, ensuring that it covers the Alka-Seltzer tablet. The water will initiate the reaction with the tablet, creating a build-up of gas pressure within the bottle.
-
Secure the Cap: Quickly secure the cap onto the bottle after adding the water. This will contain the gas pressure until it reaches a critical point during the launch.
-
Ready for Launch: With the rocket engine prepared, you're now one step closer to witnessing your creation take flight. The chemical reaction between the Alka-Seltzer tablet and water will build up pressure inside the bottle, eventually causing the cap to pop off and releasing a powerful burst of gas that propels the rocket into the air.
By following these steps, you'll have a simple yet effective rocket engine that harnesses the power of a chemical reaction to achieve impressive launch heights. With the rocket engine in place, it's time to move on to the final assembly and prepare for the exhilarating launch of your homemade rocket.
Assembling the Rocket
With the rocket body and engine ready, it's time to bring all the components together and assemble your homemade rocket. Follow these steps to ensure a seamless integration of the rocket parts:
-
Attach the Rocket Engine: Carefully insert the prepared rocket engine (plastic bottle with the Alka-Seltzer tablet and water) into the base of the rocket body. Ensure a snug fit to prevent any air leakage during the launch.
-
Secure the Engine: Use strong adhesive or tape to secure the rocket engine to the inside of the rocket body. This will prevent any movement or dislodging of the engine during the launch sequence.
-
Perform a Test Fit: Before finalizing the assembly, perform a test fit to ensure that all components are securely in place. This step helps identify any potential issues or adjustments needed before the launch.
-
Fine-Tune the Fins: Check the alignment and stability of the fins on the rocket body. Make any necessary adjustments to ensure that the fins are symmetrical and provide optimal aerodynamic stability.
-
Inspect the Rocket: Take a moment to inspect the entire rocket assembly, verifying that all components are properly aligned and securely attached. This final check ensures that your rocket is ready for a successful launch.
By following these steps, you'll have a fully assembled rocket ready to embark on its thrilling journey into the sky. The careful integration of the rocket body and engine sets the stage for an exciting and memorable launch experience. Now, it's time to prepare for the grand finale – the exhilarating launch of your DIY rocket!
Launching the Rocket
The moment has arrived to witness the culmination of your hard work and creativity – the launch of your homemade rocket. Follow these steps to ensure a safe and successful rocket launch:
-
Choose a Launch Site: Select an open outdoor area with plenty of space, away from buildings, trees, and overhead obstructions. A clear, unobstructed launch site minimizes the risk of the rocket getting caught on any obstacles during its ascent.
-
Assemble the Launch Pad: Create a stable launch pad by placing a flat, sturdy surface on the ground. You can use a piece of wood or a thick cardboard as the base for the rocket launch. Ensure that the launch pad is positioned securely and will not wobble during the launch.
-
Position the Rocket: Place the assembled rocket on the launch pad, ensuring that it is upright and stable. Double-check that the rocket engine is securely attached to the rocket body and that all components are in place.
-
Prepare for Launch: Stand back from the rocket and prepare to initiate the launch sequence. Ensure that all spectators are at a safe distance and that there are no obstacles in the rocket's flight path.
-
Launch the Rocket: Drop the Alka-Seltzer tablet into the water-filled plastic bottle, quickly secure the cap, and step away from the rocket. As the chemical reaction builds pressure inside the bottle, the cap will eventually pop off, unleashing a powerful burst of gas that propels the rocket into the air.
-
Observe the Flight: Watch in awe as your homemade rocket soars into the sky, propelled by the force of the rocket engine. Follow its trajectory and enjoy the thrilling sight of your creation defying gravity and reaching for the heavens.
-
Recovery and Reuse: Once the rocket has completed its flight, carefully retrieve it from its landing spot. Inspect the rocket for any damage and make any necessary repairs for future launches. With proper care, your rocket can be launched multiple times, providing endless enjoyment and excitement.
By following these steps, you can experience the exhilarating thrill of launching your very own rocket. The successful launch of your DIY rocket marks the culmination of your efforts and creativity, leaving you with a sense of accomplishment and wonder. Now, it's time to celebrate your achievement and share the excitement of your rocket launch with friends and family!
Conclusion
Congratulations on successfully creating and launching your very own rocket! The journey from gathering materials to witnessing the awe-inspiring flight of your DIY rocket has been an exhilarating adventure. As you reflect on this experience, remember that the world of rocketry is filled with endless possibilities for exploration and innovation. Whether you're inspired to delve deeper into the science of propulsion or simply enjoy the thrill of launching rockets, this project has ignited a spark of curiosity and creativity within you. Embrace the sense of accomplishment and wonder that comes with building something that defies gravity and reaches for the skies. As you continue your DIY and home improvement endeavors, carry the spirit of discovery and experimentation with you, knowing that the sky is not the limit – it's just the beginning of your next great adventure. Keep exploring, keep creating, and keep reaching for new heights!