
Home>Create & Decorate>DIY & Crafts>How To Make A Garage Door
DIY & Crafts
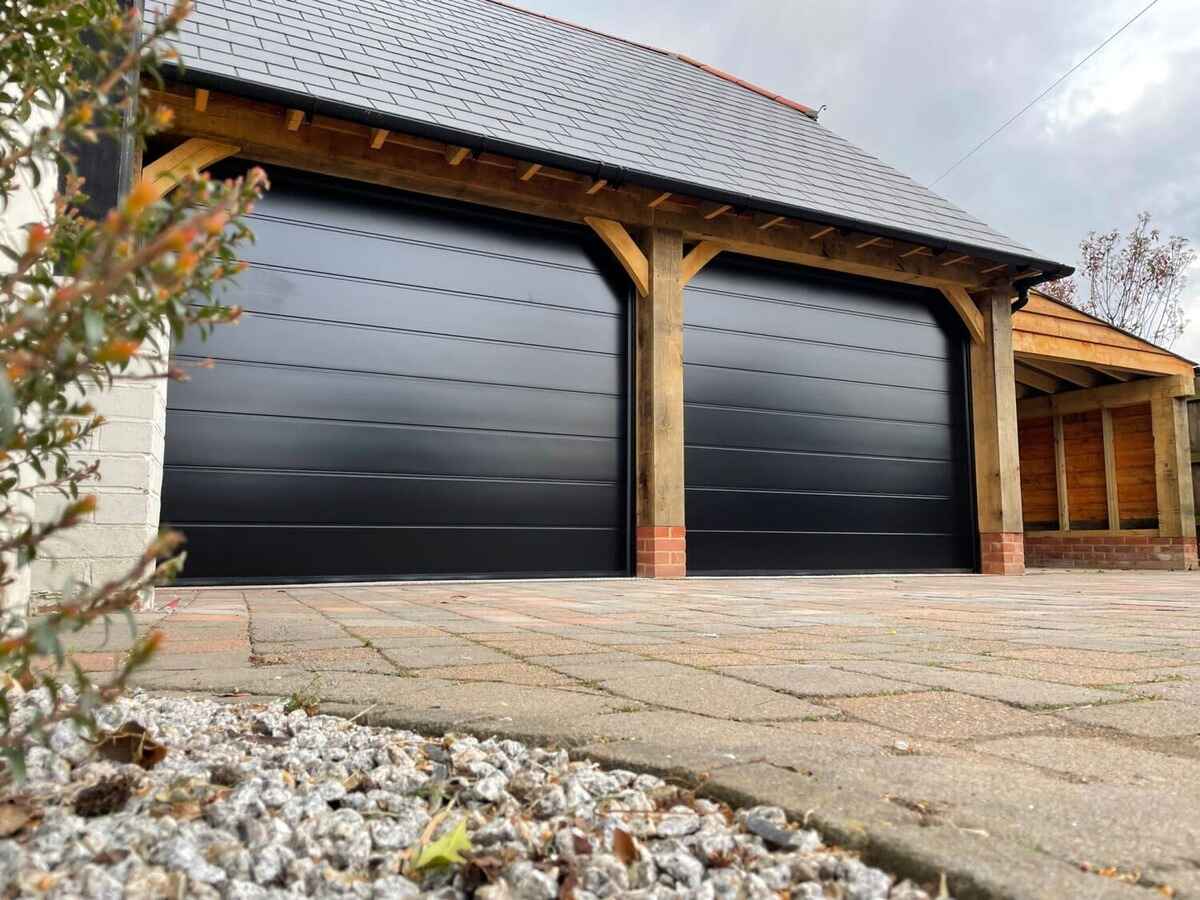
How To Make A Garage Door
Published: June 18, 2024

Senior Editor in Create & Decorate, Kathryn combines traditional craftsmanship with contemporary trends. Her background in textile design and commitment to sustainable crafts inspire both content and community.
Learn how to make a garage door with our DIY & Crafts guide. Get step-by-step instructions and expert tips for a successful project.
(Many of the links in this article redirect to a specific reviewed product. Your purchase of these products through affiliate links helps to generate commission for Twigandthistle.com, at no extra cost. Learn more)
Introduction
So, you've decided to take on the challenge of making your own garage door. Congratulations! Building your own garage door can be a rewarding and cost-effective project. Not only will you have the satisfaction of creating something with your own hands, but you'll also have a custom garage door that perfectly fits your needs and style. In this article, we'll guide you through the process of making a garage door from scratch, from gathering the necessary materials to installing the final components. Let's roll up our sleeves and get started!
Materials Needed
To get started on your DIY garage door project, you'll need to gather the following materials:
- Wood or Metal Panels: These will form the main body of your garage door. Choose a material that suits your climate and aesthetic preferences.
- Hinges and Handles: Essential for allowing the door to swing open and providing a way to operate it manually if needed.
- Rollers and Tracks: These will guide the door as it opens and closes, ensuring smooth movement.
- Motor and Opener: If you want your garage door to be automated, you'll need a motor and opener system to make it easy to open and close.
- Screws and Nails: To secure the various components together.
- Weather Stripping: This will help to seal the edges of the door, keeping out drafts and moisture.
- Paint or Stain: If you want to add a finishing touch to your garage door, you'll need paint or stain in the color of your choice.
- Safety Sensors: If you're installing an automated system, safety sensors are crucial for preventing accidents.
Gathering these materials before you begin will ensure that you have everything you need to complete the project smoothly.
Steps to Build the Frame
-
Measure and Cut the Frame Components: Begin by measuring the opening of your garage to determine the dimensions of the frame. Use this measurement to cut the horizontal and vertical frame pieces from the wood or metal material of your choice. Ensure that the frame is sturdy and well-constructed to support the weight of the door panels.
-
Assemble the Frame: Once the individual components are cut, assemble the frame by joining the horizontal and vertical pieces together using screws or nails. It's essential to ensure that the frame is square and level to prevent any issues when installing the door panels.
-
Install Reinforcements: To add strength and stability to the frame, consider installing reinforcements at key points. This could involve adding diagonal braces or additional crossbars to distribute the weight of the door evenly.
-
Attach Hinges and Handles: With the frame assembled, attach the hinges to the side where the door will pivot. Additionally, install handles on the exterior of the door to allow for manual operation when needed.
-
Apply Weather Stripping: Before proceeding to the next steps, apply weather stripping to the bottom of the frame to create a seal between the door and the garage floor, preventing drafts and moisture from entering.
By following these steps, you'll have a solid and well-constructed frame ready to support the garage door panels.
Installing the Tracks and Rollers
-
Positioning the Tracks: Begin by positioning the vertical tracks on either side of the garage door opening. Ensure that they are plumb and securely anchored to the wall. The horizontal tracks should be installed near the ceiling, parallel to the garage door opening. Use a level to guarantee that the tracks are perfectly aligned.
-
Attaching the Rollers: With the tracks in place, attach the rollers to the sections of the garage door panels. The rollers will fit into the track and allow the door to move smoothly along its path. It's crucial to ensure that the rollers are securely attached and able to move freely within the track without any obstructions.
-
Testing the Movement: Once the rollers are in place, carefully lift the garage door panels and set them into the tracks. Test the movement of the door to ensure that it glides smoothly along the tracks without any hitches. Make any necessary adjustments to the rollers or tracks to guarantee seamless operation.
-
Securing the Tracks: After confirming that the door moves smoothly along the tracks, securely fasten the tracks to the walls and ceiling. Use appropriate hardware to ensure that the tracks are firmly anchored and will support the weight of the garage door without any risk of detachment.
-
Adding the Bottom Rollers: Install the bottom rollers at the base of the door to provide additional support and stability. These rollers will help distribute the weight of the door evenly and prevent it from sagging or becoming misaligned over time.
By following these steps, you'll successfully install the tracks and rollers for your DIY garage door, ensuring that it operates smoothly and reliably.
Attaching the Panels
-
Positioning the Panels: Begin by positioning the first panel at the bottom of the frame, ensuring that it is aligned and level. Secure the panel in place using screws, making sure to leave enough space between each screw to prevent warping of the panel.
-
Connecting the Panels: Once the first panel is securely attached, connect the subsequent panels by overlapping their edges. This will create a seamless appearance and ensure that the panels move together smoothly when the door is operated.
-
Securing the Panels: As you attach each panel, ensure that they are securely fastened to the frame. Check for any gaps or misalignments between the panels and make adjustments as necessary to create a uniform and snug fit.
-
Adding Reinforcements: To enhance the strength and durability of the door, consider adding reinforcements across the back of the panels. These reinforcements can be in the form of horizontal braces or crossbars, providing additional support and preventing the panels from flexing or bowing.
-
Applying the Finishing Touches: Once all the panels are attached, apply any desired finishing touches, such as paint or stain, to enhance the appearance of the door. This step not only adds aesthetic value but also provides protection against the elements, extending the lifespan of the door.
-
Testing the Operation: After attaching the panels, test the operation of the door to ensure that it moves smoothly along the tracks and opens and closes without any issues. Make any necessary adjustments to the panels or frame to guarantee proper functionality.
By following these steps, you'll successfully attach the panels to the frame, creating a sturdy and visually appealing garage door for your DIY project.
Adding the Motor and Opener
-
Selecting the Right Motor and Opener: Begin by selecting a motor and opener system that is suitable for the size and weight of your garage door. Consider factors such as horsepower, lifting capacity, and compatibility with your chosen door material. Ensure that the motor and opener are from a reputable manufacturer and come with a warranty for reliability.
-
Mounting the Motor: Position the motor unit in a suitable location near the top of the garage door, typically on the ceiling. Use a sturdy mounting bracket to secure the motor in place, ensuring that it is level and well-supported. Follow the manufacturer's instructions for the specific requirements of mounting the motor.
-
Installing the Drive Mechanism: Attach the drive mechanism, which may be a chain, belt, or screw drive, to the motor unit. This mechanism will be responsible for lifting and lowering the garage door. Ensure that the drive is properly aligned and tensioned according to the manufacturer's guidelines.
-
Attaching the Arm and Trolley: Connect the arm and trolley to the drive mechanism, ensuring that they are securely fastened and aligned with the garage door. The arm and trolley will be responsible for transferring the lifting force from the motor to the door, allowing for smooth and controlled movement.
-
Wiring and Electrical Connections: Carefully follow the wiring instructions provided with the motor and opener system. Make the necessary electrical connections, including power supply, safety sensors, and wall-mounted control panel. Ensure that all wiring is properly secured and insulated to prevent any safety hazards.
-
Testing the Operation: Once the motor and opener are installed and wired, test the operation of the garage door. Use the wall-mounted control panel or remote transmitter to open and close the door multiple times, observing its movement and listening for any unusual sounds. Make any adjustments as needed to ensure smooth and reliable operation.
-
Adding Safety Features: Install safety sensors at the base of the garage door opening to detect any obstructions and prevent the door from closing on objects or people. Test the sensors to ensure that they effectively stop the door's movement when triggered.
-
Programming and Adjustments: If the motor and opener system includes programmable features, such as travel limits and force adjustments, carefully follow the manufacturer's instructions to set these parameters. This will ensure that the door operates within safe and optimal limits.
By following these steps, you'll successfully add a motor and opener to your DIY garage door, transforming it into a convenient and automated entry point for your home.
Testing and Adjusting the Door
-
Operational Testing: Once the garage door, motor, and opener are all in place, it's time to conduct thorough testing to ensure everything functions as intended. Use the wall-mounted control panel or remote transmitter to open and close the door multiple times. Observe the movement of the door, listening for any unusual sounds or jerky motions. This initial testing phase allows you to identify any immediate issues that may require adjustment.
-
Balance and Alignment: Check the balance and alignment of the garage door by performing a manual test. Disconnect the door from the opener and lift it manually to the halfway point. If the door stays in place when released, it is properly balanced. If it moves up or down, the spring tension may need adjustment. Additionally, visually inspect the door to ensure that it is aligned within the frame and moves smoothly along the tracks without binding or rubbing.
-
Force and Sensitivity Settings: Most modern garage door openers feature adjustable force and sensitivity settings. These settings control the amount of force exerted by the opener when closing the door and the sensitivity to detect obstructions. Follow the manufacturer's instructions to make any necessary adjustments to these settings, ensuring that the door closes securely and reverses when encountering an obstacle.
-
Travel Limits: The travel limits of the garage door opener dictate how far the door opens and closes. It's essential to set these limits accurately to prevent the door from over-traveling or stopping short of the fully closed position. Follow the specific instructions provided with your opener to adjust the travel limits, typically using dials or electronic controls on the motor unit.
-
Safety Sensor Testing: If your garage door opener is equipped with safety sensors, thoroughly test their functionality. Wave an object, such as a broomstick, in front of the sensors while closing the door. The door should immediately reverse its movement upon detecting the obstruction. If the sensors fail to trigger the reversal, troubleshoot the wiring and sensor alignment to ensure proper operation.
-
Lubrication and Maintenance: Finally, apply lubrication to the moving parts of the garage door, including the rollers, tracks, hinges, and springs. This helps to reduce friction and prolong the lifespan of the components. Additionally, establish a regular maintenance schedule for the door, including visual inspections, tightening of hardware, and periodic lubrication.
By meticulously testing and adjusting your DIY garage door, you can ensure that it operates safely, smoothly, and reliably, providing convenient access to your garage while enhancing the overall functionality of your home.