
Home>Create & Decorate>DIY & Crafts>How To Make A Clothing Rack
DIY & Crafts
How To Make A Clothing Rack
Published: May 18, 2024

Content Creator specializing in woodworking and interior transformations. Caegan's guides motivate readers to undertake their own projects, while his custom furniture adds a personal touch.
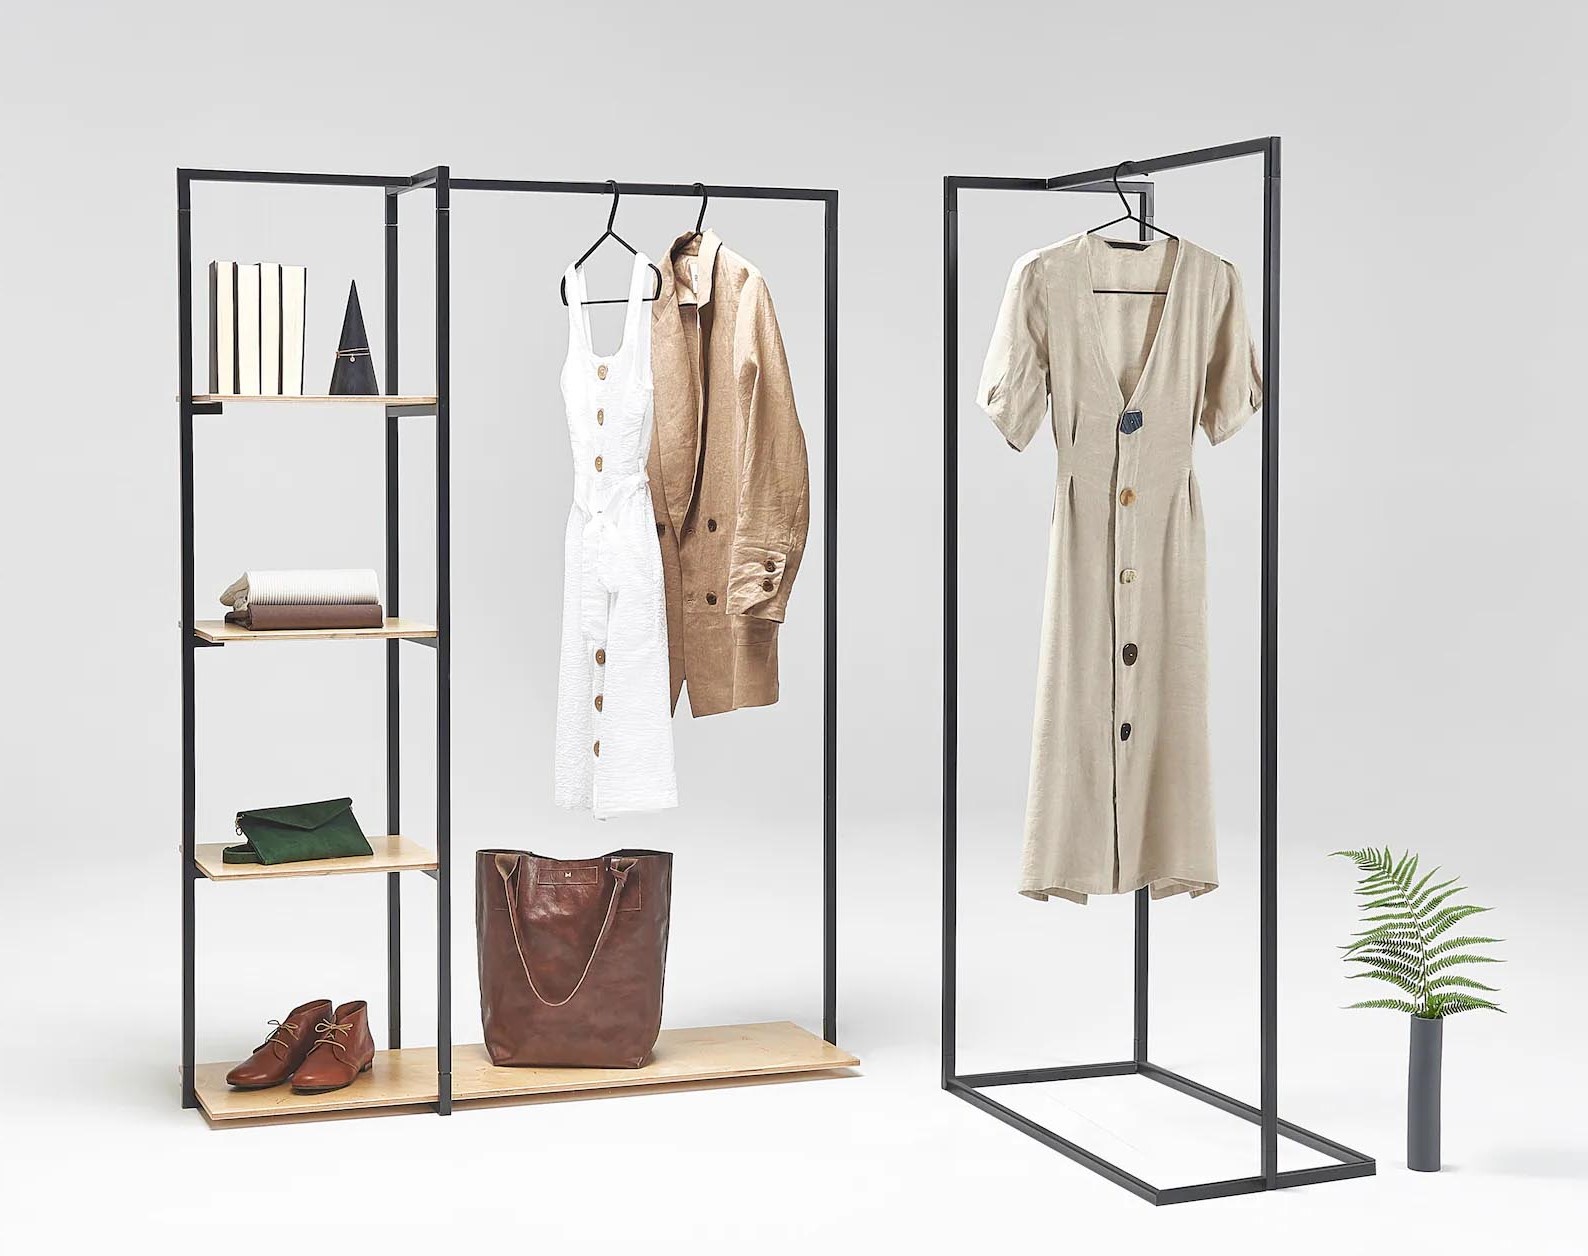
Learn how to create a stylish and functional DIY clothing rack with our step-by-step guide. Perfect for organizing your wardrobe and displaying your favorite pieces. Ideal for DIY & Crafts enthusiasts.
(Many of the links in this article redirect to a specific reviewed product. Your purchase of these products through affiliate links helps to generate commission for Twigandthistle.com, at no extra cost. Learn more)
Introduction
Are you tired of cramming your clothes into a small closet or leaving them piled up on a chair? A clothing rack is a practical and stylish solution to keep your garments organized and easily accessible. In this guide, we will walk you through the process of creating your own clothing rack using simple materials and basic tools. Whether you're a seasoned DIY enthusiast or a novice looking to embark on your first project, making a clothing rack is a rewarding endeavor that can add a touch of industrial charm to your living space. Let's dive into the materials needed and the step-by-step process to create your very own clothing rack.
Materials Needed
To get started on your DIY clothing rack project, you'll need the following materials:
- Galvanized steel pipes: These will serve as the main structure of your clothing rack. You'll need pipes of various lengths, including two longer ones for the base and two shorter ones for the uprights.
- Pipe fittings: These will be used to connect the pipes and create the frame of the clothing rack. Make sure to get elbows, tees, and flanges to fit the dimensions of your pipes.
- Wooden base and shelves: Opt for sturdy wooden boards to create the base and shelves of your clothing rack. These will provide stability and a place to store shoes or folded garments.
- Screws and a screwdriver: You'll need these to secure the pipes and fittings together, as well as to attach the wooden components to the frame.
- Measuring tape and a saw: These tools will be essential for accurately measuring and cutting the pipes to the desired lengths.
- Sandpaper and paint: If you want to give your clothing rack a polished look, sandpaper and paint will come in handy for smoothing out any rough edges and adding a pop of color to the wooden elements.
Gathering these materials will set you up for a successful clothing rack construction project. Now that you have everything you need, let's move on to the next step: gathering your supplies.
Step 1: Gather Your Supplies
Before diving into the construction process, it's crucial to gather all the necessary supplies for your DIY clothing rack project. Here's a detailed breakdown of the materials and tools you'll need:
-
Galvanized Steel Pipes: These pipes will form the backbone of your clothing rack. Ensure you have various lengths, including two longer ones for the base and two shorter ones for the uprights.
-
Pipe Fittings: Elbows, tees, and flanges are essential for connecting the pipes and creating the frame of the clothing rack. Make sure to select fittings that match the dimensions of your pipes.
-
Wooden Base and Shelves: Sturdy wooden boards will provide stability and a place to store shoes or folded garments. Opt for quality wood that complements the overall aesthetic of your space.
-
Screws and a Screwdriver: These tools are necessary for securing the pipes and fittings together, as well as attaching the wooden components to the frame.
-
Measuring Tape and a Saw: Accurate measurements and precise cuts are vital for the success of your project. A measuring tape and saw will help you achieve the desired lengths for your pipes.
-
Sandpaper and Paint: If you aim to give your clothing rack a polished finish, sandpaper will help smooth out any rough edges, while paint can add a pop of color to the wooden elements.
By ensuring you have all these supplies on hand, you'll be well-prepared to move on to the next steps of creating your very own clothing rack.
Step 2: Measure and Cut the Pipes
Once you have gathered all the necessary materials, it's time to tackle the next crucial step in building your clothing rack: measuring and cutting the pipes. Follow these detailed instructions to ensure precision and accuracy in this process:
-
Measure Twice, Cut Once: Before making any cuts, use a measuring tape to determine the required lengths for the pipes. It's essential to double-check your measurements to avoid any errors.
-
Marking the Pipes: Once you have the measurements, use a pencil or marker to clearly mark the points where the pipes need to be cut. This will serve as a guide during the cutting process.
-
Secure the Pipes: To ensure safety and accuracy, secure the pipes firmly in place using clamps or a vice. This will prevent the pipes from moving while you make the cuts.
-
Using a Saw: With the pipes securely held in place, carefully use a saw to make clean and precise cuts at the marked points. Take your time and use steady, even strokes to avoid any jagged edges.
-
Smooth Out the Edges: After cutting the pipes, use sandpaper to smooth out any rough or sharp edges. This step is crucial for both safety and aesthetics, as it ensures that the pipes are safe to handle and won't snag on clothing.
By following these steps, you'll be able to accurately measure and cut the pipes for your clothing rack, setting the stage for the next phases of the construction process.
Step 3: Assemble the Base
Assembling the base of your clothing rack is a critical step in ensuring stability and functionality. Follow these detailed instructions to create a sturdy foundation for your DIY project:
-
Position the Pipes: Lay out the longer galvanized steel pipes on the ground in the shape of a rectangle, ensuring that the ends are aligned to form the base of the clothing rack.
-
Attach the Fittings: Using the appropriate pipe fittings, connect the corners of the rectangle to form a solid base structure. Secure the fittings tightly to ensure stability.
-
Add the Wooden Base: Once the base frame is assembled, place the wooden board on top of the rectangular frame. Use screws to secure the board to the pipes, ensuring a snug and secure fit.
-
Reinforce the Connections: Double-check all the connections and fittings to ensure that the base is strong and stable. Tighten any loose fittings and make adjustments as needed.
-
Test for Stability: After assembling the base, gently test the stability of the structure by applying light pressure. The base should remain firm and level, indicating that it is ready to support the uprights and crossbars.
By following these steps, you will successfully assemble a solid and reliable base for your clothing rack, laying the groundwork for the next stages of the construction process.
Step 4: Assemble the Uprights
Assembling the uprights is a pivotal stage in constructing your clothing rack, as it forms the vertical support for hanging garments. Follow these detailed steps to ensure the proper assembly of the uprights:
-
Position the Shorter Pipes: Begin by laying out the shorter galvanized steel pipes on the base of the clothing rack, ensuring that they are positioned vertically and evenly spaced apart.
-
Attach the Elbows and Tees: Using the appropriate pipe fittings, attach elbows to the top ends of the shorter pipes to create a horizontal extension. Then, attach tees to the bottom ends of the pipes to provide stability and connection to the base.
-
Connect the Crossbars: Once the elbows and tees are in place, connect the crossbars between the two uprights to create a hanging space for your clothes. Ensure that the crossbars are level and securely attached to the elbows.
-
Secure the Connections: Double-check all the connections and fittings to ensure that the uprights are stable and capable of supporting the weight of hanging garments. Tighten any loose fittings and make adjustments as necessary.
-
Test for Stability: After assembling the uprights and crossbars, gently test the stability of the structure by applying light pressure. The uprights should remain firm and secure, indicating that they are ready to support the weight of your clothing.
By following these steps, you will successfully assemble the uprights of your clothing rack, creating a functional and reliable structure for organizing and displaying your garments.
Step 5: Attach the Crossbars
Attaching the crossbars is a crucial step in creating a functional hanging space for your clothing rack. Follow these detailed instructions to ensure the proper attachment of the crossbars:
-
Position the Crossbars: Begin by laying out the desired length of galvanized steel pipes across the top of the assembled uprights. These pipes will serve as the crossbars, providing a horizontal space for hanging clothes.
-
Secure the Crossbars: Using the appropriate fittings, attach the crossbars to the elbows on the top of the uprights. Ensure that the crossbars are level and evenly spaced to accommodate various clothing items.
-
Double-Check the Alignment: Before finalizing the attachment, double-check the alignment of the crossbars to ensure that they are parallel to the base and evenly positioned across the uprights. This step is crucial for creating a visually appealing and functional hanging space.
-
Tighten the Connections: Once the crossbars are in position, secure the fittings tightly to the elbows to ensure that the crossbars are firmly attached to the uprights. This will prevent any wobbling or instability when hanging clothes.
-
Test the Hanging Space: After attaching the crossbars, test the hanging space by gently applying pressure to ensure that it can support the weight of clothing items. The crossbars should remain stable and capable of accommodating various garments.
By following these steps, you will successfully attach the crossbars to your clothing rack, creating a well-organized and functional hanging space for your wardrobe.
Step 6: Add Finishing Touches
Adding the finishing touches to your DIY clothing rack is the final step in completing your project and giving it a polished and professional look. Follow these detailed instructions to add the perfect finishing touches to your clothing rack:
-
Sand and Smooth: Use sandpaper to smooth out any rough edges on the galvanized steel pipes and wooden components of the clothing rack. This step will not only enhance the appearance of the rack but also ensure that it is safe to handle and use.
-
Apply Paint or Finish: If desired, consider applying a coat of paint or wood finish to the wooden components of the clothing rack. Choose a color or finish that complements your existing decor and adds a touch of personal style to the rack.
-
Secure Loose Ends: Double-check all connections, fittings, and screws to ensure that everything is securely fastened. Tighten any loose ends and make any necessary adjustments to guarantee the stability and durability of the clothing rack.
-
Add Personal Touches: Consider adding additional elements such as hooks, knobs, or decorative accents to customize the clothing rack to your liking. These personal touches can enhance both the functionality and aesthetic appeal of the rack.
-
Test for Stability and Functionality: Once the finishing touches are in place, test the stability and functionality of the clothing rack. Hang a few clothing items to ensure that the rack can support the weight and that it provides easy access to your garments.
By following these steps, you will successfully add the finishing touches to your clothing rack, transforming it into a stylish and functional addition to your living space.
Conclusion
Congratulations! You have successfully completed the construction of your very own DIY clothing rack. By following the step-by-step guide and utilizing simple materials and basic tools, you have created a practical and stylish solution for organizing and displaying your garments. Your new clothing rack not only adds a touch of industrial charm to your living space but also provides a functional and accessible storage solution for your wardrobe.
As you admire your handiwork, take pride in the fact that you have not only saved money by creating your own clothing rack but have also personalized it to suit your specific needs and style preferences. Whether you are a seasoned DIY enthusiast or a novice looking to embark on your first project, this endeavor has allowed you to unleash your creativity and craftsmanship.
Now, as you hang your favorite clothing items on your newly constructed rack, take a moment to appreciate the satisfaction that comes with completing a DIY project that enhances both the organization and aesthetics of your home. With your newfound skills and the sense of accomplishment from this project, you may find yourself inspired to take on even more DIY and home improvement ventures in the future.
So, go ahead, revel in the success of your DIY clothing rack project, and enjoy the benefits of a well-organized and visually appealing wardrobe display. Happy crafting!