
Home>Create & Decorate>DIY & Crafts>DIY Water Filter: How To Make Your Own Clean Water Solution
DIY & Crafts
DIY Water Filter: How To Make Your Own Clean Water Solution
Published: June 16, 2024

Senior Editor in Create & Decorate, Kathryn combines traditional craftsmanship with contemporary trends. Her background in textile design and commitment to sustainable crafts inspire both content and community.
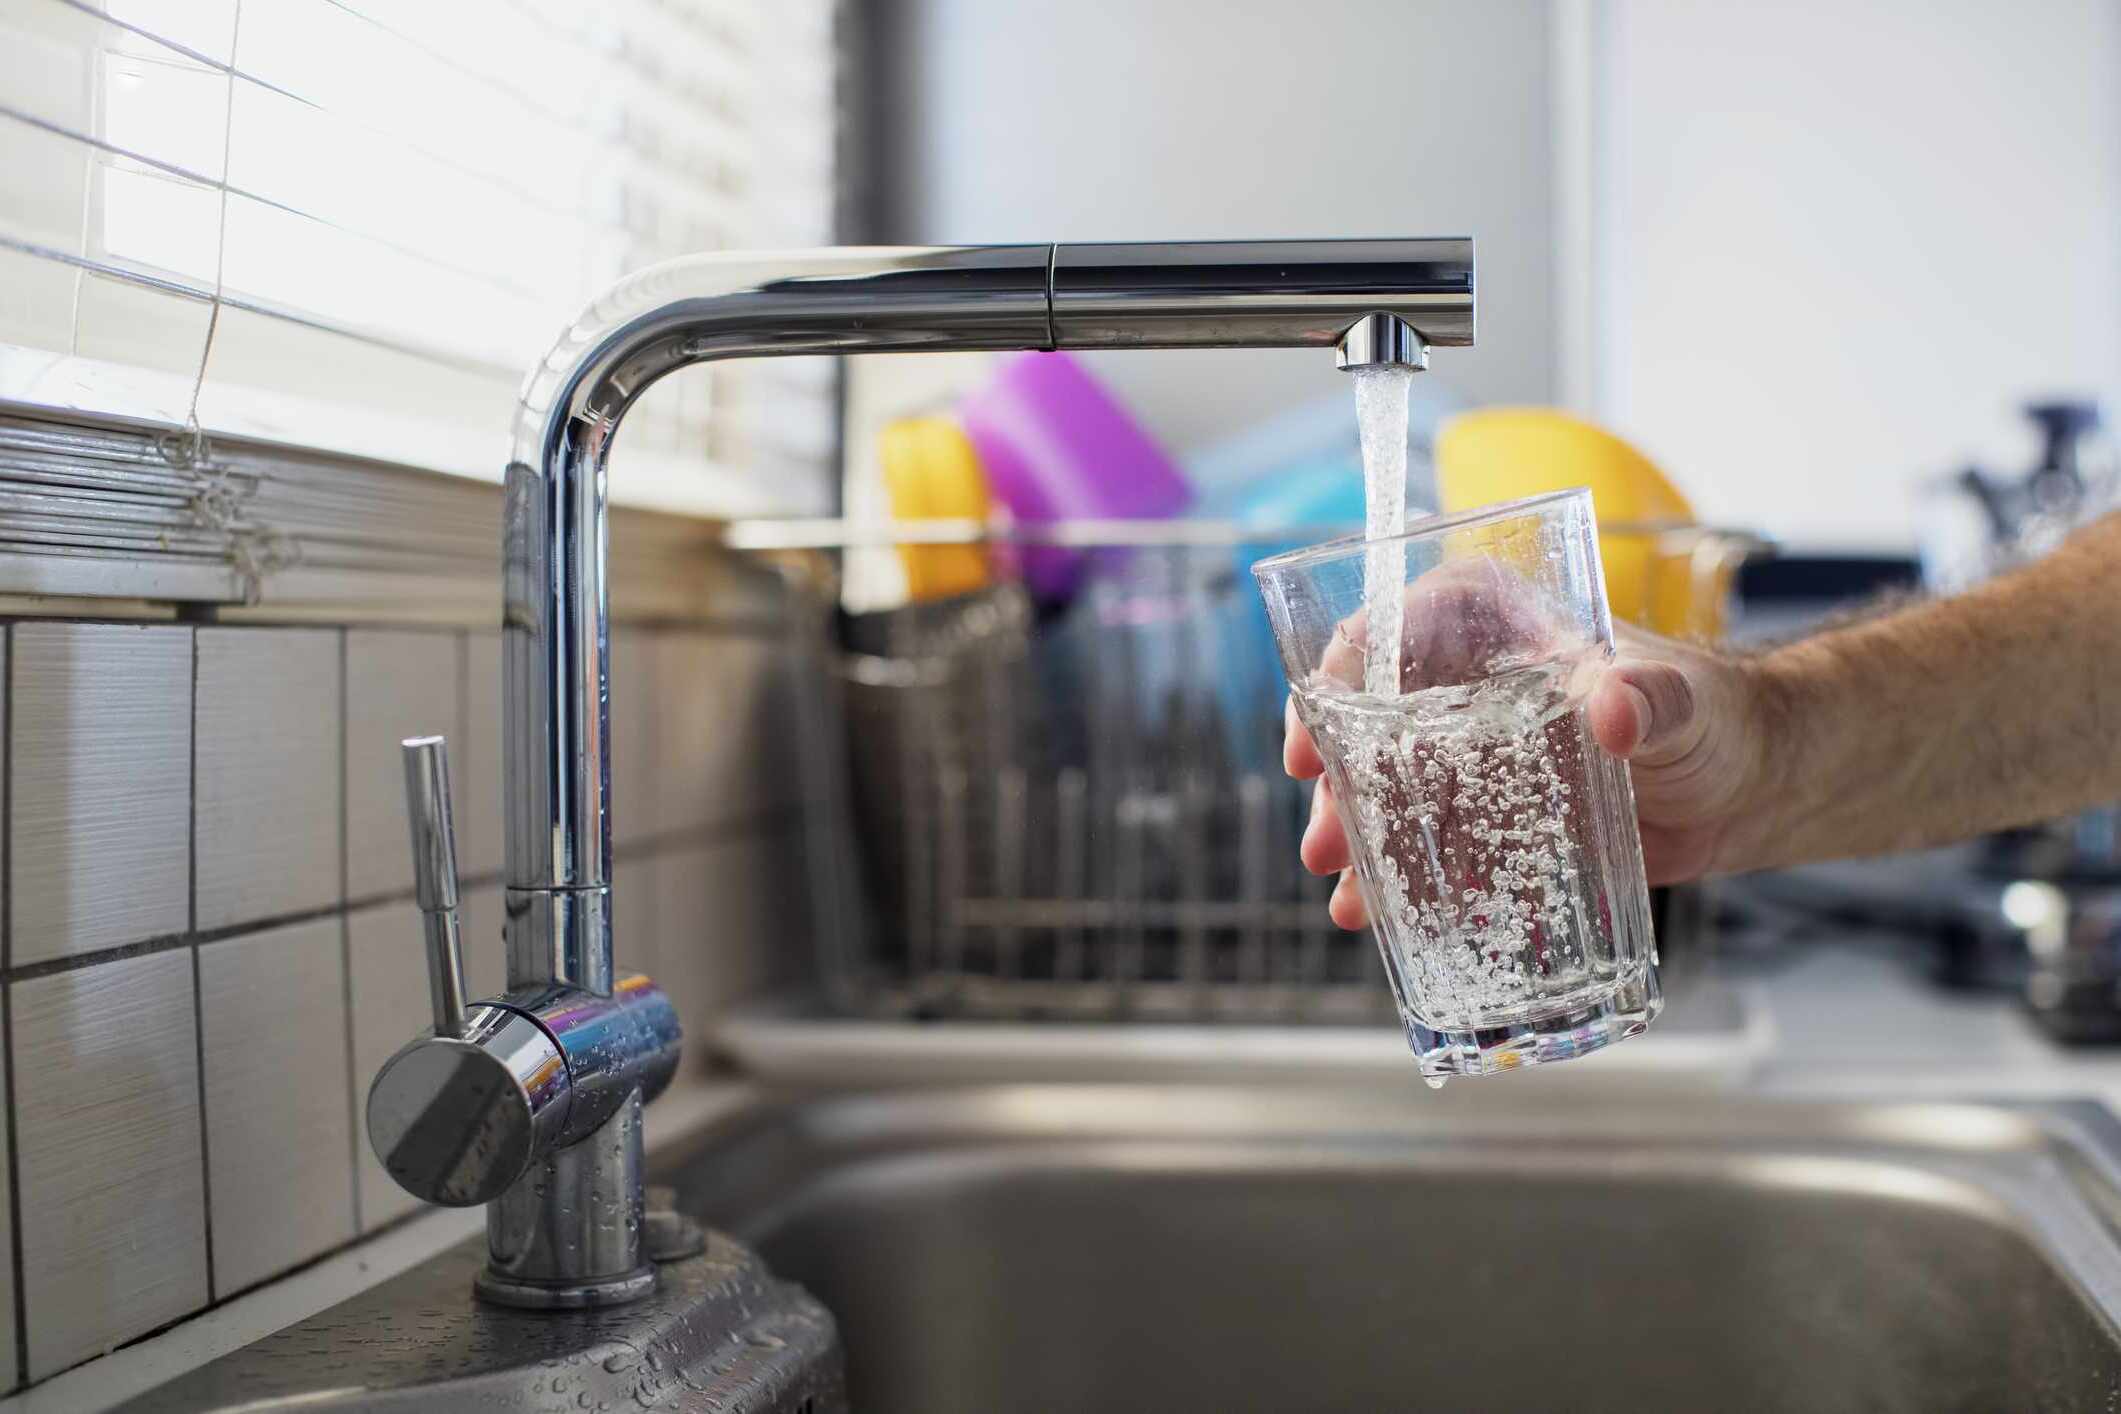
Learn how to create your own DIY water filter with simple materials and enjoy a clean water solution at home. Get crafty with this DIY & Crafts project!
(Many of the links in this article redirect to a specific reviewed product. Your purchase of these products through affiliate links helps to generate commission for Twigandthistle.com, at no extra cost. Learn more)
Introduction
Have you ever wondered if it's possible to create your own clean water solution right at home? With the increasing concerns about water quality, especially in certain areas, many people are turning to do-it-yourself (DIY) water filters as a way to ensure access to safe and clean drinking water. In this article, we will explore the process of creating your own DIY water filter and the steps you can take to make sure the water you drink is free from contaminants. Whether you're looking to improve the taste of your tap water or preparing for an emergency situation, learning how to make your own water filter can be a valuable skill to have.
Understanding the Importance of Clean Water
Clean water is essential for maintaining good health and well-being. Access to clean water is not only crucial for drinking but also for cooking, cleaning, and overall hygiene. Contaminated water can harbor harmful bacteria, parasites, and other pollutants that can lead to a range of illnesses, including gastrointestinal issues, skin problems, and even more serious conditions. In some cases, consuming contaminated water can be life-threatening, especially for vulnerable populations such as children and the elderly. Additionally, clean water is vital for agricultural and industrial purposes, making it an indispensable resource for various aspects of daily life.
The Dangers of Contaminated Water
- Contaminated water can lead to a range of health issues, including diarrhea, vomiting, and dehydration.
- Harmful bacteria and parasites in water can cause serious illnesses such as cholera, typhoid, and dysentery.
- Chemical pollutants in water can have long-term health effects, including damage to the nervous system, liver, and kidneys.
Impact on Communities
- Lack of access to clean water disproportionately affects marginalized communities and can perpetuate cycles of poverty and illness.
- Inadequate sanitation and water quality can hinder economic development and educational opportunities in affected areas.
Environmental Consequences
- Pollution and contamination of water sources can harm aquatic ecosystems and wildlife.
- Chemical runoff and industrial waste can lead to long-term damage to the environment and natural habitats.
Understanding the importance of clean water underscores the significance of having reliable methods for water filtration and purification, making DIY water filters a practical and valuable solution for many individuals and communities.
Materials Needed for DIY Water Filter
Creating your own DIY water filter requires a few essential materials that are relatively easy to obtain. Here's a list of the items you'll need to get started:
1. Two Large Containers
You'll need two large containers, such as buckets or plastic drums, to serve as the main vessels for the filtration process. One container will hold the unfiltered water, while the other will collect the filtered water.
2. Drill with a Hole Saw Attachment
A drill with a hole saw attachment will be necessary to create openings in the containers for the water to pass through during the filtration process.
3. Sand
High-quality sand is a crucial component of the filtration system. The sand will help to remove larger particles and impurities from the water as it passes through the filter.
4. Gravel
Coarse gravel or small pebbles will be used in conjunction with the sand to further filter out debris and sediment from the water.
5. Activated Charcoal
Activated charcoal is highly effective at removing impurities and contaminants from water. It is a key element in the filtration process, helping to improve the taste and odor of the filtered water.
6. Fine Mesh Screen or Cheesecloth
A fine mesh screen or cheesecloth will be used to prevent the filtration materials from escaping into the clean water container while allowing the filtered water to pass through.
7. Clean Cloth or Coffee Filter
A clean cloth or coffee filter can be used as an additional layer of filtration to ensure that the water is free from any remaining particles or debris.
8. Rubber Bands or Zip Ties
Rubber bands or zip ties will be needed to secure the filtration materials in place within the containers, ensuring that the water passes through the filtering layers effectively.
9. Clean Water Source
Of course, you'll need a clean water source to test and use your DIY water filter. This could be tap water or another known water source for initial testing and adjustments.
Gathering these materials will set the foundation for creating your own DIY water filter, allowing you to take control of your water purification process and ensure access to clean, safe drinking water.
Step-by-Step Guide to Making Your Own Water Filter
Now that you have gathered all the necessary materials, it's time to put them to use and create your DIY water filter. Follow these step-by-step instructions to build your own clean water solution:
-
Prepare the Containers: Start by thoroughly cleaning the two large containers you will be using for the filtration process. Ensure that there is no residue or contaminants present in the containers that could compromise the quality of the filtered water.
-
Create Openings: Using the drill with a hole saw attachment, carefully create openings in the bottom of one container and the lid of the other. These openings will allow the water to pass through the filtration materials and facilitate the filtering process.
-
Layer the Filtration Materials: Begin layering the filtration materials in the container with the hole in the bottom. Start with a layer of fine mesh screen or cheesecloth to prevent the filtration materials from escaping. Then, add layers of activated charcoal, sand, and gravel in that order. Ensure that each layer is distributed evenly and covers the entire bottom of the container.
-
Secure the Layers: Once the filtration materials are in place, use rubber bands or zip ties to secure the layers and prevent them from shifting during the filtration process. This will help maintain the effectiveness of the filtration system.
-
Set Up the Filtering Process: Place the container with the layered filtration materials on top of the clean container with the hole in the lid. The clean container will collect the filtered water as it passes through the filtration system.
-
Test the Filter: With everything set up, carefully pour unfiltered water into the top container and observe as it filters through the layers of sand, gravel, and activated charcoal. Monitor the clarity and cleanliness of the water as it collects in the bottom container.
-
Make Adjustments: Based on the initial filtration results, you may need to make adjustments to the layers of filtration materials. For example, if the water is not filtering effectively, you may need to add more activated charcoal or fine-tune the arrangement of the layers.
-
Filtering the Water: Once you are satisfied with the filtration process and the quality of the filtered water, you can proceed to filter a larger quantity of water for your use. This filtered water can be used for drinking, cooking, and other household purposes.
By following these step-by-step instructions, you can create a functional DIY water filter that provides you with access to clean and safe drinking water. Regular maintenance and occasional testing will ensure that your homemade water filter continues to effectively remove impurities and contaminants from your water source.
Testing and Maintaining Your DIY Water Filter
Testing and maintaining your DIY water filter is crucial to ensure that it continues to provide clean and safe drinking water. Here are the steps to test and maintain your homemade water filter:
Regular Testing
Regular testing of your DIY water filter is essential to verify its effectiveness in removing impurities and contaminants from the water. You can conduct simple tests to assess the quality of the filtered water, such as:
-
Visual Inspection: Observe the clarity and color of the filtered water. It should appear clear and free from any visible particles or discoloration.
-
Taste and Odor: Taste the filtered water to ensure that it is free from any unpleasant odors or flavors. The water should have a clean and neutral taste.
-
Microbial Testing: Consider using water testing kits to check for the presence of harmful bacteria and microorganisms in the filtered water. This step is especially important if you are using water from natural sources.
Maintenance
Proper maintenance of your DIY water filter will prolong its lifespan and ensure consistent performance. Here are some maintenance tips to keep your water filter in optimal condition:
-
Regular Cleaning: Periodically clean the filtration materials, including the sand, gravel, and activated charcoal, to remove accumulated debris and maintain their filtering efficiency.
-
Replacement of Filtration Materials: Over time, the filtration materials may become saturated with impurities and lose their effectiveness. It's important to replace these materials at regular intervals to maintain the filter's efficiency.
-
Inspect for Leaks and Damage: Check the containers and filtration layers for any signs of leaks, cracks, or damage. Address any issues promptly to prevent water from bypassing the filtration system.
-
Sanitization: If the filter has been inactive for a period of time, sanitize the filtration materials and containers before using it again to ensure the purity of the filtered water.
Troubleshooting
In the event that you notice a decline in the performance of your DIY water filter, consider the following troubleshooting steps:
-
Check Filtration Layers: Inspect the layers of sand, gravel, and activated charcoal for any signs of clogging or blockages. Re-arrange or replace the filtration materials if necessary.
-
Adjust Water Flow: Ensure that the water flow through the filter is consistent and not too fast, as it may compromise the filtration process. Adjust the flow rate as needed to optimize filtration.
-
Evaluate Filtration Results: If the filtered water does not meet the desired quality standards, re-evaluate the arrangement and condition of the filtration materials, and make necessary adjustments.
By implementing regular testing, maintenance, and troubleshooting, you can ensure that your DIY water filter consistently delivers clean and safe drinking water for your household. Additionally, staying proactive in monitoring the performance of your water filter will provide peace of mind regarding the quality of the water you consume.
Conclusion and Final Thoughts
In the realm of DIY and home improvement, the ability to create a DIY water filter offers a practical and empowering solution for ensuring access to clean and safe drinking water. By understanding the importance of clean water and the potential risks associated with contaminated water, individuals can take proactive steps to safeguard their health and well-being. The process of making a DIY water filter, from gathering the necessary materials to constructing and testing the filtration system, not only provides a sense of self-reliance but also promotes environmental consciousness by reducing reliance on single-use plastic water bottles and commercial filtration systems.
As you embark on the journey of creating your own DIY water filter, it's important to approach the task with a mindset of continuous improvement and adaptation. The initial construction and testing of the water filter may require adjustments and fine-tuning to achieve optimal performance. Additionally, regular maintenance and testing are essential to ensure that the filter continues to effectively remove impurities and contaminants from the water source. Embracing a proactive and hands-on approach to water filtration not only enhances your understanding of the purification process but also fosters a deeper connection to the water you consume on a daily basis.