
Home>Create & Decorate>DIY & Crafts>DIY Target Stand: How To Create Your Own Shooting Range At Home
DIY & Crafts
DIY Target Stand: How To Create Your Own Shooting Range At Home
Published: June 16, 2024

Senior Editor in Create & Decorate, Kathryn combines traditional craftsmanship with contemporary trends. Her background in textile design and commitment to sustainable crafts inspire both content and community.
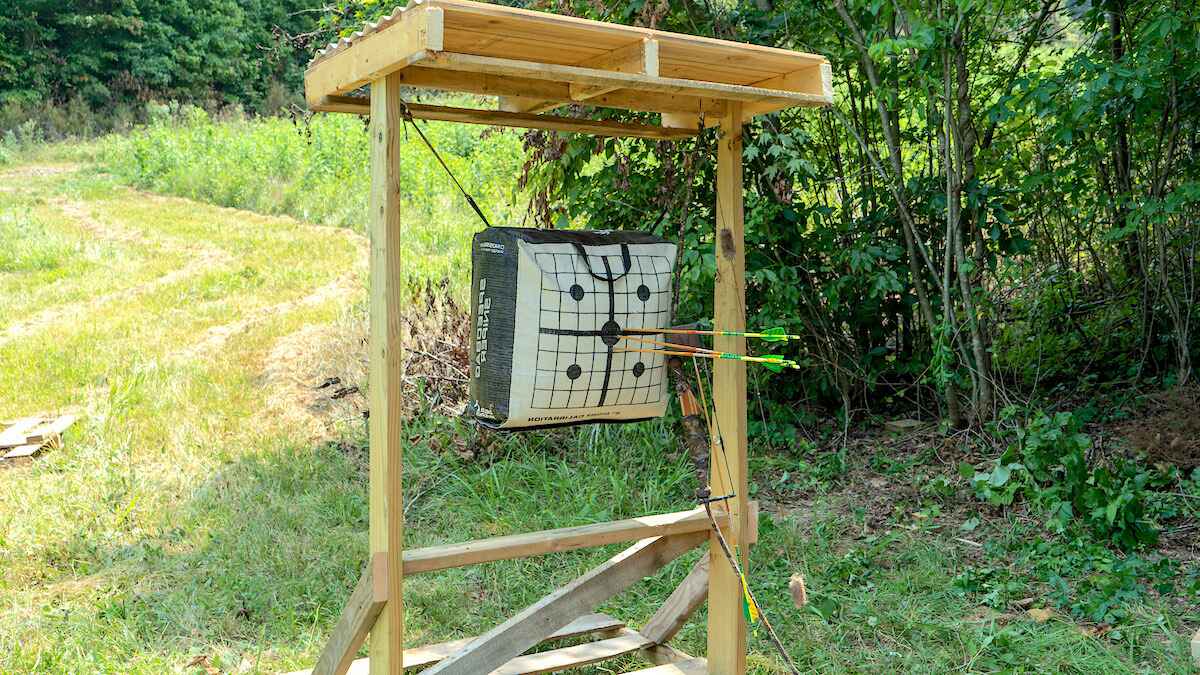
Learn how to make a DIY target stand and set up your own shooting range at home with this easy DIY & Crafts tutorial. Perfect for practicing your aim and improving your shooting skills.
(Many of the links in this article redirect to a specific reviewed product. Your purchase of these products through affiliate links helps to generate commission for Twigandthistle.com, at no extra cost. Learn more)
Introduction
Are you an avid shooter looking to practice your aim at home? Or perhaps you're a beginner looking to set up a shooting range for target practice? Whatever your reason, creating your own DIY target stand is a cost-effective and convenient way to set up a shooting range in your backyard or garage. In this guide, we'll walk you through the step-by-step process of building a sturdy and reliable target stand using PVC pipes. With just a few materials and some basic tools, you'll be well on your way to honing your shooting skills in the comfort of your own home. Let's dive in and get started on this exciting project!
Materials Needed
To create your own DIY target stand, you'll need the following materials:
- PVC pipes: Look for 1-inch PVC pipes, which are sturdy enough to support your target and withstand the impact of the bullets.
- PVC elbows and tees: These fittings will be used to connect the PVC pipes and create the base and target holder.
- PVC glue: This will help secure the connections between the PVC pipes and fittings, ensuring the stability of your target stand.
- Saw: A PVC saw or a hacksaw will be necessary for cutting the PVC pipes to the desired lengths.
- Measuring tape: To ensure precision in cutting the PVC pipes and assembling the target stand.
- Cardboard or paper targets: These will be used as the actual targets for your shooting practice.
- Marker or paint: To mark the targets for better visibility during shooting practice.
- Level: This will help ensure that your target stand is set up straight and level for accurate shooting practice.
- Weights or sandbags: These will provide stability to the base of the target stand, preventing it from tipping over due to the impact of the shots.
Gather these materials before you begin, and you'll be all set to start building your DIY target stand.
Step 1: Cutting the PVC Pipes
The first step in creating your DIY target stand is to cut the PVC pipes to the required lengths. Using a measuring tape and a marker, measure and mark the PVC pipes according to the dimensions you've chosen for your target stand. If you're aiming for a standard size, you can cut the PVC pipes into the following lengths:
- Four pieces for the base: Each piece should be around 18 inches long.
- Two pieces for the uprights: Aim for a height of 4 feet, but adjust according to your preference.
- Two shorter pieces for the crossbar: These should be around 2 feet in length.
Once you've marked the PVC pipes, use a PVC saw or a hacksaw to carefully cut them to the specified lengths. Take your time to ensure clean and precise cuts, as accurate measurements and cuts will contribute to the stability and sturdiness of your DIY target stand. With the PVC pipes cut to size, you're ready to move on to the next step of assembling the base.
Step 2: Assembling the Base
With the PVC pipes cut to the desired lengths, it's time to assemble the base of your DIY target stand. Follow these steps to create a stable and sturdy foundation for your shooting range:
-
Connect the Base Pipes: Take the four 18-inch PVC pipes and the PVC elbows. Insert one end of each pipe into a PVC elbow, creating a square shape. This will serve as the base of your target stand.
-
Secure the Connections: Use PVC glue to secure the connections between the PVC pipes and elbows. Apply the glue to the inside of the elbows and then insert the pipes, twisting them slightly to ensure a secure bond. Wipe off any excess glue to maintain a clean finish.
-
Add Stability: To prevent the base from tipping over during use, consider adding weights or sandbags to the inside of the base pipes. Alternatively, you can place heavy objects on top of the base to provide stability.
-
Check for Level: Once the base is assembled, use a level to ensure that it is flat and even. Adjust the positioning of the base pipes if necessary to achieve a level surface. A level base is crucial for the overall stability of your target stand.
By following these steps, you'll have a solid and stable base for your DIY target stand, setting the stage for the next phase of the assembly process.
Step 3: Attaching the Target Holder
Now that the base is securely assembled, it's time to move on to attaching the target holder to your DIY target stand. Follow these steps to create a reliable holder for your shooting targets:
-
Prepare the Uprights: Take the two upright PVC pipes, each cut to a height of 4 feet, and insert them into the open ends of the PVC elbows on the base. This will create a vertical frame for the target holder.
-
Add the Crossbar: Take the two shorter PVC pipes, each around 2 feet in length, and insert them into the open ends of the PVC tees attached to the top of the upright pipes. This will form the crossbar that will hold your shooting targets.
-
Secure the Connections: Use PVC glue to secure the connections between the PVC pipes and fittings. Apply the glue to the inside of the elbows and tees before inserting the pipes, ensuring a strong and stable bond.
-
Test the Stability: Once the target holder is assembled, check for stability by gently shaking the structure. Ensure that all connections are secure and that the target holder does not wobble. Making any necessary adjustments at this stage will contribute to the overall reliability of your DIY target stand.
With the target holder securely attached to the base, your DIY target stand is taking shape and will soon be ready for the final phase of the assembly process.
Step 4: Setting Up Your Shooting Range
Now that your DIY target stand is fully assembled, it's time to set up your shooting range for some target practice. Follow these steps to ensure a safe and enjoyable shooting experience:
-
Positioning the Target Stand: Choose a suitable location for your shooting range, ensuring that it is away from any populated areas and that there is a suitable backstop to catch any stray bullets. If you're setting up the range outdoors, consider using a natural backstop such as a hill or a dense mound of dirt. Indoors, a sturdy wall made of concrete or a similar material can serve as a reliable backstop.
-
Placing the Targets: Attach your cardboard or paper targets to the crossbar of the target holder using clips or tape. Ensure that the targets are securely fastened and positioned at the desired height and distance for your shooting practice. Consider using targets with contrasting colors or bold markings to enhance visibility and accuracy during shooting.
-
Checking for Clearance: Before you begin shooting, verify that there are no obstructions or obstacles in the line of fire. Clear the area around the shooting range to create a safe and unobstructed space for your practice session.
-
Testing the Setup: With the targets in place and the shooting range prepared, take a few test shots to ensure that everything is functioning as intended. Pay attention to the stability of the target stand and the visibility of the targets from your shooting position.
-
Adjusting for Comfort: Position yourself at a comfortable distance from the targets, ensuring that you have a clear line of sight and a stable shooting stance. Make any necessary adjustments to the positioning of the target stand or your shooting position to optimize your comfort and shooting experience.
By following these steps, you can effectively set up your shooting range and begin honing your shooting skills with your DIY target stand. Remember to always prioritize safety and responsible shooting practices when using your homemade shooting range.
Safety Precautions
When engaging in shooting practice with your DIY target stand, it is crucial to prioritize safety at all times. Here are some essential safety precautions to keep in mind:
-
Eye and Ear Protection: Always wear appropriate eye and ear protection when shooting. Safety glasses or goggles will protect your eyes from any debris or particles, while earplugs or earmuffs will help minimize the impact of loud gunfire on your hearing.
-
Clearing the Firearm: Before setting up your shooting range or handling any firearms, ensure that the firearm is unloaded and the chamber is clear. Treat every firearm as if it is loaded, and only load it when you are ready to use it for shooting practice.
-
Safe Handling of Firearms: Adhere to proper firearm handling and storage practices. Keep the muzzle pointed in a safe direction at all times, and only place your finger on the trigger when you are ready to shoot. When not in use, store firearms securely and out of reach of unauthorized individuals.
-
Designated Shooting Area: Establish a designated shooting area where only authorized individuals are permitted. Clearly mark the boundaries of the shooting range and ensure that bystanders and unauthorized individuals are kept at a safe distance from the shooting area.
-
Backstop and Bullet Traps: Ensure that your shooting range has a suitable backstop or bullet trap to safely capture and contain bullets. This will prevent bullets from traveling beyond the intended shooting area and minimize the risk of accidents or injuries.
-
Range Commands and Communication: If shooting with others, establish clear range commands and communication protocols. Everyone present should be aware of the commands for ceasing fire, unloading firearms, and addressing any safety concerns.
-
Regular Inspections: Periodically inspect your DIY target stand for any signs of wear, damage, or instability. Check the connections, stability, and overall condition of the target stand to ensure that it remains safe for use.
By adhering to these safety precautions and maintaining a vigilant attitude towards safety, you can create a secure and responsible environment for shooting practice with your DIY target stand. Always prioritize safety and responsible firearm handling to ensure a safe and enjoyable shooting experience.
Conclusion
In conclusion, creating your own DIY target stand using PVC pipes is a practical and rewarding way to set up a shooting range at home. By following the step-by-step process outlined in this guide and prioritizing safety precautions, you can build a sturdy and reliable target stand for honing your shooting skills. Whether you're a seasoned shooter or a beginner looking to improve your aim, the convenience and cost-effectiveness of a DIY target stand make it an appealing option for home shooting practice. With the right materials, tools, and attention to safety, you can enjoy the benefits of a personalized shooting range right in your own backyard or garage. So, roll up your sleeves, gather your materials, and embark on this exciting DIY project to create your very own shooting range at home. Happy shooting!