
Home>Create & Decorate>DIY & Crafts>DIY Rocking Chair Plans: Create Your Own Comfortable And Stylish Rocking Chair
DIY & Crafts
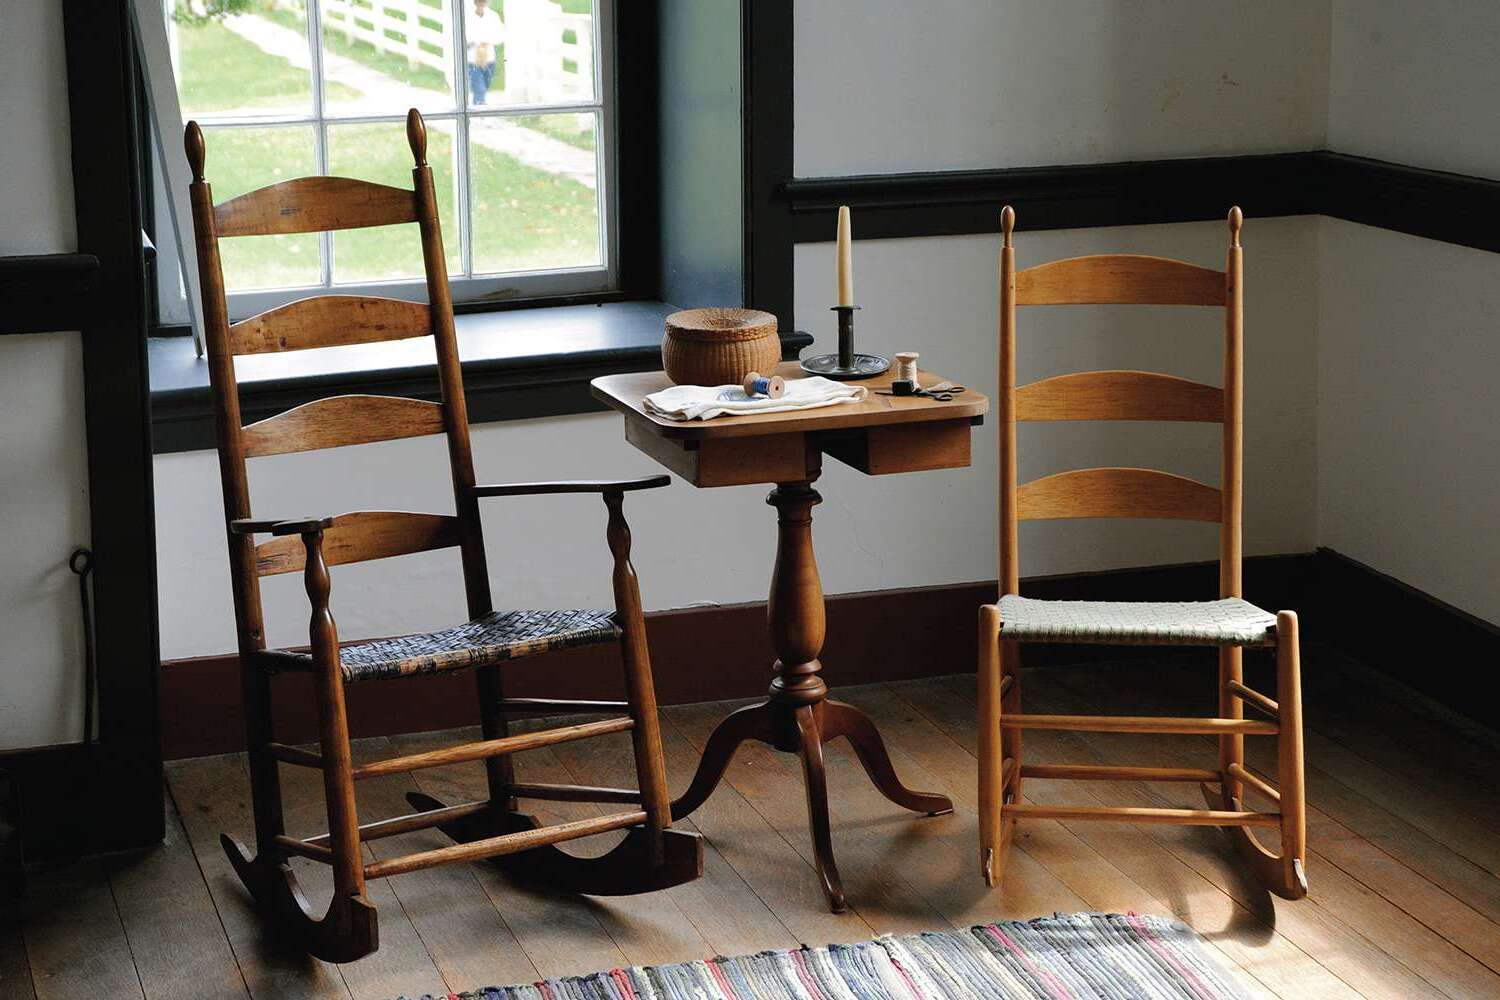
DIY Rocking Chair Plans: Create Your Own Comfortable And Stylish Rocking Chair
Published: June 19, 2024

Senior Editor in Create & Decorate, Kathryn combines traditional craftsmanship with contemporary trends. Her background in textile design and commitment to sustainable crafts inspire both content and community.
Discover easy-to-follow DIY rocking chair plans to craft your own stylish and comfortable rocking chair. Perfect for DIY & Crafts enthusiasts.
(Many of the links in this article redirect to a specific reviewed product. Your purchase of these products through affiliate links helps to generate commission for Twigandthistle.com, at no extra cost. Learn more)
Introduction
Are you looking to add a touch of comfort and style to your home with a DIY rocking chair? Building your own rocking chair can be a rewarding and enjoyable project that not only allows you to customize the design to your preferences but also provides you with a comfortable and stylish piece of furniture to relax in. In this article, we will guide you through the process of creating your very own rocking chair, from choosing the right materials to adding the finishing touches. Whether you're a seasoned DIY enthusiast or a beginner looking for a new project, these DIY rocking chair plans will help you bring a timeless and classic piece of furniture to life.
Choosing the Right Materials
When embarking on the journey of building your own rocking chair, selecting the right materials is crucial for ensuring the durability, comfort, and aesthetic appeal of the final product. Here are the key materials you will need:
1. Wood
- Hardwood: Opt for sturdy and durable hardwood such as oak, maple, or cherry for the main frame and rockers. These woods are known for their strength and ability to withstand the rocking motion over time.
- Plywood: Use high-quality plywood for the seat and backrest to provide stability and support.
2. Fasteners
- Screws and Nails: Choose corrosion-resistant screws and nails to ensure the longevity of your rocking chair.
3. Glue
- Wood Glue: Select a high-strength wood glue to reinforce the joints and ensure the stability of the chair.
4. Finish
- Stain or Paint: Decide whether you want to stain the wood to enhance its natural beauty or paint it to match your home's decor.
By carefully selecting the right materials, you can lay a solid foundation for a durable and visually appealing DIY rocking chair that will bring comfort and style to your home for years to come.
Tools Needed for the Project
When it comes to building your own rocking chair, having the right tools at your disposal is essential for a smooth and efficient construction process. Here's a comprehensive list of the tools you'll need to bring your DIY rocking chair to life:
-
Measuring Tape: Accurate measurements are crucial for ensuring the precise assembly of the chair components.
-
Saw: A quality handsaw or a power saw will be necessary for cutting the wood to the required dimensions.
-
Drill and Bits: A power drill with a set of drill bits will be indispensable for creating holes and driving screws.
-
Screwdriver: Both flathead and Phillips head screwdrivers will be needed for assembling the various parts of the rocking chair.
-
Clamps: Clamps are essential for holding the wood pieces together securely during the assembly process.
-
Wood Chisel: A chisel will come in handy for fine-tuning and shaping certain joints and edges.
-
Sandpaper and Sanding Block: Smooth out rough edges and surfaces with sandpaper and a sanding block for a polished finish.
-
Woodworking Rasp: This tool will aid in shaping and smoothing curved or irregular surfaces.
-
Wood Glue Applicator: A brush or applicator specifically designed for applying wood glue will ensure even distribution and strong adhesion.
-
Safety Gear: Don't forget to prioritize safety with protective eyewear, gloves, and a dust mask to safeguard yourself during the woodworking process.
Having these essential tools at your disposal will not only streamline the construction of your rocking chair but also contribute to the precision and quality of the final product.
Step-by-Step Instructions for Building the Rocking Chair
-
Prepare the Wood: Begin by cutting the hardwood into the required pieces for the chair's frame, rockers, seat, and backrest. Use the measuring tape and saw to ensure accurate dimensions.
-
Assemble the Frame: Construct the main frame of the rocking chair by joining the individual pieces using wood glue and screws. Use clamps to hold the pieces together securely as the glue sets.
-
Attach the Rockers: Once the frame is assembled, attach the rockers to the bottom of the chair's legs. Ensure that the rockers are evenly aligned and securely fastened to provide a smooth rocking motion.
-
Build the Seat and Backrest: Cut the plywood to the appropriate dimensions for the seat and backrest. Attach these components to the frame using screws, ensuring a comfortable and supportive fit.
-
Smooth the Edges: Use sandpaper and a sanding block to smooth out any rough edges and surfaces, providing a polished and splinter-free finish.
-
Apply Finish: Decide whether to stain or paint the rocking chair to achieve the desired aesthetic. Apply the chosen finish evenly and allow it to dry thoroughly.
-
Add Cushions and Upholstery: If desired, enhance the comfort and style of the rocking chair by adding cushions and upholstery to the seat and backrest.
-
Inspect and Test: Once the construction is complete, carefully inspect the rocking chair for any loose joints or rough spots. Test the rocking motion to ensure smooth and stable movement.
By following these step-by-step instructions, you can create a beautiful and functional rocking chair that will be a cherished addition to your home.
Sanding and Finishing Techniques
Sanding and finishing are crucial steps in the construction of a DIY rocking chair, as they not only contribute to the overall aesthetics but also ensure a smooth and comfortable sitting experience. Here's a detailed guide to the sanding and finishing techniques for your rocking chair:
-
Smooth Out Rough Surfaces: Begin by using coarse-grit sandpaper to smooth out any rough surfaces and edges on the wooden components of the rocking chair. This initial sanding will prepare the wood for a finer finish.
-
Progress to Finer Grits: Gradually transition to finer-grit sandpaper to achieve a polished and splinter-free surface. This step is essential for creating a comfortable and safe seating area on the chair.
-
Use a Sanding Block: When sanding flat surfaces such as the seat and backrest, a sanding block can help maintain a consistent and even finish. This tool ensures that the surfaces are level and free from imperfections.
-
Round Edges and Corners: Pay special attention to rounding off sharp edges and corners using sandpaper. This not only enhances the visual appeal of the rocking chair but also prevents accidental bumps and scrapes.
-
Apply Wood Finish: Once the sanding process is complete, it's time to apply the chosen wood finish. Whether you opt for a natural wood stain to showcase the grain or a vibrant paint to complement your decor, ensure that the finish is applied evenly and thoroughly.
-
Protective Coating: Consider applying a protective coating such as polyurethane to safeguard the wood and enhance its durability. This final layer will shield the rocking chair from wear and tear, making it suitable for long-term use.
-
Allow for Drying Time: After applying the finish and protective coating, allow the rocking chair to dry completely before use. This ensures that the wood finish sets properly and provides a lasting and lustrous appearance.
By following these sanding and finishing techniques, you can elevate the visual appeal and comfort of your DIY rocking chair, creating a stunning piece of furniture that will be a standout feature in your home.
Adding Cushions and Upholstery
Adding cushions and upholstery to your DIY rocking chair not only enhances its comfort but also provides an opportunity to infuse your personal style into the design. Here's a comprehensive guide to adding cushions and upholstery to your rocking chair:
-
Selecting the Right Cushions: Choose cushions that are specifically designed for rocking chairs, ensuring that they provide adequate support and fit the dimensions of your chair. Opt for high-quality foam or padding that offers both comfort and durability.
-
Measuring and Cutting: Measure the seat and backrest of your rocking chair to determine the dimensions for the cushions. Use these measurements to cut the foam or padding to the appropriate size, ensuring a snug and tailored fit.
-
Choosing Upholstery Fabric: Select upholstery fabric that complements the overall aesthetic of your rocking chair and aligns with your home decor. Consider factors such as color, pattern, and texture to achieve a cohesive and stylish look.
-
Cutting and Sewing: Use the measurements of the cushions as a guide to cut the upholstery fabric, leaving ample allowance for sewing. Sew the fabric together, leaving one side open for inserting the foam or padding.
-
Inserting the Foam: Carefully insert the cut foam or padding into the sewn upholstery fabric, ensuring a smooth and even fit. Secure the open side of the fabric with stitches or a zipper for easy removal and cleaning.
-
Attaching the Cushions: Use upholstery tacks or adhesive strips to secure the cushions to the seat and backrest of the rocking chair. Ensure that the cushions are firmly attached while allowing for easy removal when necessary.
-
Adding Decorative Details: Consider adding decorative elements such as piping, buttons, or tufting to enhance the visual appeal of the cushions and upholstery. These details can elevate the overall look of the rocking chair and add a touch of sophistication.
By following these steps, you can customize your DIY rocking chair with comfortable and stylish cushions, creating a cozy and inviting seating experience that reflects your personal taste and enhances the charm of your home.
Tips for Maintaining Your DIY Rocking Chair
-
Regular Inspection: Periodically inspect your rocking chair for any signs of wear, loose joints, or damage. Addressing minor issues early can prevent them from escalating into larger problems.
-
Cleaning Routine: Establish a cleaning routine to keep your rocking chair free from dust, dirt, and spills. Use a soft brush or cloth to gently remove debris, and consider using a wood-friendly cleaner for occasional deep cleaning.
-
Avoid Direct Sunlight: Position your rocking chair away from direct sunlight to prevent the wood from fading or drying out. Sun exposure can cause discoloration and weaken the structural integrity of the chair.
-
Lubricate Moving Parts: If your rocking chair features any moving parts or hinges, apply a suitable lubricant to ensure smooth and quiet operation. This simple maintenance task can prolong the life of your chair.
-
Protective Covering: Consider using a protective covering or placing your rocking chair indoors during inclement weather to shield it from moisture and extreme temperature fluctuations.
-
Tighten Loose Fasteners: Regularly check and tighten any loose screws or fasteners to maintain the stability and safety of your rocking chair. Loose components can compromise the structural integrity of the chair.
-
Reapply Finish as Needed: Over time, the finish on your rocking chair may wear off. Consider reapplying a fresh coat of wood finish or protective coating to maintain its luster and protect the wood from damage.
-
Rotate Cushions: If your rocking chair has cushions, periodically rotate them to ensure even wear and maintain their shape. This simple practice can extend the lifespan of the cushions.
-
Avoid Overloading: Be mindful of the weight capacity of your rocking chair and avoid overloading it. Excessive weight can strain the chair's structure and lead to premature wear and tear.
-
Seek Professional Repairs: If you notice significant damage or structural issues with your rocking chair, seek professional repairs to address the issues promptly and prevent further deterioration.
By implementing these maintenance tips, you can preserve the beauty, functionality, and longevity of your DIY rocking chair, ensuring that it remains a cherished piece of furniture in your home for years to come.
Conclusion
Embarking on the journey of building your own DIY rocking chair is a fulfilling and rewarding endeavor that allows you to create a timeless piece of furniture tailored to your preferences. By carefully selecting the right materials, utilizing essential tools, and following step-by-step instructions, you can bring your vision of a comfortable and stylish rocking chair to life. From sanding and finishing techniques to adding cushions and upholstery, every aspect of the construction process contributes to the overall appeal and functionality of the chair. Moreover, by implementing maintenance tips, you can ensure that your DIY rocking chair remains a beloved and enduring addition to your home. Whether you're an experienced DIY enthusiast or a novice looking for a new project, these DIY rocking chair plans provide a pathway to crafting a cherished piece of furniture that offers both comfort and style.