
Home>Create & Decorate>DIY & Crafts>DIY Outdoor Storage Box: How To Build A Functional And Stylish Solution
DIY & Crafts
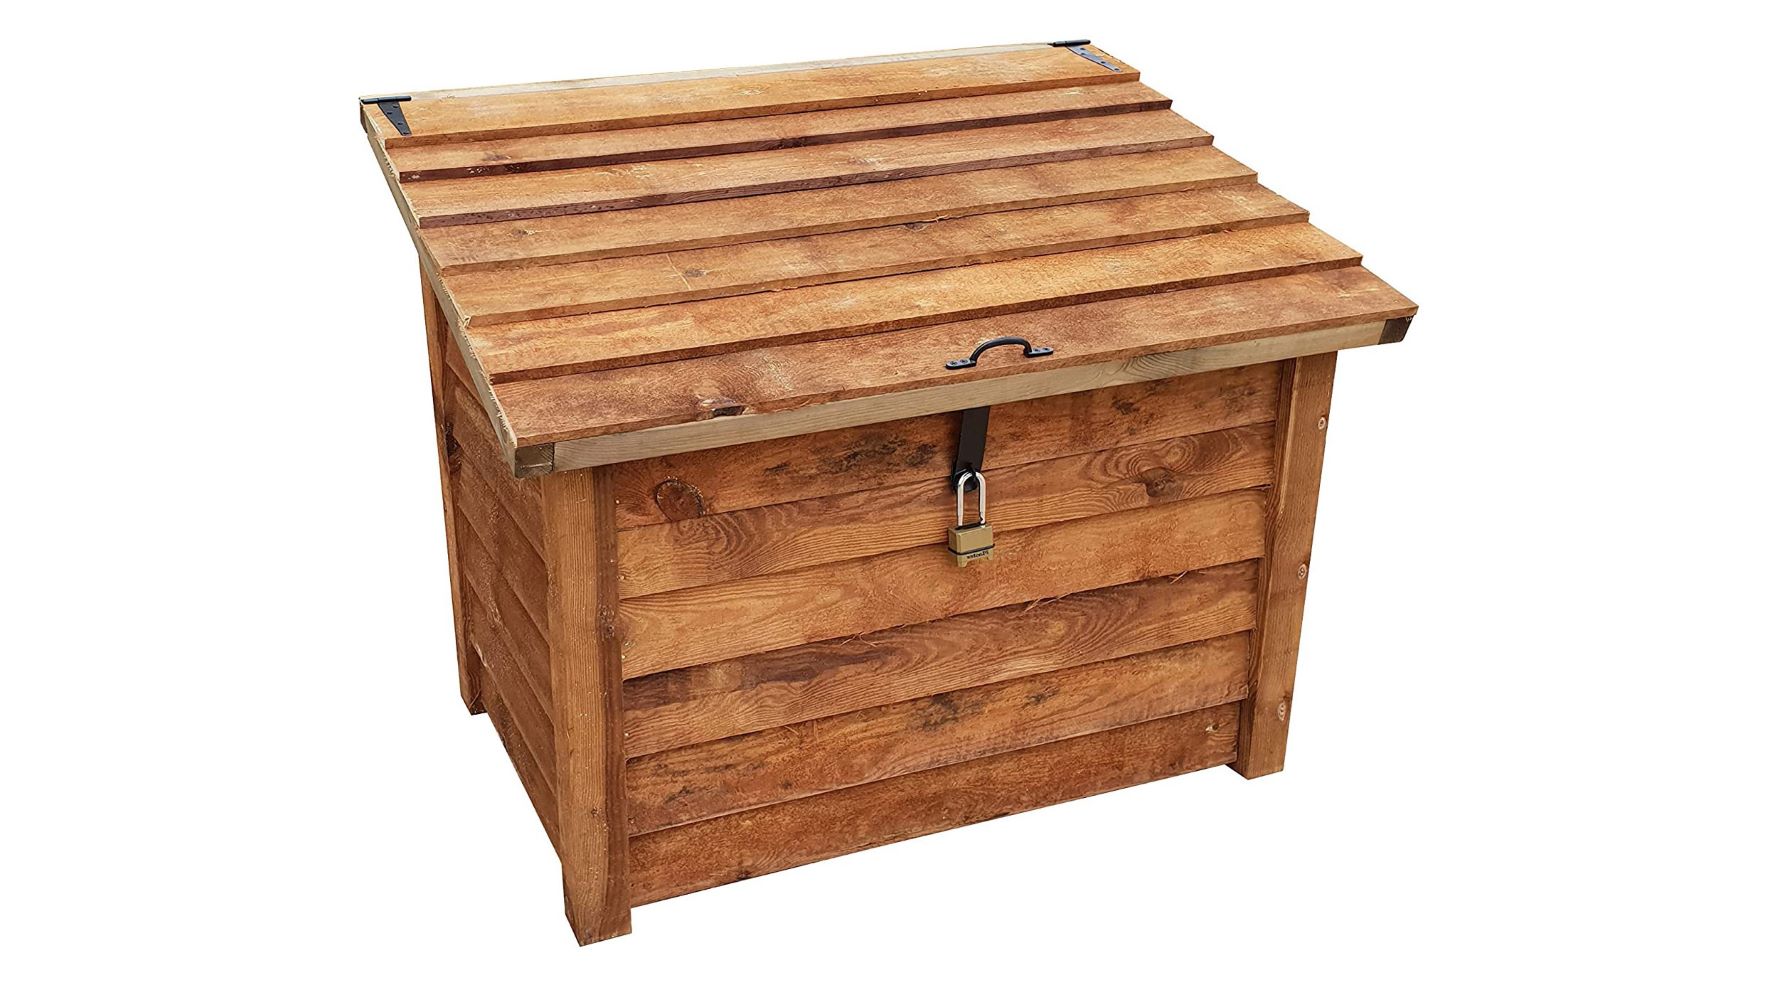
DIY Outdoor Storage Box: How To Build A Functional And Stylish Solution
Published: June 4, 2024

Content Creator specializing in woodworking and interior transformations. Caegan's guides motivate readers to undertake their own projects, while his custom furniture adds a personal touch.
Learn how to create a stylish and practical outdoor storage box with our DIY & Crafts guide. Build your own functional solution today!
(Many of the links in this article redirect to a specific reviewed product. Your purchase of these products through affiliate links helps to generate commission for Twigandthistle.com, at no extra cost. Learn more)
Introduction
Are you tired of clutter in your outdoor space? Do you need a stylish and functional solution to store your gardening tools, cushions, or pool supplies? Building your DIY outdoor storage box could be the perfect project for you. Not only will it provide you with the storage space you need, but it can also add a touch of personality to your outdoor area. In this article, we will guide you through the process of building a practical and stylish outdoor storage box that will meet your storage needs while enhancing the aesthetic appeal of your outdoor space. Let's dive in and get started on this exciting DIY project!
Choosing the Right Materials
When it comes to building a durable and weather-resistant outdoor storage box, selecting the right materials is crucial. Here are the materials you will need for this project:
Pressure-Treated Lumber
- Pressure-treated lumber is an excellent choice for outdoor projects as it is resistant to rot and insect damage. Look for high-quality, treated lumber that will withstand the elements and provide long-lasting durability for your storage box.
Exterior-Grade Plywood
- For the panels of the storage box, opt for exterior-grade plywood. This type of plywood is designed to withstand moisture and humidity, making it ideal for outdoor use.
Stainless Steel or Galvanized Screws
- Using stainless steel or galvanized screws is essential to prevent rust and corrosion, ensuring the structural integrity of your outdoor storage box over time.
Waterproof Wood Glue
- Waterproof wood glue will help reinforce the joints and seams of the storage box, adding strength and stability to the overall structure.
Hinges and Latch
- Choose durable hinges and a secure latch to ensure that the lid of your storage box functions smoothly and stays closed when not in use.
By selecting high-quality, weather-resistant materials, you can ensure that your DIY outdoor storage box will withstand the elements and provide reliable storage for years to come.
Designing Your Outdoor Storage Box
Designing your outdoor storage box involves considering both functionality and aesthetics. Here are some key design aspects to keep in mind:
Size and Dimensions
Before diving into the construction phase, determine the size and dimensions of your outdoor storage box. Consider the items you plan to store inside and ensure that the box will accommodate them comfortably. Additionally, take into account the available space in your outdoor area to ensure that the storage box fits seamlessly into the environment without overwhelming the space.
Ventilation and Drainage
Proper ventilation and drainage are essential to prevent moisture buildup inside the storage box. Incorporate small gaps or vents in the design to allow air circulation, reducing the risk of mold or mildew. Additionally, consider adding a slight slope to the lid or including drainage holes in the bottom to prevent water from pooling inside the box.
Aesthetic Details
While functionality is paramount, adding aesthetic details can elevate the visual appeal of your outdoor storage box. Consider incorporating decorative elements such as trim, molding, or a stylish finish to complement the design of your outdoor space. Whether you prefer a sleek modern look or a rustic charm, the design details can reflect your personal style and enhance the overall ambiance of your outdoor area.
Accessibility
Ensure that the design allows for easy access to the contents of the storage box. Whether you opt for a hinged lid, a lift-up top, or sliding doors, prioritize convenience and practicality. The accessibility of the storage box will impact its usability, so consider how you will interact with the box on a day-to-day basis when finalizing the design.
By carefully considering these design elements, you can create an outdoor storage box that not only meets your practical storage needs but also adds a stylish and visually appealing touch to your outdoor space.
Step-by-Step Construction Guide
Now that you have chosen the materials and designed your outdoor storage box, it's time to roll up your sleeves and start the construction process. Follow these step-by-step instructions to bring your DIY outdoor storage box to life:
1. Cutting the Lumber and Plywood
Begin by measuring and cutting the pressure-treated lumber and exterior-grade plywood to the desired dimensions using a saw. Ensure that the pieces are cut accurately to achieve precise fits during assembly.
2. Assembling the Frame
Construct the frame of the storage box using the cut lumber. Use waterproof wood glue to reinforce the joints and secure the pieces together with stainless steel or galvanized screws. Pay attention to the squareness of the frame to ensure a sturdy and even structure.
3. Adding the Panels
Attach the cut plywood panels to the frame, securing them in place with screws. Ensure that the panels fit snugly and align properly with the frame to create a seamless exterior for the storage box.
4. Installing the Lid
If your design includes a hinged lid, attach the hinges to the back of the storage box and the lid, allowing for smooth opening and closing. For added convenience, consider adding a support mechanism to hold the lid open when accessing the contents of the box.
5. Applying a Finish
Once the construction is complete, consider applying a weather-resistant finish to the exterior of the storage box. Whether you choose to paint, stain, or seal the wood, a protective finish will enhance the durability of the box and contribute to its visual appeal.
6. Adding Handles and Latch
Install handles on the sides of the storage box to facilitate easy transportation and movement. Additionally, attach a secure latch to the front to keep the lid closed and the contents protected from the elements.
By following these step-by-step instructions, you can construct a functional and stylish outdoor storage box that meets your storage needs and enhances the aesthetic appeal of your outdoor space. Enjoy the satisfaction of completing a practical DIY project that adds both utility and charm to your home.
Adding Finishing Touches
After completing the construction of your DIY outdoor storage box, adding the finishing touches will not only enhance its visual appeal but also contribute to its long-term durability. Here are the essential finishing touches to consider:
Weather-Resistant Sealant or Paint
Applying a weather-resistant sealant or paint to the exterior of the storage box is crucial for protecting the wood from the elements. Choose a high-quality sealant or outdoor paint designed to withstand UV exposure, moisture, and temperature fluctuations. This protective layer will help prevent warping, rot, and fading, ensuring that your storage box remains in top condition for years to come.
Decorative Trim and Molding
To add a touch of elegance and style to your outdoor storage box, consider incorporating decorative trim and molding. Whether you opt for a classic, streamlined look or a more intricate design, carefully selected trim can elevate the aesthetic appeal of the box and complement the overall design of your outdoor space.
Personalized Details
Adding personalized details, such as engraved initials, a custom stencil design, or decorative hardware, can infuse your outdoor storage box with a unique and personalized touch. These small details can make the storage box feel like a custom-crafted addition to your outdoor area, reflecting your individual style and creativity.
Waterproofing the Interior
While the exterior protection is essential, don't overlook the interior of the storage box. Consider applying a waterproof sealant or lining the interior with a moisture-resistant material to safeguard the contents from any potential moisture or humidity. This extra layer of protection will help preserve the items stored inside the box, especially during periods of inclement weather.
Maintenance and Care Instructions
Once the finishing touches are in place, consider including maintenance and care instructions for the storage box. Provide guidance on how to clean, maintain, and protect the box to ensure its longevity. This information will be valuable for preserving the beauty and functionality of the storage box over time.
By adding these finishing touches, you can elevate the appearance and performance of your DIY outdoor storage box, creating a practical and visually appealing addition to your outdoor living space. Enjoy the satisfaction of a well-crafted and personalized storage solution that meets your needs and enhances the overall ambiance of your outdoor area.
Conclusion
In conclusion, building a DIY outdoor storage box offers a rewarding opportunity to combine practical storage solutions with creative design elements. By carefully selecting the right materials, thoughtful design, meticulous construction, and thoughtful finishing touches, you can create a functional and stylish storage solution that complements your outdoor space. Whether you are storing gardening tools, outdoor cushions, or pool supplies, your custom-built storage box can provide a durable and visually appealing home for your outdoor essentials. Embrace the satisfaction of completing a hands-on project that not only enhances the organization of your outdoor area but also adds a personal touch to your home. With the right approach and attention to detail, your DIY outdoor storage box can become a standout feature that elevates the functionality and aesthetics of your outdoor living space.