
Home>Create & Decorate>DIY & Crafts>DIY Lean To Shelter: A Step-by-Step Guide To Building Your Own Outdoor Retreat
DIY & Crafts
DIY Lean To Shelter: A Step-by-Step Guide To Building Your Own Outdoor Retreat
Published: June 10, 2024

Senior Editor in Create & Decorate, Kathryn combines traditional craftsmanship with contemporary trends. Her background in textile design and commitment to sustainable crafts inspire both content and community.
Discover how to create your own DIY lean-to shelter with our step-by-step guide. Perfect for outdoor enthusiasts and crafty individuals. Start building your outdoor retreat today!
(Many of the links in this article redirect to a specific reviewed product. Your purchase of these products through affiliate links helps to generate commission for Twigandthistle.com, at no extra cost. Learn more)
Introduction
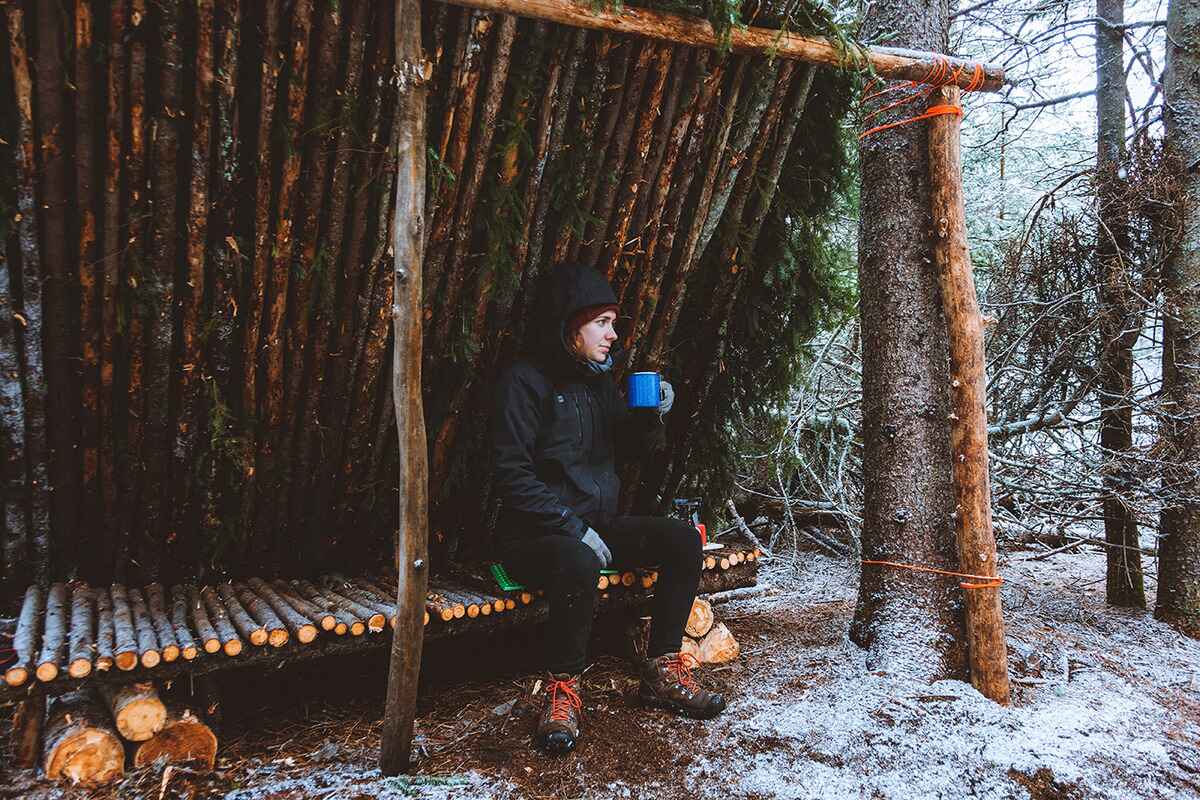
Are you looking to create a cozy outdoor space where you can relax and unwind? Building a DIY lean-to shelter might just be the perfect project for you. Whether you want a shaded area for reading, a spot to enjoy your morning coffee, or a place to entertain guests, a lean-to shelter can provide the ideal outdoor retreat. In this guide, we'll take you through the step-by-step process of building your own lean-to shelter, allowing you to customize it to suit your specific needs and style. So, roll up your sleeves and get ready to embark on a rewarding DIY adventure!
Choosing the Right Location for Your Lean To Shelter
When selecting the perfect location for your DIY lean-to shelter, it's essential to consider a few key factors.
-
Sunlight Exposure: Choose an area that receives the right amount of sunlight based on your preferences. If you want a spot to bask in the sun, select a location with ample sunlight. Conversely, if you prefer a shaded retreat, opt for a spot that offers natural shade for most of the day.
-
Proximity to the House: Consider the proximity of your lean-to shelter to your house. You may want it close enough for convenience, but not so close that it obstructs any views or pathways.
-
Wind Direction: Take note of the prevailing wind direction in your area. Position the shelter so that it provides protection from strong winds, ensuring a more comfortable and enjoyable outdoor experience.
-
Views and Privacy: Think about the views from the shelter and the level of privacy it offers. Whether you want to gaze out at your garden or create a secluded oasis, the location should align with your vision.
-
Ground Stability: Ensure the ground where you plan to build the shelter is stable and suitable for construction. Avoid areas prone to flooding or with poor drainage.
By carefully considering these factors, you can select a location that maximizes the enjoyment and functionality of your DIY lean-to shelter.
Gathering Materials and Tools
Before diving into the construction of your DIY lean-to shelter, it's crucial to gather all the necessary materials and tools. Here's a comprehensive list to ensure you have everything you need to complete the project successfully:
Materials
- Lumber: Purchase pressure-treated lumber for the frame and roof structure. Ensure you have the appropriate dimensions and lengths based on your shelter's design.
- Roofing Materials: Depending on your preference and climate, choose between metal roofing, shingles, or polycarbonate panels. Don't forget to include the necessary fasteners and sealants.
- Siding: Opt for weather-resistant siding such as plywood, T1-11, or metal panels to enclose the sides of your shelter.
- Concrete: If your shelter will have posts, you'll need concrete for setting them securely in the ground.
- Fasteners: Stock up on screws, nails, and bolts of various sizes to assemble the frame and attach the roofing and siding materials.
- Paint/Stain: If you plan to paint or stain the wood for a finished look, make sure to have the appropriate products on hand.
Tools
- Circular Saw: A versatile tool for cutting lumber to the required dimensions.
- Drill/Driver: Essential for driving screws and drilling pilot holes.
- Level: To ensure the structure is plumb and level during assembly.
- Tape Measure: For accurate measurements and layout.
- Post Hole Digger: If you're installing posts for the shelter, a post hole digger will be necessary for digging the holes.
- Ladder: Depending on the height of your shelter, a ladder will be needed for working at elevated positions.
- Safety Gear: Don't forget safety glasses, work gloves, and hearing protection for a safe working environment.
By gathering these materials and tools in advance, you'll be well-prepared to tackle the construction of your lean-to shelter without unnecessary interruptions or delays.
Building the Frame of the Shelter
With the materials and tools at the ready, it's time to embark on the exciting phase of constructing the frame for your lean-to shelter. Follow these steps to build a sturdy and reliable frame that forms the foundation of your outdoor retreat:
-
Prepare the Site: Begin by marking the locations for the support posts. Use a tape measure and stakes to outline the perimeter of the shelter, ensuring the dimensions align with your design plans.
-
Digging and Setting Posts: If your design includes support posts, use a post hole digger to excavate holes at the marked locations. The depth of the holes should correspond to the frost line in your region for stability. Place the posts in the holes and fill them with concrete to secure the posts in position. Use a level to ensure the posts are perfectly vertical.
-
Assembling the Frame: Cut the lumber to the required lengths using a circular saw, following the measurements from your design plans. Assemble the frame by attaching the horizontal beams to the support posts using appropriate fasteners. Ensure the frame is square and level by checking the diagonals and using a level throughout the process.
-
Adding Cross Braces: To enhance the stability of the frame, add diagonal cross braces between the support posts and the horizontal beams. Secure these braces with screws or bolts to prevent any lateral movement of the structure.
-
Installing Rafters: If your shelter design includes a sloped roof, install the rafters at the predetermined intervals across the horizontal beams. Ensure the rafters are evenly spaced and securely attached to the frame, providing the necessary support for the roofing material.
-
Checking for Stability: Once the frame is fully assembled, carefully inspect the structure for stability and structural integrity. Shake the frame lightly to identify any potential weak points and reinforce as needed.
By following these steps, you can construct a robust frame for your lean-to shelter, setting the stage for the next phases of the project with confidence and precision.
Adding the Roof and Siding
Once the frame of your lean-to shelter is securely in place, the next crucial step is to add the roof and siding to provide protection from the elements and create a comfortable outdoor space. Follow these steps to complete this phase of the construction process:
-
Selecting the Roofing Material: Choose the roofing material that best suits your climate and aesthetic preferences. Options include metal roofing, asphalt shingles, or polycarbonate panels. Ensure that the chosen material is compatible with the slope of your shelter's roof and provides adequate weather resistance.
-
Installing the Roofing: Begin by installing the roofing material according to the manufacturer's guidelines. If using metal roofing or shingles, start from the bottom edge of the roof, overlapping each subsequent row to prevent water infiltration. Secure the roofing material with appropriate fasteners, ensuring a tight and secure fit. If using polycarbonate panels, follow the specific installation instructions to achieve proper sealing and support.
-
Adding Siding: Choose the type of siding that complements the overall design of your lean-to shelter. Options include plywood, T1-11, or metal panels. Install the siding vertically or horizontally, depending on your preference. Ensure that the siding is securely attached to the frame, providing both structural support and weather protection.
-
Sealing Joints and Edges: To prevent water penetration and enhance the durability of your shelter, seal the joints and edges of the roofing and siding materials with appropriate sealants. Pay special attention to areas where different materials meet and where the roof and siding interface with the frame.
-
Trim and Finishing Touches: Add trim pieces to the edges of the roof and siding to create a polished and professional appearance. Consider painting or staining the siding and trim to enhance the visual appeal of your lean-to shelter.
-
Ensuring Proper Drainage: Verify that the roof and siding are installed to promote proper drainage of rainwater and prevent pooling or water damage. Adequate drainage is essential for the longevity of your shelter and the protection of its occupants.
By carefully following these steps, you can effectively add the roof and siding to your lean-to shelter, bringing it one step closer to becoming a functional and inviting outdoor retreat.
Finishing Touches and Personalization
After completing the structural elements of your DIY lean-to shelter, it's time to add the finishing touches and infuse it with personalization to create a truly unique outdoor retreat. Here's how you can elevate the appeal and functionality of your shelter through thoughtful details and customization:
-
Furnishing the Space: Consider adding outdoor furniture such as a cozy seating area, a small table, or even a hammock to make the shelter a comfortable and inviting space for relaxation and socializing.
-
Lighting: Incorporate lighting elements to extend the usability of the shelter into the evening hours. Solar-powered string lights, lanterns, or even a simple outdoor lamp can create a warm and welcoming ambiance.
-
Decorative Accents: Infuse your personal style into the shelter by adding decorative accents such as potted plants, hanging baskets, or outdoor artwork. These elements can add character and charm to the space.
-
Functional Additions: Depending on your intended use, consider adding functional elements such as a small outdoor grill, a fire pit, or a storage bench to enhance the versatility of the shelter.
-
Privacy and Shade Solutions: If desired, incorporate privacy screens, curtains, or retractable shades to tailor the level of privacy and shade to your preferences.
-
Customization: Consider painting or staining the wood elements of the shelter in colors that complement your outdoor space or match your home's exterior. This customization can tie the shelter seamlessly into your overall outdoor environment.
-
Personal Touches: Add personal touches such as outdoor cushions, throw pillows, and outdoor rugs to make the space feel cozy and reflective of your individual style.
By focusing on these finishing touches and personalization, you can transform your DIY lean-to shelter into a captivating and functional outdoor retreat that perfectly aligns with your lifestyle and preferences.
Enjoying Your DIY Lean To Shelter
With your DIY lean-to shelter now complete and personalized to your liking, it's time to revel in the fruits of your labor and fully embrace the outdoor oasis you've created. Here are some delightful ways to make the most of your newly constructed shelter:
-
Relaxation and Unwinding: Set aside moments to unwind in your shelter, whether it's with a good book, a refreshing beverage, or simply basking in the tranquility of the outdoors. Let the shelter become your go-to spot for peaceful relaxation.
-
Al Fresco Dining: Take advantage of your shelter by enjoying meals in the open air. Whether it's a leisurely breakfast, a casual lunch, or a cozy dinner, dining in your shelter can elevate the experience with a touch of nature.
-
Entertaining Guests: Invite friends and family to share in the charm of your DIY shelter. It's the perfect setting for intimate gatherings, casual conversations, and creating cherished memories with loved ones.
-
Stargazing and Nature Watching: Embrace the natural beauty surrounding your shelter. Spend evenings stargazing, birdwatching, or simply observing the changing colors of the sky. Your shelter provides a front-row seat to the wonders of nature.
-
Outdoor Hobbies and Activities: Whether it's practicing yoga, engaging in art and crafts, or pursuing a favorite hobby, your shelter can serve as a dedicated space for pursuing outdoor activities that bring you joy.
-
Seasonal Enjoyment: Embrace the changing seasons from the comfort of your shelter. From enjoying the vibrant colors of fall to seeking refuge from the summer sun, your shelter can adapt to provide comfort and enjoyment year-round.
-
Wellness and Meditation: Use your shelter as a sanctuary for wellness activities. Whether it's meditation, mindfulness exercises, or yoga practice, the tranquil setting can enhance your well-being.
-
Quiet Contemplation: Find moments for quiet contemplation and reflection in your shelter. It can be a place for introspection, goal-setting, and finding clarity amidst the peaceful surroundings.
By savoring these experiences in your DIY lean-to shelter, you'll not only appreciate the craftsmanship and effort invested in its creation but also cultivate a deeper connection with your outdoor space, fostering a sense of contentment and joy in your everyday life.