
Home>Home & Furniture>Roof>How to Build Insulated Metal Roof Panels
Roof
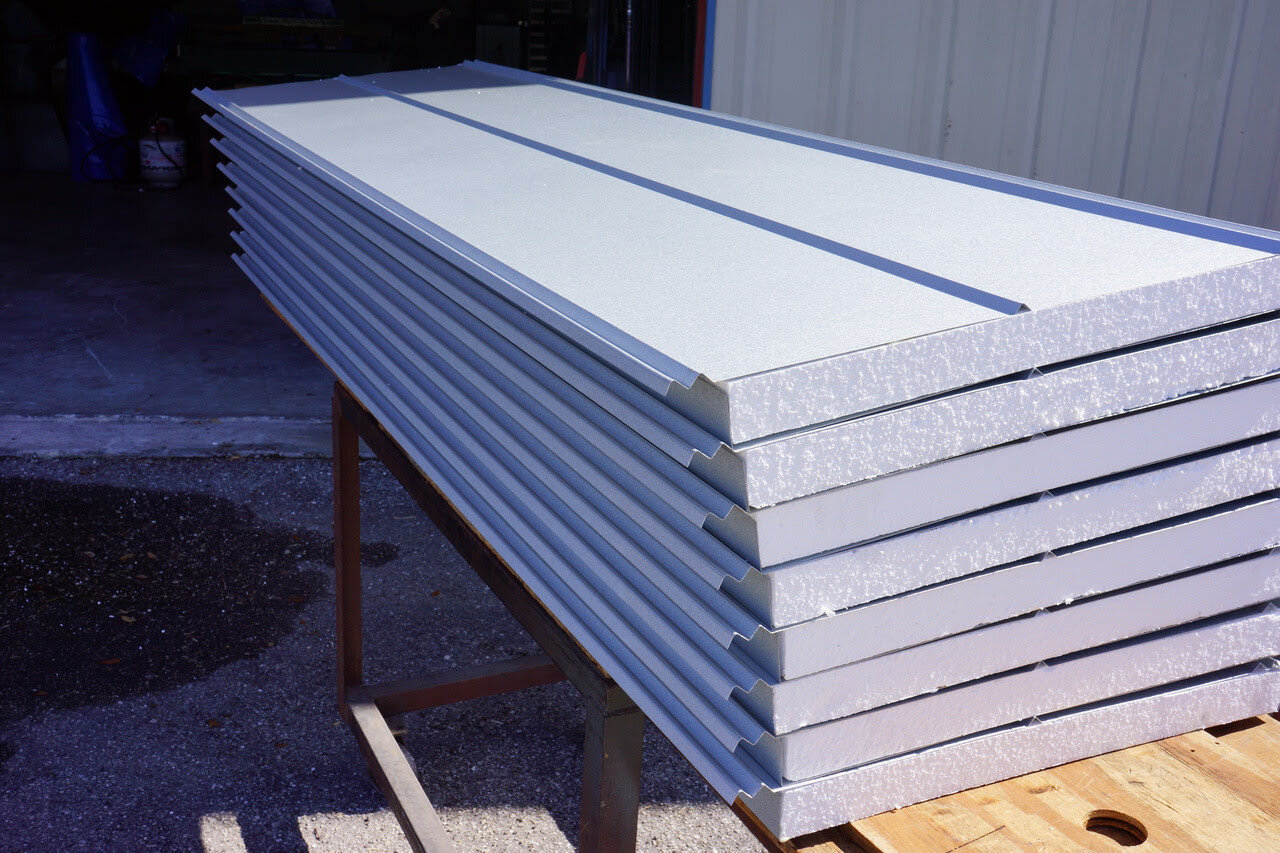
How to Build Insulated Metal Roof Panels
Published: August 22, 2024
Learn how to build insulated metal roof panels with our step-by-step guide. Enhance energy efficiency and durability for your roofing projects.
(Many of the links in this article redirect to a specific reviewed product. Your purchase of these products through affiliate links helps to generate commission for Twigandthistle.com, at no extra cost. Learn more)
If you want to improve your home's energy efficiency and durability, building insulated metal roof panels can be a great project. These panels are excellent for maintaining indoor temperatures, reducing noise, and adding strength to your roof. Despite sounding complicated, with some basic tools and materials, you can tackle this project on your own. In this guide, we’ll walk you through the steps to create insulated metal roof panels, ensuring your home stays cozy while standing up to the elements. Let’s get started and transform your roof into an efficient, sturdy structure.
Getting Ready for the Project
Safety Gear: Wear safety goggles, gloves, and a hard hat. Ensure you have non-slip shoes for working on the roof.
Workspace Setup: Clear the area around your workspace. Make sure there's enough room to move materials and tools safely.
Tools and Materials: Gather all necessary tools like a drill, screws, measuring tape, and insulated metal panels. Have everything within reach to avoid unnecessary trips.
Weather Check: Ensure the weather is clear. Avoid working in rain or strong winds to prevent accidents.
Ladder Safety: Use a sturdy ladder. Make sure it’s on a flat surface and secure it properly to avoid slips.
Measure and Mark: Measure the roof area accurately. Mark where each panel will go to ensure a precise fit.
Inspect Roof Structure: Check the roof structure for any damage. Repair any weak spots to ensure the roof can support the new panels.
Clean Surface: Clean the roof surface. Remove any debris, dirt, or old roofing material to ensure a smooth installation.
Plan Panel Layout: Lay out the panels on the ground in the order they will be installed. This helps visualize the process and ensures you have enough materials.
Check Insulation: Ensure the insulation is in good condition. Replace any damaged sections to maintain energy efficiency.
Secure Permits: Check local building codes. Obtain any necessary permits before starting the project.
Buddy System: Have a friend or family member assist you. It’s safer and makes the job easier.
Materials and Tools Checklist
Metal Roof Panels: These are the primary material for your roof. Choose panels with a protective coating to prevent rust.
Insulation Sheets: These keep your building warm in winter and cool in summer. Common types include foam board and fiberglass.
Roofing Screws: Special screws with rubber washers create a watertight seal. Ensure they are long enough to penetrate both the metal panel and the insulation.
Metal Trim: Used to cover edges and joints, giving the roof a finished look. It also helps prevent water from seeping in.
Sealant: A high-quality sealant ensures no water leaks through seams or joints. Look for one that is compatible with metal.
Measuring Tape: Essential for accurate measurements of panels and insulation. Ensures everything fits correctly.
Tin Snips: These heavy-duty scissors cut through metal panels. Make sure they are sharp and designed for metal.
Utility Knife: Useful for cutting insulation sheets to the right size. A sharp blade makes the job easier.
Drill: Needed for driving screws into the metal panels and insulation. A cordless drill with a fully charged battery is ideal.
Ladder: A sturdy ladder helps you reach the roof safely. Make sure it is tall enough and stable.
Safety Gear: Includes gloves, safety glasses, and a hard hat. Protects you from sharp edges and falling debris.
Chalk Line: Helps mark straight lines on the roof for accurate panel placement. Ensures a neat and professional look.
Caulking Gun: Used to apply sealant smoothly and evenly. Makes sealing joints and seams easier.
Level: Ensures your panels are installed straight and even. A small bubble level works well for this task.
Pry Bar: Useful for removing old roofing materials. Helps you start with a clean surface.
Hammer: Sometimes needed for small adjustments or removing nails from old roofing. A claw hammer is versatile and effective.
Required Skills and Time Commitment
Skill Level: Advanced
Estimated Time Required: 2-3 days
- Planning and Measuring: 4-6 hours
- Gathering Materials and Tools: 2-3 hours
- Cutting and Preparing Panels: 6-8 hours
- Installing Insulation: 4-6 hours
- Attaching Metal Panels: 8-10 hours
- Sealing and Finishing: 4-5 hours
Detailed Building Instructions
Gather Materials and Tools
- Insulated metal panels
- Measuring tape
- Metal cutting saw
- Drill with metal bits
- Screws and washers
- Safety gear (gloves, goggles)
Measure the Roof Area
- Use measuring tape to determine the length and width of the roof.
- Calculate the number of panels needed based on measurements.
Cut Panels to Size
- Mark panels with measurements.
- Use metal cutting saw to cut panels to the correct size.
Prepare the Roof Frame
- Ensure the roof frame is clean and free of debris.
- Check for any repairs needed before installing panels.
Install the First Panel
- Place the first panel at one corner of the roof.
- Align it properly with the edges of the roof frame.
- Drill holes through the panel into the frame.
Secure the Panel
- Insert screws with washers into the drilled holes.
- Tighten screws to secure the panel in place.
Install Additional Panels
- Overlap the edge of the next panel with the previous one.
- Align and secure each panel using the same method.
- Continue until the entire roof is covered.
Seal the Seams
- Apply sealant along the seams between panels.
- Ensure a watertight seal to prevent leaks.
Inspect the Roof
- Check all panels for secure attachment.
- Verify that all seams are properly sealed.
Clean Up
- Remove any debris or leftover materials.
- Store tools and unused materials safely.
Helpful Tips and Tricks
Measure twice, cut once. Always double-check measurements before cutting panels. This saves time and materials.
Use proper insulation. Choose high-quality insulation like foam board or spray foam. This ensures better energy efficiency.
Seal all gaps. Use caulk or foam sealant to close any gaps. This prevents leaks and improves insulation.
Pre-drill holes. Pre-drilling makes it easier to screw panels together. It also reduces the risk of damaging the metal.
Wear safety gear. Gloves, goggles, and long sleeves protect against sharp edges and metal shavings.
Work with a partner. Handling large panels alone can be difficult. A partner helps with alignment and safety.
Check local codes. Ensure your project meets local building codes. This avoids fines and ensures safety.
Common mistakes to avoid:
Skipping the underlayment. Underlayment provides an extra layer of protection against moisture. Never skip this step.
Using the wrong screws. Use screws designed for metal roofing. Incorrect screws can cause leaks and structural issues.
Ignoring ventilation. Proper ventilation prevents moisture buildup and extends roof life. Always include vents.
Alternatives for materials or methods:
Use recycled metal panels. Recycled panels are eco-friendly and often cheaper.
Consider insulated roof panels. These come pre-insulated, saving time and effort.
Opt for rubber roofing. Rubber roofing is durable and easier to install, though less traditional.
Budgeting for Your Project
Metal Sheets: $2 to $4 per square foot. For a 200-square-foot roof, expect $400 to $800.
Insulation Panels: $1 to $3 per square foot. For 200 square feet, budget $200 to $600.
Fasteners: Screws and washers cost around $50 to $100.
Sealant: $10 to $20 per tube. You might need 5 tubes, so $50 to $100.
Tools:
- Drill: $50 to $100.
- Metal Shears: $20 to $50.
- Measuring Tape: $10 to $20.
- Safety Gear: Gloves, goggles, and ear protection total $30 to $50.
Total Cost: $810 to $1,820.
Budget-Friendly Alternatives:
- Recycled Metal Sheets: $1 to $2 per square foot. Saves $200 to $400.
- DIY Insulation: Use foam board insulation, costing $0.50 to $1 per square foot. Saves $100 to $400.
- Borrow Tools: Ask friends or rent from a local store. Saves $100 to $200.
Different Ways to Customize
Materials: Instead of standard metal sheets, consider using aluminum for a lightweight option or copper for a unique look. For insulation, try spray foam instead of traditional rigid foam boards.
Colors: Choose reflective white to keep your home cooler in summer, or go for earth tones like brown or green to blend with natural surroundings. Bold colors like red or blue can make a statement.
Styles: Use standing seam panels for a sleek, modern look, or opt for corrugated panels for a more rustic feel. Shingle-style metal panels can mimic the look of traditional roofing materials.
Finishes: Consider a matte finish for a contemporary appearance or a glossy finish for a more polished look. Textured finishes can add depth and interest.
Additional Features: Add skylights or solar panels to your roof for extra functionality. Gutters and downspouts can be customized to match or contrast with your roof color.
Fasteners: Use hidden fasteners for a clean look or exposed fasteners for an industrial vibe. Color-matched screws can blend seamlessly with your panels.
Edge Treatments: Install drip edges in a contrasting color for a decorative touch. Fascia boards can be painted to match or complement your roof.
Underlayment: Choose a synthetic underlayment for better moisture resistance or a felt underlayment for a more traditional approach. Radiant barrier underlayment can help improve energy efficiency.
Ventilation: Incorporate ridge vents or gable vents to improve airflow. Soffit vents can be added for additional ventilation options.
Trim: Use custom trim pieces to create a unique look. Decorative ridge caps can add a finishing touch to your roof.
Eco-Friendly Building Tips
Choose recycled metal for the roof panels. Recycled metal uses less energy to produce than new metal. Opt for natural insulation like wool or cotton. These materials are renewable and biodegradable. Use low-VOC adhesives to reduce harmful emissions. Install solar panels on the roof to generate clean energy. Collect rainwater from the roof for gardening or other uses. Seal gaps properly to prevent heat loss. Paint the roof with reflective paint to keep the house cooler. Reclaim wood for any framing or support structures. Recycle any leftover materials to minimize waste.
Wrapping Up Your DIY Project
Building insulated metal roof panels can be a rewarding project. You’ve learned the steps, gathered the materials, and put in the effort. Now, you’ve got a sturdy, energy-efficient roof. Remember, measurements are key. Double-check them to avoid mistakes. Don’t rush the insulation process; it’s crucial for temperature control. If you face any hiccups, don’t hesitate to seek advice from more experienced DIYers or professionals. Your hard work pays off with a durable roof that saves on energy bills. Enjoy the satisfaction of a job well done and the benefits of your new roof. Keep these tips in mind for future projects, and you’ll continue to improve your DIY skills. Happy building!
What materials do I need to build insulated metal roof panels?
You'll need metal sheets, insulation foam, adhesive, screws, and sealant. Also, grab some safety gear like gloves and goggles.
How do I cut the metal sheets?
Use a metal cutting saw or tin snips. Measure twice, cut once! Make sure to wear safety goggles to protect your eyes from flying metal bits.
What's the best way to apply the insulation foam?
Spread the adhesive evenly on the metal sheet, then press the insulation foam firmly onto it. Let it dry completely before moving on.
How do I secure the panels to the roof?
Use screws to attach the panels to the roof structure. Make sure they're evenly spaced and tightly secured to prevent any gaps.
How can I ensure the panels are weatherproof?
Apply a sealant along the seams and edges of the panels. This will keep water and wind from sneaking in.
Can I paint the metal roof panels?
Absolutely! Use metal-specific paint for the best results. Make sure the panels are clean and dry before painting.
How long does it take to install insulated metal roof panels?
It depends on the size of your roof and your experience level. For a small roof, it might take a weekend. Larger roofs could take several days.