
Home>Home & Furniture>Roof>How to Build a DIY Truck Cap Roof Rack
Roof
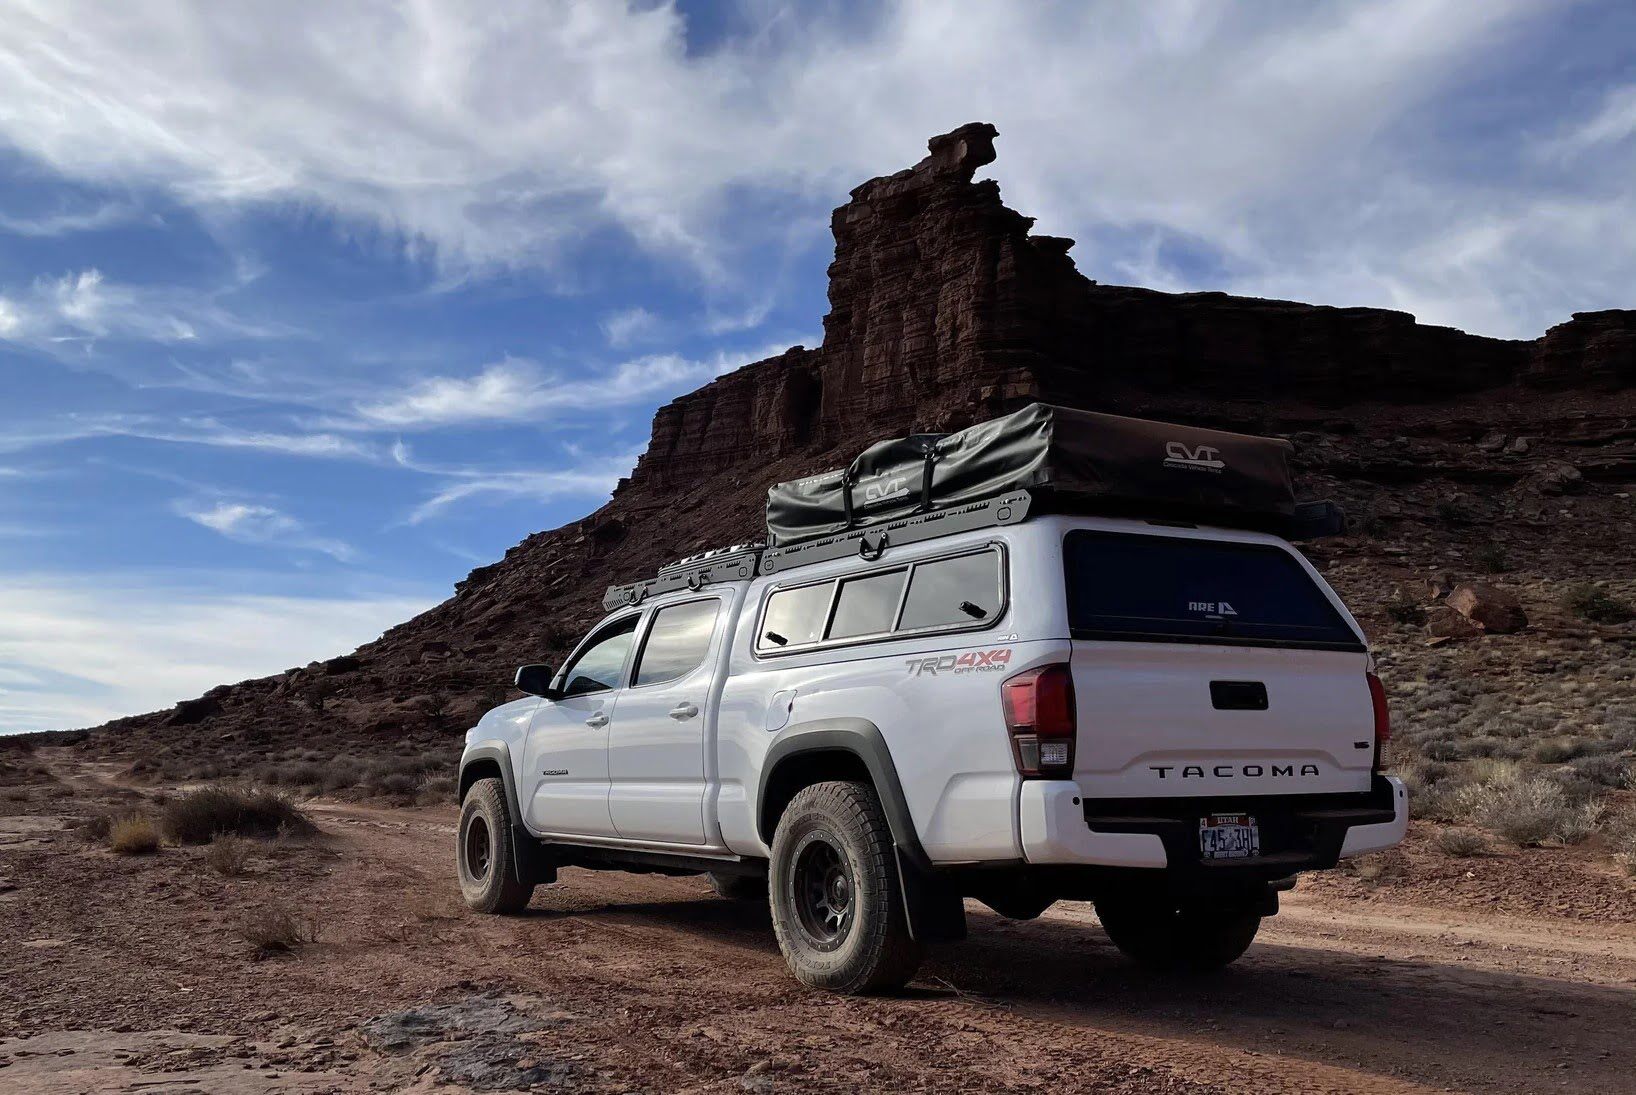
How to Build a DIY Truck Cap Roof Rack
Published: August 23, 2024
Learn how to build a DIY truck cap roof rack with our step-by-step guide. Perfect for outdoor enthusiasts looking to maximize their truck's storage and functionality.
(Many of the links in this article redirect to a specific reviewed product. Your purchase of these products through affiliate links helps to generate commission for Twigandthistle.com, at no extra cost. Learn more)
Creating your own truck cap roof rack can be a fun and rewarding project. Not only does it save money, but it also allows for customization to fit specific needs. With a few tools and materials, this project can be tackled by anyone with basic DIY skills. This guide will walk through each step, making it easier to understand and follow. Building a DIY truck cap roof rack also provides a sense of accomplishment, knowing it's tailored specifically for your vehicle. Let's get started on this exciting project that combines creativity with practicality.
Getting Ready for Your Project
Gather Materials: Collect all necessary tools and materials like metal pipes, brackets, screws, a drill, a measuring tape, and safety gear.
Safety First: Wear safety goggles and gloves to protect your eyes and hands. Ensure you have a first aid kit nearby.
Clear Workspace: Set up a clean, flat workspace. Ensure there's enough room to move around and lay out materials.
Measure Twice: Use a measuring tape to measure the dimensions of your truck cap. Mark where the roof rack will be installed.
Pre-Drill Holes: Mark and pre-drill holes in the truck cap where the brackets will be attached. This prevents cracking or splitting.
Check for Clearance: Ensure the roof rack won’t interfere with any existing structures like antennas or lights.
Organize Tools: Lay out tools and materials in the order you’ll need them. This makes the process smoother and faster.
Test Fit: Before final installation, do a test fit of the roof rack to ensure everything aligns properly.
Secure the Area: Make sure pets and children are kept away from the workspace to avoid accidents.
Read Instructions: If using a kit, read the instructions thoroughly to understand the assembly process.
Gathering Materials and Tools
Materials:
- Steel Tubing: Strong and durable, used for the main frame.
- Steel Plates: Provide mounting points and support.
- Bolts and Nuts: Secure the frame and plates together.
- Rubber Gaskets: Prevent water leaks and reduce vibrations.
- Primer and Paint: Protect the metal from rust and corrosion.
- U-Bolts: Attach the rack to the truck cap securely.
- Weatherproof Sealant: Ensure all joints and connections are watertight.
Tools:
- Measuring Tape: Measure materials accurately.
- Angle Grinder: Cut steel tubing and plates to size.
- Drill and Drill Bits: Create holes for bolts and screws.
- Welding Machine: Join steel parts together.
- Wrenches and Sockets: Tighten bolts and nuts.
- Clamps: Hold pieces in place while working.
- Paintbrush or Spray Paint: Apply primer and paint evenly.
- Safety Gear: Gloves, goggles, and a mask for protection.
Steel tubing forms the main structure, while steel plates add support. Bolts and nuts hold everything together, with rubber gaskets preventing leaks. Primer and paint protect against rust. U-bolts secure the rack to the truck cap, and weatherproof sealant ensures no water gets in.
Measuring tape ensures precise cuts. An angle grinder cuts steel, and a drill makes holes. Welding joins parts, while wrenches tighten bolts. Clamps hold pieces steady. Paintbrushes or spray paint apply protective coatings. Safety gear keeps you protected.
Required Skills and Time Commitment
Skill Level: Intermediate
Time Required: Approximately 4-6 hours
- Gather Materials: 30 minutes
- Measure and Cut: 1 hour
- Assemble Frame: 1.5 hours
- Attach to Truck Cap: 1 hour
- Final Adjustments: 1 hour
Important Keywords: Skill Level, Time Required, Gather Materials, Measure and Cut, Assemble Frame, Attach to Truck Cap, Final Adjustments
Detailed Building Instructions
Gather Materials and Tools
- Metal pipes (aluminum or steel)
- Pipe fittings (elbows, T-joints)
- Pipe clamps
- Measuring tape
- Drill
- Screws and bolts
- Wrench
- Rubber padding (optional for protection)
Measure the Roof
- Use a measuring tape to determine the length and width of the truck cap roof.
- Decide on the height of the rack.
Cut the Pipes
- Cut the metal pipes to match the measurements.
- Ensure you have four vertical supports, two horizontal bars for the length, and two for the width.
Assemble the Frame
- Connect the vertical supports to the horizontal bars using pipe fittings.
- Use elbows for corners and T-joints for middle connections.
- Tighten all connections with a wrench.
Attach the Rack to the Roof
- Place the assembled frame on the truck cap roof.
- Mark the spots where the pipe clamps will go.
- Drill holes at the marked spots.
Secure the Rack
- Attach the pipe clamps to the roof using screws and bolts.
- Place the rack into the clamps and tighten securely.
Add Rubber Padding (Optional)
- Cut rubber padding to fit the contact points between the rack and the roof.
- Attach the padding to prevent scratches and reduce noise.
Test the Rack
- Ensure the rack is stable and secure.
- Load some weight to test its strength.
Final Adjustments
- Tighten any loose connections.
- Make sure everything is aligned properly.
Helpful Tips and Tricks
Measure Twice, Cut Once: Always double-check measurements before cutting any materials. This saves time and prevents waste.
Use Quality Materials: Opt for sturdy metal or high-grade wood. These materials ensure durability and safety.
Pre-drill Holes: Pre-drilling holes helps prevent wood from splitting and makes screw placement easier.
Rust-Proofing: Apply a rust-resistant coating to metal parts. This extends the life of your roof rack.
Secure Fasteners: Use lock washers or nylon lock nuts to keep bolts from loosening due to vibrations.
Weight Distribution: Ensure even weight distribution across the rack. This prevents damage to the truck cap and improves safety.
Test Fit: Assemble the rack loosely first to ensure all parts fit correctly before final tightening.
Weatherproofing: Use weather-resistant sealant on joints to prevent water damage.
Common Mistakes to Avoid:
Overloading: Exceeding the weight limit can damage the truck cap and create safety hazards.
Improper Fastening: Loose bolts or screws can lead to rack failure. Always double-check fasteners.
Ignoring Aerodynamics: Poor design can increase wind resistance, affecting fuel efficiency.
Alternatives:
PVC Pipes: For a lightweight and budget-friendly option, use PVC pipes. They are easy to cut and assemble.
Aluminum: Consider aluminum for a rust-proof, lightweight alternative to steel.
Prefabricated Kits: If building from scratch seems daunting, use a prefabricated roof rack kit. These kits come with all necessary parts and instructions.
Estimating the Cost
Materials:
- Steel Tubing: $50-$100
- Mounting Brackets: $20-$40
- Bolts and Nuts: $10-$20
- Primer and Paint: $15-$30
- Rubber Gaskets: $5-$10
Tools:
- Drill: $40-$100 (or borrow)
- Metal Saw: $30-$60 (or borrow)
- Measuring Tape: $5-$10
- Wrench Set: $20-$50
- Safety Gear: $10-$20
Total Cost: $205-$440
Budget-Friendly Alternatives:
- PVC Pipes instead of steel tubing: $20-$40
- Used Tools from thrift stores or online marketplaces
- Borrowing Tools from friends or neighbors
Different Ways to Customize
Materials: Instead of using steel, try aluminum for a lighter rack. Wood can give a rustic look but may need more maintenance. PVC pipes offer a budget-friendly option, though they might not be as strong.
Colors: Paint the rack to match your truck's color. Use spray paint for a quick job or powder coating for a more durable finish. Black is classic, but bright colors like red or blue can make your truck stand out.
Styles: For a sleek, modern look, use square tubing. Round tubing gives a more traditional appearance. Add decorative elements like curved brackets or custom cutouts to personalize your rack.
Mounting Options: Use U-bolts for a simple, removable setup. Welded mounts offer a permanent solution. Clamp-on mounts provide flexibility without drilling holes.
Accessories: Add crossbars for extra support. Install tie-down points for securing cargo. Attach LED lights for better visibility at night. Include a lockable storage box for added security.
Finishes: Use galvanized steel to prevent rust. Apply a rubber coating for a non-slip surface. Consider a textured finish for a rugged look.
Eco-Friendly Building Tips
Use reclaimed wood for the base. Old pallets or leftover lumber from other projects work well. Sand them down to remove splinters and give a smooth finish.
For the frame, recycled metal pipes or aluminum can be used. These materials are sturdy and often available at scrap yards. Aluminum is lightweight, which helps with fuel efficiency.
Bamboo is another eco-friendly option. It’s strong, lightweight, and grows quickly, making it a sustainable choice. Bamboo poles can be used for crossbars.
Use natural oils or eco-friendly paint to treat the wood. These finishes protect against weather without harmful chemicals.
For the mounting brackets, repurpose old hardware. Bolts, screws, and brackets from previous projects or broken furniture can be reused.
Instead of buying new straps, repurpose old seat belts or nylon straps. They are durable and can be easily attached to secure your load.
Consider using solar-powered lights if you need illumination on your rack. They are energy-efficient and reduce reliance on batteries.
Lastly, upcycle old rubber for padding. Old bike tires or rubber mats can be cut to size and used to protect your truck cap from scratches.
Ready to Roll
Building a DIY truck cap roof rack isn't just about saving money. It's about creating something that fits your needs perfectly. With some basic tools, a bit of time, and a dash of patience, you can craft a sturdy, reliable rack. Remember to measure twice, cut once, and always double-check your work. Safety first, so make sure all bolts and joints are secure. Once finished, you'll have a custom rack ready for any adventure. Whether hauling gear for a camping trip or transporting materials for a project, your new rack will be up to the task. Enjoy the satisfaction of knowing you built it yourself. Now, load up and hit the road with confidence!
What materials do I need to build a DIY truck cap roof rack?
You'll need steel or aluminum tubing, brackets, bolts, nuts, washers, a drill, and a saw. Some folks also use PVC pipes for a lighter option.
How do I measure my truck cap for the roof rack?
Measure the width and length of your truck cap. Make sure to account for any curves or angles. It's crucial to get accurate measurements so your rack fits snugly.
Can I install the roof rack by myself?
Yes, you can! Just make sure you have the right tools and materials. It might be easier with a friend to help hold things in place while you drill and bolt.
How do I ensure the roof rack is secure?
Double-check all bolts and nuts are tight. Use lock washers or thread-locking compound to prevent them from loosening over time. Test the rack by giving it a good shake before loading anything.
What kind of weight can a DIY roof rack hold?
It depends on the materials you use and how well you secure it. Generally, a well-built rack can hold between 100-200 pounds. Always check the weight limit of your truck cap too.
Do I need to treat or paint the roof rack?
Yes, it's a good idea to paint or treat the metal to prevent rust and corrosion. Use a rust-resistant primer and paint for the best results.
Can I customize the roof rack for specific needs?
Absolutely! You can add hooks, tie-down points, or even a basket. Customize it to fit your gear and activities.