
Home>Home & Furniture>Living Room>How to Create Built-In Bookshelves
Living Room
How to Create Built-In Bookshelves
Published: August 5, 2024
Learn how to create stunning built-in bookshelves with our step-by-step guide. Transform your living room with custom storage solutions that blend style and functionality.
(Many of the links in this article redirect to a specific reviewed product. Your purchase of these products through affiliate links helps to generate commission for Twigandthistle.com, at no extra cost. Learn more)
Want a stylish way to store your books and display your favorite items? Creating built-in bookshelves can be a fun and rewarding project. Built-in bookshelves make use of wall space and add character to any room. Whether you are looking to add storage in your living room, bedroom, or home office, built-in bookshelves are a great option. You don't need to be a master carpenter to build them—just some basic tools, materials, and a bit of time. This guide will walk you through the steps to create your own built-in bookshelves, making your space both functional and attractive.
Getting Ready for Your Project
Measure the Space: Use a tape measure to get the height, width, and depth of the area where the bookshelves will go. Write down these measurements.
Gather Materials: Collect all necessary materials like wood, screws, brackets, and paint. Make sure you have the right tools such as a saw, drill, level, and sandpaper.
Clear the Area: Remove any furniture, decorations, or obstacles from the workspace. This will give you plenty of room to move around and work safely.
Safety Gear: Wear safety goggles, gloves, and a dust mask. These will protect your eyes, hands, and lungs from dust and debris.
Mark Studs: Use a stud finder to locate wall studs. Mark these spots with a pencil. Studs will provide strong support for your shelves.
Cut Wood: Measure and cut the wood pieces according to your design. Double-check measurements before cutting to avoid mistakes.
Sand Edges: Sand the edges of the cut wood to make them smooth. This will help prevent splinters and give a polished look.
Prime and Paint: Apply primer to the wood pieces. Once dry, paint them in your desired color. This will protect the wood and match your room's decor.
Pre-Drill Holes: Pre-drill holes in the wood for screws. This will make assembly easier and prevent the wood from splitting.
Assemble Shelves: Start putting the pieces together using screws and brackets. Use a level to ensure everything is straight.
Install Shelves: Attach the assembled shelves to the wall. Make sure to screw into the studs for maximum support.
Final Touches: Fill any gaps with wood filler, sand smooth, and touch up with paint. Clean up your workspace and enjoy your new built-in bookshelves.
Gathering Materials and Tools
- Plywood: Used for the main structure of the bookshelves. Choose a high-quality type for durability.
- Wood Screws: Essential for securing the plywood pieces together. Make sure they are the right length.
- Wood Glue: Provides extra strength to the joints. Helps keep the structure stable.
- Paint or Stain: Adds a finished look to the bookshelves. Choose based on your room's decor.
- Sandpaper: Smooths out rough edges. Ensures a polished finish.
- Primer: Prepares the wood for painting. Helps the paint adhere better.
- Measuring Tape: Ensures accurate measurements. Crucial for a perfect fit.
- Circular Saw: Cuts the plywood to size. Makes the job quicker and easier.
- Drill: Needed for making holes for screws. Also useful for attaching the shelves.
- Level: Ensures the shelves are even. Prevents books from sliding off.
- Clamps: Holds pieces together while the glue dries. Keeps everything in place.
- Stud Finder: Locates wall studs for secure mounting. Ensures the shelves are safely attached.
- Paintbrushes or Rollers: Used for applying paint or stain. Choose based on the size of the surface.
- Drop Cloth: Protects your floor from paint spills. Keeps your workspace clean.
- Safety Gear: Includes goggles and gloves. Protects you while cutting and assembling.
Required Skills and Time Commitment
Skill Level: Intermediate
Time Required: 2-3 days
- Planning and Measuring: 2-3 hours
- Cutting and Preparing Materials: 4-6 hours
- Assembling the Frame: 3-4 hours
- Installing Shelves: 2-3 hours
- Finishing Touches (sanding, painting, etc.): 6-8 hours
Instructions for Building
Measure the Space
- Use a tape measure to determine the height, width, and depth of the area where the bookshelves will go.
- Write down these measurements.
Plan the Design
- Sketch a rough design of your bookshelves.
- Decide on the number of shelves and their spacing.
Gather Materials
- Purchase wood, screws, brackets, and paint or stain.
- Get tools like a saw, drill, level, and measuring tape.
Cut the Wood
- Cut the wood to the desired lengths for the shelves and side panels.
- Sand the edges to smooth them out.
Assemble the Frame
- Attach the side panels to the top and bottom pieces using screws.
- Use a level to ensure everything is straight.
Install the Shelves
- Mark the positions for each shelf on the side panels.
- Attach brackets to the side panels at these marks.
- Place the shelves on the brackets and secure them with screws.
Secure to the Wall
- Use a stud finder to locate wall studs.
- Attach the bookshelf frame to the wall studs with screws for stability.
Finish the Bookshelves
- Fill any screw holes with wood filler.
- Sand the entire bookshelf for a smooth finish.
- Paint or stain the wood as desired.
Add Trim (Optional)
- Measure and cut trim pieces to fit around the edges of the bookshelf.
- Attach the trim with finishing nails for a polished look.
Load Your Books
- Allow the paint or stain to dry completely.
- Arrange your books and decorations on the shelves.
Helpful Tips and Tricks
Measure twice, cut once. Always double-check measurements before cutting any wood. This saves time and materials.
Use a stud finder. Locate wall studs to securely anchor the shelves. This prevents sagging or falling.
Pre-drill holes. Avoid splitting wood by pre-drilling holes for screws. This makes assembly smoother.
Level shelves. Use a level to ensure shelves are straight. Uneven shelves look sloppy and can cause items to slide off.
Paint or stain before assembly. It's easier to paint or stain wood pieces before putting them together. This avoids messy edges and drips.
Use adjustable shelves. Install shelf pins to make shelves adjustable. This allows flexibility for different-sized books and items.
Common mistakes to avoid:
Skipping the primer. Always prime wood before painting. This helps paint adhere better and last longer.
Ignoring wall prep. Clean and prep walls before installation. Dust and debris can affect how well shelves attach.
Using the wrong screws. Use screws designed for wood and drywall. Incorrect screws can weaken the structure.
Not accounting for weight. Consider the weight of items the shelves will hold. Use thicker wood for heavy items.
Alternatives for materials or methods:
Plywood instead of solid wood. Plywood is often cheaper and more stable than solid wood. It’s less likely to warp.
Floating shelves. If built-ins seem too complex, floating shelves offer a simpler, modern look.
Metal brackets. For a different style, use metal brackets instead of wood supports. This can add an industrial touch.
Ready-made units. Purchase pre-made bookshelf units and customize them. This saves time and effort.
Estimating the Cost
Lumber: $100-$200, depending on wood type and size.
Plywood: $50-$100 for backing and shelves.
Wood screws: $10-$20 for a box.
Wood glue: $5-$10.
Paint or stain: $20-$50 for finishing.
Sandpaper: $5-$10 for smoothing surfaces.
Primer: $10-$20 if painting.
Caulk: $5-$10 for gaps.
Brushes or rollers: $10-$20.
Level: $10-$20 for alignment.
Tape measure: $5-$15.
Circular saw: $50-$100 if not already owned.
Drill: $50-$100 if not already owned.
Budget-friendly alternatives:
Reclaimed wood: Often free or cheaper.
Basic plywood: Cheaper than hardwood.
Second-hand tools: Check thrift stores or online marketplaces.
Leftover paint: Use what you have.
Different Ways to Customize
Materials: Instead of using standard wood, try reclaimed wood for a rustic look or plywood for a budget-friendly option. Metal shelves can add an industrial touch.
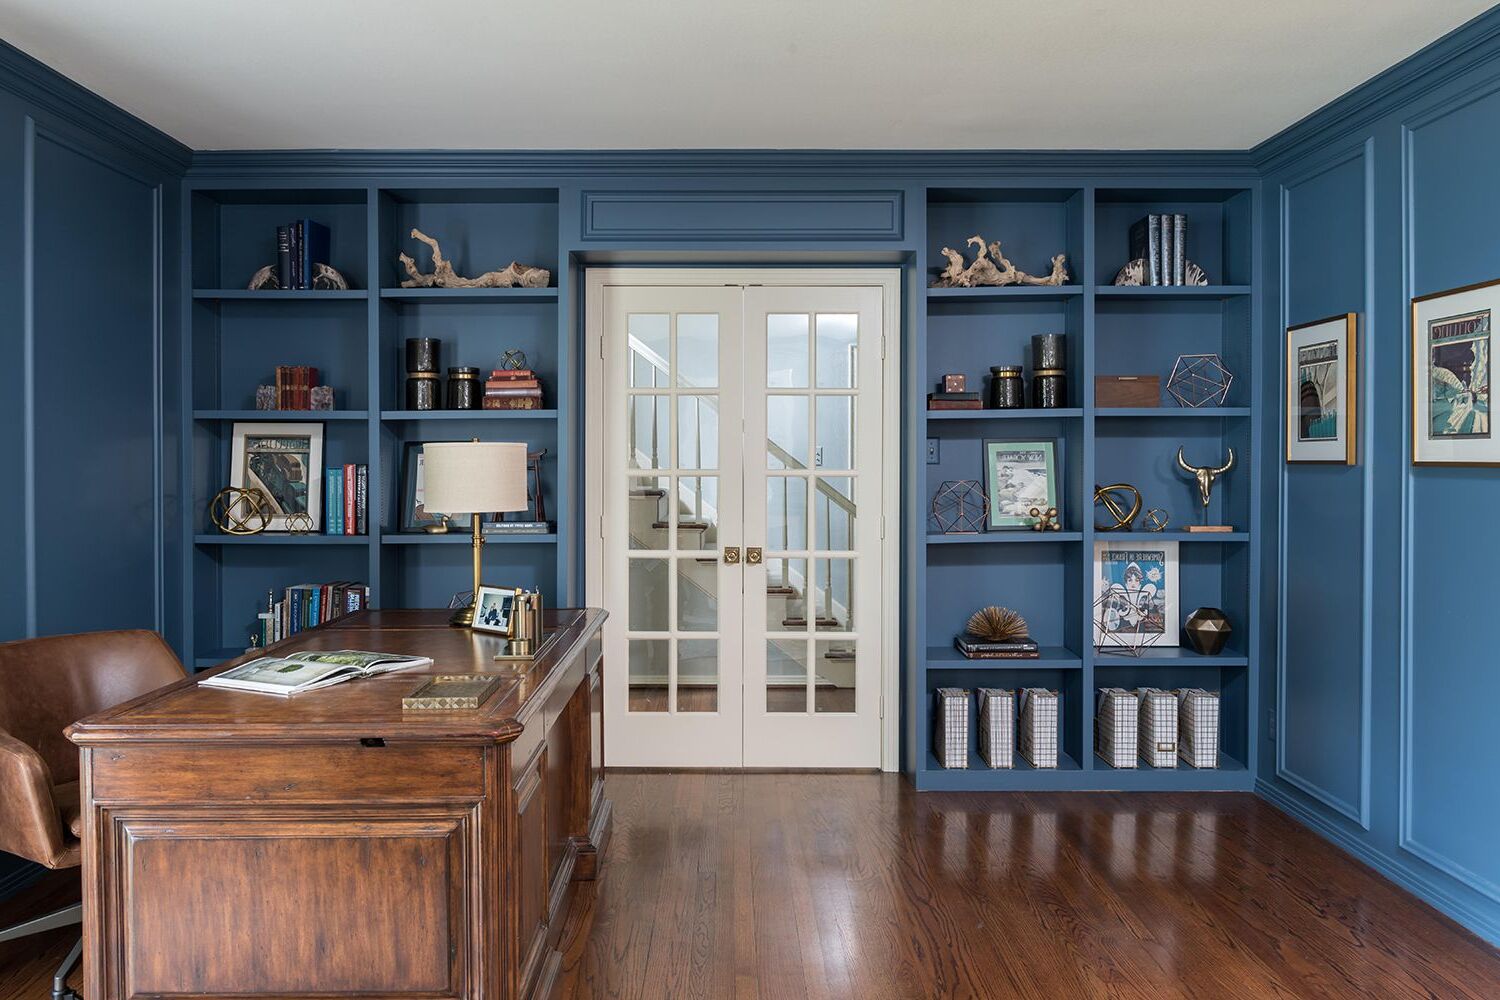
Colors: Paint the shelves in bold colors like navy blue or emerald green for a dramatic effect. Use neutral tones like white or beige for a classic, timeless look. Consider a two-tone design with different colors for the back panel and shelves.
Styles: For a modern style, use clean lines and minimalistic design. Add crown molding and decorative trim for a more traditional appearance. Floating shelves can create a contemporary feel.
Lighting: Install LED strip lights under each shelf to highlight your books and decorations. Use recessed lighting for a sleek, built-in look.
Back Panel: Add a mirrored back panel to make the room feel larger. Use wallpaper or fabric on the back panel for added texture and interest.
Adjustable Shelves: Make the shelves adjustable to accommodate books and items of various sizes. Use brackets or tracks to easily move shelves up or down.
Doors: Add glass doors to protect books from dust while still displaying them. Use solid wood doors for a more concealed look, or sliding doors to save space.
Built-In Desk: Incorporate a built-in desk into the bookshelf design for a functional workspace. Add drawers and cabinets for extra storage.
Decorative Elements: Include decorative corbels or brackets for added detail. Use decorative knobs or handles on any doors or drawers.
Height and Width: Customize the height and width to fit your space perfectly. Consider extending the shelves to the ceiling for maximum storage or keeping them lower for a more open feel.
Eco-Friendly Building Tips
Reclaimed wood is a great choice. It adds character and reduces waste. Look for old barn wood or pallets. Bamboo is another eco-friendly option. It grows quickly and is very strong. Use low-VOC paints and finishes to avoid harmful chemicals. Recycled metal brackets can support shelves and add a modern touch. Salvaged doors or windows can be repurposed into unique bookshelf elements. Natural stains like coffee or tea can give wood a nice color without harmful chemicals. LED lighting is energy-efficient and can highlight your books. Recycled glass can be used for decorative elements or even shelves. Cork is sustainable and can be used for backing or accents. Eco-friendly adhesives ensure your project stays green from start to finish.
Your DIY Bookshelf Awaits
Building built-in bookshelves isn't just about adding storage; it's about creating a space that reflects your style. With some basic tools, a bit of patience, and a clear plan, you can transform any room. Remember to measure twice, cut once, and always sand your edges for a smooth finish. Don't rush the painting process; multiple thin coats work better than one thick one. If you hit a snag, take a break and come back with fresh eyes. Mistakes happen, but they can often be fixed or even turned into unique features. Most importantly, enjoy the process. There's nothing quite like the satisfaction of admiring a piece you've built with your own hands. So grab your tools, roll up your sleeves, and get started on your DIY bookshelf project. Happy building!
How do I measure the space for built-in bookshelves?
Measure the height, width, and depth of the area where you want the shelves. Use a tape measure and write down the numbers. Make sure to account for any baseboards or moldings.
What materials do I need?
You’ll need wood, screws, brackets, wood glue, sandpaper, and paint or stain. Don’t forget tools like a saw, drill, and level.
How do I attach the shelves to the wall?
Use brackets or cleats to secure the shelves. Make sure to find studs in the wall for a strong hold. Use a level to keep everything straight.
Can I customize the design?
Absolutely! You can add trim, crown molding, or even lighting. Paint or stain the wood to match your room’s decor.
How long does it take to build?
Depending on the complexity and your experience, it can take a weekend or a few days. Plan for prep, assembly, and finishing time.
Do I need any special skills?
Basic carpentry skills are helpful. If you can measure, cut, and drill, you’re good to go. There are plenty of tutorials online to guide you.
How do I make sure the shelves are level?
Use a level during installation. Check each shelf as you go. If it’s not level, adjust the brackets or cleats until it is.