
Home>Home & Furniture>Living Room>Farmhouse Wall Decor: DIY Ideas & Inspiration
Living Room
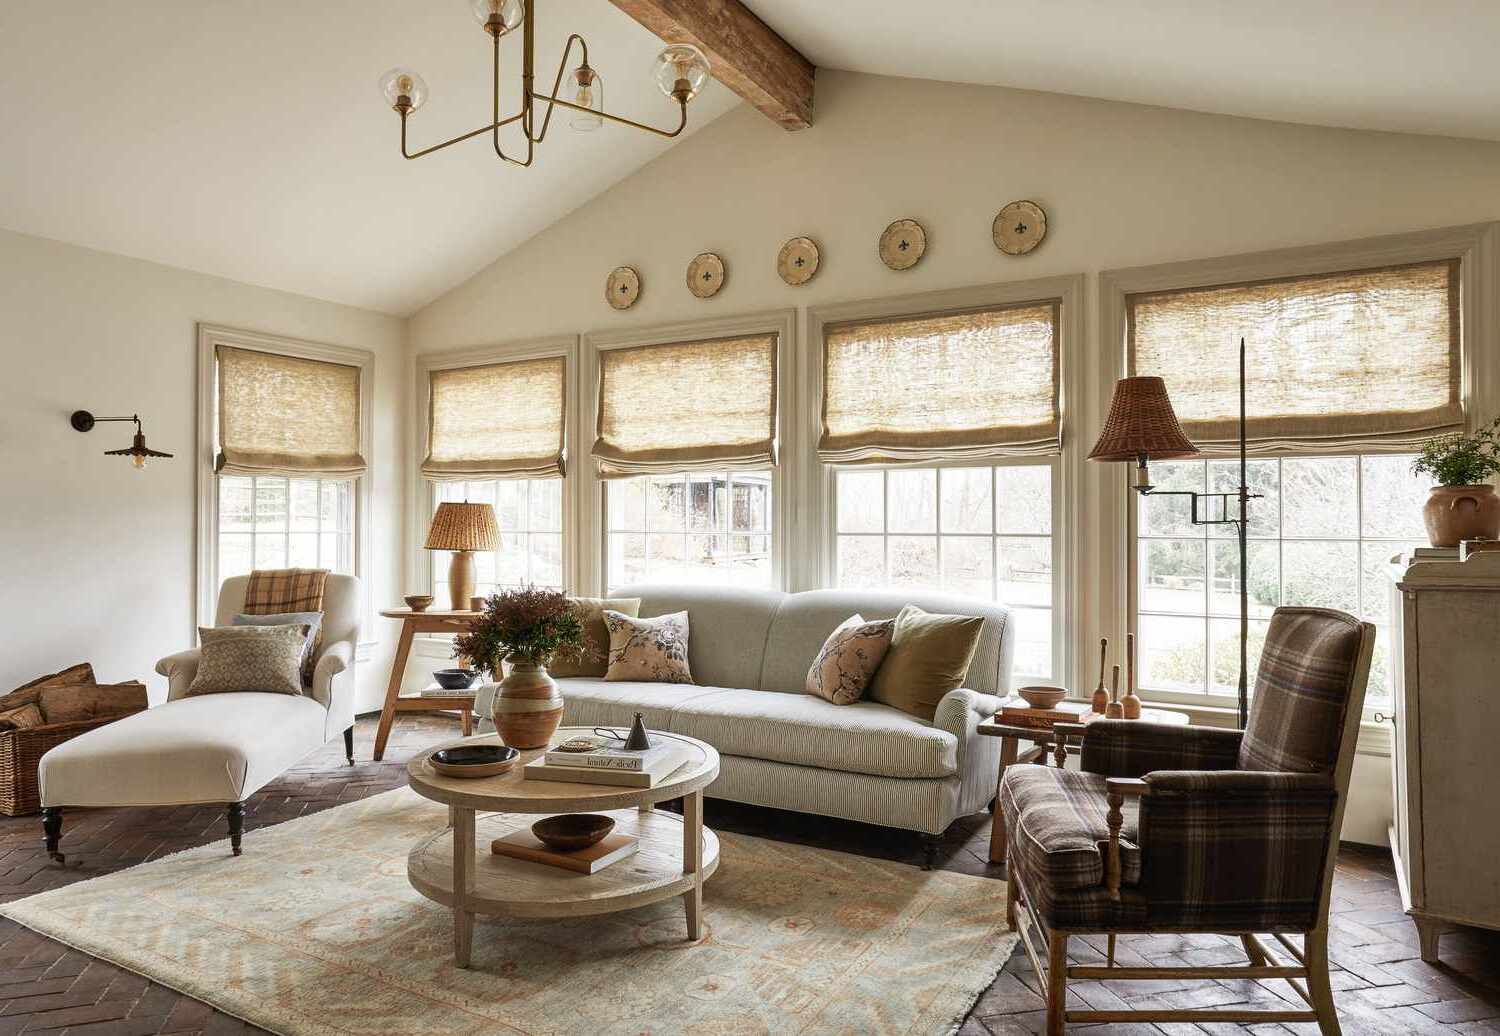
Farmhouse Wall Decor: DIY Ideas & Inspiration
Published: August 6, 2024
Discover charming DIY farmhouse wall decor ideas and inspiration to transform your living space. From rustic signs to vintage frames, create a cozy, stylish home.
(Many of the links in this article redirect to a specific reviewed product. Your purchase of these products through affiliate links helps to generate commission for Twigandthistle.com, at no extra cost. Learn more)
Creating a cozy, farmhouse-inspired look for your home doesn't have to be expensive. With a few simple DIY projects, anyone can transform plain walls into charming, rustic masterpieces. Whether you love the warmth of reclaimed wood or the simplicity of vintage signs, there's something for everyone. Plus, making your own decor adds a personal touch that store-bought items can't match. Gather some basic tools and materials, and get ready to bring a touch of the countryside into your living space. This guide will help spark creativity and make your DIY farmhouse wall decor dreams come true.
Getting Ready for Your Project
Gather Materials: Collect all necessary supplies like wood, paint, nails, hammer, and any decorative items. Make sure everything is within reach.
Safety Gear: Wear safety goggles and gloves to protect your eyes and hands. If using power tools, consider ear protection.
Workspace Setup: Choose a well-ventilated area with plenty of light. Lay down a drop cloth to protect floors from paint or wood shavings.
Measure and Plan: Measure your wall space and plan your design. Sketch out ideas on paper to visualize the final look.
Clean the Wall: Wipe down the wall to remove dust and grime. A clean surface helps paint and decorations stick better.
Cut and Sand Wood: If using wood, cut it to size and sand the edges smooth. This prevents splinters and gives a polished look.
Prime and Paint: Apply a coat of primer to wood pieces. Once dry, paint them in your chosen colors. Let each coat dry thoroughly.
Dry Fit: Arrange all pieces on the floor to see how they fit together. Make adjustments before attaching anything to the wall.
Mounting Hardware: Attach hanging hardware to the back of each piece. Use sturdy hooks or nails to ensure they stay in place.
Final Assembly: Carefully hang each piece on the wall according to your plan. Use a level to make sure everything is straight.
What You Need to Get Started
Materials:
- Wood Planks: Used for creating rustic signs or shelves.
- Paint: Adds color to wood or other surfaces.
- Sandpaper: Smooths rough edges on wood.
- Stencils: Helps create consistent designs or lettering.
- Nails and Screws: Essential for assembling pieces.
- Picture Hangers: Used to mount decor on walls.
- Twine or Rope: Adds a rustic touch, can be used for hanging or decoration.
- Mason Jars: Versatile for holding flowers, candles, or small items.
- Fabric: Can be used for making banners or adding texture.
- Glue: Bonds materials together.
Tools:
- Hammer: Drives nails into wood.
- Screwdriver: Tightens screws.
- Paintbrushes: Applies paint smoothly.
- Drill: Makes holes for screws or nails.
- Saw: Cuts wood to desired sizes.
- Measuring Tape: Ensures accurate measurements.
- Level: Ensures decor is hung straight.
- Scissors: Cuts fabric or twine.
- Pencil: Marks measurements or designs.
- Hot Glue Gun: Quickly bonds materials.
How Much Time and Skill Is Needed?
Skill Level: Intermediate
Time Required: 4-6 hours
- Gather Materials: 30 minutes
- Measure and Plan: 1 hour
- Cut and Assemble: 2 hours
- Paint or Stain: 1 hour
- Mount and Finish: 1-2 hours
Follow These Steps
Gather Materials
- Wooden planks or pallets
- Sandpaper
- Paint or wood stain
- Paintbrushes
- Nails or screws
- Hammer or screwdriver
- Picture hangers
- Decorative items (e.g., mason jars, metal letters, wreaths)
Prepare the Wood
- Sand the wooden planks to remove rough edges.
- Wipe off dust with a damp cloth.
Paint or Stain the Wood
- Apply paint or wood stain evenly.
- Let it dry completely.
Arrange the Planks
- Lay out the planks in the desired pattern on the floor.
- Ensure the arrangement looks balanced.
Attach the Planks
- Use nails or screws to secure the planks together.
- Make sure they are tightly fastened.
Add Picture Hangers
- Attach picture hangers to the back of the wood.
- Ensure they are evenly spaced.
Decorate the Planks
- Attach mason jars, metal letters, or wreaths to the front.
- Use nails or screws to secure them.
Hang on the Wall
- Find the perfect spot on the wall.
- Use a level to ensure it hangs straight.
- Secure it to the wall using nails or screws.
Final Touches
- Step back and check for any adjustments.
- Add any additional decorations if needed.
Helpful Hints and Tips
Use reclaimed wood for a rustic look. Old pallets, barn wood, or driftwood can add character to your walls. Mix textures like metal, wood, and fabric to create visual interest. Layer different sizes of frames and art pieces for a dynamic display. Incorporate natural elements like dried flowers, branches, or woven baskets. Use neutral colors with pops of muted tones to keep the farmhouse feel.
Common mistakes to avoid: Overcrowding the wall can make it look cluttered. Stick to a theme to maintain cohesion. Avoid using too many bright colors; they can clash with the farmhouse aesthetic. Don’t hang items too high; keep them at eye level for better visual appeal.
Alternatives for materials or methods: Instead of buying new frames, thrift old ones and repaint them. Use fabric scraps to create wall hangings or banners. Print vintage images or quotes on burlap for a unique touch. Try peel-and-stick wallpaper with a wood or brick pattern for an easy, non-permanent option.
How Much Will It Cost?
Wood Planks: $30-$50 for a bundle. Look for reclaimed wood at salvage yards for cheaper options.
Paint: $15-$25 per gallon. Consider sample sizes if only a small amount is needed.
Sandpaper: $5-$10 for a pack. Essential for smoothing wood surfaces.
Paint Brushes/Rollers: $10-$20. Reusable ones save money in the long run.
Nails/Screws: $5-$10 per pack. Ensure they are appropriate for the wall type.
Hammer/Drill: $20-$50. Borrowing tools from friends or family can save money.
Picture Hangers: $5-$10 for a set. Necessary for hanging frames or decor.
Stencils: $10-$15. Create patterns or quotes on the wall.
Decorative Items: $20-$40. Thrift stores often have unique, budget-friendly pieces.
Total Estimated Cost: $120-$230.
Ways to Personalize Your Decor
Wood Types: Use reclaimed wood for a rustic look or pallet wood for a budget-friendly option. Barn wood adds authentic charm.
Paint Colors: Choose white or cream for a classic farmhouse feel. Pastel colors like light blue or mint green can add a soft touch. Bold colors like navy or forest green create a modern twist.
Stains: Apply a dark walnut stain for a rich, vintage look. Gray wash gives a weathered appearance. Natural stains highlight the wood grain.
Frames: Use distressed wood frames for a vintage vibe. Metal frames add an industrial touch. Wicker frames bring in a cozy, cottage feel.
Signs: Create hand-painted signs with inspirational quotes. Use stencils for precise lettering. Vinyl decals offer a quick, clean option.
Textures: Incorporate burlap for a rustic texture. Lace adds a delicate touch. Metal accents like galvanized letters or shapes provide contrast.
Patterns: Use buffalo check or gingham for a classic farmhouse pattern. Floral prints can soften the look. Stripes add a modern element.
Shelves: Install floating shelves for a minimalist look. Bracket shelves offer more support and style. Crate shelves add storage and a rustic touch.
Wreaths: Hang greenery wreaths for a natural look. Cotton wreaths add farmhouse charm. Grapevine wreaths can be decorated seasonally.
Lighting: Use mason jar lights for a cozy glow. Lanterns add a vintage feel. String lights create a warm, inviting atmosphere.
Artwork: Display black and white photos for a timeless look. Botanical prints add a touch of nature. Farm animal art brings in a playful element.
Mirrors: Choose antique mirrors for a vintage touch. Windowpane mirrors mimic farmhouse windows. Round mirrors soften the space.
Hooks: Install iron hooks for a sturdy, rustic option. Wooden pegs add simplicity. Decorative hooks can be both functional and stylish.
Plants: Use potted herbs for a touch of green. Hanging plants add dimension. Succulents are low-maintenance and stylish.
Clocks: Hang a large farmhouse clock as a statement piece. Vintage clocks add character. Wooden clocks blend seamlessly with other decor.
Baskets: Use woven baskets for storage and texture. Wire baskets add an industrial touch. Fabric baskets can soften the look.
Letters: Display wooden letters for a personalized touch. Metal letters add a modern twist. Fabric letters can be soft and cozy.
Garlands: Hang burlap garlands for a rustic feel. Beaded garlands add texture. Paper garlands can be customized for any season.
Windows: Use old window frames as decor. Shutters can be repurposed for wall art. Curtains in light fabrics add softness.
Quotes: Display family sayings or farmhouse quotes. Use chalkboards for changeable messages. Letter boards offer a modern option.
Maps: Hang vintage maps for a historical touch. Farm maps add a local feel. World maps can be educational and decorative.
Rugs: Use jute rugs for a natural look. Braided rugs add texture. Patterned rugs can bring color and interest.
Candles: Place pillar candles in lanterns. Use scented candles for a cozy atmosphere. Candle holders can be decorative and functional.
Blankets: Hang quilts for a cozy touch. Use plaid blankets for a classic look. Knit throws add warmth and texture.
Chalkboards: Create a chalkboard wall for notes and art. Use framed chalkboards for a vintage feel. Magnetic chalkboards add functionality.
Ladders: Lean a decorative ladder against the wall for hanging blankets. Use ladder shelves for display. Vintage ladders add character.
Trays: Display wooden trays for a rustic touch. Use metal trays for an industrial look. Decorative trays can be both functional and stylish.
Vases: Use mason jars as vases for a farmhouse feel. Ceramic vases add a touch of elegance. Glass vases can be simple and modern.
Books: Stack vintage books for a classic look. Use cookbooks for a kitchen display. Decorative books can add color and interest.
Tools: Display vintage tools for a historical touch. Use garden tools as decor. Kitchen tools can be both functional and decorative.
Towels: Hang linen towels for a natural look. Use patterned towels for a pop of color. Monogrammed towels add a personal touch.
Bowls: Display wooden bowls for a rustic feel. Use ceramic bowls for a touch of elegance. Metal bowls add an industrial element.
Signs: Create hand-painted signs with inspirational quotes. Use stencils for precise lettering. Vinyl decals offer a quick, clean option.
Textures: Incorporate burlap for a rustic texture. Lace adds a delicate touch. Metal accents like galvanized letters or shapes provide contrast.
Patterns: Use buffalo check or gingham for a classic farmhouse pattern. Floral prints can soften the look. Stripes add a modern element.
Eco-Friendly Ideas for Your Project
Reclaimed Wood: Use old barn wood or pallets. Sand them down and apply a natural finish. This gives a rustic look while reducing waste.
Vintage Frames: Visit thrift stores for old picture frames. Paint them with eco-friendly paint for a fresh look.
Upcycled Fabric: Turn old fabric scraps into wall hangings or banners. Sew them together for a patchwork effect.
Natural Elements: Collect branches, dried flowers, or stones. Arrange them in shadow boxes or mount them directly on the wall.
Repurposed Metal: Use old metal tools or farm equipment. Clean and mount them for an industrial touch.
Eco-Friendly Paint: Choose paints with low VOCs (volatile organic compounds). These are better for the environment and your health.
Recycled Paper Art: Create collages or paper art using old magazines, newspapers, or books. Frame them for a unique touch.
Mason Jar Displays: Attach mason jars to wooden boards. Use them to display small plants, candles, or other decor items.
Burlap Sacks: Repurpose old burlap sacks. Stretch them over frames or use them as a backdrop for other decorations.
Salvaged Windows: Find old window frames. Clean them up and use them as picture frames or decorative pieces.
Natural Dyes: Use plant-based dyes for any fabric projects. These are more sustainable and give a natural look.
Handmade Signs: Create signs using scrap wood and eco-friendly paint. Personalize them with your favorite quotes or sayings.
Your Farmhouse Haven Awaits
Creating your own farmhouse wall decor is not only a fun project but also a way to add a personal touch to your home. Using reclaimed wood, vintage signs, and rustic shelves can transform any space into a cozy retreat. Don't forget to mix in some family photos and handmade art for that extra special touch.
Remember, the beauty of farmhouse style lies in its simplicity and charm. You don't need to spend a fortune; sometimes, the best pieces are those you make yourself. So grab your tools, gather your materials, and start crafting. Your walls will thank you, and you'll love the unique, homey feel you've created. Happy decorating!
What materials do I need for farmhouse wall decor?
You’ll need wood, metal accents, burlap, chalk paint, and mason jars. Thrift stores and craft shops are great places to find these items.
How can I make a simple farmhouse sign?
Grab a piece of reclaimed wood or a wooden pallet. Sand it down, paint it with chalk paint, and use stencils to add your favorite quote or word. Seal it with a clear coat.
What are some easy DIY farmhouse wall art ideas?
Try making a mason jar sconce with a piece of wood, a metal clamp, and a mason jar. Fill the jar with flowers or fairy lights. Another idea is to create a gallery wall with vintage frames and family photos.
How do I achieve a distressed look on wood?
Use sandpaper to rough up the edges and surfaces. Apply a coat of chalk paint, let it dry, then lightly sand again to reveal the wood underneath. You can also use wax for a more aged appearance.
Can I use modern elements in farmhouse decor?
Absolutely! Mixing modern elements like sleek metal frames or geometric patterns with rustic pieces can create a unique, balanced look. Just keep the color palette neutral and earthy.
What colors work best for farmhouse wall decor?
Stick to neutral tones like white, beige, gray, and soft pastels. These colors create a calm, inviting atmosphere. You can add pops of color with accessories or artwork.
How do I hang heavy farmhouse decor items?
Use wall anchors or stud finders to ensure your decor is securely attached. For items like shelves or large signs, use heavy-duty hooks or brackets. Always follow the weight guidelines on the packaging.