
Home>Home & Furniture>Kitchen>DIY Window Herb Garden: Step-by-step Guide
Kitchen
DIY Window Herb Garden: Step-by-step Guide
Published: July 28, 2024
Create your own DIY window herb garden with our step-by-step guide. Learn how to grow fresh herbs at home, save money, and enhance your cooking with organic flavors.
(Many of the links in this article redirect to a specific reviewed product. Your purchase of these products through affiliate links helps to generate commission for Twigandthistle.com, at no extra cost. Learn more)
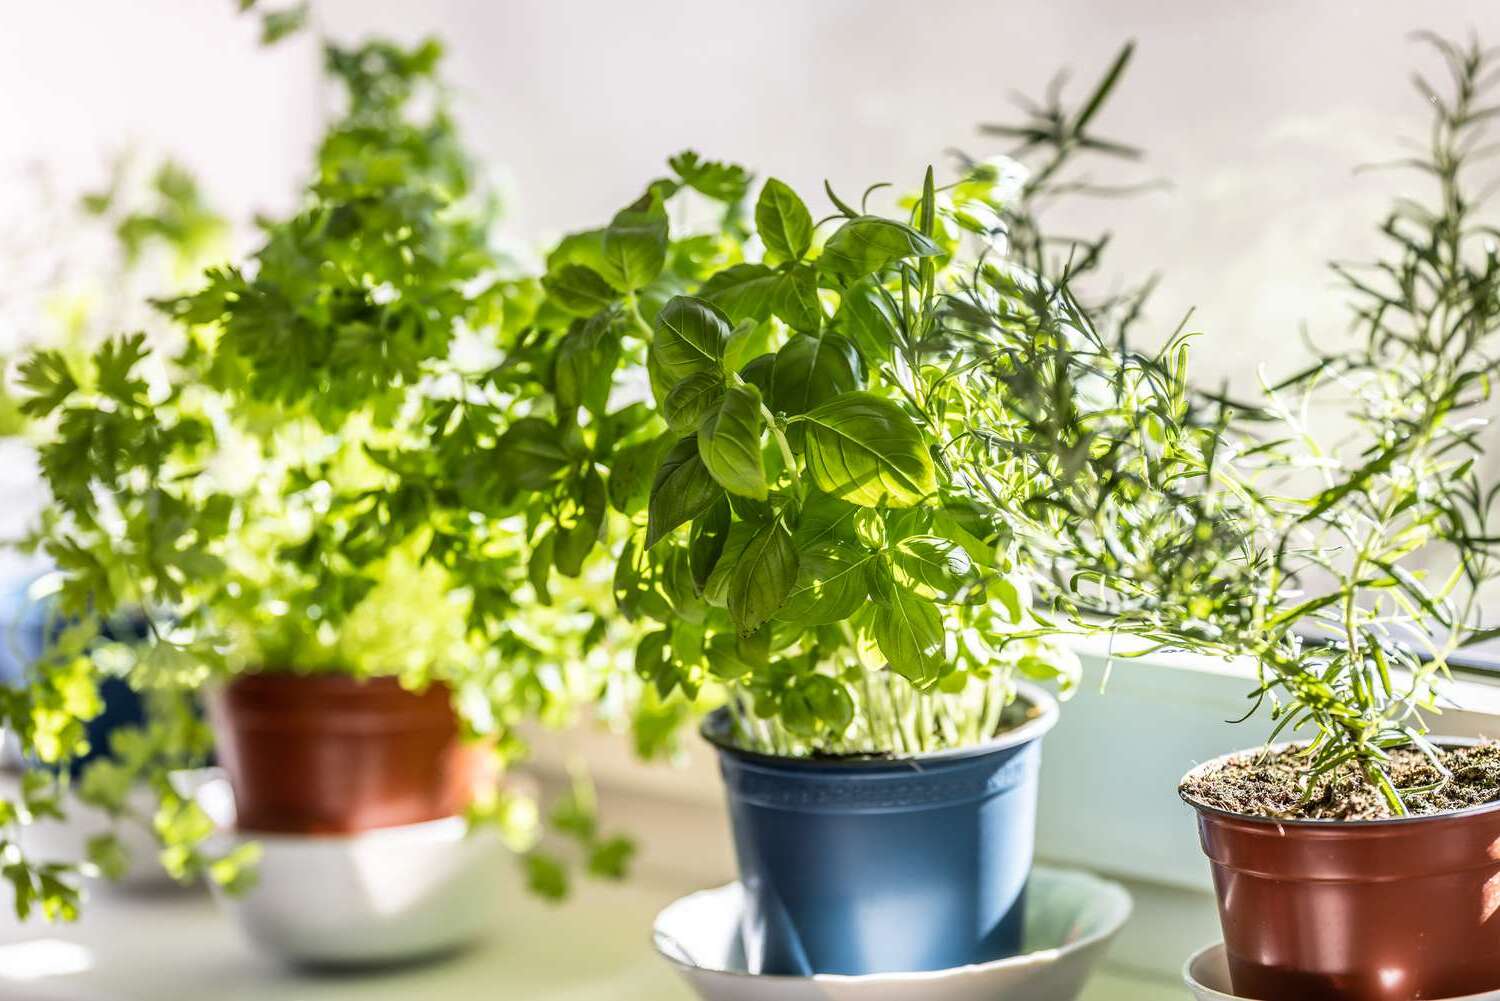
Growing herbs at home brings fresh flavors to your kitchen, saves money, and offers a fun project. Setting up a DIY window herb garden makes it easy to enjoy herbs year-round, even with limited space. Ready to get started? This guide breaks down each step, making it simple for anyone to create their own green oasis. With a few basic supplies and a sunny window, you’ll soon have fresh herbs at your fingertips. From selecting the right pots to choosing the perfect herbs, everything needed will be covered right here. Let’s dig in and start planting!
Getting Ready for Your Herb Garden
Choose Your Herbs: Pick herbs that grow well indoors like basil, mint, or parsley.
Gather Supplies: You'll need pots, potting soil, seeds or seedlings, and a watering can.
Set Up Workspace: Clear a table or counter near a sunny window. Lay down newspaper or a drop cloth to catch soil spills.
Safety Tips:
- Wear gloves to protect your hands.
- Use scissors carefully when opening seed packets.
- Keep soil and tools away from pets and small children.
Prepare Pots: Ensure pots have drainage holes. Place a small layer of gravel at the bottom to help with drainage.
Fill with Soil: Add potting soil to each pot, leaving about an inch from the top.
Plant Seeds or Seedlings: Follow the instructions on the seed packet or gently place seedlings into the soil. Cover with a thin layer of soil.
Water: Lightly water the soil until it's moist but not soggy.
Label Pots: Use labels or popsicle sticks to mark each herb.
Position Pots: Place pots on a windowsill or a shelf where they will get plenty of sunlight.
Monitor Growth: Check daily for water needs and ensure they get at least 6 hours of sunlight.
What You Need: Materials and Tools
Herb Seeds or Seedlings: Choose your favorite herbs like basil, mint, or parsley. Seedlings are young plants, while seeds take longer to grow.
Pots or Containers: Use small pots or containers with drainage holes. This prevents water from sitting at the bottom, which can rot roots.
Potting Soil: Special soil for pots, rich in nutrients. It helps herbs grow strong and healthy.
Watering Can or Spray Bottle: Keep soil moist but not soaked. A small watering can or spray bottle works best for indoor plants.
Plant Labels: Mark each pot with the herb's name. This helps you remember what you planted.
Tray or Saucer: Place under pots to catch excess water. Keeps your windowsill clean and dry.
Small Shovel or Trowel: Handy for filling pots with soil and planting seeds or seedlings.
Scissors or Pruning Shears: Trim herbs to encourage growth and keep them healthy. Use these tools to harvest your herbs too.
Fertilizer: Optional but helpful. Provides extra nutrients for your herbs. Use a balanced, water-soluble fertilizer.
Grow Light: If your window doesn't get enough sunlight, a grow light can help. It mimics natural sunlight, helping herbs grow indoors.
How Much Skill and Time You Need
Skill Level: Beginner
Time Required: 2-3 hours
- Gather Materials: 15 minutes
- Prepare Containers: 20 minutes
- Plant Herbs: 30 minutes
- Set Up Window Space: 30 minutes
- Water and Clean Up: 15 minutes
Follow These Steps to Create Your Garden
Gather Materials:
- Small pots or containers
- Herb seeds or small herb plants
- Potting soil
- Watering can
- Labels and a marker
- Tray to catch water
Choose Herbs:
- Select herbs like basil, mint, parsley, thyme, or rosemary.
Prepare Containers:
- Ensure each pot has drainage holes.
- Place a small tray under each pot to catch excess water.
Fill Pots with Soil:
- Fill each container with potting soil, leaving about an inch from the top.
Plant Seeds or Herbs:
- If using seeds, follow the planting depth instructions on the packet.
- For small plants, dig a small hole, place the plant inside, and cover with soil.
Label Pots:
- Write the name of each herb on a label and stick it in the corresponding pot.
Water Plants:
- Use a watering can to moisten the soil. Avoid overwatering.
Place in Window:
- Position the pots on a sunny windowsill where they can get at least 6 hours of sunlight daily.
Care for Herbs:
- Water regularly, keeping the soil moist but not soggy.
- Trim herbs as needed to encourage growth and prevent them from becoming too leggy.
Harvest:
- Once herbs are mature, harvest by cutting the leaves you need. This will also help the plant grow more vigorously.
Helpful Tips and Tricks
Choose the right herbs: Basil, mint, parsley, and chives grow well indoors.
Use proper containers: Ensure pots have drainage holes. Recycled jars or cans work if you add pebbles at the bottom.
Quality soil: Use potting mix, not garden soil. Potting mix drains better.
Sunlight: Place herbs in a window with at least 6 hours of sunlight. South-facing windows work best.
Watering: Water when the top inch of soil feels dry. Overwatering can cause root rot.
Rotate plants: Turn pots every few days to ensure even growth.
Label plants: Use popsicle sticks or small signs to identify herbs.
Common mistakes: Avoid overcrowding pots. Each herb needs space to grow. Don’t use garden soil; it’s too heavy and doesn’t drain well.
Alternative materials: Instead of buying pots, use old mugs, teacups, or plastic bottles cut in half. For soil, mix coconut coir with compost if potting mix isn’t available.
How Much Will This Cost?
Materials and Tools Cost Estimate:
Herb Seeds or Seedlings:
- Seeds: $1 - $3 per packet
- Seedlings: $3 - $5 each
Pots or Containers:
- Small pots: $1 - $3 each
- Recycled containers: Free
Potting Soil:
- Small bag: $5 - $10
Fertilizer:
- Small bottle: $5 - $10
Watering Can or Spray Bottle:
- Basic watering can: $5 - $10
- Spray bottle: $1 - $3
Labels or Markers:
- Plant labels: $2 - $5
- DIY labels (popsicle sticks): $1 - $2
Tray or Saucer (to catch water):
- Plastic tray: $2 - $5
- Recycled tray: Free
Hanging or Mounting Hardware (if needed):
- Hooks or brackets: $5 - $10
Budget-Friendly Alternatives:
Recycled Containers:
- Use old jars, cans, or plastic bottles: Free
DIY Labels:
- Use popsicle sticks or old spoons: $1 - $2
Watering Tools:
- Reuse a cleaned spray bottle: Free
Mounting Hardware:
- Repurpose old hooks or brackets: Free
Total Estimated Cost:
- Basic setup: $20 - $40
- Using budget-friendly alternatives: $10 - $20
Different Ways to Customize Your Garden
Alternative Materials:
- Containers: Use mason jars, tin cans, or ceramic pots instead of standard plastic pots.
- Mounting: Try a wooden pallet, hanging baskets, or magnetic strips to attach containers to the window frame.
- Soil: Consider using coconut coir, perlite, or vermiculite as alternatives to regular potting soil.
Colors:
- Pots: Paint containers in bright colors like yellow, blue, or red for a cheerful look.
- Labels: Use chalkboard paint on pots for easy labeling with white chalk.
- Frames: Paint the window frame in a contrasting color to make the garden stand out.
Styles:
- Rustic: Use wooden crates, twine, and burlap for a farmhouse feel.
- Modern: Opt for sleek metal containers, geometric shapes, and monochrome colors.
- Vintage: Repurpose old teacups, vintage tins, or antique glass jars for a nostalgic touch.
Additional Features:
- Lighting: Add LED grow lights if natural light is limited.
- Watering System: Install a self-watering system using a wicking method or drip irrigation.
- Decor: Incorporate small garden gnomes, fairy lights, or miniature signs for added charm.
Eco-Friendly Tips for Your Herb Garden
Materials Needed:
- Recycled Containers: Use old jars, cans, or plastic bottles. Clean them thoroughly.
- Organic Soil: Choose soil free from chemicals.
- Herb Seeds or Seedlings: Basil, mint, parsley, and cilantro work well.
- Natural Fertilizer: Compost or worm castings.
- Watering Can: Reuse an old bottle with small holes in the cap.
- Labels: Reuse popsicle sticks or cut pieces of old plastic containers.
Steps:
- Prepare Containers: Clean jars, cans, or bottles. Make drainage holes at the bottom.
- Add Soil: Fill containers with organic soil, leaving some space at the top.
- Plant Seeds or Seedlings: Place seeds or seedlings in the soil. Cover lightly with more soil.
- Water: Use the homemade watering can to moisten the soil. Avoid overwatering.
- Label: Write herb names on reused popsicle sticks or plastic pieces. Place them in the soil.
- Place in Window: Position containers on a sunny windowsill. Ensure they get at least 6 hours of sunlight daily.
- Maintain: Water regularly. Use natural fertilizer every few weeks.
Tips:
- Reuse Kitchen Scraps: Use eggshells or coffee grounds as additional fertilizer.
- Rotate Plants: Turn containers occasionally for even sunlight exposure.
- Prune Regularly: Trim herbs to encourage growth and prevent them from becoming leggy.
Your Green Thumb Adventure Awaits
Creating a DIY window herb garden is a rewarding project. You've learned how to choose the right containers, select the best herbs, and provide proper care. With a bit of sunlight, water, and love, your herbs will thrive. This project not only adds a touch of greenery to your home but also offers fresh ingredients for your meals. Plus, it’s a fun way to get into gardening without needing a big yard. So grab those supplies, follow the steps, and watch your herbs grow. Before you know it, you’ll have a lush, fragrant garden right in your window. Enjoy the process, and happy gardening!
How much sunlight do herbs need?
Most herbs need 6-8 hours of sunlight daily. Place your garden near a south-facing window for the best results.
What herbs grow best indoors?
Basil, mint, parsley, chives, and thyme are great choices. They're easy to grow and thrive indoors.
How often should I water my herbs?
Water when the top inch of soil feels dry. Overwatering can cause root rot, so be careful not to drown them.
Do I need special soil for my herb garden?
Use well-draining potting soil. You can mix in some perlite or sand to improve drainage.
Can I use any container for planting?
Almost any container works, but make sure it has drainage holes. Herbs hate sitting in waterlogged soil.
How do I keep pests away from my herbs?
Check your plants regularly for pests. Use natural remedies like neem oil or insecticidal soap if needed.
Do herbs need fertilizer?
Yes, but sparingly. Use a balanced, water-soluble fertilizer once a month to keep your herbs healthy.