
Home>Home & Furniture>Kitchen>DIY Upcycled Kitchen Island Guide
Kitchen
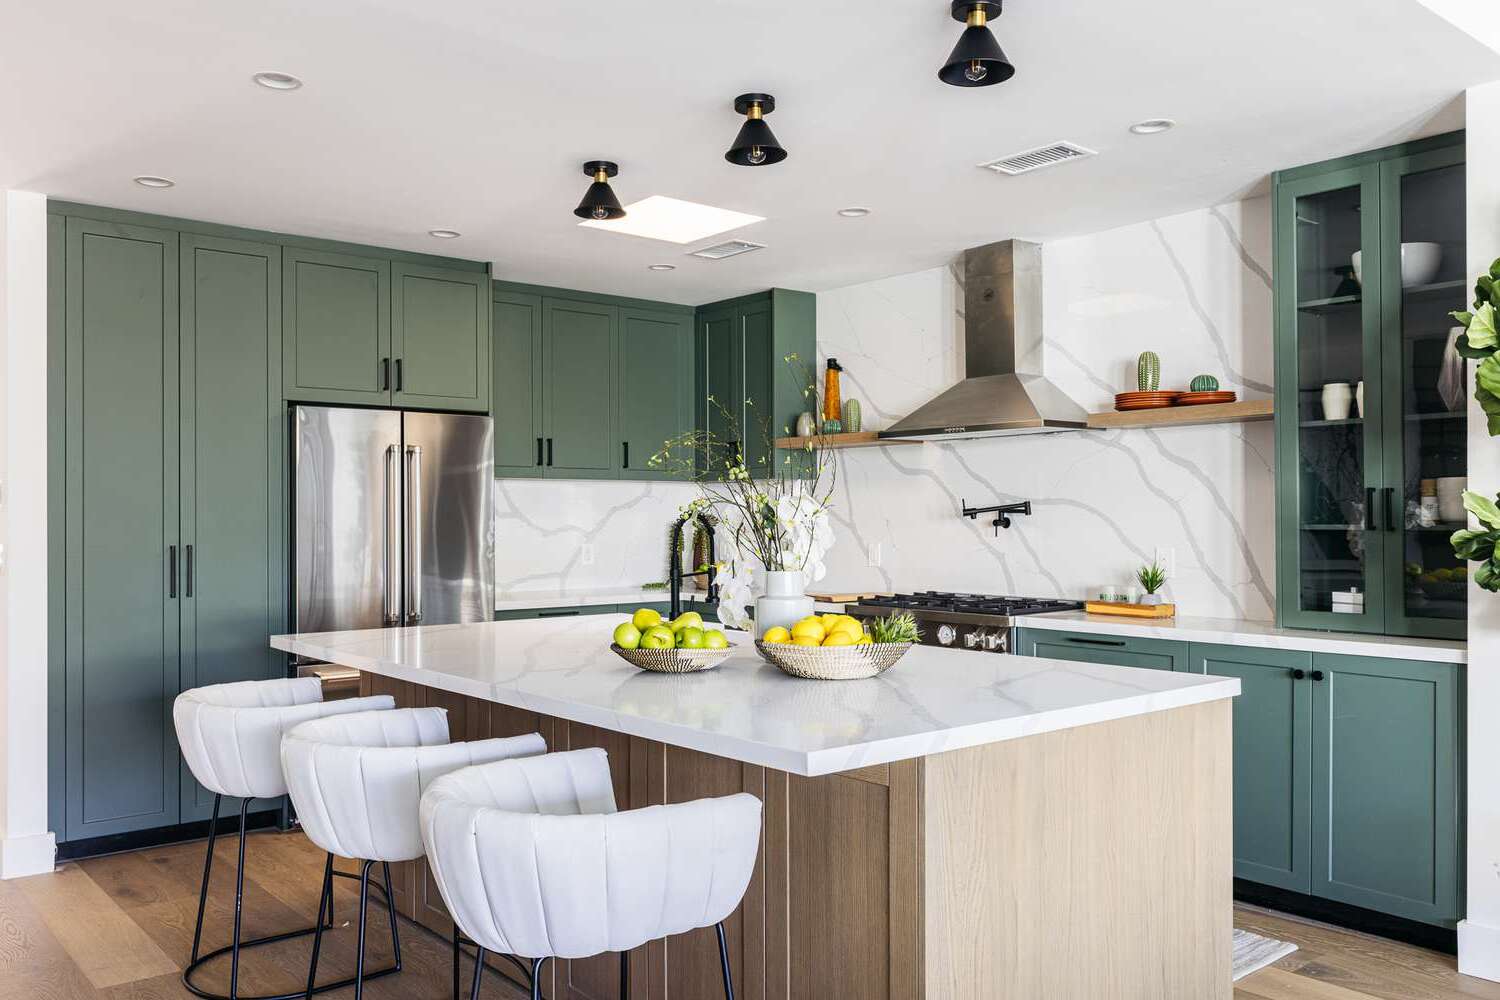
DIY Upcycled Kitchen Island Guide
Published: August 4, 2024
Transform your kitchen with a DIY upcycled kitchen island! Discover step-by-step instructions, creative ideas, and tips for a budget-friendly, eco-friendly upgrade.
(Many of the links in this article redirect to a specific reviewed product. Your purchase of these products through affiliate links helps to generate commission for Twigandthistle.com, at no extra cost. Learn more)
Tired of your plain kitchen setup? How about crafting an upcycled kitchen island? It's a fun project that can transform the look and feel of your space. Better yet, you can use old materials, reducing waste while saving money. Whether a seasoned DIYer or a beginner, creating an upcycled kitchen island offers a rewarding experience. Plus, you'll get to enjoy a unique, personalized piece that can't be found in stores. Ready to dive in? Gather your tools, materials, and a bit of creativity. Let’s get started on turning something old into something new and useful!
Preparation Steps
Gather Materials: Collect old cabinets, wooden pallets, or any sturdy furniture pieces. Make sure they are clean and free of pests.
Safety Gear: Wear gloves, safety goggles, and a dust mask. This protects you from splinters, dust, and any harmful chemicals.
Workspace Setup: Choose a well-ventilated area with plenty of light. Lay down a drop cloth or old sheets to protect the floor.
Tools Ready: Have a screwdriver, hammer, saw, measuring tape, level, and sander within reach. Check that all tools are in good working condition.
Measure Twice: Measure your space and the materials twice to ensure everything fits perfectly. Mark your measurements clearly with a pencil.
Disassemble Carefully: If using old furniture, disassemble it carefully to avoid damaging the pieces you need. Keep screws and small parts in a container.
Sand and Clean: Sand all surfaces to remove old paint or varnish. Wipe down with a damp cloth to remove dust.
Plan Layout: Arrange your materials in the desired layout before attaching anything. This helps visualize the final product and make adjustments.
Check Stability: Ensure all pieces are stable and level before securing them together. Use a level to check horizontal surfaces.
Pre-drill Holes: Pre-drill holes for screws to prevent wood from splitting. This makes assembly smoother and more secure.
Gather Your Materials and Tools
Materials:
- Old Wooden Pallet - Forms the base structure.
- Sandpaper - Smooths rough surfaces.
- Wood Stain or Paint - Adds color and protection.
- Sealant - Protects against moisture.
- Screws and Nails - Holds everything together.
- Wood Glue - Provides extra bonding strength.
- Casters (Wheels) - Makes the island mobile.
- Butcher Block or Countertop - Serves as the work surface.
- Hooks and Handles - Adds functionality for hanging utensils.
Tools:
- Hammer - Drives nails into wood.
- Screwdriver - Tightens screws.
- Drill - Makes holes for screws and bolts.
- Saw - Cuts wood to size.
- Measuring Tape - Ensures accurate measurements.
- Level - Keeps surfaces even.
- Paintbrushes or Rollers - Applies stain or paint.
- Clamps - Holds pieces together while glue dries.
- Safety Gear (Gloves, Goggles) - Protects hands and eyes during work.
Required Skills and Time
Skill Level: Intermediate
Time Required: 2-3 days
- Gather Materials: 2 hours
- Disassemble Old Furniture: 1 hour
- Sand and Prep Surfaces: 3-4 hours
- Assemble Base: 4-5 hours
- Attach Countertop: 2-3 hours
- Paint/Stain: 4-6 hours (including drying time)
- Final Touches: 1-2 hours
Instructions for Each Step
Gather Materials
- Old dresser or table
- Sandpaper
- Paint or stain
- Paintbrushes
- Screws and screwdriver
- Casters (optional)
- Wood glue
- Measuring tape
- Drop cloth
Prepare the Workspace
- Lay down a drop cloth to protect the floor.
- Ensure the area is well-ventilated.
Disassemble Furniture
- Remove any drawers or shelves from the dresser or table.
- Keep screws and hardware in a safe place.
Sand the Surface
- Use sandpaper to smooth out rough areas.
- Wipe away dust with a damp cloth.
Paint or Stain
- Apply paint or stain to the furniture.
- Let it dry according to the manufacturer's instructions.
- Apply a second coat if needed.
Reassemble Furniture
- Reattach drawers or shelves.
- Use wood glue for added stability.
Add Casters (Optional)
- Attach casters to the bottom of the furniture for mobility.
- Secure them with screws.
Measure and Cut
- Measure the top surface of the furniture.
- Cut a piece of wood or butcher block to fit.
Attach the Top
- Place the cut piece on top of the furniture.
- Secure it with screws from underneath.
Final Touches
- Check for stability.
- Touch up any paint or stain as needed.
- Clean up the workspace.
Helpful Tips and Tricks
Measure twice, cut once. Always double-check measurements before cutting materials. This saves time and reduces waste.
Use sturdy materials. Repurpose solid wood furniture like old dressers or tables. Avoid flimsy materials that won't hold up.
Sand surfaces. Smooth out rough edges and old paint. This helps new paint or stain adhere better.
Add wheels. Attach caster wheels to the bottom for easy mobility. Make sure they lock to keep the island in place.
Install hooks and shelves. Maximize storage by adding hooks for utensils and shelves for extra space.
Seal the top. Use a food-safe sealant on the countertop to protect against spills and stains.
Paint or stain. Choose a durable finish that matches your kitchen decor. Use primer before painting for better coverage.
Common mistakes to avoid:
- Skipping the sanding step. This can lead to uneven surfaces.
- Using weak adhesives. Opt for strong wood glue or screws.
- Ignoring weight limits. Ensure the island can support heavy items.
Alternatives:
- Instead of wood, consider using metal or stone for a modern look.
- For a budget-friendly option, use laminate countertops instead of granite or butcher block.
- If you lack tools, rent them from a local hardware store.
Estimating the Cost
Materials:
- Old dresser or table: $0-$50 (find one at a thrift store or garage sale)
- Sandpaper: $5
- Paint or stain: $15-$30
- Sealer: $10-$20
- New hardware (knobs, handles): $10-$20
- Butcher block or wood top: $50-$100
- Casters (optional): $20-$40
Tools:
- Screwdriver: $5-$10
- Paintbrushes: $5-$10
- Drill: $30-$50 (if not already owned)
- Saw (if cutting wood top): $20-$50 (if not already owned)
Total Cost: $170-$380
Budget-Friendly Alternatives:
- Use leftover paint or stain from previous projects.
- Repurpose old hardware from other furniture.
- Find free wood or butcher block from local classifieds or community groups.
- Borrow tools from friends or family instead of buying.
Different Variations and Customizations
Materials: Instead of using old doors or pallets, try repurposing an old dresser or bookshelf. These can provide built-in storage and unique character. For the countertop, consider butcher block, marble, or even concrete for a different look.
Colors: Paint the base in bold colors like navy blue or forest green for a modern touch. For a rustic feel, use distressed white or pastel shades. Stain the wood in dark walnut or light oak to match your kitchen's theme.
Styles: Add industrial elements like metal brackets or pipe legs for a trendy look. For a farmhouse vibe, incorporate shiplap or barn door hardware. If you prefer a minimalist style, keep lines clean and colors neutral.
Storage: Install hooks or magnetic strips on the sides for hanging utensils. Add shelves underneath for pots and pans. Consider adding a wine rack or basket drawers for extra functionality.
Finishes: Use chalk paint for a matte, vintage look or high-gloss paint for a sleek, modern finish. Seal the countertop with food-safe oil or polyurethane to protect against spills and stains.
Accessories: Top with a cutting board or butcher block insert for added utility. Attach casters to make it mobile. Add a towel bar or paper towel holder for convenience.
Lighting: Install under-cabinet lighting or a pendant light above the island to enhance visibility and ambiance.
Eco-Friendly Tips
Reclaimed Wood: Use old barn wood, pallets, or leftover planks. Sand them down and apply a non-toxic finish.
Repurposed Cabinets: Find old cabinets at thrift stores or garage sales. Paint them with eco-friendly paint and add new handles.
Salvaged Countertops: Look for used countertops made of granite, marble, or butcher block. These can often be found at building material reuse centers.
Eco-Friendly Paint: Choose paints labeled as low-VOC or zero-VOC. These paints release fewer harmful chemicals into the air.
Recycled Metal: Use old metal pipes or brackets for support. Clean them up and give them a fresh coat of rust-proof paint.
Natural Sealants: Opt for sealants made from natural oils like linseed or tung oil. These are less harmful to the environment.
Upcycled Furniture: Turn an old dresser or table into the base of your kitchen island. Remove drawers or legs as needed.
Sustainable Hardware: Choose hardware made from recycled materials. Look for handles, knobs, and hinges that are eco-friendly.
Energy-Efficient Lighting: Install LED lights under the countertop. These use less energy and last longer than traditional bulbs.
Compostable Materials: Use biodegradable materials for any disposable items, like sandpaper or drop cloths.
Your New Kitchen Centerpiece Awaits
You've got all the tools and materials to create a stunning upcycled kitchen island. With some elbow grease and a bit of creativity, you can transform old furniture into a functional, stylish centerpiece. Remember to measure twice, cut once, and always sand those edges smooth. Don't forget to seal the wood to protect it from spills and stains.
Adding personal touches like hooks for utensils or a wine rack can make it even more unique. This project not only saves money but also gives you a sense of accomplishment. Plus, it's a great way to recycle and reuse materials. So, roll up your sleeves, gather your supplies, and get started. Your dream kitchen island is just a few steps away. Happy building!
How do I choose the right materials for my upcycled kitchen island?
Look for sturdy wood from old furniture, pallets, or even doors. Metal frames from discarded tables or shelves work well too. Check local thrift stores or salvage yards for unique finds.
What tools will I need for this project?
Basic tools like a saw, drill, screwdriver, and measuring tape are essential. A sander helps smooth surfaces, and paintbrushes or rollers are handy for finishing touches.
How can I ensure my kitchen island is stable?
Make sure the base is solid and level. Use brackets or reinforcements at joints. Adding casters with locks can provide mobility without sacrificing stability.
Can I add storage to my upcycled kitchen island?
Absolutely! Incorporate shelves, drawers, or even baskets. Repurpose old cabinets or crates for extra storage space.
What are some finishing options for my kitchen island?
Paint or stain the wood for a fresh look. Consider a butcher block top for a functional surface. Sealing the wood protects it from spills and wear.
How do I maintain my upcycled kitchen island?
Regularly clean the surface with mild soap and water. Re-seal the wood every few years to keep it looking new. Tighten any loose screws or brackets as needed.
Can I add special features to my kitchen island?
Sure thing! Install a wine rack, pot hooks, or even a small sink if plumbing allows. Personalize it to fit your kitchen needs.