
Home>Home & Furniture>Kitchen>DIY Unique Kitchen Signs
Kitchen
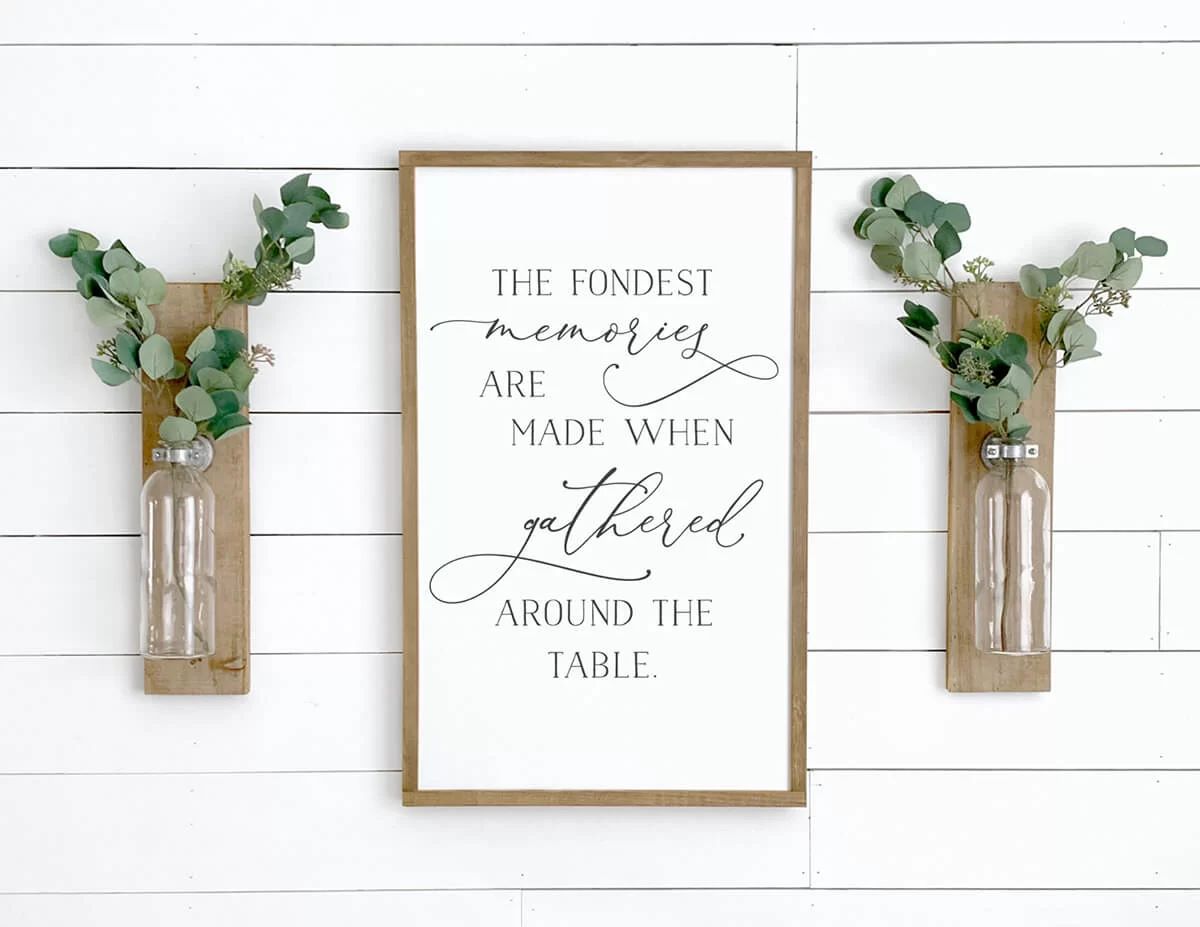
DIY Unique Kitchen Signs
Published: July 23, 2024
Discover creative DIY unique kitchen signs to add a personal touch to your cooking space. Follow our step-by-step guide for fun and easy kitchen decor projects.
(Many of the links in this article redirect to a specific reviewed product. Your purchase of these products through affiliate links helps to generate commission for Twigandthistle.com, at no extra cost. Learn more)
Adding personal touches to your kitchen can make it feel more like home. One fun way to do this is by creating your own unique kitchen signs. Not only are they a great way to showcase your creativity, but they also serve as practical decorations. Whether you want to add a touch of humor, display a favorite quote, or label different areas, DIY kitchen signs can be a perfect fit. You don’t need to be an artist or spend a lot of money. With some basic materials and a bit of patience, anyone can make these charming additions.
Getting Ready for Your Project
- Gather Materials: Collect wood, paint, brushes, stencils, and any other decorative items.
- Choose a Design: Decide on the words or images for the sign. Sketch it out on paper first.
- Safety Gear: Wear gloves, goggles, and a mask to protect from dust and fumes.
- Prepare Workspace: Set up a clean, well-ventilated area with a sturdy table.
- Cut Wood: Measure and cut the wood to the desired size. Sand edges to smooth them out.
- Prime Wood: Apply a primer to the wood to help the paint stick better.
- Layout Design: Use stencils or freehand to outline the design on the wood.
- Paint Base Coat: Paint the background color and let it dry completely.
- Add Details: Paint the words or images using smaller brushes for precision.
- Seal Sign: Apply a clear sealant to protect the paint and wood from wear.
Gather Your Materials and Tools
Wooden Boards: These form the base of your signs. Choose sizes that fit your kitchen space.
Sandpaper: Smooths out rough edges on the wooden boards.
Paint or Stain: Adds color or a natural wood finish to your signs.
Paintbrushes: Used to apply paint or stain. Different sizes help with detailed work.
Stencils: Helps create uniform letters and designs on your signs.
Acrylic Paints: Ideal for painting letters and designs. They dry quickly and are easy to clean up.
Pencil: For sketching out designs before painting.
Ruler: Ensures straight lines and even spacing.
Painter's Tape: Keeps paint within desired areas and prevents smudging.
Hooks or Hangers: Attach to the back of the signs for easy wall mounting.
Screws and Screwdriver: Secure hooks or hangers to the wooden boards.
Clear Sealant: Protects the finished signs from moisture and wear.
Cloth or Rag: Wipe off excess paint or stain.
Drop Cloth: Protects your work surface from paint spills.
Gloves: Keeps hands clean while staining or painting.
Skill Level and Time Commitment
Skill Level: Beginner
Time Required: 2-4 hours
- Gather Materials: 30 minutes
- Design and Plan: 30 minutes
- Cut and Prepare Wood: 30 minutes
- Paint or Stain: 1 hour
- Add Lettering and Decorations: 1 hour
Important Keywords: Beginner, 2-4 hours, Gather Materials, Design, Plan, Cut, Prepare Wood, Paint, Stain, Add Lettering, Decorations
Follow These Steps
Gather Materials:
- Wooden board or canvas
- Paints (acrylic or chalk)
- Paintbrushes
- Stencils or letter stickers
- Sandpaper
- Pencil
- Ruler
- Hanging hardware (hooks or string)
Prepare the Surface:
- Sand the wooden board to smooth out rough edges.
- Wipe off dust with a damp cloth.
Plan Your Design:
- Use a pencil and ruler to lightly sketch your design or layout.
- Decide on the placement of words and images.
Apply Base Paint:
- Paint the entire surface with your chosen base color.
- Let it dry completely.
Add Text and Designs:
- Place stencils or letter stickers on the board.
- Paint over them with contrasting colors.
- Carefully remove stencils or stickers once paint is dry.
Detailing:
- Use a fine brush for any additional details or touch-ups.
- Add decorative elements like small images or patterns.
Seal the Sign:
- Apply a clear sealant to protect the paint.
- Let it dry thoroughly.
Attach Hanging Hardware:
- Screw hooks into the top of the board or attach string to the back.
- Ensure it is secure for hanging.
Hang Your Sign:
- Choose a spot in your kitchen.
- Use nails or adhesive hooks to display your new sign.
Helpful Tips and Tricks
Choose the Right Materials: Use wood or metal for a sturdy base. Chalkboard paint can add a fun, changeable element.
Plan Your Design: Sketch your idea on paper first. This helps avoid mistakes later.
Use Stencils: For clean, professional-looking letters, use stencils. They save time and effort.
Seal Your Work: Apply a clear sealant to protect your sign from kitchen spills and steam.
Common Mistakes to Avoid:
Skipping Sanding: Always sand wood surfaces before painting. This helps paint stick better.
Overloading Paint: Too much paint can cause drips. Use thin layers for a smooth finish.
Ignoring Measurements: Measure your space before starting. A sign that's too big or small won't look right.
Alternatives:
Vinyl Letters: If painting isn't your thing, use vinyl letters. They stick easily and look neat.
Repurposed Materials: Old cutting boards or trays make great bases for signs. They add a rustic touch.
Digital Prints: Print your design on transfer paper and iron it onto your base. This method is quick and easy.
Estimating the Cost
Wooden Plaques: $10-$20 each. Look for reclaimed wood or old cutting boards for cheaper options.
Paints: $5-$10 per color. Acrylic paints work well and are affordable.
Paint Brushes: $5-$15 for a set. Basic sets from craft stores are sufficient.
Stencils: $5-$10. Printable stencils from the internet can save money.
Sandpaper: $3-$5. A single sheet or small pack will do.
Sealer: $5-$10. Clear spray sealers protect the paint.
Hanging Hardware: $3-$5. Picture hangers or hooks work fine.
Total Cost: $36-$75.
Budget-Friendly Alternatives:
- Use scrap wood or old kitchen items instead of buying new plaques.
- Homemade stencils from cardboard or paper.
- Reuse old paint from other projects.
- Borrow tools like brushes from friends or family.
Personalize Your Kitchen Signs
Materials: Use wood for a rustic look, metal for an industrial vibe, or ceramic tiles for a polished finish. Reclaimed pallet wood adds a vintage touch.
Colors: Paint signs in bright colors for a cheerful kitchen or neutral tones for a minimalist style. Chalkboard paint lets you change messages easily.
Styles: Go for hand-painted designs for a personal touch. Stenciled letters offer a clean, professional look. Decoupage with patterned paper or fabric for a unique texture.
Lettering: Use vinyl stickers for precise letters. Burn wood with a pyrography tool for a rustic feel. Embossed metal letters add a 3D effect.
Themes: Create signs with food quotes, recipe reminders, or family names. Seasonal themes like holiday greetings or summer vibes keep the kitchen lively.
Mounting: Hang signs with twine for a farmhouse look, metal hooks for sturdiness, or magnetic strips for easy repositioning.
Finishes: Seal with clear varnish for durability. Use distressing techniques for a weathered look. Apply glossy finish for a sleek, modern touch.
Eco-Friendly Ideas
Reclaimed wood from old furniture or pallets can make a rustic sign. Sand it down, then paint or stencil your message. Wine corks can be cut in half and glued to a board to spell out words. Old cutting boards can be painted with chalkboard paint for a reusable message board. Tin can lids can be painted and used as a base for small signs. Fabric scraps can be glued to cardboard for a colorful, textured look. Broken tiles can be arranged into a mosaic sign. Glass jars can be painted and used to hold small signs or labels. Recycled paper can be used to create a decoupage effect on wood or cardboard. Bottle caps can be glued to a board to create a fun, quirky sign. Old picture frames can be repurposed by adding a painted or stenciled message inside.
Your Kitchen, Your Style
Creating unique kitchen signs adds a personal touch to your space. It’s a fun, creative way to showcase your personality while enhancing your kitchen’s decor. Whether you’re using wood, metal, or chalkboard, the possibilities are endless. Don’t be afraid to experiment with different materials and designs. Remember, the best part of DIY is making something truly your own. So, gather your supplies, roll up your sleeves, and start crafting. Your kitchen will thank you for the extra bit of charm. Happy crafting!
How do I choose the right materials for my kitchen sign?
Think about the style of your kitchen. For a rustic look, go with wood. For a modern vibe, try metal or acrylic. Make sure the material can handle humidity and heat.
What tools will I need?
Basic tools include a saw, sandpaper, paintbrushes, and stencils. If you're working with metal, you might need a drill and metal cutters. Don't forget safety gear like gloves and goggles.
Can I make a sign without artistic skills?
Absolutely! Use stencils or vinyl letters to create clean, professional-looking text. You can also print out designs and trace them onto your sign.
How do I hang my kitchen sign?
Use picture hangers, command strips, or nails. For heavier signs, consider using anchors or screws. Make sure the sign is level before securing it.
What kind of paint should I use?
Acrylic paint works well on most surfaces and dries quickly. For a more durable finish, use enamel paint. If your sign will be exposed to moisture, consider a waterproof sealer.
How can I make my sign unique?
Add personal touches like your family name, favorite quotes, or custom designs. Use different fonts, colors, and textures to make it stand out. Experiment with distressing techniques for a vintage look.
How long will it take to make a kitchen sign?
Depending on the complexity and drying times, it can take anywhere from a few hours to a couple of days. Simple designs are quicker, while detailed ones might need more time.