
Home>Home & Furniture>Kitchen>DIY Outdoor Kitchen Ideas
Kitchen
DIY Outdoor Kitchen Ideas
Published: July 31, 2024
Discover inspiring DIY outdoor kitchen ideas to transform your backyard into a culinary oasis. From budget-friendly setups to luxurious designs, find your perfect outdoor kitchen!
(Many of the links in this article redirect to a specific reviewed product. Your purchase of these products through affiliate links helps to generate commission for Twigandthistle.com, at no extra cost. Learn more)
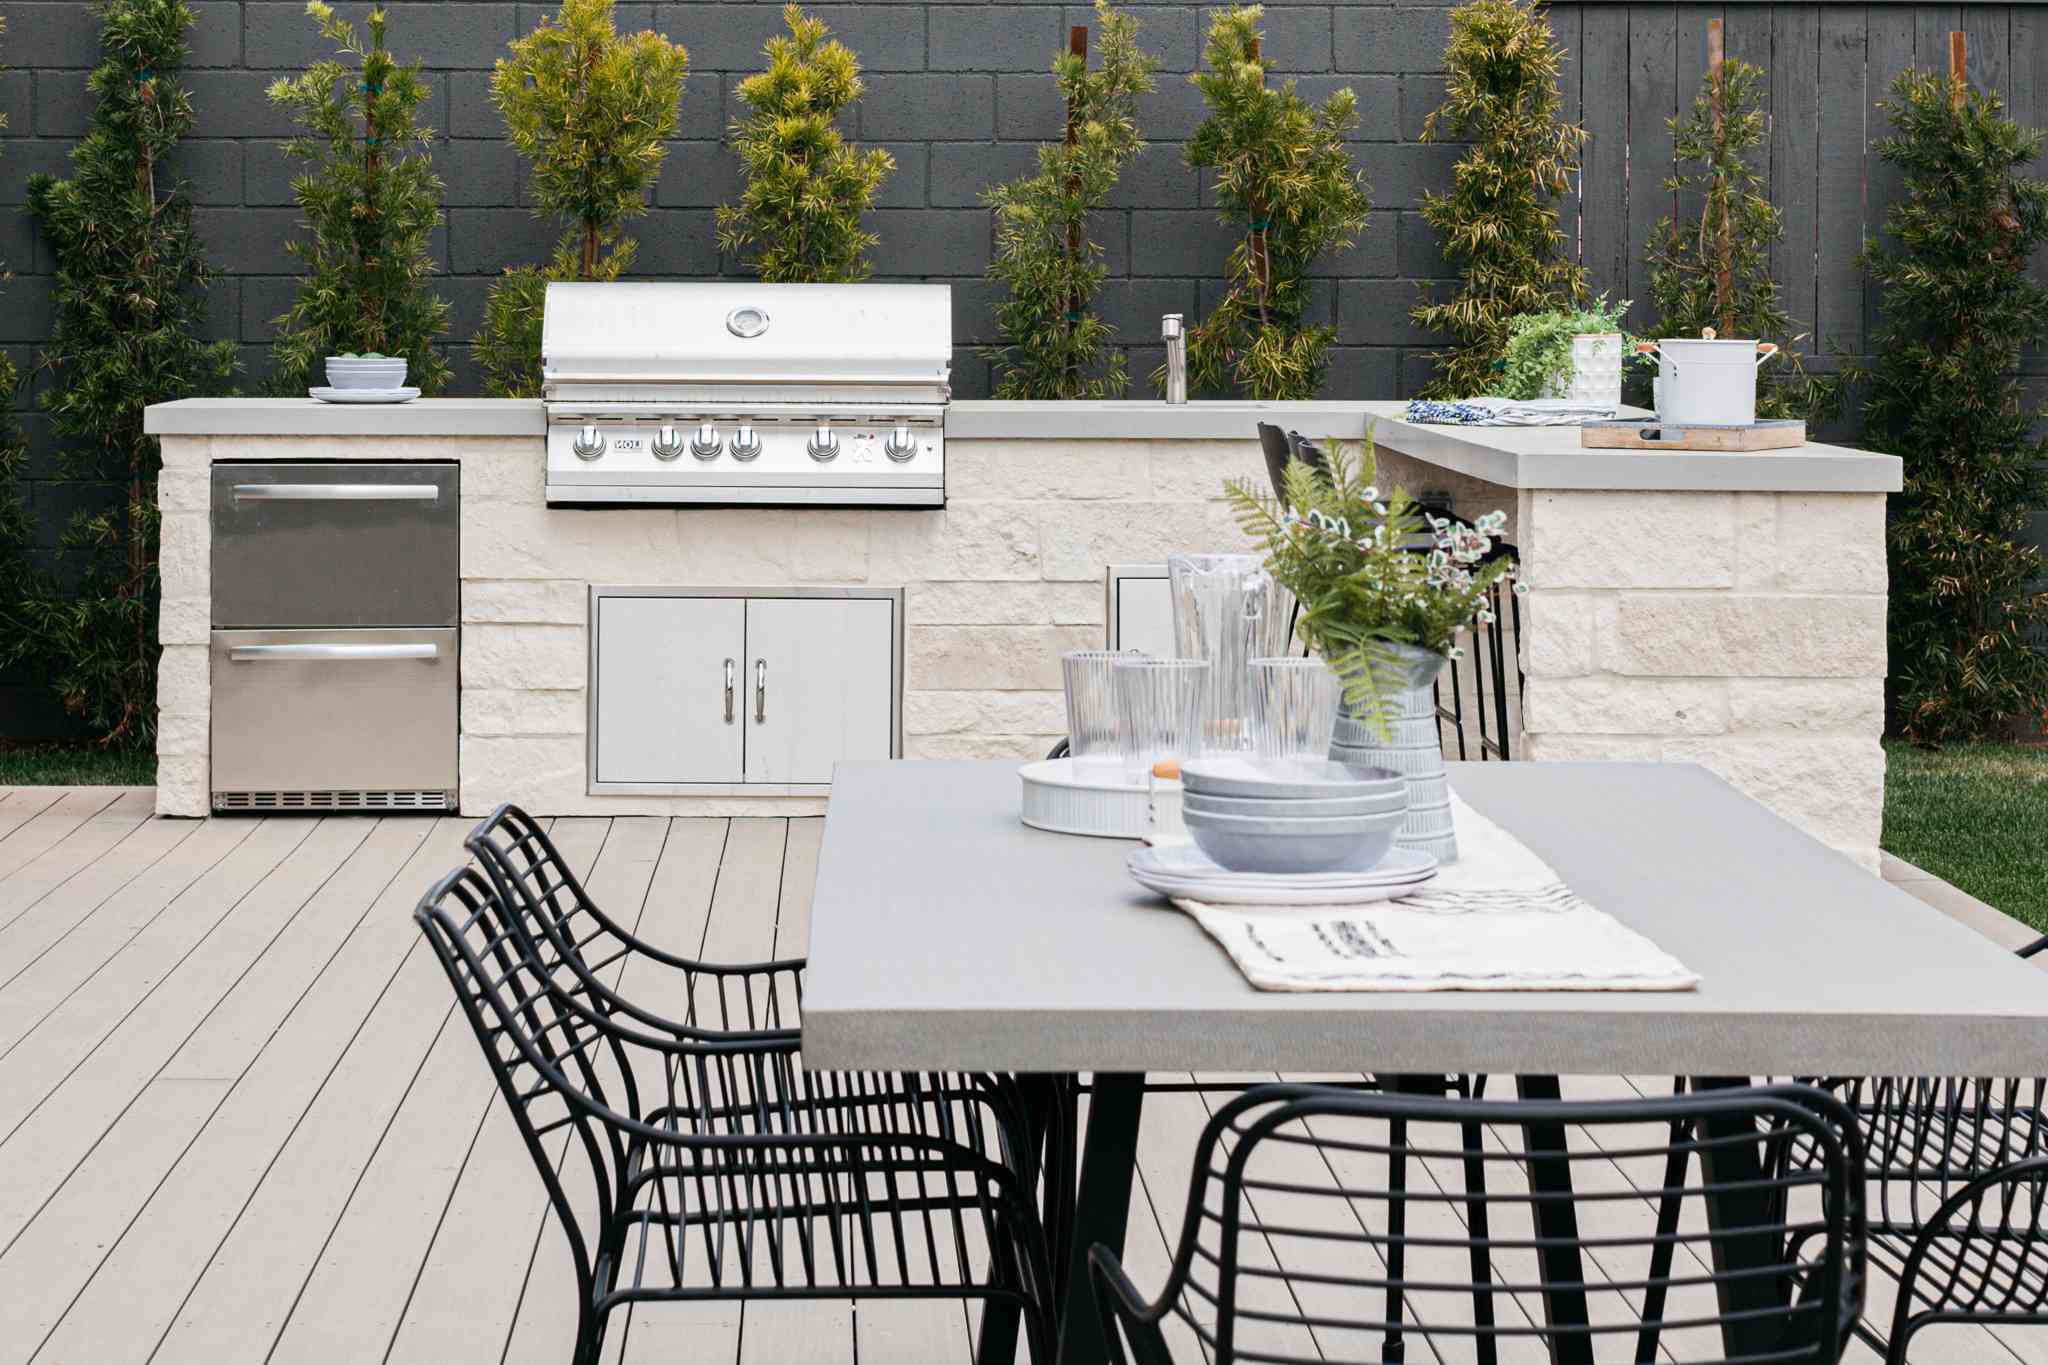
Dreaming of an outdoor kitchen? Building one yourself can be both fun and satisfying. It's a great way to enjoy cooking outdoors, especially during summer. You don't need to be a professional; with some basic tools, materials, and a bit of creativity, you can create a space that suits your style and needs. Whether you want a simple grill station or a full kitchen setup with countertops, cabinets, and a sink, there's an idea out there for you. Dive into these DIY outdoor kitchen ideas and start planning your perfect outdoor cooking space today.
Getting Ready for Your Project
Plan Your Layout: Sketch a rough design of where you want everything to go. Think about the placement of the grill, sink, and prep areas.
Check Local Codes: Ensure you follow local building codes and regulations. Some areas require permits for outdoor kitchens.
Gather Materials: Collect all necessary materials like bricks, cement, countertops, and appliances. Make a checklist to avoid missing anything.
Prepare the Ground: Clear the area where you’ll build. Level the ground and lay a solid foundation using concrete or pavers.
Set Up a Safe Workspace: Keep tools organized and within reach. Make sure there’s enough lighting if you’re working late.
Wear Safety Gear: Use gloves, safety goggles, and sturdy shoes. Protect yourself from sharp tools and heavy materials.
Check Utilities: Plan for water, gas, and electricity. Ensure you have access to these utilities and know where the lines run.
Measure Twice, Cut Once: Double-check measurements before cutting materials. This saves time and reduces waste.
Have a First Aid Kit: Keep a first aid kit nearby. Accidents can happen, so be prepared for minor injuries.
Stay Hydrated: Working outdoors can be tiring. Drink plenty of water and take breaks to avoid exhaustion.
Gathering Materials and Tools
- Cement: Used for creating a sturdy base and countertops.
- Bricks: Essential for building the structure of the kitchen.
- Grill: The centerpiece for cooking food outdoors.
- Sink: Provides a place to wash hands and food.
- Faucet: Needed for the sink to supply water.
- Cabinets: Store utensils, dishes, and other kitchen items.
- Countertops: Provide a surface for food prep.
- Tiles: Used for flooring and backsplash, making cleaning easier.
- Wood: For building frames, shelves, and other structures.
- Screws and Nails: Necessary for assembling wooden parts.
- Sealant: Protects surfaces from water damage.
- Paint: Adds color and protects wood and metal surfaces.
- Outdoor Lighting: Ensures visibility during evening cooking.
- Refrigerator: Keeps food and drinks cold.
- Power Drill: Speeds up the process of drilling holes for screws.
- Hammer: Useful for driving nails into wood.
- Screwdriver: Tightens screws in cabinets and other fixtures.
- Level: Ensures surfaces are even.
- Measuring Tape: Measures dimensions accurately.
- Saw: Cuts wood and other materials to size.
- Trowel: Spreads cement evenly.
- Safety Gear: Includes gloves, goggles, and masks for protection.
Each item plays a crucial role in building a functional and stylish outdoor kitchen.
Skill Level and Time Commitment
Skill Level: Intermediate
Time Required: 2-4 weekends
- Planning and Design: 4-6 hours
- Gathering Materials: 1-2 days
- Building the Frame: 1 weekend
- Installing Countertops and Appliances: 1-2 weekends
- Finishing Touches (Painting, Sealing): 1 weekend
How to Build Your Outdoor Kitchen
Plan Your Layout
- Decide on the location.
- Sketch a layout including grill, sink, counter space.
- Measure the dimensions.
Gather Materials
- Concrete blocks or bricks for the base.
- Countertop material like granite or tile.
- Grill, sink, and other appliances.
- Mortar, screws, and other fasteners.
Prepare the Area
- Clear the ground.
- Level the surface.
- Lay a foundation if needed.
Build the Base
- Stack concrete blocks or bricks to form the base.
- Use mortar to secure them.
- Allow drying time.
Install Countertops
- Place countertop material on the base.
- Secure with adhesive or screws.
- Ensure it is level.
Install Appliances
- Position the grill and secure it.
- Install the sink and connect to water supply.
- Add any other appliances.
Add Finishing Touches
- Paint or seal the countertops.
- Add shelves or storage.
- Decorate with plants or outdoor decor.
Test Everything
- Check all connections.
- Ensure the grill and sink work properly.
- Make any necessary adjustments.
Helpful Tips and Tricks
Plan your layout before starting. Measure your space and decide where to place the grill, sink, and prep areas. Use weather-resistant materials like stainless steel, stone, or treated wood to ensure durability. Install proper ventilation for grills to avoid smoke buildup. Consider storage options like cabinets or shelves to keep utensils and ingredients handy. Add lighting for evening use; string lights or LED fixtures work well.
Common mistakes to avoid: Skipping the planning phase can lead to cramped or inefficient spaces. Using indoor materials like untreated wood or regular steel can result in quick deterioration. Ignoring ventilation can make cooking unpleasant. Forgetting storage means constant trips inside for supplies. Overlooking lighting can limit evening use.
Alternatives: Instead of stainless steel, try using powder-coated metal for a different look. For countertops, concrete can be a cost-effective alternative to stone. If plumbing a sink is too challenging, use a portable camping sink. Instead of built-in cabinets, consider weatherproof storage bins. For lighting, solar-powered options can save on electricity.
Estimating the Cost
Grill: A basic gas grill costs around $150. Higher-end models can go up to $500 or more.
Countertops: Concrete countertops are budget-friendly at about $75 per square foot. Granite or marble can cost $100-$200 per square foot.
Cabinets: Ready-to-assemble outdoor cabinets start at $200 each. Custom-built ones can be $500 or more per unit.
Sink: A basic outdoor sink costs around $100. Stainless steel models can be $200-$300.
Refrigerator: Small outdoor refrigerators start at $150. Larger, more durable ones can be $500 or more.
Flooring: Pavers or concrete slabs cost about $2-$5 per square foot. Natural stone or tile can be $10-$20 per square foot.
Lighting: Basic outdoor lighting fixtures cost around $20 each. Higher-end options can be $50-$100 each.
Pergola or Shade Structure: A simple pergola kit costs around $300. Custom-built structures can be $1,000 or more.
Tools: Basic tools like a drill, saw, and level can be around $100 if you don't already have them.
Budget-Friendly Alternatives:
- Use concrete blocks for countertops instead of granite.
- Opt for ready-to-assemble cabinets instead of custom-built ones.
- Choose basic lighting fixtures over high-end options.
- Consider a simple shade sail instead of a custom pergola.
Ideas for Customization
Materials: Use reclaimed wood for a rustic look or stainless steel for a modern feel. Concrete countertops offer durability, while granite adds elegance. Brick and stone can give a classic, sturdy appearance.
Colors: Choose earth tones like browns and greens to blend with nature. Bold colors like red or blue can make the space pop. Neutral colors like white or gray provide a clean, timeless look.
Styles: For a Mediterranean vibe, use terracotta tiles and wrought iron accents. A beach theme can include light woods, white paint, and nautical decor. Modern designs often feature sleek lines, minimalistic elements, and monochromatic color schemes.
Grills and Appliances: Opt for a built-in grill for a seamless look or a freestanding grill for flexibility. Add a pizza oven for variety or a smoker for rich flavors. Mini-fridges and ice makers keep drinks cold and accessible.
Seating: Use bar stools around a high counter for casual dining. Built-in benches with cushions offer comfort and save space. Outdoor sofas create a cozy lounge area.
Lighting: String fairy lights for a magical touch. Lanterns and torches add ambiance and warmth. Recessed lighting under counters provides a sleek, modern look.
Shelving and Storage: Install open shelves for easy access to utensils and spices. Cabinets with weather-resistant materials keep items protected. Hooks and racks can hold grilling tools and towels.
Extras: Incorporate a fire pit for warmth and socializing. Add a water feature like a small fountain for a calming effect. Planters with herbs and flowers can enhance the space's beauty and functionality.
Eco-Friendly Tips
Reclaimed wood makes excellent countertops or cabinets. It adds character and reduces waste. Recycled metal can be used for frames or shelving. It’s durable and eco-friendly. Concrete countertops mixed with recycled glass look stylish and sustainable. Bamboo is another great option for cabinets or flooring. It grows quickly and is very renewable. Solar-powered lights can illuminate your kitchen without using electricity. Recycled bricks or stones can create a rustic and sturdy base for grills or ovens. Compostable materials like bamboo or palm leaf plates and utensils reduce waste. Rainwater collection systems can provide water for cleaning or cooking. Natural stone or recycled pavers make beautiful, durable flooring. Eco-friendly paints and finishes ensure fewer chemicals in your environment.
Your Outdoor Kitchen Awaits
Building your own outdoor kitchen can be a rewarding project. With some planning, creativity, and elbow grease, you can create a space perfect for grilling, entertaining, and enjoying the outdoors. Remember to consider your budget, available space, and the materials you want to use. Don't be afraid to mix and match styles or repurpose old items to give your kitchen a unique touch. Safety should always be a priority, so ensure proper ventilation and fire safety measures. Once everything's set up, you'll have a fantastic spot to cook, dine, and make memories with family and friends. Happy building!
What materials should I use for building an outdoor kitchen?
Use weather-resistant materials like stainless steel, stone, and concrete. These hold up well against the elements and require less maintenance.
How do I protect my outdoor kitchen from the weather?
Install a roof or pergola to shield it from rain and sun. Use covers for appliances and furniture when not in use.
Can I install a sink in my outdoor kitchen?
Yes, but you'll need to run plumbing lines for water supply and drainage. Make sure to use materials that can withstand outdoor conditions.
What kind of grill should I get?
Choose between gas, charcoal, or electric grills. Gas grills are convenient, charcoal grills offer a smoky flavor, and electric grills are easy to use.
How much space do I need for an outdoor kitchen?
Plan for at least 10x10 feet to comfortably fit a grill, prep area, and seating. Adjust based on your needs and available space.
Do I need a permit to build an outdoor kitchen?
Check with your local building department. Some areas require permits for plumbing, electrical work, or permanent structures.
What are some must-have features for an outdoor kitchen?
Include a grill, prep area, sink, and storage. Optional features like a fridge, pizza oven, or bar can enhance your setup.