
Home>Home & Furniture>Kitchen>DIY Burlap Curtains: How to Make Rustic Window Treatments
Kitchen
DIY Burlap Curtains: How to Make Rustic Window Treatments
Published: July 24, 2024
Learn how to make rustic burlap curtains with our step-by-step guide. Perfect for adding a cozy, farmhouse touch to your home decor. Easy, budget-friendly DIY project!
(Many of the links in this article redirect to a specific reviewed product. Your purchase of these products through affiliate links helps to generate commission for Twigandthistle.com, at no extra cost. Learn more)
Creating your own burlap curtains can transform any room, adding a touch of rustic charm. Burlap, with its coarse texture and natural look, offers a unique, cozy vibe. Plus, making these curtains is a fun, straightforward project that doesn't require extensive sewing skills. Perfect for anyone looking to personalize their space without breaking the bank. Whether you want them for your living room, bedroom, or kitchen, burlap curtains can suit many styles. Ready to dive in and learn how to craft these charming window treatments? Let's get started on this simple yet rewarding DIY project!
Getting Ready for Your Project
Gather Materials: Burlap fabric, curtain rod, measuring tape, scissors, sewing machine, thread, iron, and curtain rings or hooks.
Measure Windows: Use a measuring tape to find the width and height of your windows. Add extra inches for hems and desired curtain length.
Cut Fabric: Lay out the burlap fabric on a flat surface. Cut it according to your measurements, adding extra for hems.
Iron Fabric: Iron the burlap to remove wrinkles. This makes sewing easier and ensures a neat finish.
Sew Hems: Fold the edges of the fabric about half an inch, then fold again to hide raw edges. Sew these folds to create clean hems.
Add Curtain Rings or Hooks: Attach curtain rings or hooks to the top edge of the burlap. Space them evenly for a balanced look.
Install Curtain Rod: Secure the curtain rod above your window. Make sure it’s level and sturdy.
Hang Curtains: Slide the rings or hooks onto the curtain rod. Adjust the curtains to ensure they hang evenly.
Safety Tips:
- Use Sharp Scissors Carefully: Always cut away from your body.
- Iron with Caution: Keep the iron on a safe surface and avoid burns.
- Secure Curtain Rod Properly: Ensure it can support the weight of the burlap curtains.
Workspace Setup:
- Flat Surface: Use a large table or floor space for cutting and ironing.
- Good Lighting: Ensure your workspace is well-lit to avoid mistakes.
- Organized Tools: Keep all tools within reach to streamline the process.
What You Need: Materials and Tools
Burlap Fabric: This is the main material for the curtains. It gives a rustic look and is easy to work with.
Measuring Tape: Essential for measuring the fabric and ensuring the curtains fit your windows perfectly.
Scissors: Used to cut the burlap fabric to the desired size.
Sewing Machine: Helps stitch the edges of the burlap fabric to prevent fraying and to create hems.
Thread: Matches the color of the burlap fabric. Used for sewing the hems and any decorative stitching.
Pins: Hold the fabric in place while sewing. They ensure straight lines and even hems.
Iron: Removes wrinkles from the burlap fabric and helps set the hems before sewing.
Curtain Rod: Holds the finished curtains. Choose one that matches your window size and decor style.
Curtain Rings or Clips: Attach the burlap curtains to the rod. They make it easy to open and close the curtains.
Chalk or Fabric Marker: Marks measurements on the burlap fabric without leaving permanent marks.
Ruler or Straight Edge: Ensures straight cuts and measurements on the fabric.
Safety Pins: Temporarily hold fabric pieces together before sewing.
Hem Tape (Optional): An alternative to sewing. It can be ironed on to create hems without stitching.
Skill Level and Time Commitment
Skill Level: Beginner
Time Required: 2-3 hours
Steps:
- Measure and Cut the burlap to fit your window.
- Hem the Edges using fabric glue or a sewing machine.
- Attach Curtain Rings or create a rod pocket.
- Hang the Curtains on your curtain rod.
Important Keywords: Measure, Cut, Hem, Attach, Hang
Follow These Steps
Gather Materials:
- Burlap fabric
- Curtain rod
- Measuring tape
- Scissors
- Sewing machine or needle and thread
- Iron
- Pins
- Curtain rings or clips (optional)
Measure Windows:
- Use the measuring tape to determine the width and height of the window.
- Add extra inches to the height for the top hem and bottom hem.
Cut Burlap:
- Lay the burlap fabric flat.
- Measure and mark the dimensions needed.
- Cut the fabric according to the measurements.
Hem Edges:
- Fold over the edges of the burlap by about 1 inch.
- Pin the folds in place.
- Use an iron to press the folds flat.
Sew Hems:
- Sew along the pinned edges to create hems.
- Ensure the stitches are straight and secure.
Create Rod Pocket:
- Fold the top edge of the burlap down by 3-4 inches.
- Pin the fold in place.
- Sew along the bottom of the fold to create a pocket for the curtain rod.
Iron Curtains:
- Iron the entire curtain to remove wrinkles.
- Ensure the hems and rod pocket are crisp.
Hang Curtains:
- Slide the curtain rod through the rod pocket.
- Alternatively, attach curtain rings or clips to the top of the burlap.
- Hang the rod on the window brackets.
Adjust Length:
- Check the curtain length.
- Trim any excess fabric if necessary.
Style and Enjoy:
- Arrange the curtains to your liking.
- Enjoy your new rustic window treatments.
Helpful Tips and Tricks
Measure twice, cut once. Always double-check your measurements before cutting the burlap to avoid mistakes.
Use a rotary cutter instead of scissors for cleaner edges. This tool helps keep the fabric from fraying too much.
Hem the edges with a zigzag stitch or use fabric glue to prevent fraying. Burlap tends to unravel easily, so securing the edges is crucial.
Iron the burlap before sewing. This fabric can be quite wrinkly, and ironing will make it easier to work with.
Line the curtains with a lightweight fabric if you want more privacy or to block light. Burlap is quite see-through on its own.
Hang the curtains with clip rings for an easy and adjustable method. This also adds a bit of a modern touch to the rustic look.
Common mistakes to avoid:
Skipping the ironing step. Wrinkled burlap is hard to measure and sew accurately.
Not securing the edges. Burlap frays easily, so always hem or glue the edges.
Using the wrong thread. Choose a strong, heavy-duty thread to handle the rough texture of burlap.
Alternatives for materials or methods:
Use drop cloth fabric instead of burlap for a similar rustic look but with a softer texture.
Try linen or cotton for a more refined version of rustic curtains. These fabrics are easier to work with and less prone to fraying.
Consider fabric paint to add designs or patterns to your burlap curtains, giving them a personalized touch.
Estimating the Cost
Burlap fabric: $3-$5 per yard. For two standard curtains, you might need 6-8 yards, totaling $18-$40.
Curtain rod: $10-$20. Choose a simple rod that matches your decor.
Thread: $2-$4. Basic sewing thread works fine.
Sewing machine: If you don't own one, consider borrowing or renting. Buying one can cost $100-$200.
Scissors: $5-$10. Sharp fabric scissors are best.
Measuring tape: $3-$5. Accurate measurements ensure a good fit.
Pins: $2-$3. These help hold fabric in place while sewing.
Iron: $20-$30 if you don't already have one. Pressing seams makes sewing easier.
Budget-friendly alternatives: Use a tension rod ($5-$10) instead of a curtain rod. Hand-sewing can replace a sewing machine, though it takes more time. Borrow tools from friends or family to save money.
Creative Variations and Customizations
Alternative Materials: Instead of burlap, try using linen for a softer look or canvas for a sturdier feel. Drop cloths can also provide a rustic appearance but with a different texture.
Colors: Dye burlap in various shades to match your room's decor. Earth tones like brown, green, or beige keep the rustic vibe, while bold colors like red or navy add a pop of color.
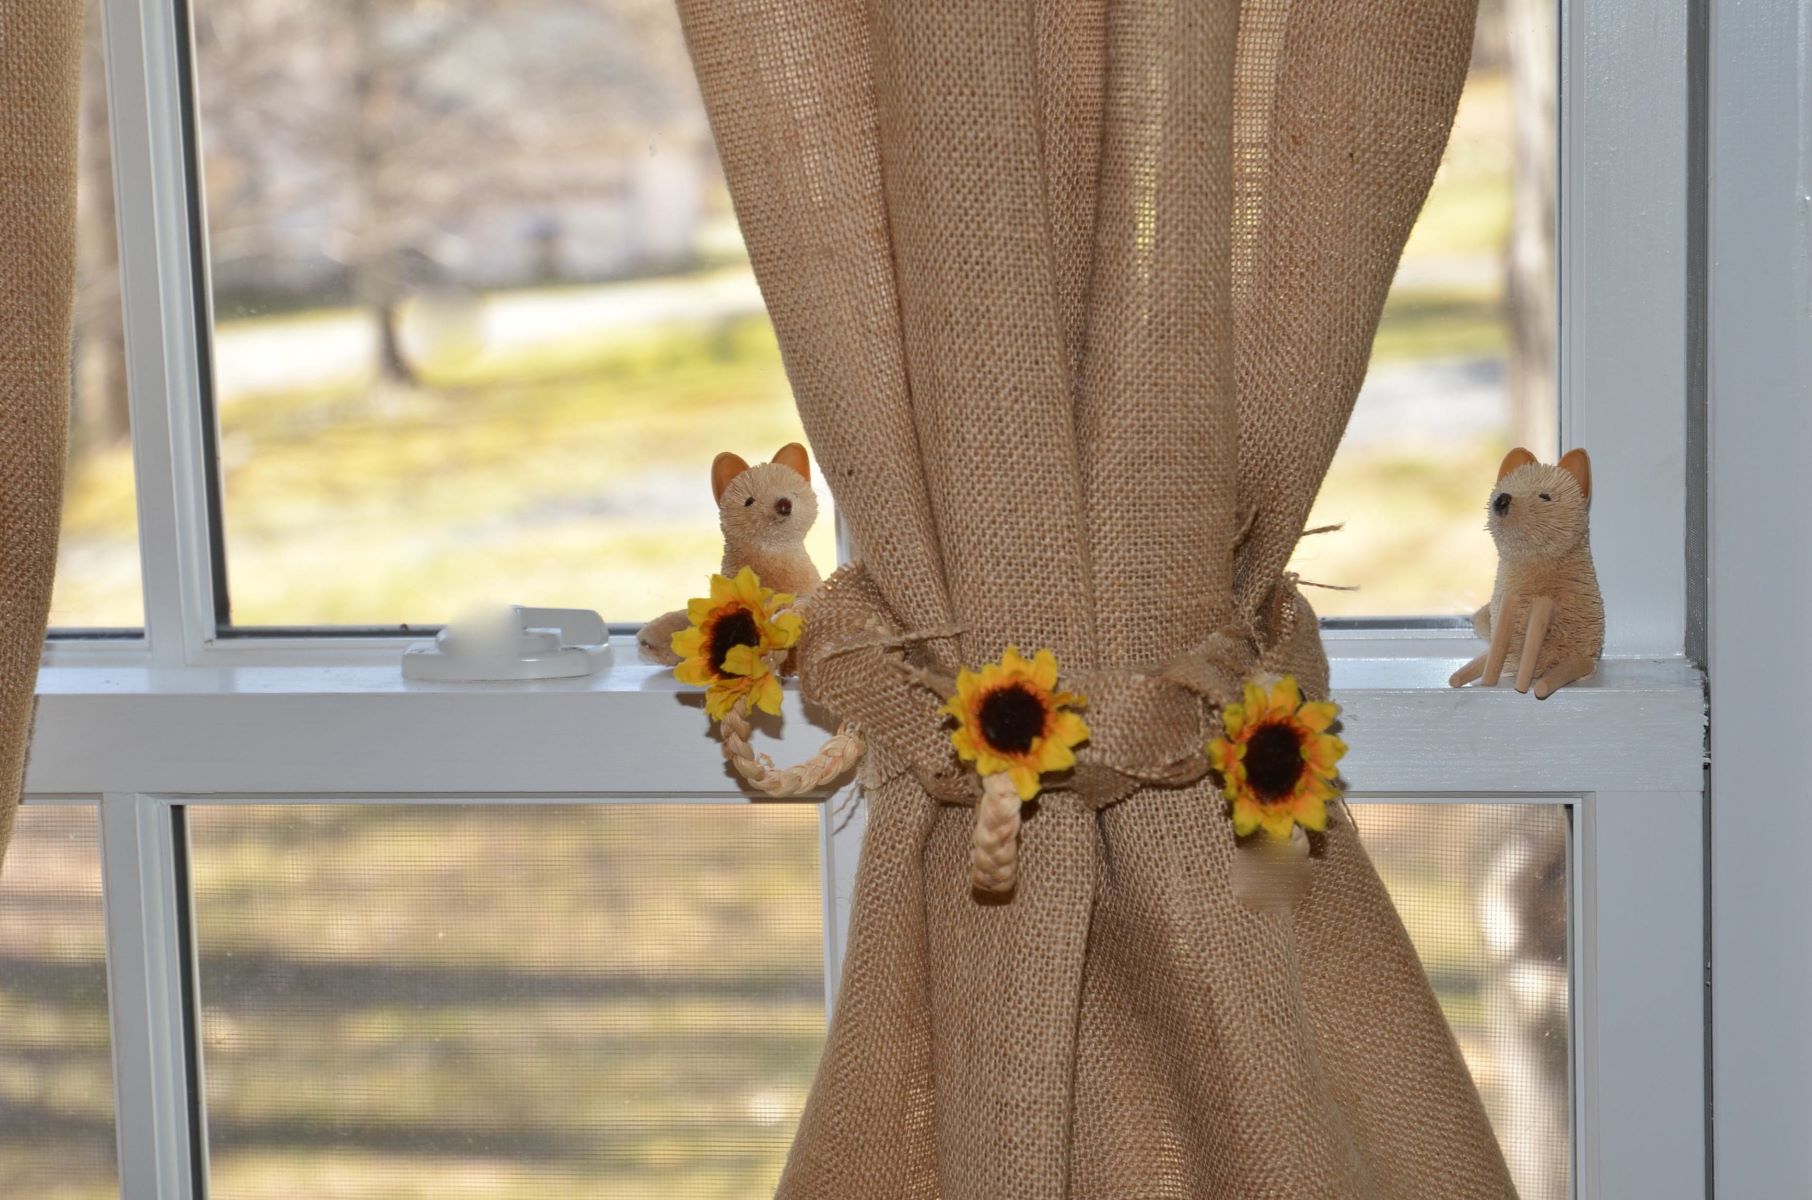
Styles: Add lace trim to the edges for a vintage touch. Use stencils to paint patterns or designs on the fabric. Tiebacks made from rope or twine can enhance the rustic look.
Hanging Methods: Use clip rings for an easy, adjustable option. Grommets can give a more polished finish. For a unique touch, hang curtains from a branch or driftwood instead of a traditional rod.
Embellishments: Sew on buttons or patches for added detail. Attach fabric flowers or burlap bows to the corners. Consider adding pockets for small decorative items.
Layering: Pair burlap curtains with sheer panels for a layered look that adds depth. Use a valance at the top for extra style. Combine with blackout liners if you need more light control.
Eco-Friendly Tips
Burlap is an eco-friendly material made from jute or hemp fibers, which are both biodegradable. When making rustic window treatments, consider reusing old burlap sacks or coffee bags. These can often be found at local markets or online.
For the curtain rod, use a reclaimed wooden dowel or a repurposed metal pipe. Both options add a rustic touch while promoting sustainability.
Instead of synthetic thread, opt for organic cotton or hemp thread. These are more environmentally friendly and often stronger.
To hang the curtains, use recycled metal rings or wooden clothespins. Both options are durable and can be reused for other projects.
For added decoration, consider using natural dyes to color the burlap. These can be made from items like beet juice, turmeric, or onion skins.
Finally, avoid using chemical-based fabric stiffeners. Instead, create a natural stiffener using a mixture of cornstarch and water. This will help the burlap hold its shape without harming the environment.
Your Rustic Masterpiece Awaits
You've got all the steps to create your own burlap curtains. From measuring your windows to cutting the burlap fabric, sewing the edges, and adding the finishing touches, you're ready to transform your space. This project not only saves money but also adds a personal touch to your home. Plus, the satisfaction of knowing you made something with your own hands? Priceless.
Remember, practice makes perfect. If your first attempt isn't flawless, don't sweat it. Each project helps you improve your skills. So, gather your materials, set up your workspace, and dive into this fun DIY adventure. Your windows will thank you, and your home will have that cozy, rustic charm you've been dreaming of. Happy crafting!
What materials do I need to make burlap curtains?
You'll need burlap fabric, a measuring tape, scissors, curtain rod, sewing machine or fabric glue, and curtain rings or clips.
How do I measure my windows for burlap curtains?
Measure the width and height of your window. Add a few extra inches to the width for a fuller look and to the height for hemming.
Can I wash burlap fabric before making the curtains?
Yes, but be gentle. Hand wash or use a delicate cycle in cold water. Burlap can fray, so handle with care.
How do I prevent burlap from fraying?
Use fabric glue along the edges or hem the fabric with a sewing machine. You can also use pinking shears to cut the edges.
Do I need to line burlap curtains?
It's optional. Lining can make them more durable and block light better. Use a lightweight cotton or muslin fabric for lining.
How do I hang burlap curtains?
Use curtain rings or clips for an easy, rustic look. You can also sew a rod pocket at the top and slide the curtain rod through.
Can I dye burlap fabric?
Yes, you can dye burlap using fabric dye. Follow the dye instructions carefully. Burlap absorbs dye well but may not be perfectly even.