
Home>Home & Furniture>Kitchen>Clever DIY Kitchen Storage Ideas
Kitchen
Clever DIY Kitchen Storage Ideas
Published: August 3, 2024
Discover clever DIY kitchen storage ideas to maximize space and keep your kitchen organized. Transform your kitchen with these easy, budget-friendly storage solutions!
(Many of the links in this article redirect to a specific reviewed product. Your purchase of these products through affiliate links helps to generate commission for Twigandthistle.com, at no extra cost. Learn more)
Kitchens can get cluttered quickly. With so many tools, gadgets, and ingredients, finding a place for everything is challenging. Creating effective storage solutions doesn't have to be expensive or complicated. By using creativity and a few simple materials, anyone can turn their kitchen into an organized, efficient space. From re-purposing everyday items to building custom storage units, there are plenty of ways to make the most of available space. Whether dealing with a tiny apartment kitchen or a spacious cooking area, clever DIY projects can help keep everything tidy and within reach. Let's explore some inventive ideas for better kitchen storage.
Getting Ready for Your Project
Measure Your Space: Use a tape measure to get the exact dimensions of your kitchen. This helps in planning where to place new storage solutions.
Declutter: Remove items you no longer use. This makes it easier to see what storage solutions you need.
Gather Materials: Collect all necessary tools and materials like screws, brackets, wood, and paint. Having everything ready saves time.
Safety Gear: Wear safety goggles and gloves to protect your eyes and hands. Keep a first aid kit nearby in case of minor injuries.
Clear the Workspace: Ensure your work area is clean and free of obstacles. This prevents accidents and makes it easier to move around.
Plan Layout: Sketch a layout of where each storage solution will go. This helps visualize the final look and ensures everything fits.
Check for Studs: Use a stud finder to locate wall studs. This is crucial for securely mounting heavy items.
Ventilation: If painting or using strong adhesives, ensure the area is well-ventilated. Open windows or use fans to circulate air.
Test Tools: Make sure all tools are in working order. Dull blades or faulty tools can cause accidents.
Read Instructions: If using pre-made kits or new tools, read the instructions thoroughly. This ensures proper use and safety.
What You Need to Get Started
- Measuring Tape: Essential for accurate measurements to ensure everything fits perfectly.
- Screwdriver Set: Needed for assembling and installing storage units or shelves.
- Power Drill: Makes drilling holes for screws and anchors quicker and easier.
- Level: Ensures shelves and storage units are installed straight.
- Stud Finder: Helps locate wall studs for secure mounting of heavy items.
- Wood Screws: Used to secure shelves and other wooden storage solutions.
- Wall Anchors: Provide extra support for items mounted on drywall.
- Plywood or MDF Boards: Used to create custom shelves or storage boxes.
- Sandpaper: Smooths rough edges on wood before painting or staining.
- Paint or Stain: Adds a finished look to wooden storage solutions.
- Paintbrushes or Rollers: Used to apply paint or stain evenly.
- Brackets: Support shelves and other storage units.
- Hooks and Pegs: Useful for hanging utensils, pots, or other kitchen items.
- Adhesive Hooks: Provide additional hanging options without drilling.
- Storage Bins: Organize smaller items within cabinets or on shelves.
- Label Maker: Helps keep everything organized by labeling bins and shelves.
- Utility Knife: Cuts through packaging, tape, or other materials.
- Safety Gear: Includes gloves, goggles, and a dust mask to protect while working.
How Much Time and Skill Is Needed?
Skill Level: Beginner
Time Required: 2-4 hours
- Magnetic Spice Rack: Easy to install, takes about 30 minutes.
- Under-Shelf Baskets: Simple to attach, around 20 minutes.
- Pegboard Organizer: Requires basic tools, about 1 hour.
- Drawer Dividers: Quick to assemble, roughly 30 minutes.
- Hanging Pot Rack: Slightly more involved, 1-2 hours.
Follow These Steps
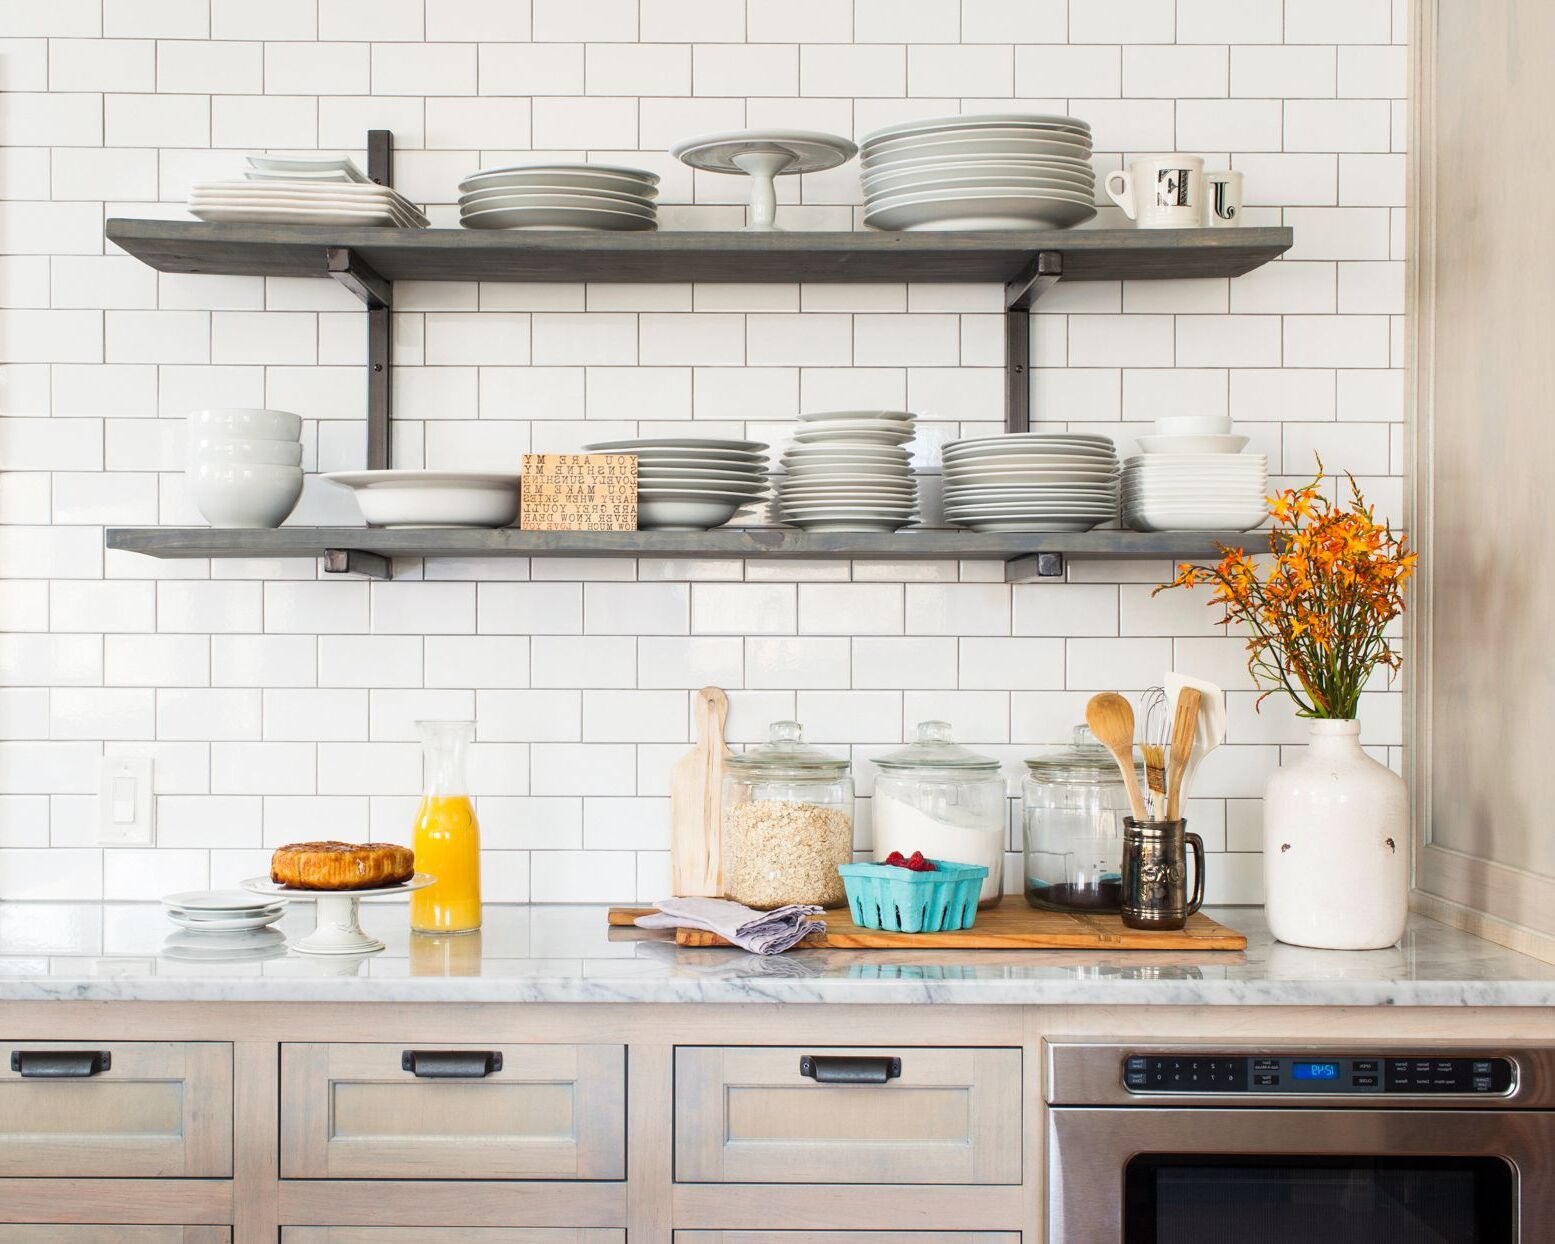
Install Floating Shelves
- Measure the wall space.
- Mark where the brackets will go.
- Drill holes for the brackets.
- Attach brackets to the wall.
- Place shelves on brackets.
Use Tension Rods
- Measure the width of the cabinet.
- Adjust tension rod to fit snugly.
- Place rod inside cabinet.
- Hang cleaning supplies or utensils.
Create a Pegboard Organizer
- Measure wall space for pegboard.
- Cut pegboard to fit.
- Attach pegboard to the wall using screws.
- Hang hooks and baskets on pegboard.
Add Cabinet Door Racks
- Measure inside of cabinet door.
- Purchase or make a rack to fit.
- Attach rack to door using screws.
- Store spices or small items in rack.
Use Magnetic Strips
- Purchase a magnetic strip.
- Attach strip to wall or inside cabinet.
- Place metal utensils or knives on strip.
Install Pull-Out Drawers
- Measure inside of cabinet.
- Purchase pull-out drawer kit.
- Assemble drawer according to instructions.
- Attach drawer to cabinet base.
Hang Pots and Pans
- Install a sturdy rod or rack on the wall.
- Use S-hooks to hang pots and pans.
- Ensure hooks are evenly spaced.
Label Containers
- Purchase clear containers.
- Fill containers with dry goods.
- Use labels to identify contents.
- Store containers in pantry or cabinets.
Use Lazy Susans
- Purchase a Lazy Susan.
- Place it in a corner cabinet or pantry.
- Arrange items on the Lazy Susan for easy access.
Create a Coffee Station
- Designate a small counter area.
- Use a small shelf or cart.
- Store coffee maker, mugs, and supplies together.
Add Under-Shelf Baskets
- Measure shelf thickness.
- Purchase under-shelf baskets.
- Slide baskets onto shelves.
- Store lightweight items in baskets.
Use Drawer Dividers
- Measure drawer dimensions.
- Purchase or make dividers.
- Place dividers in drawers.
- Organize utensils or small items.
Hang Measuring Cups and Spoons
- Attach small hooks inside a cabinet door.
- Hang measuring cups and spoons on hooks.
- Ensure they are easy to reach.
Use Stackable Bins
- Purchase stackable bins.
- Label bins for different items.
- Stack bins in pantry or cabinets.
Install a Pot Lid Organizer
- Measure cabinet space.
- Purchase or make a lid organizer.
- Attach organizer to cabinet door or wall.
- Store pot lids in organizer.
Helpful Tips and Tricks
Use vertical space: Install shelves or hanging racks on walls. This keeps counters clear and adds storage.
Drawer dividers: Use these to organize utensils. No more digging for that one spoon.
Lazy Susans: Place these in cabinets for easy access to spices or canned goods.
Pegboards: Hang pots, pans, and utensils. Keeps items within reach and saves cabinet space.
Magnetic strips: Attach these to walls for knives or metal utensils. Saves drawer space and looks neat.
Under-shelf baskets: Slide these onto existing shelves to create extra storage for small items.
Clear containers: Store dry goods in clear jars or bins. This makes it easy to see what you have and keeps things tidy.
Rolling carts: Use these for extra counter space or storage. They can be moved around as needed.
Hooks: Install under cabinets or shelves for mugs or small pots. This frees up cabinet space.
Over-the-door organizers: Use these on pantry or cabinet doors for extra storage.
Common mistakes to avoid: Overloading shelves can cause them to sag or break. Measure your space before buying organizers to ensure they fit. Avoid cluttering counters with too many items; it defeats the purpose of creating storage.
Alternatives for materials or methods: Instead of wooden shelves, consider metal ones for a modern look. Use tension rods inside cabinets to create dividers for cutting boards or baking sheets. Instead of buying drawer dividers, make your own using cardboard or thin wood strips.
How Much Will It Cost?
Shelving Units: Basic wood shelves cost around $20-$30 each. Brackets for mounting are about $5-$10 per pair.
Mason Jars: A set of 12 jars costs roughly $15-$20.
Pegboard: A 4x8 foot pegboard sheet costs about $20-$25. Hooks and accessories for pegboards range from $10-$15 per set.
Drawer Organizers: Plastic or bamboo organizers cost between $10-$25 each, depending on size and quality.
Magnetic Knife Strip: Prices range from $15-$30.
Hanging Baskets: Wire baskets for hanging can cost $10-$20 each.
Command Hooks: A pack of medium-sized hooks costs around $5-$10.
Tension Rods: Each rod costs about $5-$10.
Tools: Basic tools like a drill, screwdriver, and measuring tape might cost around $50-$100 if you don't already have them.
Budget-Friendly Alternatives:
- Shelving Units: Use reclaimed wood or pallets, which can be free or very cheap.
- Mason Jars: Reuse old jars from groceries.
- Pegboard: Use corkboard or old bulletin boards.
- Drawer Organizers: Use cardboard or shoe boxes.
- Magnetic Knife Strip: Use a magnetic strip from a hardware store.
- Hanging Baskets: Repurpose old baskets or bins.
- Command Hooks: Use nails or screws if allowed.
- Tension Rods: Use old curtain rods or dowels.
Total estimated cost for materials and tools: $160-$250. Budget-friendly alternatives can reduce this to around $50-$100.
Different Ways to Customize
Floating Shelves: Use reclaimed wood for a rustic look or glass for a modern touch. Paint them in bright colors to add a pop of color or neutral tones for a minimalist style.
Pegboards: Customize with metal hooks for a sleek appearance or wooden pegs for a natural feel. Paint the pegboard in chalkboard paint for a dual-purpose message board.
Mason Jar Storage: Attach lids under cabinets for easy access. Use colored jars for a fun twist or clear jars to easily see contents. Label jars with chalkboard labels for easy identification.
Pull-Out Pantry: Use metal baskets for an industrial look or woven baskets for a cozy vibe. Paint the pantry in bold colors to make it stand out or white to blend with the kitchen.
Magnetic Knife Strip: Opt for a stainless steel strip for a modern kitchen or a wooden strip for a classic touch. Mount it vertically to save more space.
Under-Shelf Baskets: Choose wire baskets for a contemporary feel or fabric baskets for a softer look. Use bright colors to add personality or neutral shades for a clean appearance.
Spice Rack: Create a wall-mounted rack with reclaimed wood for a rustic kitchen or a metal rack for a sleek design. Paint the rack in vibrant colors to make it a focal point.
Drawer Dividers: Use bamboo dividers for an eco-friendly option or plastic dividers for easy cleaning. Customize the size to fit your specific utensils.
Hanging Pot Rack: Use copper pipes for a vintage look or stainless steel for a modern kitchen. Paint the rack in bold colors to make it a statement piece.
Lazy Susan: Opt for a wooden Lazy Susan for a traditional feel or a plastic one for easy cleaning. Add non-slip liners to keep items in place.
Eco-Friendly Tips
Glass jars make excellent storage for dry goods. Reuse old pasta sauce or pickle jars. They keep food fresh and look great on shelves.
Wooden crates can be turned into stackable storage. Sand and paint them for a polished look. Use them to store fruits, vegetables, or even pots and pans.
Mason jars attached to the underside of cabinets save counter space. Screw the lids to the cabinet bottom, then twist the jars on and off as needed.
Old wine racks can hold more than just bottles. Use them to store rolling pins, cutting boards, or even kitchen towels.
Pegboards are versatile and eco-friendly. Hang them on walls to organize utensils, pots, and pans. Paint them to match your kitchen decor.
Reclaimed wood shelves add rustic charm. Use salvaged wood to create open shelving for dishes, spices, or cookbooks.
Tin cans can be transformed into utensil holders. Clean and paint them, then mount them on walls or place them on counters.
Fabric scraps can be sewn into hanging pockets. Attach them to the inside of cabinet doors for extra storage.
Old ladders can be repurposed into pot racks. Hang them horizontally from the ceiling and use S-hooks to hang pots and pans.
Vintage suitcases make unique storage. Stack them in a corner to store less frequently used kitchen items.
Making the Most of Your Kitchen Space
Maximizing kitchen storage doesn't have to be complicated. With a bit of creativity and some elbow grease, you can transform cluttered spaces into organized havens. Use vertical space by installing shelves or hanging racks. Repurpose everyday items like mason jars or baskets for stylish storage solutions. Don't forget about the insides of cabinet doors—perfect spots for hooks or small shelves. Drawer dividers can make a world of difference in keeping utensils and gadgets in order.
Remember, the goal is to make your kitchen functional and enjoyable to use. A well-organized kitchen not only looks great but also makes cooking and cleaning much easier. So, roll up your sleeves, gather your tools, and start creating a kitchen space that works for you. Happy DIY-ing!
How can I maximize cabinet space?
Use stackable shelves and cabinet organizers. They help you use vertical space better. Also, consider adding hooks inside cabinet doors for hanging utensils or small pots.
What’s a good way to store spices?
Try a magnetic spice rack on the side of your fridge or inside a cabinet door. You can also use a lazy Susan in a cabinet to keep spices easily accessible.
How do I keep my pantry organized?
Use clear containers for dry goods like pasta, rice, and cereal. Label them so you know what’s inside. Group similar items together, like snacks or baking supplies, to make finding things easier.
Any tips for organizing under the sink?
Install a pull-out drawer or use stackable bins. Keep cleaning supplies in a caddy so you can easily pull them out when needed. A tension rod can also be handy for hanging spray bottles.
How can I keep my countertops clutter-free?
Use wall-mounted racks or magnetic strips for knives and utensils. Store small appliances in cabinets when not in use. A hanging fruit basket can free up counter space too.
What’s a smart way to store pots and pans?
Use a pot rack to hang them, either on the wall or from the ceiling. If you prefer cabinets, try pull-out shelves or dividers to keep them organized and easy to reach.
How do I organize my fridge efficiently?
Use clear bins to group similar items together. Label shelves and bins so everyone knows where things go. Store leftovers in stackable containers to save space.