
Home>Home & Furniture>Garage & Basement>How to Build DIY Basement Wall Panels
Garage & Basement
How to Build DIY Basement Wall Panels
Published: August 28, 2024
Learn how to build DIY basement wall panels with our step-by-step guide. Transform your basement into a functional space with these easy-to-follow instructions.
(Many of the links in this article redirect to a specific reviewed product. Your purchase of these products through affiliate links helps to generate commission for Twigandthistle.com, at no extra cost. Learn more)
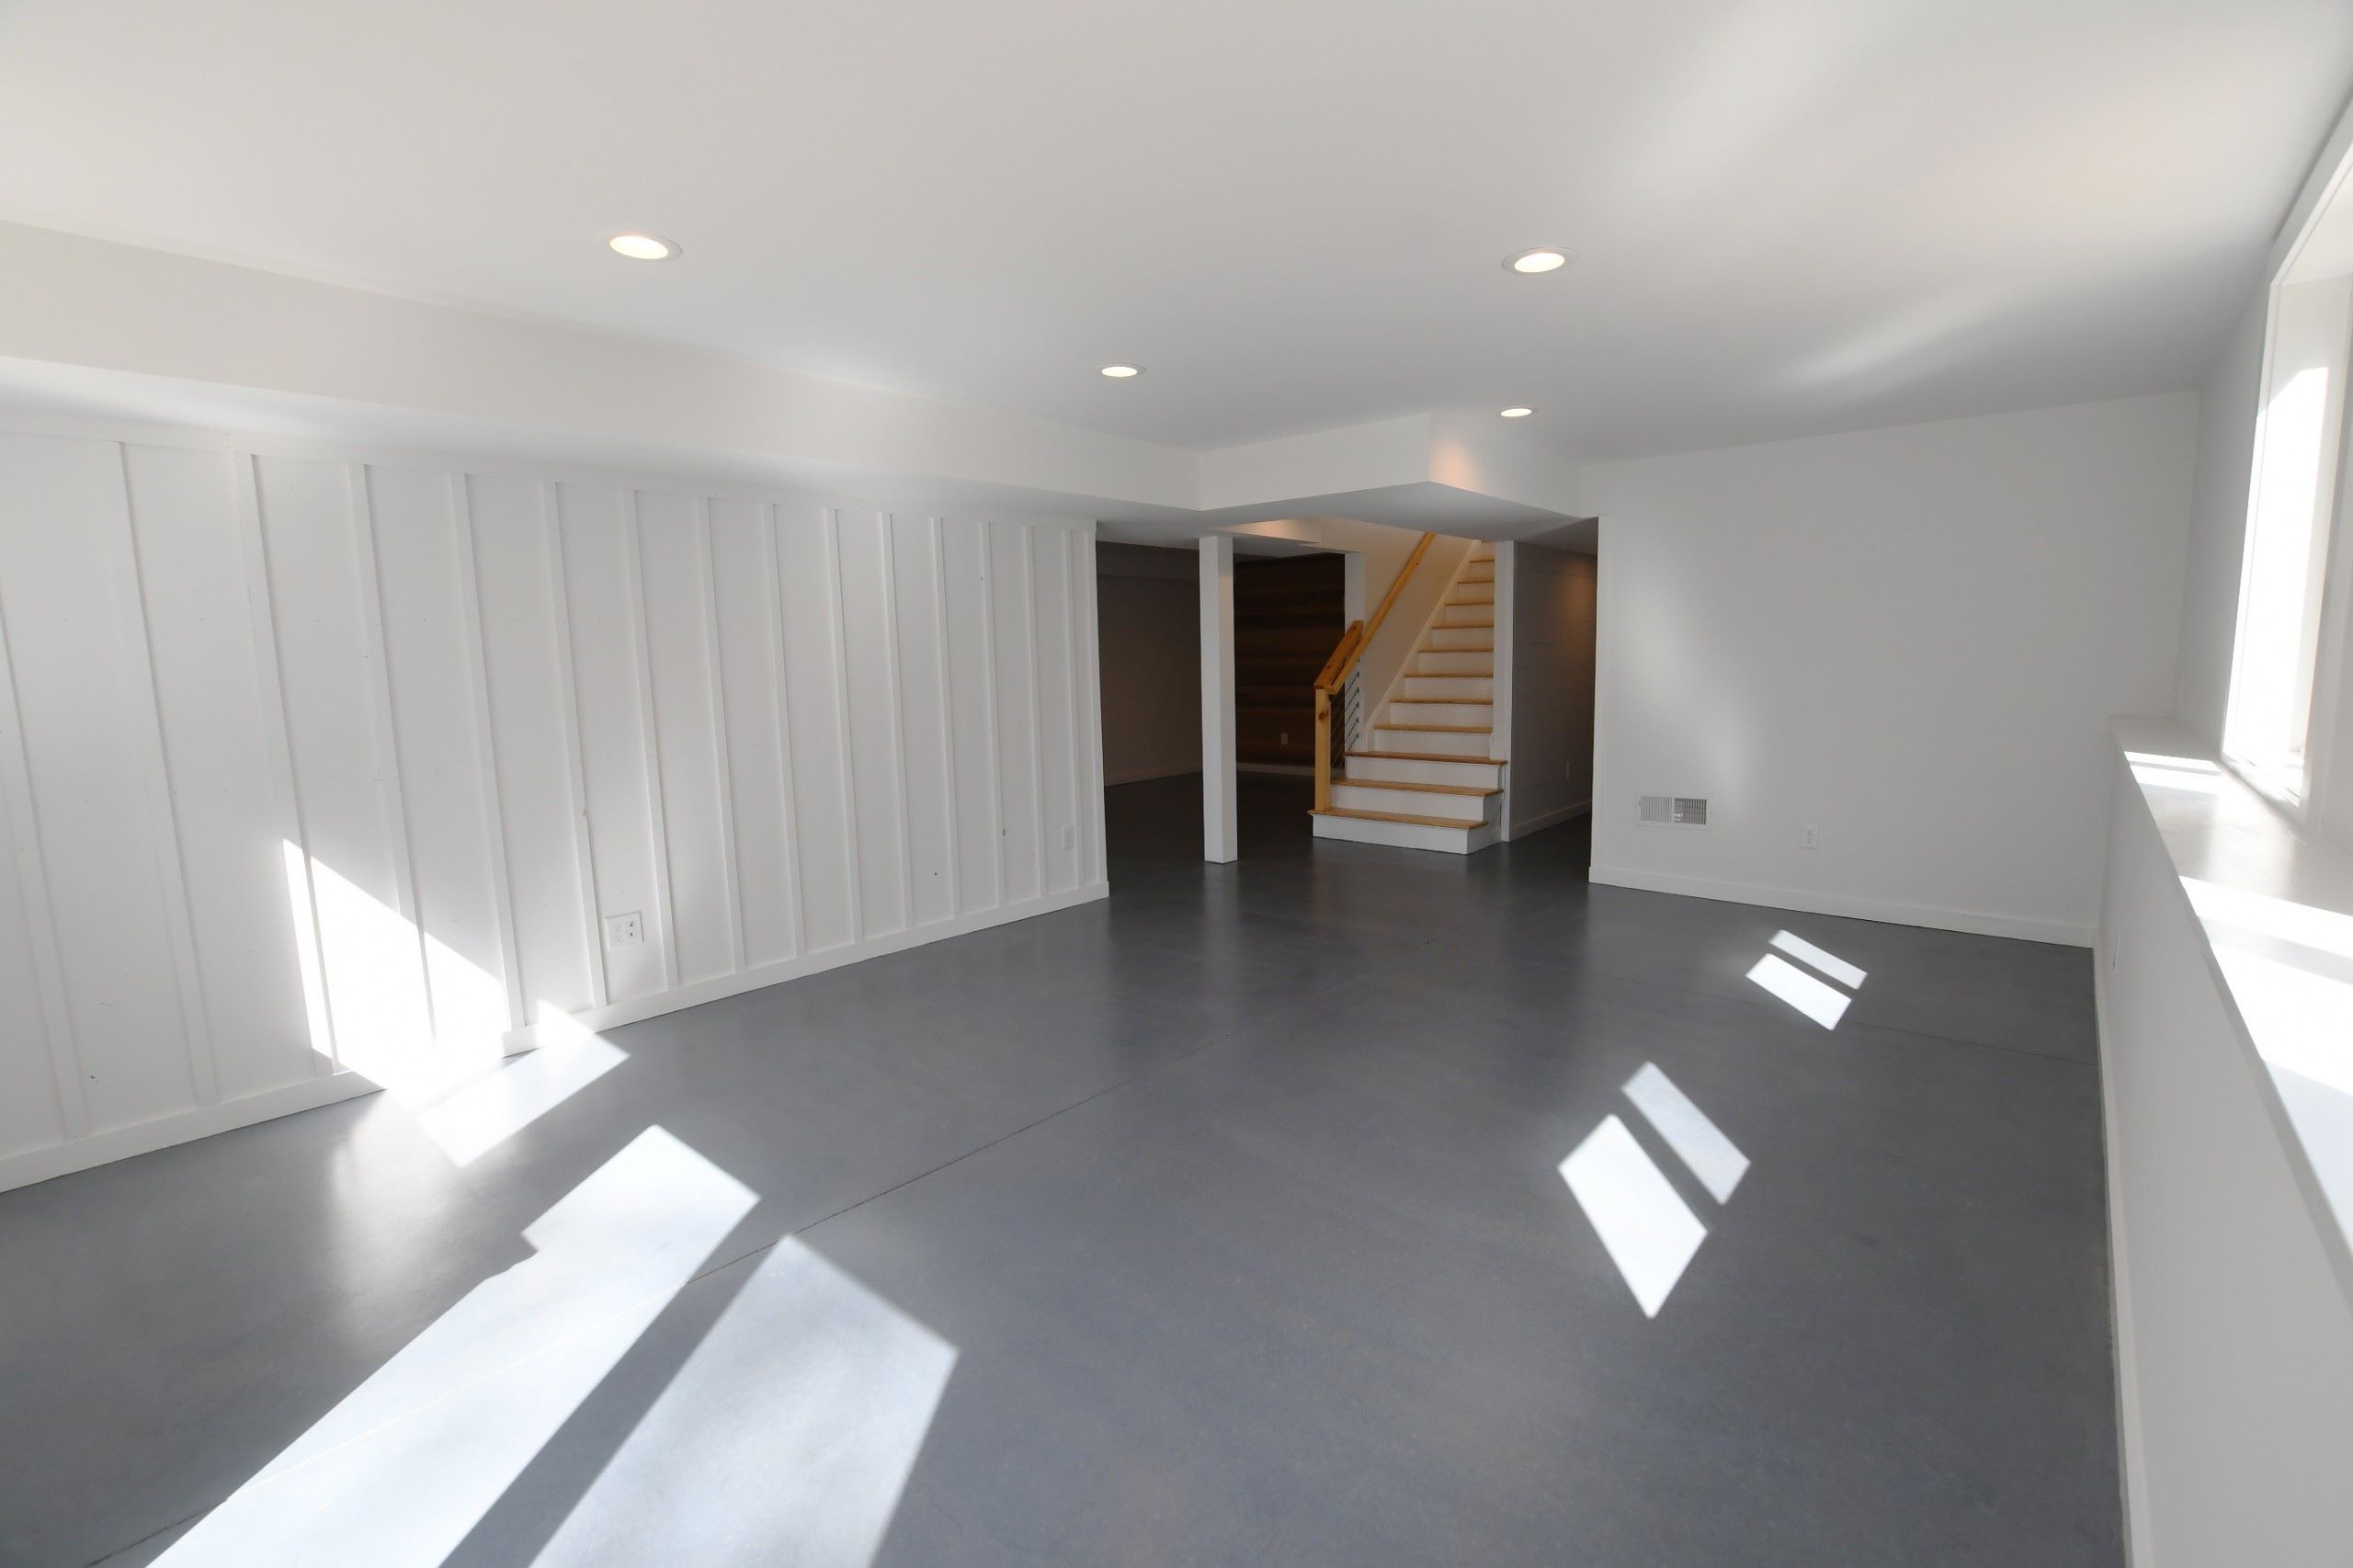
Creating your own basement wall panels can transform a dull, unfinished space into a cozy, usable area. Not only does it add value to your home, but it also gives you a sense of accomplishment. Plus, it’s a great way to customize the look of your basement without spending a fortune. With some basic tools, materials, and a bit of patience, you can build sturdy, attractive wall panels yourself. Whether you’re looking to add insulation, improve aesthetics, or create sections in your basement, this DIY project is a satisfying way to make your space more livable.
Getting Ready for Your Project
Gather Materials: Collect all necessary tools and materials. You'll need wood studs, drywall sheets, screws, insulation, a saw, a drill, a tape measure, and safety gear.
Measure the Space: Measure the basement walls to determine the size and number of panels required. Accurate measurements ensure a proper fit.
Clear the Area: Remove any obstacles from the workspace. Ensure the area is clean and dry to prevent any issues during installation.
Set Up Workspace: Create a designated area for cutting and assembling panels. Lay down a drop cloth to catch debris and protect the floor.
Safety Gear: Wear safety goggles, gloves, and a dust mask to protect yourself from dust and debris. Ensure proper ventilation in the basement.
Check for Moisture: Inspect the basement walls for any signs of moisture or leaks. Address any issues before starting to prevent future damage.
Mark Stud Locations: Use a stud finder to locate and mark the positions of the wall studs. This will help when attaching the panels.
Cut Materials: Cut the wood studs and drywall sheets to the required sizes based on your measurements. Use a saw for wood and a utility knife for drywall.
Pre-Drill Holes: Pre-drill holes in the wood studs to make it easier to attach them to the walls. This step helps prevent splitting the wood.
Organize Tools: Keep all tools within reach. Organize screws, nails, and other small items in containers to avoid losing them.
Plan Layout: Plan the layout of the panels on the floor before attaching them to the walls. This ensures everything fits together properly.
Check Electrical and Plumbing: Ensure no electrical wires or plumbing pipes are in the way. If necessary, consult a professional to move them.
Install Insulation: If adding insulation, cut it to size and place it between the studs. This step helps with temperature control and soundproofing.
Review Instructions: If using a specific paneling system, review the manufacturer’s instructions for any additional steps or tips.
Essential Materials and Tools
- Plywood Sheets: These form the main structure of the wall panels. Choose a thickness that provides stability.
- 2x4 Lumber: Used for framing the panels. Provides support and structure.
- Drywall: Covers the plywood for a smooth, paintable surface.
- Insulation: Keeps the basement warm and energy-efficient.
- Drywall Screws: Secure the drywall to the plywood and framing.
- Wood Screws: Attach the 2x4s together and secure the plywood.
- Drywall Tape: Covers seams between drywall sheets for a seamless look.
- Joint Compound: Fills gaps and smooths over drywall tape.
- Primer and Paint: Finish the panels with your desired color.
- Measuring Tape: Ensures accurate cuts and measurements.
- Circular Saw: Cuts plywood and lumber to size.
- Drill: Drives screws into wood and drywall.
- Utility Knife: Cuts drywall and insulation.
- Level: Ensures panels are straight and even.
- Stud Finder: Locates studs in existing walls for secure attachment.
- Safety Gear: Includes gloves, goggles, and a dust mask for protection.
These materials and tools will help you build sturdy, insulated basement wall panels.
Skills Needed and Time Commitment
Skill Level: Intermediate
Time Required: Approximately 2-3 days
Preparation: 4-6 hours
- Measure the basement area
- Gather materials and tools
Framing: 8-10 hours
- Cut and assemble wooden frames
- Secure frames to basement walls
Insulation: 4-5 hours
- Install insulation between frames
Drywall Installation: 6-8 hours
- Cut and attach drywall panels
- Tape and mud seams
Finishing Touches: 4-6 hours
- Sand and paint walls
- Install baseboards and trim
Detailed Steps to Follow
Gather Materials and Tools
- Plywood sheets
- 2x4 lumber
- Insulation
- Drywall
- Screws and nails
- Measuring tape
- Saw
- Drill
- Level
- Utility knife
Measure the Basement Walls
- Use a measuring tape to determine the height and width of the walls.
- Write down measurements for accuracy.
Cut the Lumber
- Cut 2x4 lumber to match the height of the walls.
- Cut additional pieces for horizontal supports.
Build the Frame
- Lay out the vertical and horizontal 2x4s on the floor.
- Attach them using screws to form a rectangular frame.
- Ensure the frame is square using a level.
Install Insulation
- Place insulation between the vertical 2x4s.
- Cut insulation to fit snugly using a utility knife.
Attach Plywood Sheets
- Cut plywood sheets to fit the frame.
- Secure plywood to the frame using screws.
Install Drywall
- Cut drywall to fit over the plywood.
- Attach drywall using screws, ensuring they are flush with the surface.
Finish the Panels
- Apply joint compound to seams and screw holes.
- Sand the surface smooth once the compound dries.
- Paint or finish as desired.
Install the Panels
- Position the completed panels against the basement walls.
- Secure them to the wall using screws or nails.
Check for Level
- Use a level to ensure panels are straight.
- Adjust as necessary for a perfect fit.
Helpful Tips and Tricks
Measure your space accurately before buying materials. Use a level to ensure your panels are straight. Pre-drill holes to prevent wood from splitting. Label each panel to avoid confusion during installation. Wear safety gear like gloves and goggles.
Common mistakes include not checking for moisture in the basement, which can lead to mold. Skipping insulation can make the basement cold. Using the wrong type of screws can cause panels to come loose.
For materials, consider plywood instead of drywall for easier handling. Foam board insulation can be a good alternative to fiberglass. Instead of traditional wood studs, metal studs can be used for added durability.
Budgeting for Your DIY Basement Wall Panels
Materials:
- Drywall Sheets: $10 each, 10 sheets needed = $100
- Wood Studs: $3 each, 20 studs needed = $60
- Insulation: $50 per roll, 2 rolls needed = $100
- Drywall Screws: $5 per box, 2 boxes needed = $10
- Joint Compound: $15 per bucket, 1 bucket needed = $15
- Drywall Tape: $5 per roll, 1 roll needed = $5
- Primer and Paint: $30 per gallon, 2 gallons needed = $60
Tools:
- Screw Gun: $50
- Utility Knife: $10
- Tape Measure: $10
- Level: $15
- Drywall Sander: $20
- Paint Rollers and Brushes: $15
Total Cost: $470
Budget-Friendly Alternatives:
- Recycled Drywall: $5 each, 10 sheets = $50
- Second-hand Wood Studs: $1 each, 20 studs = $20
- Recycled Insulation: $30 per roll, 2 rolls = $60
- Borrow Tools: Free if borrowed from friends or neighbors
Total Cost with Alternatives: $240
Creative Variations and Customizations
Materials: Instead of standard drywall, consider using wood paneling for a rustic look. Plywood can be a budget-friendly option. For a more modern feel, try fiber cement boards.
Colors: Paint the panels in neutral tones like beige or gray for a classic look. For a pop of color, use bold shades like navy blue or forest green. Two-tone designs can add depth and interest.
Styles: Create a shiplap effect by spacing wooden planks horizontally. For a more industrial vibe, use corrugated metal sheets. Add wainscoting for a traditional touch.
Textures: Apply textured wallpaper over the panels for a unique finish. Use stucco or venetian plaster for a more tactile surface.
Insulation: Incorporate foam board insulation behind the panels for added warmth. Use soundproofing materials if noise reduction is a priority.
Lighting: Install recessed lighting within the panels for a sleek look. Add LED strip lights along the edges for a modern touch.
Storage: Build built-in shelves or cabinets into the panels for extra storage. Create hidden compartments for a clean, uncluttered appearance.
Decorative Elements: Add trim or molding to the edges for a polished finish. Use stencils or decals to create patterns or designs on the panels.
Eco-Friendly Options: Use reclaimed wood or recycled materials for a sustainable choice. Opt for low-VOC paints to reduce environmental impact.
Eco-Friendly Building Tips
Reclaimed wood makes a great choice for framing. It’s sturdy and gives a rustic look. Recycled insulation like denim or cellulose keeps the basement warm without harming the environment. Use eco-friendly drywall made from recycled materials. For finishing, choose low-VOC paint to reduce harmful fumes.
Instead of buying new, look for second-hand doors or windows. They add character and save resources. Bamboo flooring is another sustainable option. It grows quickly and is very durable.
When cutting materials, save the scraps. They can be used for small patches or other projects. Compostable drop cloths protect floors during painting and can be composted afterward.
Using LED lights in the basement saves energy and lasts longer. Install a rainwater collection system for any water needs during construction. This reduces water waste.
Finally, consider solar-powered tools to cut down on electricity use. They are efficient and eco-friendly.
Your Basement, Your Masterpiece
Building DIY basement wall panels isn't just about saving money. It's about creating a space that reflects your style. By using quality materials and following simple steps, you can transform a dull basement into a cozy retreat. Remember, measure twice and cut once to avoid mistakes. Don't rush the process; take your time to ensure everything fits perfectly. With patience and a bit of elbow grease, you'll have a basement that not only looks great but also adds value to your home. So grab your tools, roll up your sleeves, and get started. Your dream basement is just a few steps away.
What materials do I need to build basement wall panels?
You'll need plywood, 2x4 lumber, insulation, drywall, screws, nails, and paint. Don't forget tools like a saw, drill, and measuring tape.
How do I measure my basement walls accurately?
Use a measuring tape to get the height and width of each wall. Measure from the floor to the ceiling and from corner to corner. Write down all measurements.
What's the best way to insulate basement wall panels?
Place insulation between the studs of your wall frame. Use foam board or fiberglass. Make sure it fits snugly to avoid gaps.
How do I attach the panels to the walls?
First, build a frame using 2x4 lumber. Then, attach the plywood or drywall to the frame using screws or nails. Secure the frame to the basement walls with anchors.
Can I paint the panels after installing them?
Absolutely! Once the panels are up, you can prime and paint them. Choose a moisture-resistant paint for basements to prevent mold and mildew.
How do I cut panels to fit around pipes and outlets?
Measure the location of pipes and outlets. Use a jigsaw or hole saw to cut the necessary openings in your panels before attaching them to the frame.
Do I need a permit to install basement wall panels?
Check with your local building department. Some areas require a permit for basement renovations, especially if you're adding insulation or electrical work.