
Home>Home & Furniture>Garage & Basement>DIY Wall Mounted Garage Shelving Ideas
Garage & Basement
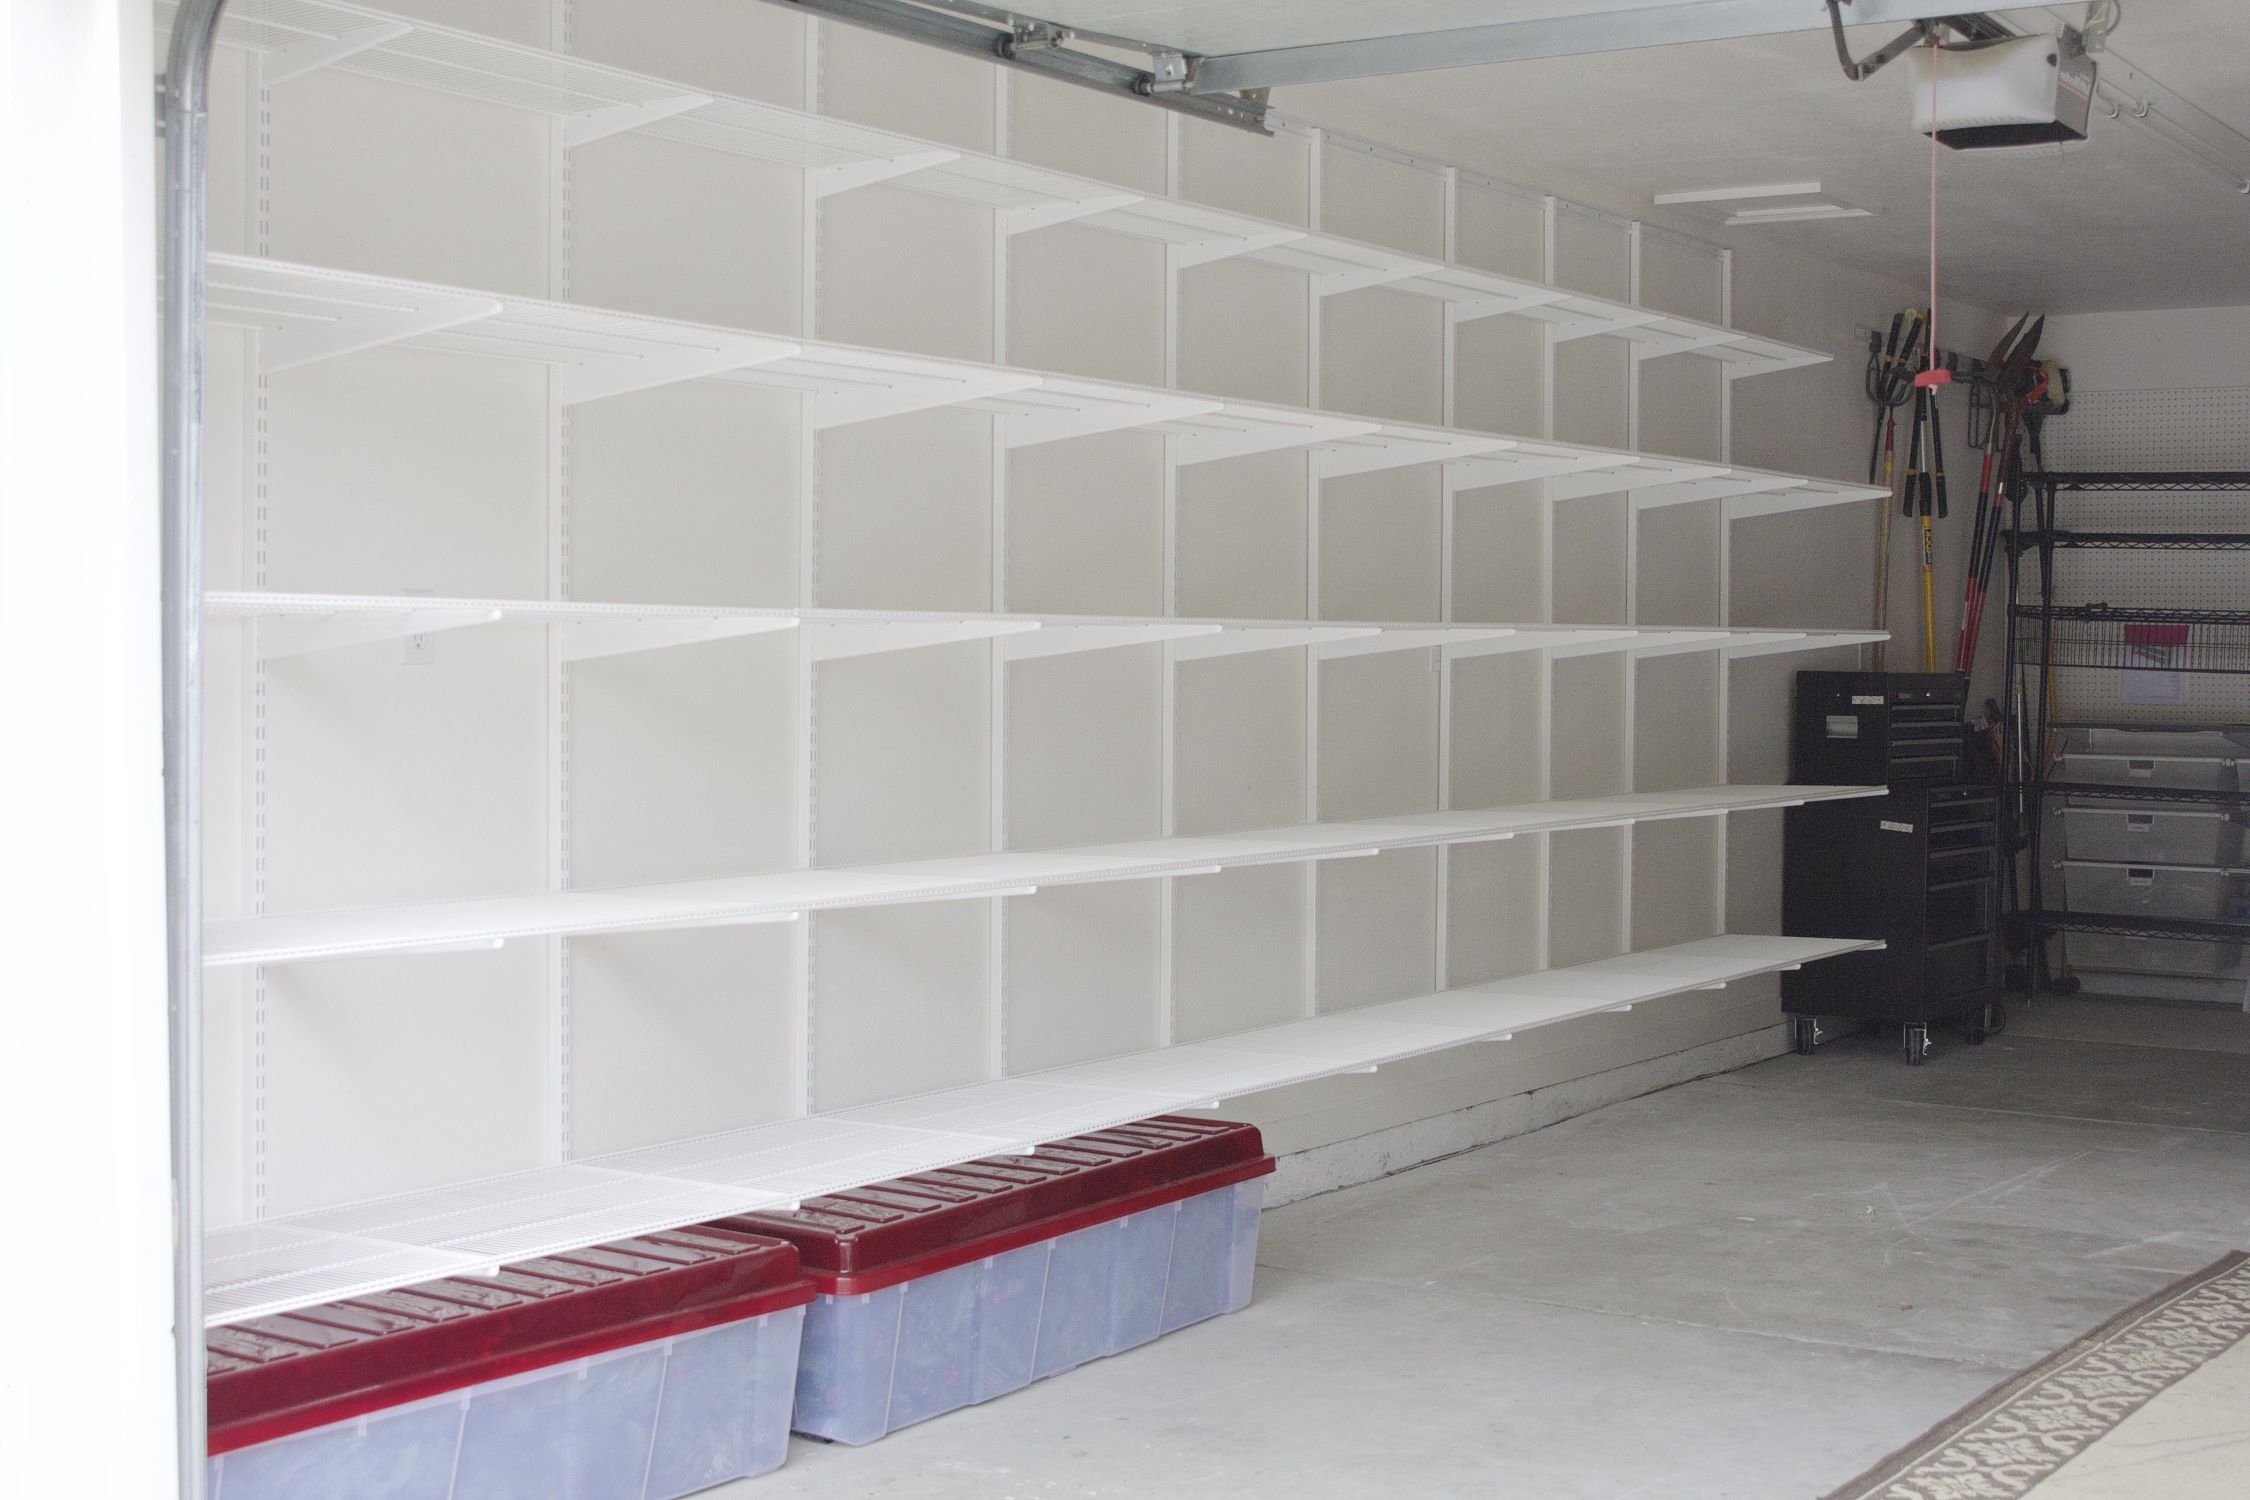
DIY Wall Mounted Garage Shelving Ideas
Published: September 27, 2024
Discover creative DIY wall-mounted garage shelving ideas to maximize your storage space. Learn step-by-step instructions and tips for an organized and clutter-free garage.
(Many of the links in this article redirect to a specific reviewed product. Your purchase of these products through affiliate links helps to generate commission for Twigandthistle.com, at no extra cost. Learn more)
Garages can quickly become cluttered and disorganized without proper storage solutions. Creating DIY wall-mounted shelves can help maximize space and keep tools, sports equipment, and other items neatly arranged. Not only does this method save on floor space, but it also adds a touch of personal craftsmanship to your garage. With a few basic materials and tools, anyone can build sturdy, custom shelves tailored to their storage needs. Whether you’re a seasoned DIY enthusiast or just getting started, these ideas will inspire you to take control of your garage's organization. Let’s dive into some practical, easy-to-build shelving options.
Preparation
Measure Your Space: Use a tape measure to determine the length, width, and height of the area where you want to install the shelves.
Gather Materials: Collect all necessary items like brackets, screws, a level, a stud finder, a drill, and the shelving boards.
Find Studs: Use a stud finder to locate the studs in the wall. Mark these spots with a pencil. Shelves need to be anchored to studs for stability.
Safety Gear: Wear safety goggles and gloves to protect your eyes and hands while working.
Clear the Area: Move any items or obstacles out of the way to create a clean workspace. This helps prevent accidents and makes the job easier.
Pre-Drill Holes: Mark where you will place the brackets on the wall. Pre-drill holes into the studs to make it easier to screw in the brackets.
Level the Brackets: Use a level to ensure the brackets are straight before securing them to the wall. This ensures your shelves will be even.
Attach Shelves: Once brackets are secured, place the shelving boards on top and screw them into the brackets for added stability.
Test Stability: Gently press down on the shelves to make sure they are secure and can hold weight without wobbling.
Organize Tools: Keep all tools and materials organized in a toolbox or container to avoid losing anything and to keep the workspace tidy.
Gather Your Materials and Tools
Plywood Sheets: These will form the shelves. Choose sturdy, high-quality plywood for durability.
2x4 Lumber: Used for the frame and supports. Provides strength and stability.
Wall Brackets: Metal brackets that attach to the wall and hold the shelves. Ensure they are heavy-duty to support weight.
Screws and Anchors: Essential for securing brackets and frames to the wall. Use appropriate sizes for your wall type.
Drill: Needed for making holes in the wall and wood. A cordless drill is convenient.
Level: Ensures shelves are even. A must-have for a professional look.
Measuring Tape: For accurate measurements of wood and wall space. Precision is key.
Saw: Cuts plywood and lumber to size. A circular saw or handsaw works well.
Sandpaper: Smooths edges of cut wood. Prevents splinters and gives a finished look.
Pencil: Marks measurements on wood and wall. Simple but necessary.
Safety Gear: Includes gloves, goggles, and ear protection. Keeps you safe while working.
Skill Level and Time Required
Skill Level: Intermediate
Time Required: 4-6 hours
- Measure and Plan: 30 minutes
- Gather Materials: 1 hour
- Install Brackets: 1-2 hours
- Mount Shelves: 1-2 hours
- Organize Items: 30 minutes
Step-by-Step Instructions
Gather Materials
- Plywood sheets
- 2x4 lumber
- Screws
- Wall brackets
- Stud finder
- Level
- Drill
- Measuring tape
- Pencil
Measure and Plan
- Measure wall space where shelves will go.
- Decide shelf length and width.
- Mark stud locations using a stud finder.
Cut Wood
- Cut plywood to desired shelf size.
- Cut 2x4s for shelf supports and wall brackets.
Assemble Shelf Supports
- Attach 2x4s to the underside of plywood using screws.
- Ensure supports are flush with plywood edges.
Install Wall Brackets
- Align brackets with marked stud locations.
- Use a level to ensure brackets are straight.
- Secure brackets to studs with screws.
Mount Shelves
- Place assembled shelves on wall brackets.
- Secure shelves to brackets with screws.
Check Stability
- Ensure shelves are level and securely attached.
- Test by placing items on shelves to check for sturdiness.
Organize Garage
- Place tools, boxes, and other items on new shelves.
- Enjoy the extra space and organization.
Helpful Tips and Tricks
Measure Twice, Cut Once: Always double-check measurements before cutting materials. This saves time and prevents waste.
Use Stud Finders: Ensure shelves are mounted on wall studs for maximum strength. Shelves attached to drywall alone may not support heavy items.
Level Shelves: Use a level to ensure shelves are straight. Crooked shelves can cause items to slide off.
Pre-Drill Holes: Pre-drilling holes makes it easier to insert screws and reduces the risk of wood splitting.
Heavy-Duty Brackets: Choose sturdy brackets that can support the weight of items you plan to store. Flimsy brackets may bend or break.
Anchor Bolts: Use anchor bolts for added stability, especially if you can't find studs. They provide extra support in drywall.
Adjustable Shelving: Consider adjustable shelving systems. They offer flexibility to change shelf heights as storage needs evolve.
Label Bins: Use labeled bins or containers to keep items organized. This makes finding tools or supplies easier.
Common Mistakes to Avoid:
Overloading Shelves: Avoid placing too much weight on shelves. This can cause them to sag or collapse.
Ignoring Wall Studs: Failing to mount shelves on studs can lead to weak support and potential accidents.
Using Incorrect Tools: Using the wrong tools can make the job harder and less safe. Ensure you have the right equipment.
Skipping Safety Gear: Always wear safety gear like gloves and goggles. This protects you from injuries while working.
Alternatives for Materials or Methods:
Metal Shelving: Metal shelves are durable and can handle heavy loads. They are a good alternative to wood.
Wire Shelving: Wire shelves are lightweight and easy to install. They allow air circulation, which is great for damp garages.
Pegboards: Pegboards provide versatile storage for tools and small items. They can be combined with shelves for a complete system.
Plastic Shelving: Plastic shelves are resistant to moisture and chemicals. They are ideal for storing cleaning supplies or garden tools.
Estimating the Cost
Materials:
- Plywood: $50 per sheet (you'll need 2 sheets)
- 2x4 Lumber: $3 per piece (you'll need 10 pieces)
- Brackets: $5 each (you'll need 8)
- Screws: $10 for a box
- Wall Anchors: $10 for a pack
Tools:
- Drill: $50 (if you don't have one)
- Saw: $40 (if you don't have one)
- Level: $15
- Tape Measure: $10
- Screwdriver: $10
Total Cost:
- Materials: $50 (plywood) + $30 (lumber) + $40 (brackets) + $10 (screws) + $10 (anchors) = $140
- Tools: $50 (drill) + $40 (saw) + $15 (level) + $10 (tape measure) + $10 (screwdriver) = $125
Grand Total: $140 (materials) + $125 (tools) = $265
Budget-Friendly Alternatives:
- Plywood: Use OSB (Oriented Strand Board) instead, which costs about $20 per sheet.
- Brackets: Use L-brackets from a dollar store, costing $2 each.
- Tools: Borrow tools from friends or rent them from a local hardware store.
Using these alternatives, you can reduce costs significantly.
Creative Variations and Customizations
Materials: Use wood for a classic look, metal for durability, or plastic for a lightweight option. Reclaimed wood adds a rustic touch, while plywood offers a budget-friendly choice.
Colors: Paint shelves in bright colors to make the garage lively or stick to neutral tones like gray, black, or white for a sleek, modern feel. Use stain to highlight natural wood grain.
Styles: Opt for floating shelves for a minimalist look. Brackets can add a decorative element; choose from industrial, vintage, or modern designs. Adjustable shelving allows flexibility for different storage needs.
Alternative Designs: Incorporate pegboards for tools, hooks for hanging items, or bins for smaller objects. Add labels for easy organization. Use slatwall panels for a customizable storage system.
Finishes: Seal wood with polyurethane for protection. Powder-coat metal shelves to prevent rust. Use chalkboard paint on some surfaces for notes or labels.
Lighting: Install LED strips under shelves for better visibility. Use motion-sensor lights for convenience.
Accessories: Add magnetic strips for metal tools, bungee cords for securing items, or small baskets for loose parts.
Eco-Friendly Tips
Reclaimed wood can be a great choice. Old pallets or barn wood can be sanded and cut to size. Metal brackets from old furniture or scrap yards can provide sturdy support. Recycled plastic shelves are durable and resistant to moisture. Bamboo is another eco-friendly option; it grows quickly and is very strong. Repurposed cabinets or drawers can be mounted on walls for extra storage. Natural stains and finishes, like linseed oil or beeswax, can protect wood without harmful chemicals. Upcycled pipes can be used as supports or brackets. Salvaged doors can be cut and used as shelf surfaces. Eco-friendly paint can give shelves a fresh look without toxic fumes.
Your Garage, Your Masterpiece
Building your own wall-mounted garage shelving isn't just about saving money. It's about creating a space that works for you. With some basic tools, a bit of elbow grease, and a dash of creativity, you can transform your garage into an organized haven. Remember to measure twice, cut once, and always use sturdy materials. Don’t be afraid to customize your shelves to fit your needs. Whether you’re storing tools, sports gear, or seasonal decorations, a well-planned shelving system can make all the difference. So grab your drill, some brackets, and get to work. Your garage will thank you, and you’ll have the satisfaction of knowing you built it yourself. Happy building!
How much weight can wall-mounted garage shelves hold?
It depends on the materials and installation. Heavy-duty shelves can hold up to 200 pounds per shelf if properly anchored.
What tools do I need to install wall-mounted shelves?
Basic tools include a drill, level, stud finder, screws, brackets, and a measuring tape. A saw might be needed if you need to cut shelves to size.
Can I install shelves on drywall?
Yes, but you’ll need to use wall anchors or find studs to ensure the shelves are secure. Drywall alone won’t support much weight.
How high should I mount my garage shelves?
Mount shelves at a height that’s easy to reach but still maximizes your storage space. Typically, 5 to 6 feet off the ground works well.
What materials are best for garage shelves?
Plywood, metal, and heavy-duty plastic are popular choices. Plywood is sturdy and customizable, while metal and plastic are durable and resistant to moisture.
How do I ensure my shelves are level?
Use a level during installation. Mark your drill points on the wall, then double-check with the level before drilling.
Can I add more shelves later?
Absolutely! Just make sure the brackets and wall can handle the additional weight. You might need to reinforce the existing setup.