
Home>Home & Furniture>Garage & Basement>DIY Garage Storage Lift: How to Create Extra Space
Garage & Basement
DIY Garage Storage Lift: How to Create Extra Space
Published: September 28, 2024
Discover how to create extra space in your garage with a DIY storage lift. Follow our step-by-step guide to maximize storage and keep your garage organized and clutter-free.
(Many of the links in this article redirect to a specific reviewed product. Your purchase of these products through affiliate links helps to generate commission for Twigandthistle.com, at no extra cost. Learn more)
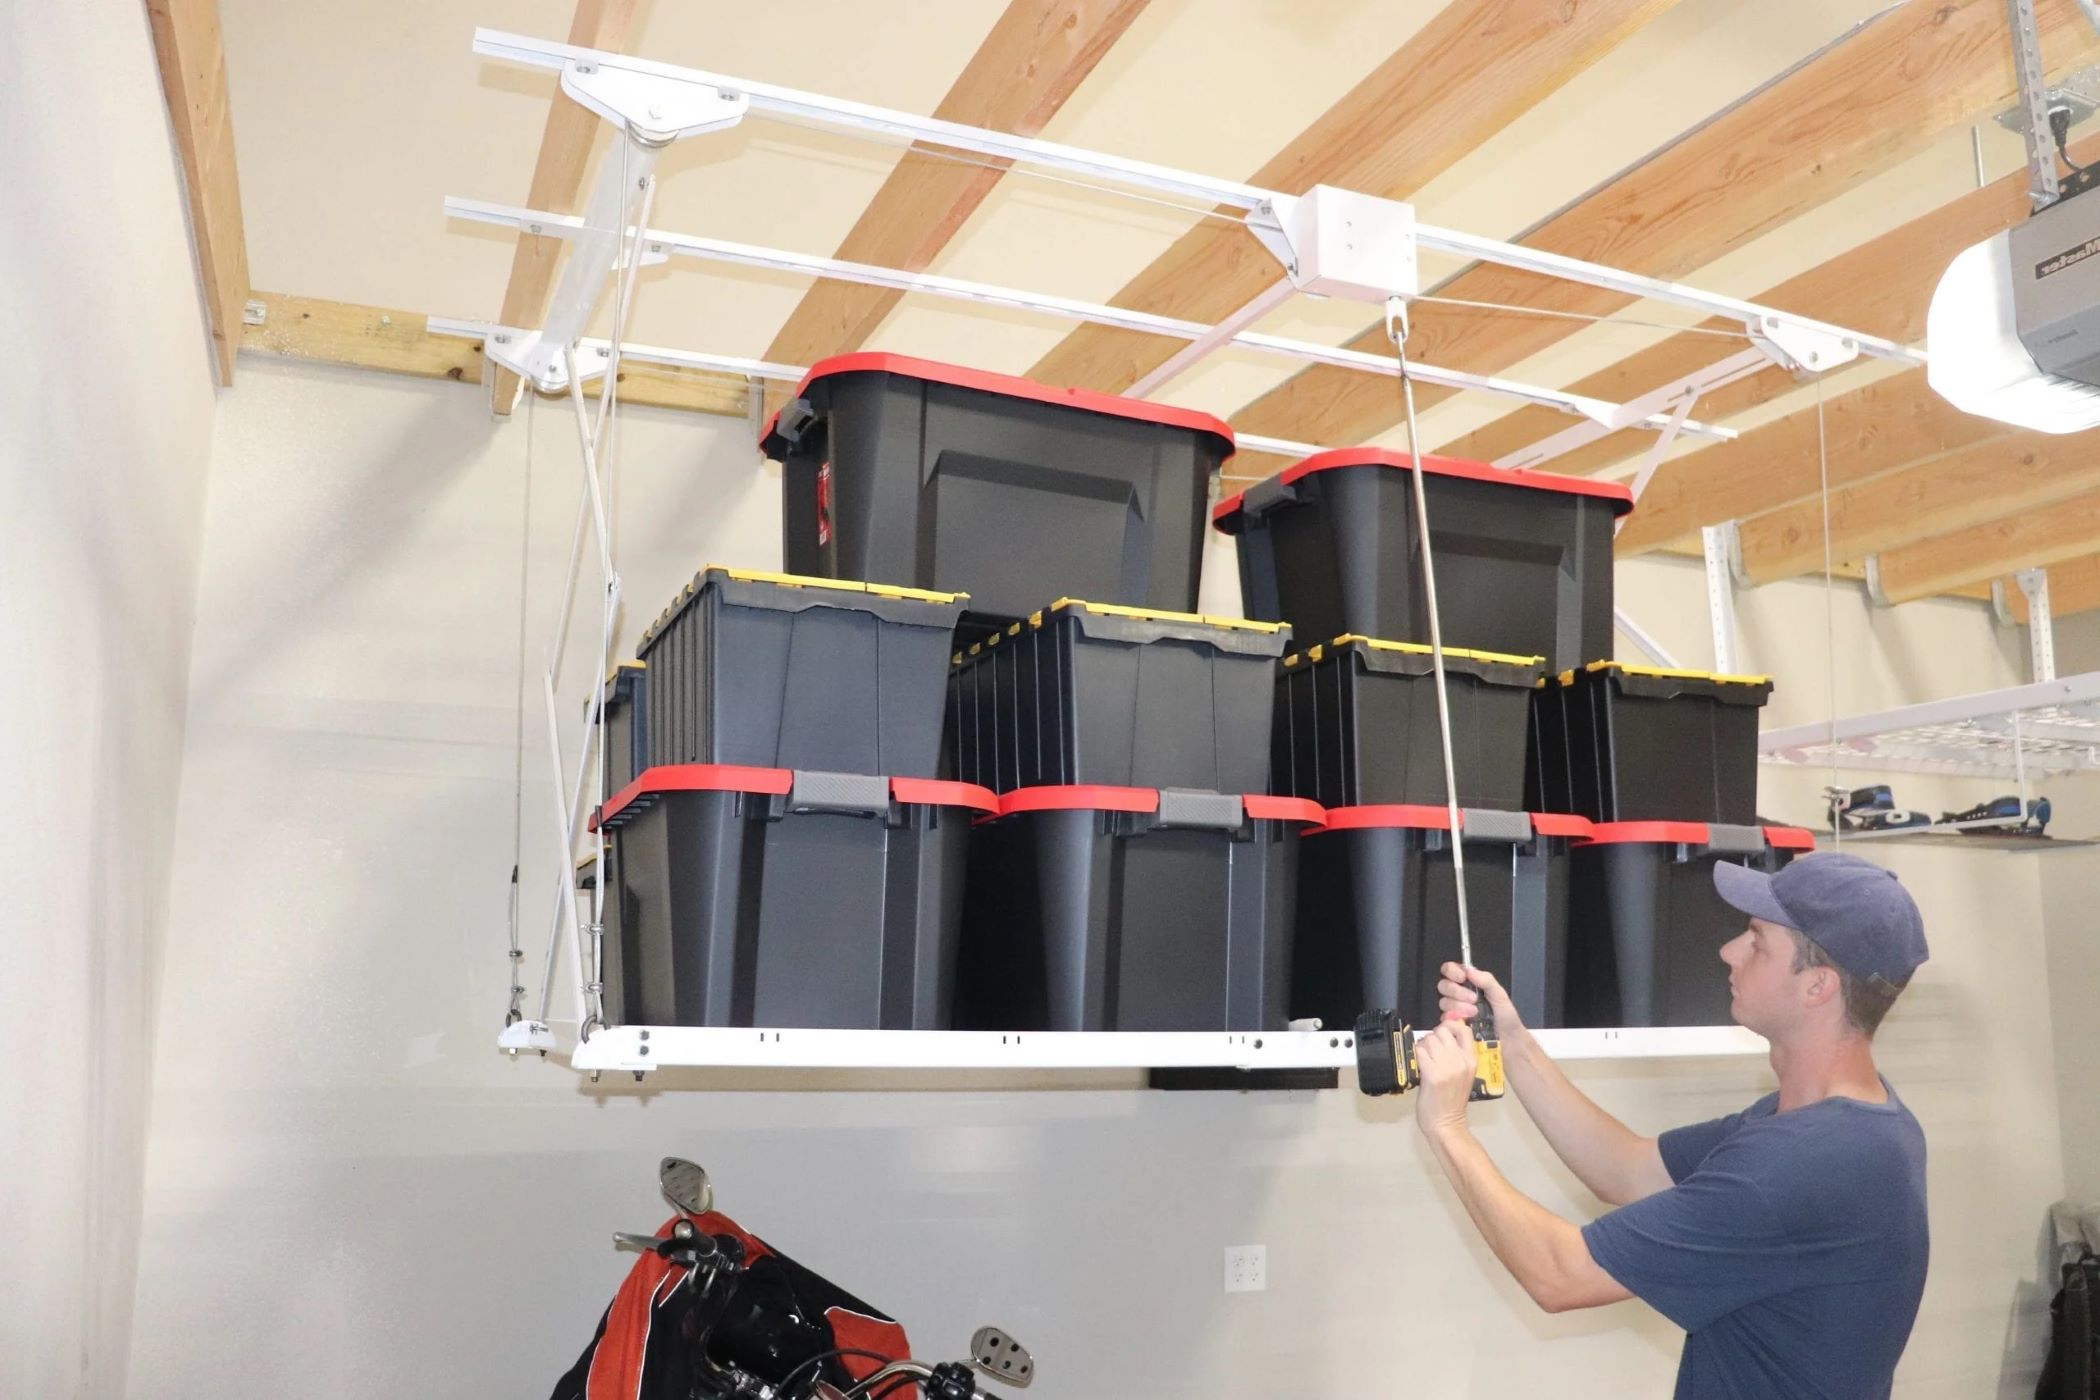
Running out of space in your garage? A DIY garage storage lift can be the perfect solution. This project helps you make use of the overhead area, letting you store items you don't need every day up high. Think about all the seasonal decorations, camping gear, or old toys cluttering your floor. With some basic tools, materials, and a bit of elbow grease, you can create an efficient storage lift. You'll gain valuable floor space and keep your garage organized. Ready to get started? Let's dive into the details and transform your space.
Getting Ready for Your Project
Measure the Space: Use a tape measure to determine the height, width, and depth of your garage. This helps ensure the storage lift fits perfectly.
Gather Tools and Materials: Collect all necessary tools like a drill, screws, brackets, and pulleys. Make sure you have the storage platform or lift kit ready.
Clear the Area: Remove any items from the garage floor and walls where the lift will be installed. This prevents accidents and gives you room to work.
Check the Ceiling: Inspect the ceiling for any obstructions like pipes or electrical wires. Ensure the ceiling can support the weight of the storage lift.
Mark the Installation Points: Use a pencil to mark where the brackets and pulleys will go. Double-check measurements to avoid mistakes.
Set Up a Safe Workspace: Lay down a tarp or old sheet to catch debris. Keep tools organized and within reach. Ensure good lighting to see clearly.
Wear Safety Gear: Put on safety goggles, gloves, and a dust mask. This protects you from dust, debris, and potential injuries.
Read Instructions: Go through the lift kit’s manual thoroughly. Understanding each step beforehand makes the installation smoother.
Test the Lift Mechanism: Before loading items, test the lift to ensure it operates correctly. Make adjustments if needed.
Secure Loose Items: Use bungee cords or straps to secure items on the lift. This prevents them from falling during operation.
Gathering Materials and Tools
Materials:
- Plywood Sheets: Used for creating the platform.
- 2x4 Lumber: Provides structural support for the platform.
- Pulleys: Helps in lifting and lowering the platform.
- Rope or Cable: Connects to the pulleys for lifting.
- Eye Bolts: Secures the pulleys to the ceiling.
- Screws and Nails: Fastens the plywood and lumber together.
- Wood Glue: Adds extra strength to the joints.
- Paint or Sealant: Protects the wood from moisture and wear.
Tools:
- Drill: Makes holes for screws and eye bolts.
- Saw: Cuts the plywood and lumber to size.
- Measuring Tape: Ensures accurate measurements.
- Level: Keeps the platform even.
- Screwdriver: Tightens screws.
- Hammer: Drives nails into the wood.
- Wrench: Tightens the eye bolts.
- Paintbrush: Applies paint or sealant.
Plywood sheets form the base of the platform. 2x4 lumber supports the structure. Pulleys and rope or cable make lifting easier. Eye bolts attach pulleys to the ceiling. Screws and nails hold everything together. Wood glue strengthens joints. Paint or sealant protects the wood.
A drill creates holes for screws and eye bolts. A saw cuts wood to the right size. Measuring tape ensures everything fits. A level keeps the platform straight. A screwdriver tightens screws. A hammer drives nails. A wrench tightens eye bolts. A paintbrush applies paint or sealant.
Required Skills and Time Commitment
Skill Level: Intermediate
Time Required: 4-6 hours
- Planning and Measuring: 1 hour
- Gathering Materials: 30 minutes
- Assembling the Lift: 2-3 hours
- Installing the Lift: 1-2 hours
Important Keywords: Skill Level, Time Required, Planning, Measuring, Gathering Materials, Assembling, Installing
Detailed Steps to Follow
Gather Materials:
- Plywood sheet
- 2x4 lumber
- Screws
- Pulleys
- Rope
- Eye bolts
- Drill
- Saw
- Measuring tape
- Level
Measure and Cut:
- Measure the garage ceiling height.
- Cut the plywood to desired platform size.
- Cut 2x4 lumber to frame the plywood.
Assemble Platform:
- Attach 2x4 pieces around the edges of the plywood using screws.
- Ensure the frame is sturdy and level.
Install Eye Bolts:
- Mark four corners of the platform.
- Drill holes and screw in eye bolts.
Mount Pulleys:
- Locate ceiling joists in the garage.
- Drill holes and attach pulleys directly above each eye bolt on the platform.
Thread Rope:
- Cut four equal lengths of rope.
- Thread each rope through a pulley and tie securely to the eye bolts on the platform.
Install Ceiling Hooks:
- Drill holes in the ceiling joists for hooks.
- Screw hooks into place to hold the ropes when the platform is raised.
Test Lift:
- Pull ropes to lift the platform.
- Secure ropes to ceiling hooks to keep the platform elevated.
Load Storage:
- Place items on the platform.
- Ensure weight is evenly distributed.
Safety Check:
- Double-check all connections.
- Make sure the platform is stable and secure.
Helpful Tips and Tricks
Measure Twice, Cut Once: Always double-check measurements before cutting materials. This ensures everything fits perfectly and avoids wasting supplies.
Use Pulleys: Pulleys make lifting heavy items easier. Install a pulley system to reduce the effort needed to lift and lower storage items.
Label Everything: Clearly label boxes and containers. This helps quickly find items without rummaging through everything.
Securely Anchor: Ensure the lift system is securely anchored to the ceiling joists. This prevents accidents and ensures stability.
Balance the Load: Distribute weight evenly on the lift platform. Uneven loads can cause the platform to tilt or become unstable.
Use Quality Materials: Invest in sturdy materials like heavy-duty steel cables and strong wood. This ensures the lift can handle the weight and lasts longer.
Test the System: Before storing valuable items, test the lift with lighter loads. This helps identify any issues and ensures the system works smoothly.
Common Mistakes to Avoid:
Overloading: Avoid exceeding the weight limit of the lift system. This can cause the system to fail and damage stored items.
Ignoring Safety Gear: Always wear safety gear like gloves and goggles. This protects you from potential injuries during installation.
Skipping Instructions: Follow the manufacturer’s instructions carefully. Skipping steps can lead to improper installation and potential hazards.
Alternatives for Materials or Methods:
Electric Winch: Instead of a manual pulley system, consider using an electric winch. This makes lifting easier and more efficient.
Metal Shelving: Use metal shelving units attached to the lift platform. Metal shelves are durable and can hold heavier items compared to wood.
Adjustable Hooks: Install adjustable hooks on the lift platform. These allow for flexible storage options and can accommodate various item sizes.
Estimating the Costs
Materials:
- Plywood (4x8 sheet): $50
- 2x4 Lumber (8 pieces): $40
- Lag Screws (1 box): $10
- Pulleys (4): $20
- Rope (50 feet): $15
- Eye Bolts (4): $10
- Hooks (4): $5
- Paint or Stain (optional): $20
Tools:
- Drill: $50 (or borrow)
- Saw: $60 (or borrow)
- Measuring Tape: $10
- Level: $15
- Wrench: $10
Total Cost: $315
Budget-Friendly Alternatives:
- Use recycled wood or scrap lumber: Save $50
- Borrow tools from friends or neighbors: Save $120
- Skip paint or stain: Save $20
Adjusted Total Cost: $125
Different Ways to Customize
Materials: Instead of using wood for the platform, try metal or plastic. Metal offers durability, while plastic is lightweight and easy to clean.
Colors: Paint the lift in bright colors like red or yellow to make it stand out. For a more subtle look, use neutral colors like gray or white.
Styles: Add decorative trim or molding to the edges of the platform for a polished look. Use stencils to create patterns or designs on the surface.
Mechanism: Instead of a manual pulley system, install an electric winch for easier lifting. This can be controlled with a remote or wall switch.
Storage Options: Attach hooks or baskets to the sides of the lift for additional storage. Use magnetic strips to hold tools or small metal items.
Safety Features: Add safety rails or barriers around the edges to prevent items from falling off. Install locking mechanisms to keep the lift secure when not in use.
Lighting: Attach LED lights underneath the platform to illuminate the area below. This helps when searching for items stored on the lift.
Mobility: Add casters to the bottom of the platform for easy movement. This allows you to reposition the lift as needed.
Customization: Personalize the lift with stickers or decals that reflect your interests or hobbies. This makes the storage lift uniquely yours.
Eco-Friendly Tips
Use reclaimed wood for the frame. Old pallets or leftover lumber from other projects work well. For the lifting mechanism, consider repurposing bicycle parts like chains and gears. This reduces waste and saves money. Natural rope made from hemp or jute can replace synthetic ropes. These materials are biodegradable and strong. Recycled metal brackets and screws can provide sturdy support. Look for these at salvage yards or recycling centers. Non-toxic paint or finishes can protect wood without harmful chemicals. Finally, solar-powered lights can illuminate the storage area, reducing electricity use.
Making the Most of Your Space
Building a DIY garage storage lift isn't just about saving space; it's about maximizing what you already have. With a few tools and some elbow grease, you can create a functional and efficient storage solution. This project not only organizes your garage but also frees up valuable floor space for other activities. Plus, there's a certain satisfaction in knowing you built it yourself. Remember to measure your space carefully, choose the right materials, and follow safety guidelines. Whether you're storing seasonal items, sports equipment, or tools, a garage lift can make your life easier. So, grab your tools, get creative, and start building. Your garage will thank you, and you'll wonder how you ever managed without it.
How much weight can a DIY garage storage lift hold?
Most DIY garage storage lifts can hold between 200 to 300 pounds. Always check the specifications of your materials to ensure safety.
What materials do I need to build a garage storage lift?
You'll need plywood, metal brackets, pulleys, rope, screws, and a drill. Some folks also use winches for easier lifting.
How long does it take to build a garage storage lift?
Typically, it takes about a weekend. If you're handy with tools, you might finish faster. Planning and gathering materials beforehand can save time.
Is it safe to install a garage storage lift by myself?
Yes, but follow all safety guidelines. Make sure your ceiling can support the weight. If unsure, consult a professional.
Can I use a garage storage lift for bikes or kayaks?
Absolutely! Just ensure the lift can handle the weight and size. Adjust the design if needed to fit larger items securely.
How do I maintain my garage storage lift?
Regularly check the ropes, pulleys, and brackets for wear and tear. Lubricate moving parts to keep them functioning smoothly.
Can I automate my garage storage lift?
Yes, you can add a motorized winch for automation. This makes lifting heavy items easier and more convenient.