
Home>Home & Furniture>Doors & Windows>Valentine Door Decorations: DIY Ideas & Inspiration
Doors & Windows
Valentine Door Decorations: DIY Ideas & Inspiration
Published: September 23, 2024
Discover creative and charming DIY Valentine door decorations to spread love and warmth. Get inspired with unique ideas to make your entryway festive and inviting!
(Many of the links in this article redirect to a specific reviewed product. Your purchase of these products through affiliate links helps to generate commission for Twigandthistle.com, at no extra cost. Learn more)
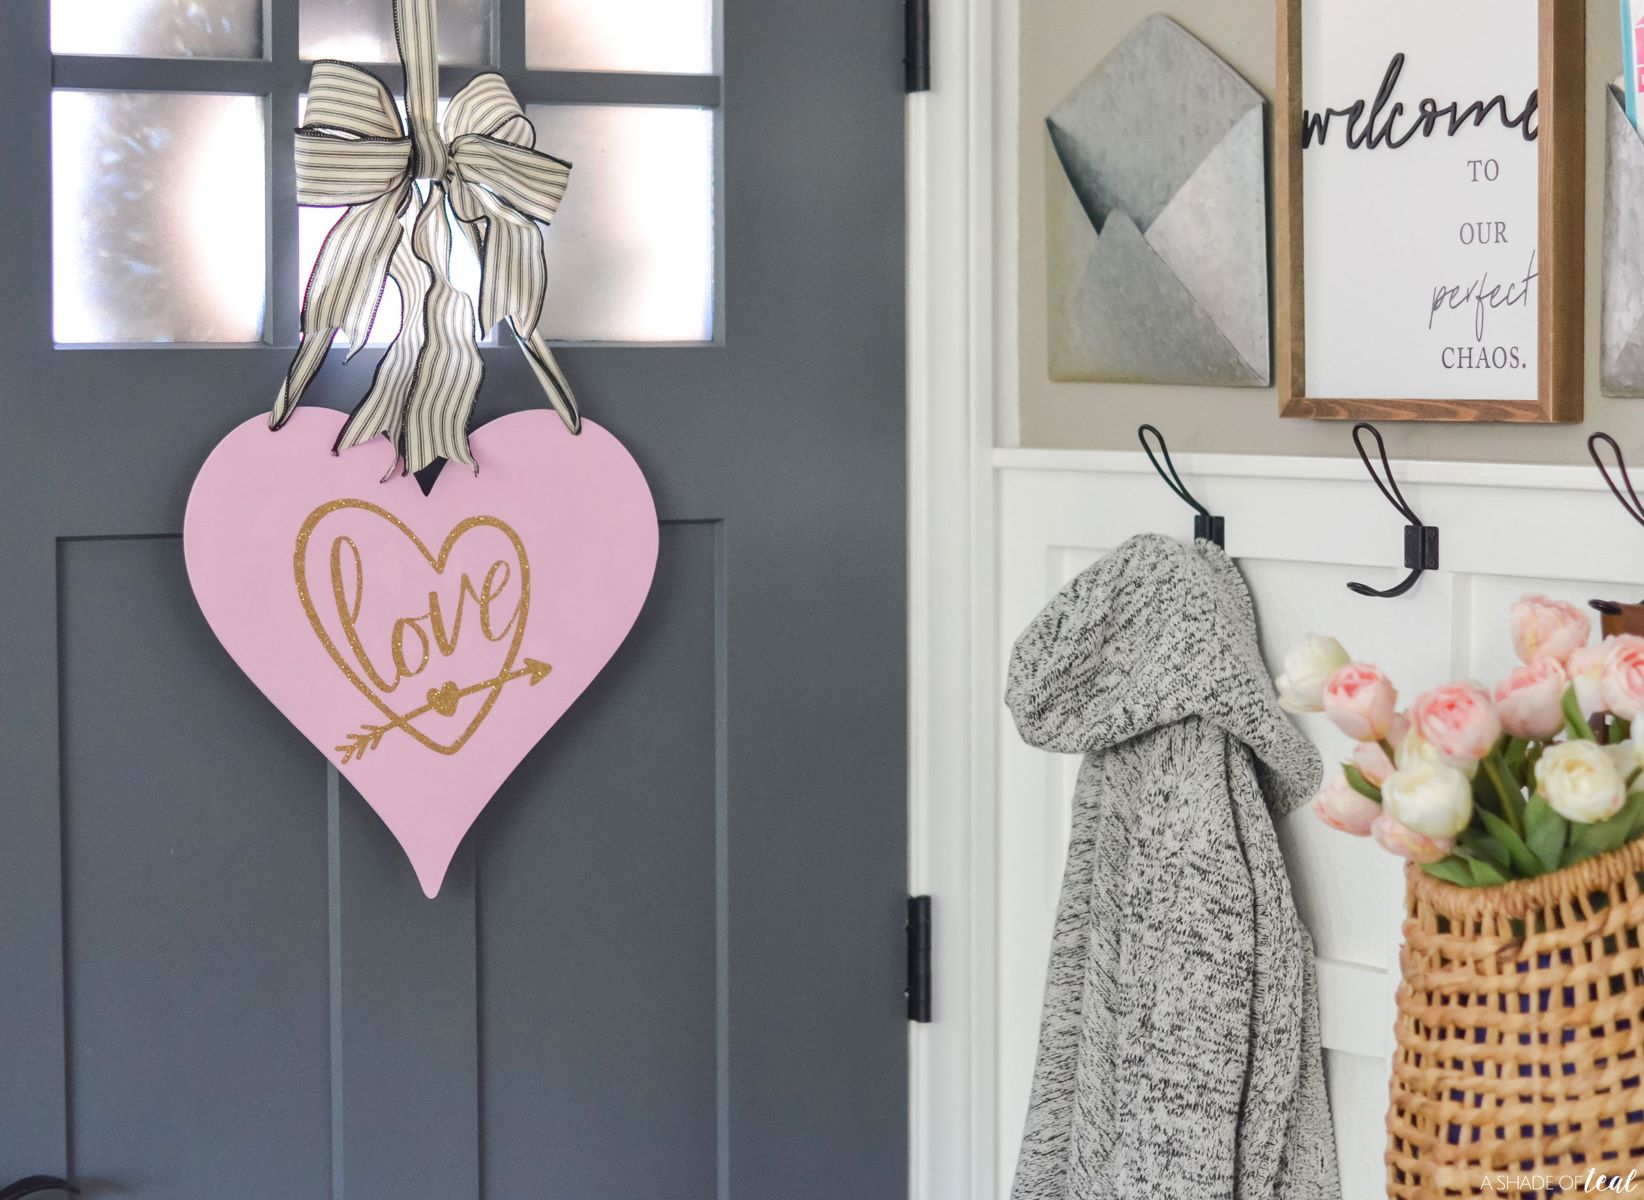
Valentine's Day is a perfect time to spread love and cheer, and what better way to start than right at your door? Creating your own Valentine door decorations can be fun, easy, and budget-friendly. Whether you prefer a simple wreath or an elaborate display, DIY projects offer endless possibilities. From heart-shaped garlands to personalized signs, there are plenty of creative ideas to inspire you. With a few basic materials and a bit of imagination, you can transform your front door into a welcoming symbol of love. Gather supplies, get inspired, and let's dive into some delightful DIY Valentine door decor ideas!
Getting Ready for Your Project
Gather Materials: Collect red, pink, and white paper, ribbons, glue, scissors, and markers. Ensure you have everything before starting.
Safety First: Use scissors carefully. If using a hot glue gun, handle it with caution to avoid burns. Keep a first aid kit nearby.
Workspace Setup: Choose a clean, flat surface like a table. Lay down newspaper or a drop cloth to protect the area from glue and marker stains.
Measure the Door: Use a measuring tape to get the dimensions of your door. This helps in planning the size of your decorations.
Design Planning: Sketch out your design ideas on paper. Decide where each decoration will go on the door.
Cutting Shapes: Cut out hearts, flowers, and other Valentine-themed shapes from the colored paper. Use stencils if needed for precision.
Assembly: Arrange your cutouts and ribbons on the table. Glue pieces together as needed, letting them dry completely before attaching to the door.
Attachment: Use removable adhesive strips or tape to attach decorations to the door. This prevents damage to the door surface.
Final Check: Step back and look at your work. Make any adjustments to ensure everything is secure and looks balanced.
What You Need to Get Started
- Construction Paper: Used for making hearts, flowers, and other shapes. Choose red, pink, and white for a Valentine theme.
- Scissors: Essential for cutting out shapes and designs from paper or fabric.
- Glue: Needed to stick decorations together. A glue stick works well for paper, while hot glue is better for heavier items.
- Markers or Paint: Useful for adding details, writing messages, or coloring decorations.
- Ribbon: Adds a decorative touch. Use it to hang items or create bows.
- Tape: Helps secure decorations to the door without causing damage.
- Foam Sheets: Great for creating 3D decorations. They come in various colors and are easy to cut.
- Stickers: Quick and easy way to add hearts, flowers, or other Valentine-themed images.
- Glitter: Adds sparkle to your decorations. Use it sparingly to avoid mess.
- Hole Punch: Useful for making holes in paper or foam sheets to thread ribbon through.
- Cardstock: Thicker than regular paper, ideal for more durable decorations.
- Craft Knife: For precise cutting, especially useful for intricate designs.
- String Lights: Adds a warm, festive glow to your door. Battery-operated ones are easy to use.
- Fabric Scraps: Can be used to make bows, flowers, or other soft decorations.
- Buttons and Beads: Adds texture and interest to your designs. Use them to embellish paper or fabric decorations.
How Much Time and Skill You Need
Skill Level: Beginner
Time Required: 1-2 hours
- Materials Gathering: 15 minutes
- Cutting and Shaping: 30 minutes
- Assembling Decorations: 45 minutes
- Hanging and Adjusting: 15 minutes
Follow These Steps
Gather Materials
- Red and pink construction paper
- Scissors
- Glue or double-sided tape
- Ribbon or string
- Markers or pens
- Heart-shaped templates (optional)
- Door hanger or wreath base (optional)
Create Heart Cutouts
- Fold construction paper in half.
- Draw half-heart shapes along the fold.
- Cut along the lines to create symmetrical hearts.
- Make various sizes for a layered look.
Decorate Hearts
- Use markers to write messages like "Be Mine" or "Love."
- Add designs such as polka dots, stripes, or small drawings.
- Glue smaller hearts onto larger ones for a 3D effect.
Assemble Garland
- Punch holes at the top of each heart.
- Thread ribbon or string through the holes.
- Space hearts evenly along the ribbon.
- Tie knots to keep hearts in place.
Create a Door Hanger or Wreath
- Use a pre-made wreath base or create one from cardboard.
- Attach hearts using glue or tape.
- Add ribbon bows or other embellishments.
Attach to Door
- Use a door hook or adhesive strips to hang your garland or wreath.
- Ensure it is secure and adjust as needed.
Final Touches
- Add any extra decorations like small flowers or glitter.
- Step back and admire your work.
Helpful Tips and Tricks
Use bright colors like red, pink, and white for a festive look. Heart shapes are a must; cut them from construction paper or felt. Ribbon bows add a nice touch; tie them around door handles or wreaths. Fairy lights can make decorations sparkle, especially at night. Personalize with names or messages using stencils or stickers.
Common mistakes to avoid: Don't overdo it with too many elements; keep it simple. Avoid using heavy items that might damage the door. Ensure outdoor decorations are weatherproof to prevent damage from rain or wind.
Alternatives for materials or methods: Instead of paper, use fabric for a more durable option. Artificial flowers can replace real ones for a longer-lasting display. If you don't have fairy lights, glitter can add sparkle. Use command hooks instead of nails to avoid damaging the door.
How Much Will It Cost?
Materials:
- Construction Paper: $5
- Glue: $2
- Scissors: $3
- Markers: $4
- Ribbon: $3
- Foam Hearts: $6
- Glitter: $2
- Tape: $2
Tools:
- Hot Glue Gun: $10
- Ruler: $1
Total Cost: $38
Budget-Friendly Alternatives:
- Use old magazines for cutouts instead of construction paper.
- Replace foam hearts with homemade paper hearts.
- Skip glitter if not necessary.
- Borrow a hot glue gun from a friend or neighbor.
Different Ways to Customize
Materials: Instead of traditional paper hearts, use felt, fabric, or wood. Felt gives a soft, cozy look, while wood adds a rustic touch. Fabric can be patterned or plain, offering endless possibilities.
Colors: Classic red and pink are great, but consider metallics like gold or silver for a chic look. Pastels can create a softer, more romantic vibe. Bold colors like purple or teal can make your decorations stand out.
Styles: For a vintage feel, use lace, burlap, and muted tones. A modern style might include geometric shapes and clean lines. Boho styles can incorporate feathers, tassels, and natural elements like twigs or dried flowers.
Themes: Create a photo collage door decoration with pictures of loved ones. A nature-inspired theme could use leaves, pinecones, and flowers. For a minimalist look, stick to simple shapes and a limited color palette.
Lighting: Add fairy lights or LED candles to make your door decoration glow. Battery-operated lights are safe and easy to use.
Personalization: Include initials or names for a personal touch. Use stencils or hand-paint messages like "Love" or "Be Mine."
Textures: Mix different textures like smooth paper, rough burlap, and soft felt. This adds depth and interest to your decoration.
Hanging Options: Instead of a traditional wreath hanger, use ribbons, twine, or even a decorative hook. This can add an extra element of style.
Eco-Friendly: Use recycled materials like old magazines, cardboard, or fabric scraps. This not only looks great but is also good for the environment.
Interactive Elements: Add pockets or envelopes where family members can leave love notes. This makes the decoration interactive and fun.
Seasonal Adaptation: Incorporate elements that can be easily swapped out for other holidays. For example, use a base that can be redecorated for Easter or Christmas.
Eco-Friendly Tips
Recycled paper can be used to make heart-shaped garlands. Cut out hearts from old magazines or newspapers, then string them together with twine or yarn.
Fabric scraps from old clothes or linens can be transformed into cute door hangers. Cut out heart shapes, sew or glue them together, and stuff with leftover cotton or fabric bits.
Cardboard from old boxes can be cut into heart shapes and painted. Use eco-friendly paint or markers to decorate.
Natural elements like twigs, leaves, or dried flowers can be arranged into a heart shape and tied with twine. This adds a rustic touch and is completely biodegradable.
Wine corks can be glued together to form a heart. Paint or leave natural for a unique look.
Old buttons can be glued onto a cardboard heart for a colorful, textured decoration.
Upcycled jars can be filled with dried flowers or fairy lights and hung on the door handle for a charming touch.
Scrap wood can be cut into heart shapes and painted. Attach a ribbon or twine to hang on the door.
Using biodegradable glitter or natural dyes can add sparkle without harming the environment.
Repurpose old greeting cards by cutting out heart shapes and stringing them together for a nostalgic garland.
Time to Get Crafty
Making your own Valentine door decorations can be a fun, rewarding project. With a bit of creativity, some basic supplies, and a little time, you can transform your door into a festive masterpiece. Whether you go for heart-shaped wreaths, garlands, or personalized signs, each piece will add a touch of love to your home. Plus, DIY projects often bring a sense of accomplishment and can be a great way to spend time with loved ones. So, gather your materials, roll up your sleeves, and let your imagination run wild. Your door will soon be the talk of the neighborhood, spreading joy and love to everyone who passes by. Happy crafting!
What materials do I need for Valentine door decorations?
You’ll need construction paper, scissors, glue, ribbons, markers, and maybe some glitter. You can also use felt, fabric, or even wood if you’re feeling fancy.
How can I make a simple heart wreath?
Cut out several heart shapes from red and pink paper. Glue them in a circle on a cardboard ring. Add a ribbon at the top for hanging. Easy peasy!
Can I use recycled materials?
Absolutely! Use old magazines, cardboard boxes, or even fabric scraps. It’s eco-friendly and adds a unique touch.
How do I make my decorations last longer?
Use sturdy materials like cardstock or fabric. Laminating paper decorations can also help. Store them in a cool, dry place when not in use.
Any tips for decorating with kids?
Keep it simple. Use pre-cut shapes, stickers, and washable markers. Let them get creative but supervise when using scissors or glue.
What are some unique decoration ideas?
Try making a garland with mini love notes, a door hanger with felt hearts, or a chalkboard sign with a sweet message. Get creative!
How can I make my door decorations stand out?
Use bold colors, different textures, and layered elements. Adding lights or sparkly accents can also make your decorations pop.